Sugar Cookie Icing Recipe for Perfect Holiday Decorating
on Dec 17, 2024
This post may contain affiliate links. Please read our disclosure policy.
Looking for the perfect sugar cookie icing recipe that sets beautifully and tastes amazing? This foolproof recipe creates a smooth, glossy finish that’s ideal for both beginner and experienced bakers, with just the right consistency for easy piping and spreading.

After testing countless variations in my kitchen (and cleaning up more than a few sticky messes!), I’ve perfected this simple 4-ingredient icing that will transform your sugar cookies into stunning works of art that are perfect for any holiday or special occasion.
There’s something magical about watching plain sugar cookies turn into works of art with the perfect icing. After years of testing different recipes and techniques, I’m thrilled to share this fail-proof sugar cookie icing that sets beautifully and tastes amazing!
Table of Contents

Why You’ll Love This Sugar Cookie Icing Recipe
- Perfect Set: I love this recipe because it strikes the perfect balance between spreadability and structure. The icing flows smoothly when piping but sets firm enough to stack your cookies without smudging.
- Easy for Beginners: Whether you’re a beginner or experienced baker, this recipe will give you professional-looking results every time.
- Foolproof Process: With just 4 simple ingredients and clear consistency guidelines, you’ll nail the perfect texture every single time. No more guessing if your icing is too thick or too thin!
- Make-Ahead Magic: This icing stores beautifully for up to a week, so you can prep it in advance and tackle your cookie decorating whenever you have time. Perfect for busy holiday baking schedules!
🎄 This is the perfect icing to use on homemade holiday cookies that can be gifted to family and friends!
Recipe Ingredients
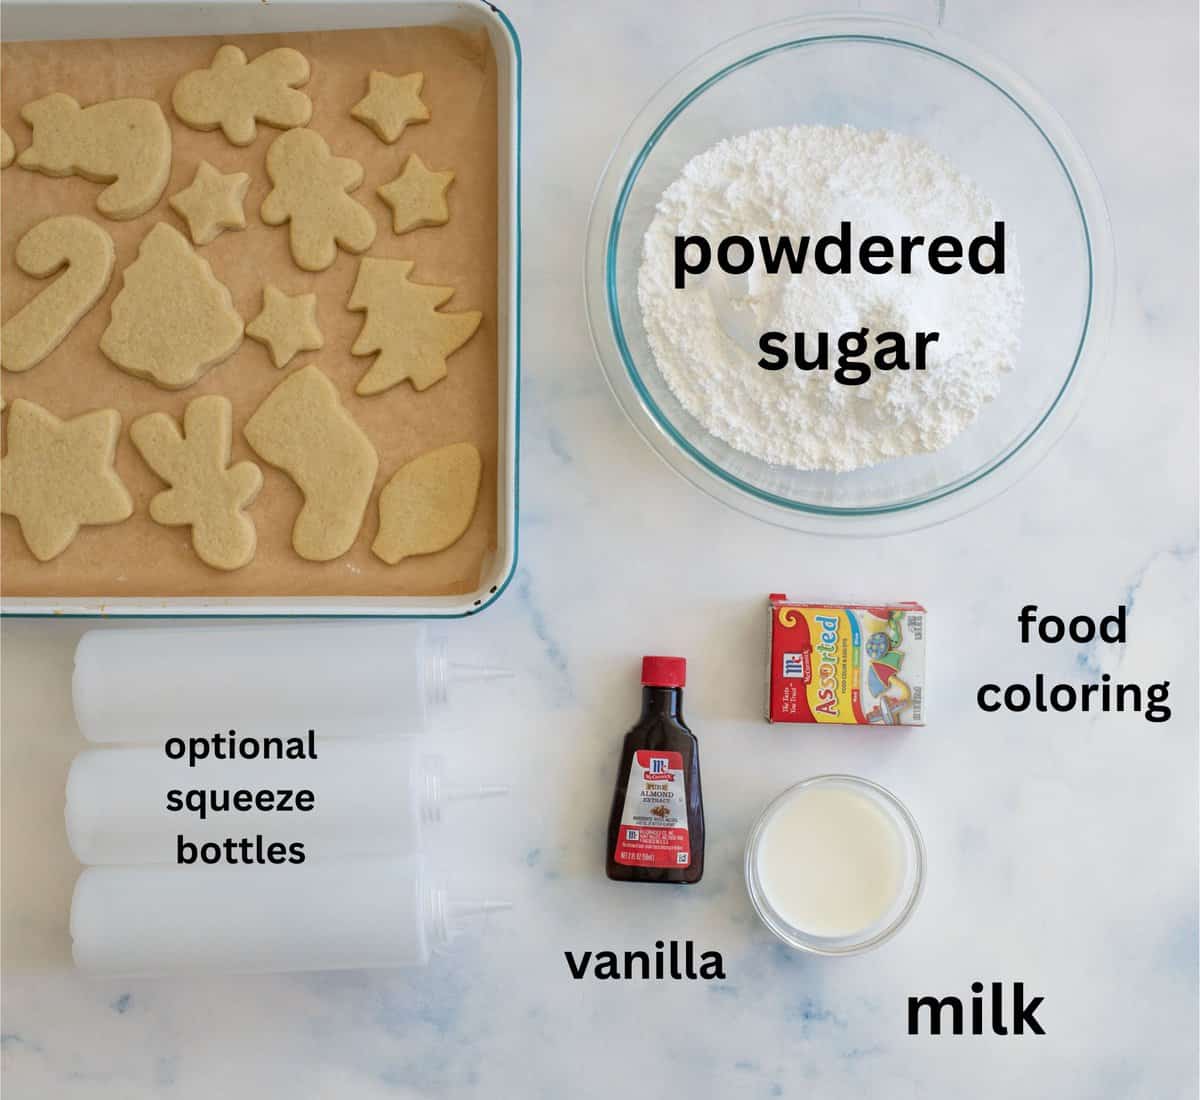
- Powdered sugar
- Milk
- Light corn syrup
- Extract — vanilla, almond, peppermint, or coconut
- Food coloring — optional
See the recipe card below for full information on ingredients and quantities.
How to Make Sugar Cookie Icing
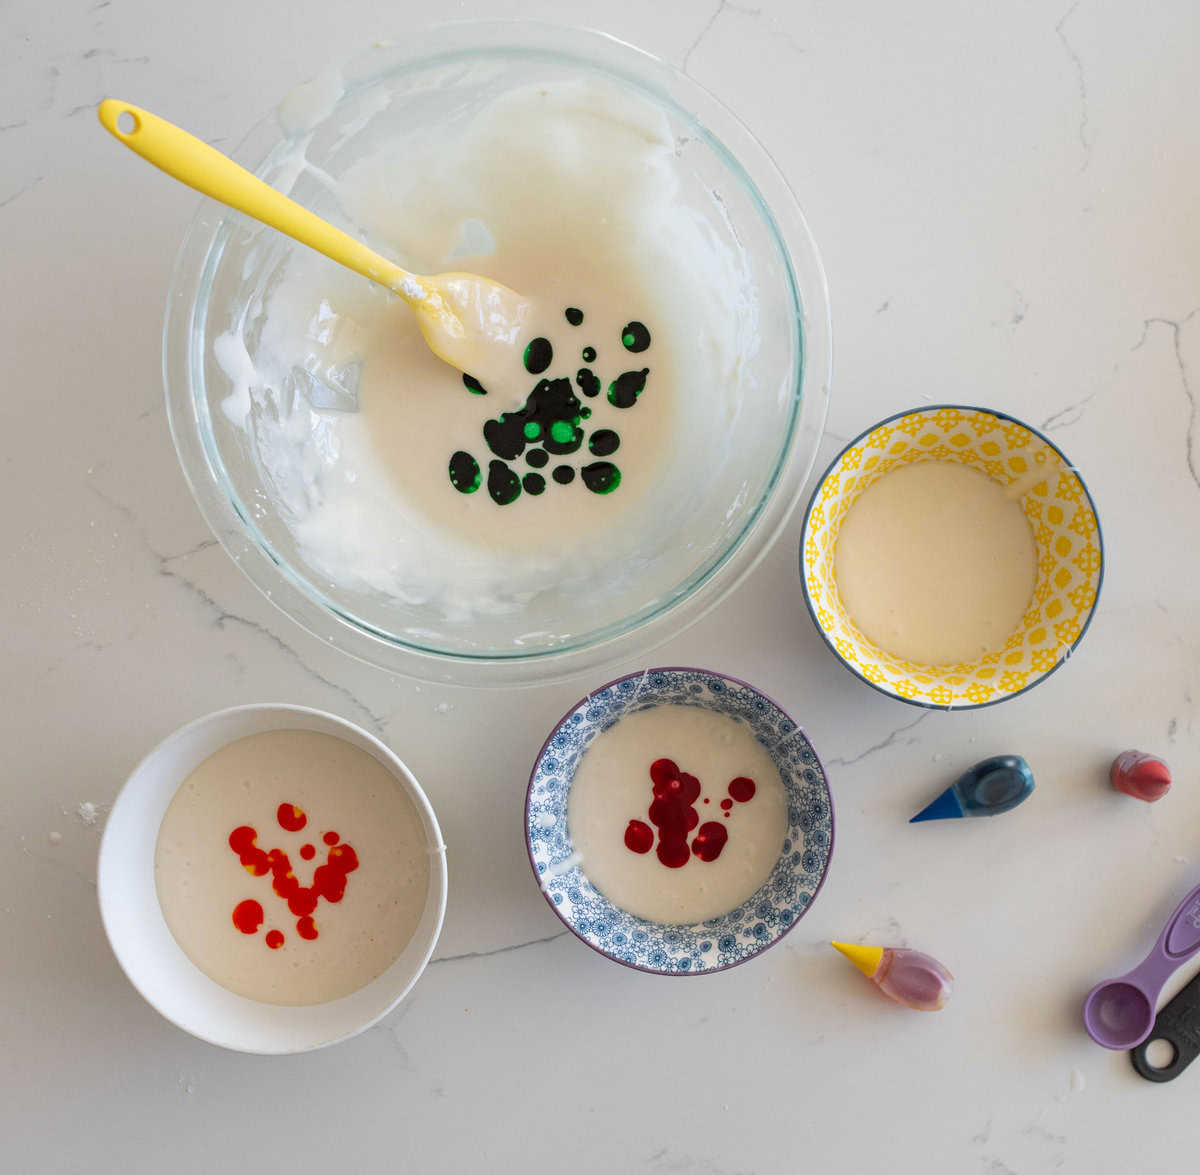

Step 1: In a bowl, whisk together the icing ingredients including your chosen extract. Gradually add more milk, a little at a time, until the icing reaches the right consistency.
Step 2: Once the consistency is the right thickness for your use, separate into multiple bowls and add your choice of food colorings.
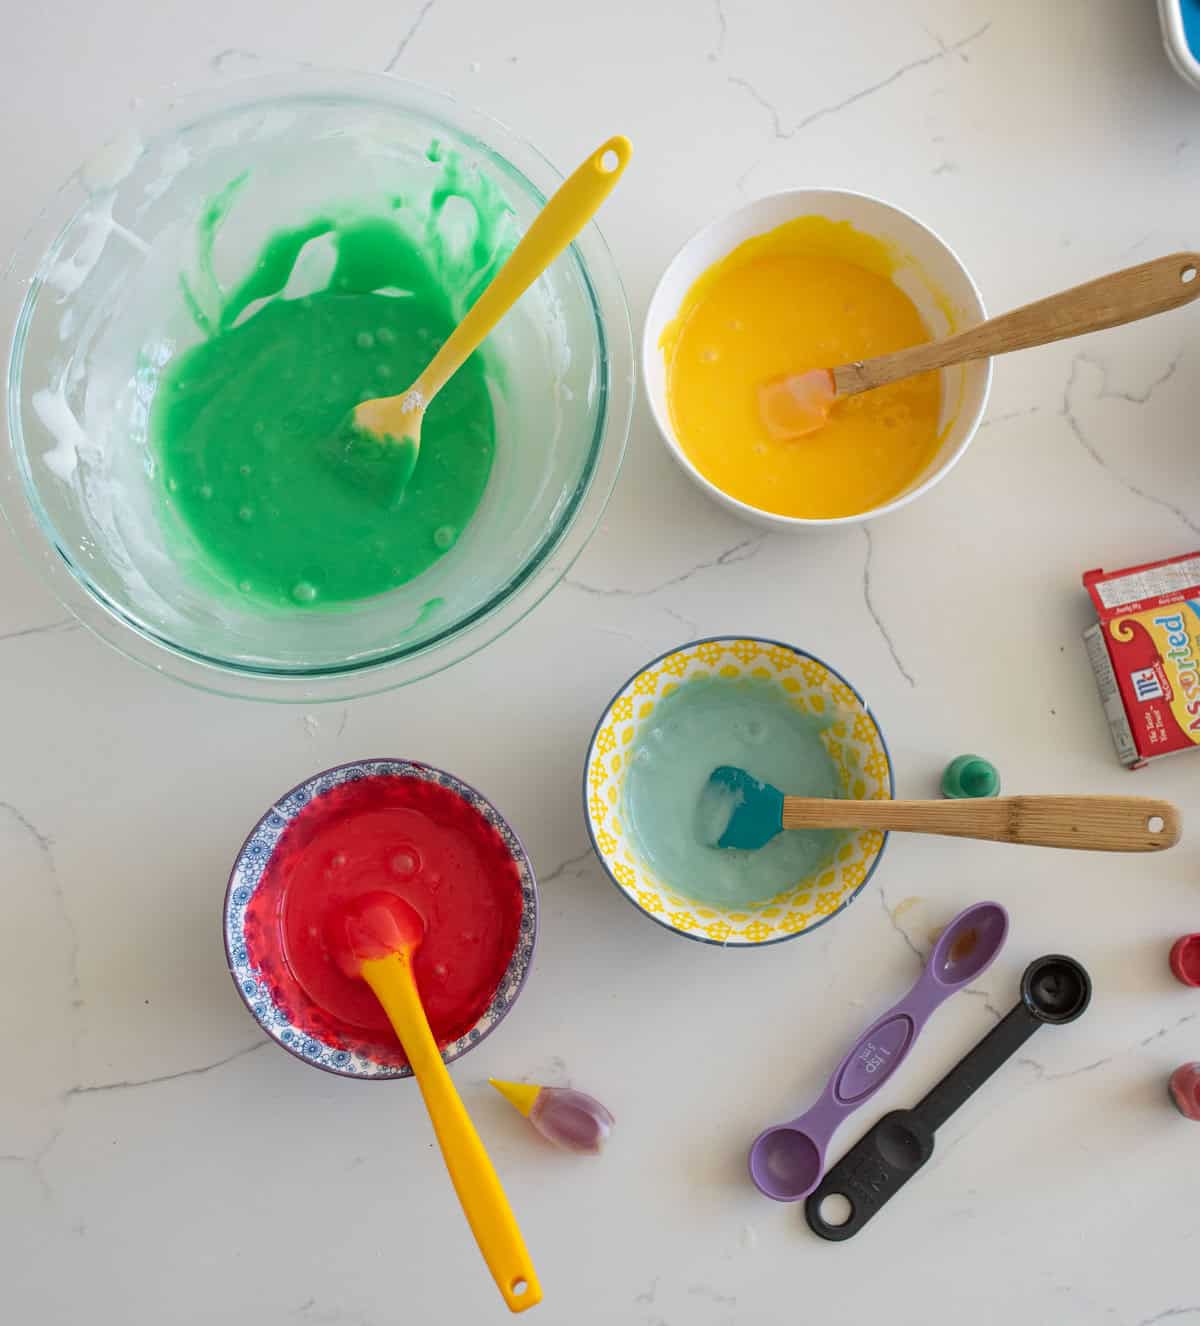

Step 3: Mix in the food coloring, adding more to adjust colors. Place icing into bags or squeeze bottles for decorating.
Step 4: Use the icing to decorate completely cooled cookies by piping, spreading, or dipping. Add sprinkles right away if desired, before the icing sets.
Recipe FAQs
Don’t worry — this is totally fixable! If your icing is too thick, add milk a few drops at a time until you reach that perfect ribbon-like consistency. Too thin? Just whisk in a little more powdered sugar. Remember, for piping you want the consistency of toothpaste, and for flooding, more like warm honey. It might take a little practice, but you’ll get a feel for it I promise!
Absolutely! This icing keeps beautifully in an airtight container at room temperature for up to a week. If it thickens up, just give it a good stir and add a few drops of milk to bring it back to the perfect consistency. I love making it ahead during busy holiday baking sessions!
The corn syrup is our secret weapon for that gorgeous, professional-looking finish! It gives the icing a beautiful shine and helps it set firm enough to stack your cookies without being too hard or brittle. If you prefer not to use corn syrup, honey works as a substitute, though your icing will have a softer set.

Expert Tips
- My Special Ingredient: The corn syrup creates that beautiful bakery-style finish and helps the icing set perfectly for stacking. If you prefer to use honey, know that your finished cookies will have a softer set and may need to be stored in a single layer.
- Thick or Thin: Getting the right consistency is crucial for different decorating techniques! For outlining, think toothpaste consistency. For flooding, make it the consistency of warm honey. For detailed work, the icing should hold a line for 15 seconds before melting back.
- Cool Cookies: Make sure your cookies are fully cooled before applying the icing to avoid melting or running!

Storage and Make-Ahead Tips
Your icing can be stored in an airtight container for up to 1 week at room temperature. If it thickens, simply whisk in a few drops of milk to restore the perfect consistency.
For storing decorated cookies, let them set completely (usually 6-8 hours) before stacking with parchment paper between layers.
Once the icing has completely set (wait at least 24 hours to be safe), you can freeze your decorated cookies for up to 3 months. Just layer them between pieces of parchment paper in an airtight container. Let them thaw overnight in the container at room temperature — they’ll look just as beautiful as the day you decorated them!
Pro Decorating Tips
I have decorated SO MANY sugar cookies over the years that I feel like I could do it in my sleep! But I’ve learned a few great tips that have served me well over the years.
Setting Time: The setting time depends on your environment and how thick you’ve applied the icing. Generally, the surface will be touch-dry within 1-2 hours, but I recommend waiting 6-8 hours (or overnight) before stacking or packaging your cookies.
Color Mixing Guide: Start with just a tiny drop of food coloring — you can always add more! For pastel shades, dip a toothpick in the food coloring and swirl it into your icing. For deeper colors, add drops gradually until you achieve your desired shade.
Common Troubleshooting:
- Too thick? Add milk a few drops at a time
- Too thin? Whisk in more powdered sugar
- Bubbles in icing? Let it rest for 30 minutes and gently stir
Pro Tip: A fan on low speed can help speed up the drying process!
My Favorite Sugar Cookies for Decorating
This icing recipe is used over and over to decorate any number of sugar cookies for many events and holidays, and we have so much fun doing it! Here are some of my favorite sugar cookie recipes to use with this icing.
- These soft Christmas Sugar Cookies are easy to make, hold their shape, and are perfect for holiday decorating!
- Greek Yogurt Sugar Cookies are the softest, fluffiest sugar cookies of all time, and they keep their shape super well.
- These are my favorite sugar cookies because they are moist and soft but keep their shape well.

More Cut Out Cookie Recipes to Consider
Simple Gingerbread Recipes
The Perfect Icing for Gingerbread Cookies
From Scratch Recipes
Free Printable Gingerbread Man Cookie Templates for Holiday Baking
Cookies
Pinwheel Cookies
Christmas Cookies
Gingerbread Wreath

Sugar Cookie Icing Recipe
Ingredients
- 2 cups powdered sugar
- 2-4 tablespoons milk
- 1 tablespoon light corn syrup
- 1 teaspoon of your favorite extract: vanilla, almond, peppermint, or coconut
- Food coloring, optional
Instructions
- In a bowl, whisk together the powdered sugar, 2 tablespoons of milk, corn syrup (or honey), and your chosen extract.
- Gradually add more milk, a little at a time, until the icing reaches the right consistency. For piping or spreading, aim for a thicker texture. If you’re planning to dip cookies, you’ll want it slightly thinner.
- Use the icing to decorate completely cooled cookies by piping, spreading, or dipping. Add sprinkles right away if desired, before the icing sets.
Notes
- Corn syrup gives the icing a soft but stackable finish, perfect for gifting or storing. Honey, on the other hand, creates a softer finish, ideal for cookies served fresh and unstacked.
- Make sure your cookies are fully cooled before applying the icing to avoid melting or running.
- If you prefer to use honey, know that your finished cookies will have a softer set and may need to be stored in a single layer.
- When adding coloring, start with just a tiny drop — you can always add more!


