Simple Embroidered Ornaments
on Dec 03, 2015, Updated Jul 22, 2024
This post may contain affiliate links. Please read our disclosure policy.
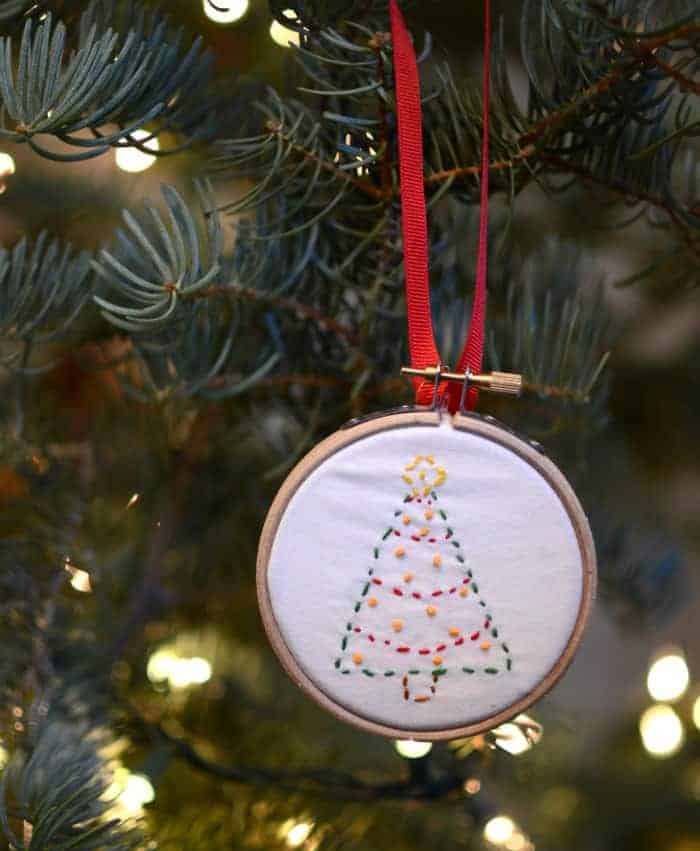
Simple Embroidered Ornaments have all the beauty and nostalgia of hand stitching while making a heartfelt gift. The best part is how easy it is to personalize your ornaments. The sky’s the limit!
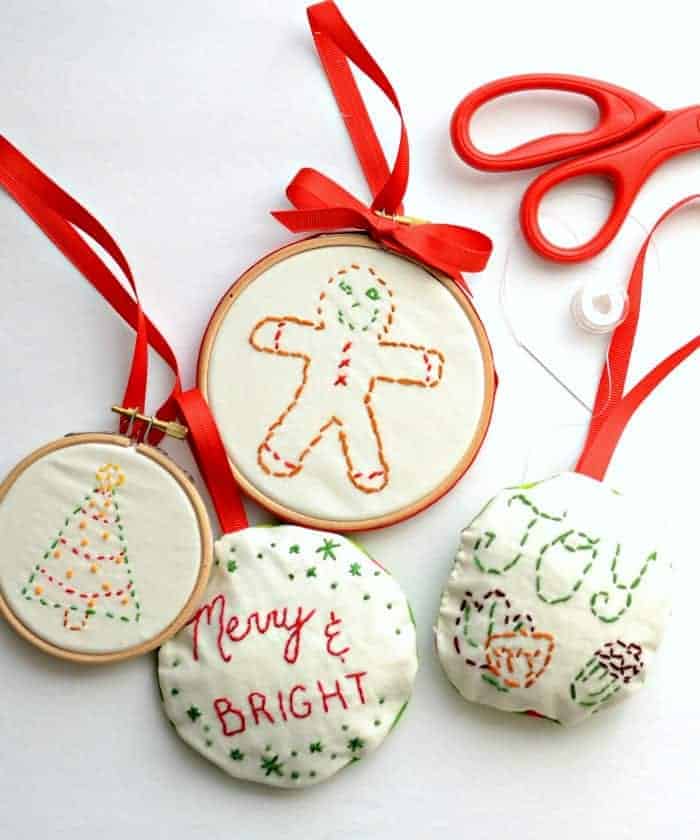
The embroidery on these simple Christmas ornaments is so easy that both kids and adults can do it! All you need is some fabric, embroidery thread, and a hoop, and you’re in business.
These ornaments make wonderful Christmas gifts. Pair one with a container of Homemade Hot Cocoa and some Cinnamon Candied Almonds or any of these Best Ever Christmas Cookies.
Table of Contents

Why You’ll Love This Project
- Great for beginners at embroidery.
- Makes wonderful gifts for friends and family.
- Fun project for kids who can safely handle a needle.
Supplies
- Fabric: White or another light color to embroider on and more if you’re going to stuff the ornaments.
- Embroidery floss: Get the kind you use for making friendship bracelets in many colors so you have lots of options.
- Needles: Look for needles that say “embroidery” on them because the eye is longer and easier to thread. The most common sizes are 7 and 9 – both work.
- Hoops: Get ones that are 3, 4, 5, or 6 inches because they are perfect for ornaments. If you are planning on keeping the ornament in the hoop, the 3 or 4 inch is a nice size.
- Washable fabric markers: For drawing a design onto the fabric.
- Stuffing: You only need stuffing if you’re going to make the stuffed version.
- Ribbon
- Hot glue gun and hot glue

Embroidery Basics
If you are new to embroidery, a little information and inspiration can go a long way. And, if you’re a visual learner like me, picking up a couple books on embroidery can make a big difference.
A-Z of Embroidery Stitches is a great visual guide to learning lots of basic stitches (and fancy ones, too).
Doodle Stitching has lots of little patterns that are perfect for these ornaments. It also comes with a CD of the digital images too so that you can print the patterns and trace them onto your fabric. It’s full of good inspiration and the designs are cute but simple.
If you don’t want to buy a whole book, start with these three stitches: basic back-stitch, chain stitch, and French knots. It’s easy to find tutorials for them on YouTube.
How to Make Simple Embroidered Ornaments
- Step #1. Use the washable fabric pens to trace or draw your embroidery design onto the fabric.
- Step #2. Place two pieces of white fabric inside your embroidery hoop and embroider your heart out using two 2-foot strands of embroidery floss doubled over so you’re working with four strands.
- Step #3. Remove the embroidery from the hoop and gently wash it in your sink with warm water and a dot of dish soap to remove the marker.
Step #4. Let the embroidery air dry flat. - Step #5. Press the embroidery with a hot iron to remove any wrinkles.
- Step #6. Finish the ornament by leaving it in a hoop and adding a ribbon and a loop with hot glue or create a stuffed ornament by cutting out another piece of fabric and sewing them together.
How to Finish Simple Embroidered Ornaments
Leave them in the Hoop
- Center the embroidered image in the hoop or move it into a smaller hoop if you want making sure that it fills the hoop nicely.
- Trim the edges of the fabric that stick out of the hoop so that just the fabric that is tight in the center remains.
- Hot glue a ribbon (and bow if you’d like) to the top as a hanger.
- You can also hot glue ribbon around the outside of the hoop.
Stuff the Embroidered Ornament
- Trace around the embroidery to the size of ornament you’d like (I generally trace around the outside of the hoop).
- Keep in mind that you’ll need about ¼-inch of seam allowance. Cut the embroidery out along your line. Then, cut a second piece of material the same size for the backing.
- Place the right sides of the material together and sew around the edge with a sewing machine or by hand with a ¼-inch seam allowance until there is an opening at the top of the ornament about 2 inches long.
- Turn the fabric right side out through the opening and fill it with a bit of stuffing until it’s as puffy as you like or skip the stuffing for a flatter ornament.
- Stick a looped ribbon for hanging at the top of the ornament, and use pins to close the opening shut (make sure you pin the hanging ribbon in place), and then hand stitch the hole closed.
FAQs
Any brand will do. If you get skeins of embroidery floss, you’re going to need some cards and a box to store them in, especially if you have kids using them. Or, you can get sets of embroidery floss where it’s already wound and organized in a box.
Most people will pull out one piece of the thread, double it over and then tie a knot in the end (you’re embroidering with two strands of thread). I like to start with two pieces so that I’m actually working with four strands – the designs pop better.
The wooden hoops are better for embroidering because they hold the fabric tighter. If you’re going to give the ornament in an embroidery hoop, you could use a wooden hoop for embroidering and then use a plastic embroidery hoop in a festive color.
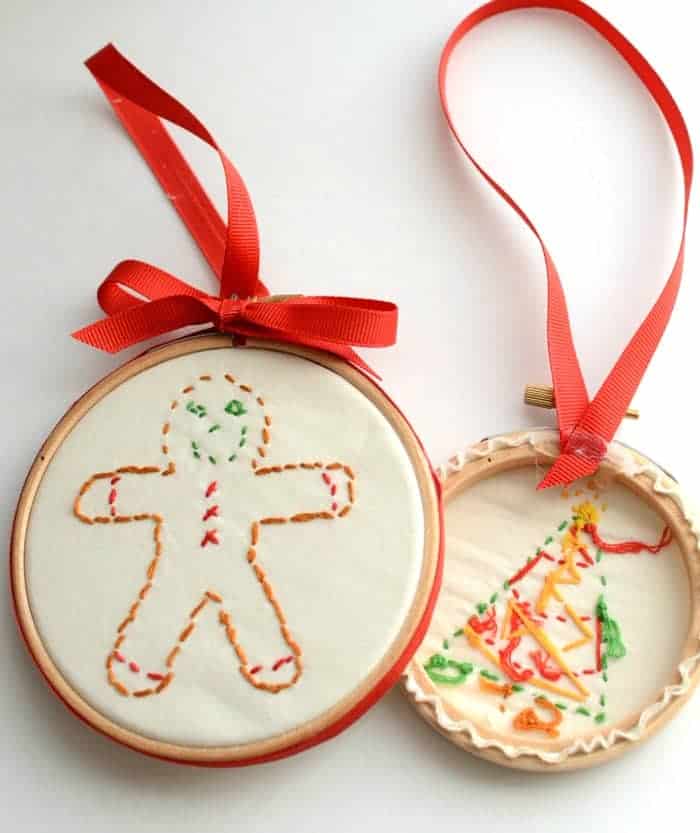
White and cream fabrics are often fairly thin and the thread on the back will show through on the front side of your ornament. To prevent this, use two layers of fabric. Either cut two pieces or fold one larger piece in half that fits in the hoop you’re using.
Expert Tips
- If you are going to freehand the design on your ornament, I recommend putting the fabric in the hoop first and then drawing the design so that the fabric is tight and you know just how much space I have to work with.
- Almost any needle will work for this embroidery project. However, stay away from darning needles and tapestry needles because they are too thick and will leave holes in the fabric.
- Hoops make embroidering easier and they also serve as a good way to finish an ornament.
- Younger kids may need help threading their needles and getting the embroidery started.
- For stuffed ornaments, it can be fun to use a fun Christmas print or festive color for the back piece of fabric.
- You can use wool felt instead of cotton fabric if you want – you will only need one layer of that because it’s so thick. Avoid polyester felt here if you can.
Tips for Drawing an Embroidery Design
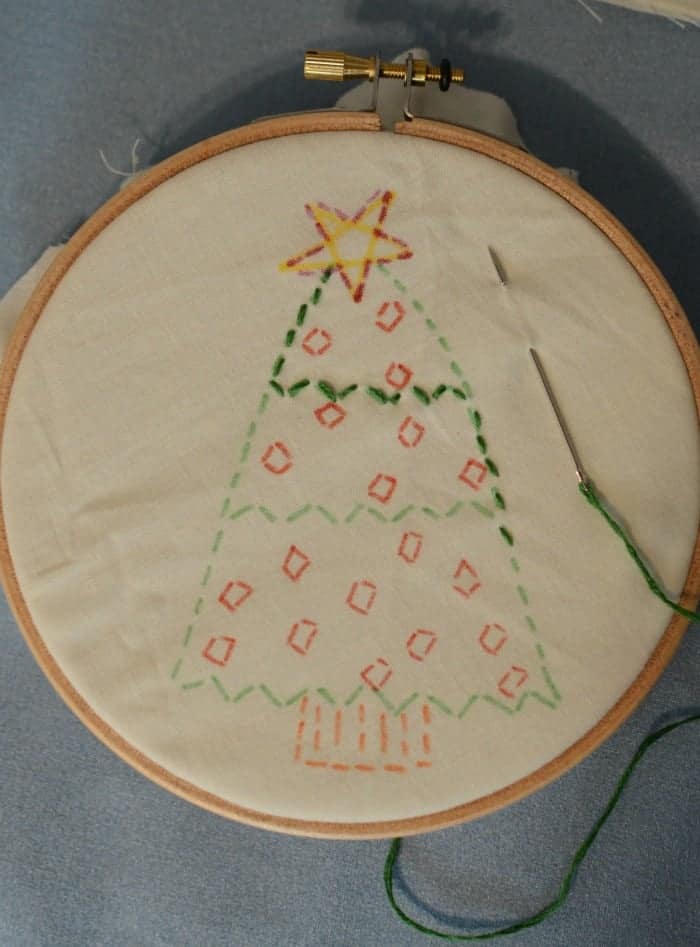
- You can free-hand your design (that’s what I did for my kids here) if you’d like.
- If you’re using a light fabric, you can print an image or select a coloring book page, and then tape your design to the window, tape your fabric to the window over the design, and trace the image with a washable fabric marker.
- If you are able to decide your colors as you go, you’ll only need a black washable fabric marker for your design.
- If you’re drawing the design for a kid, I recommend drawing the individual stitches (not just straight lines) with a washable fabric marker in the colors they will be using so they can see where their needle goes in and out.
- When your kid gets the hang of it, you can transition to just colored lines and they can decide the length and spacing of the stitches.
More Craft Projects to Consider
Did you make this recipe? Leave a ⭐️ review and share it on Instagram, Facebook, or Pinterest!




Great work. The designs are looking awesome!
Love it! I may try this with my kids this coming year 😀
I love this idea for my two boys, 6 and 7. Thanks for all the specific details on how to teach this easily! You are the best!