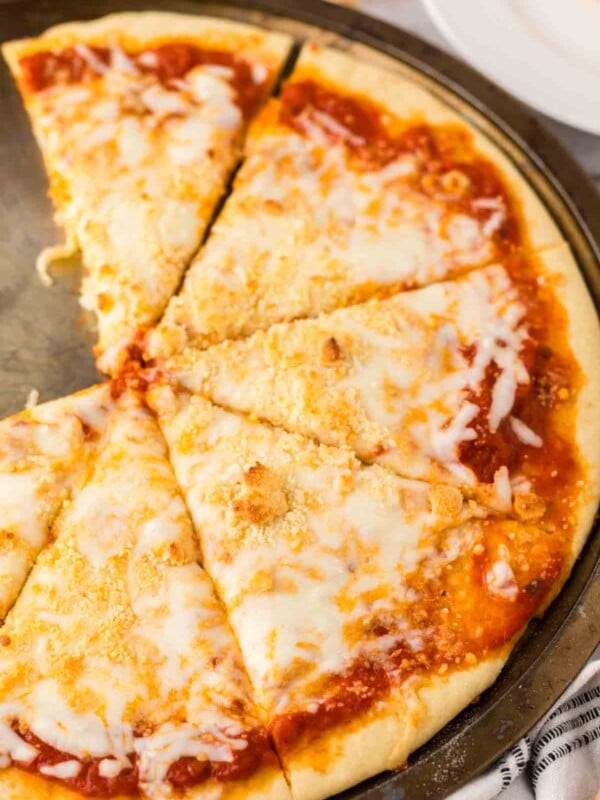
Same Day Sourdough Pizza Crust
on May 18, 2020, Updated Sep 30, 2024
This post may contain affiliate links. Please read our disclosure policy.


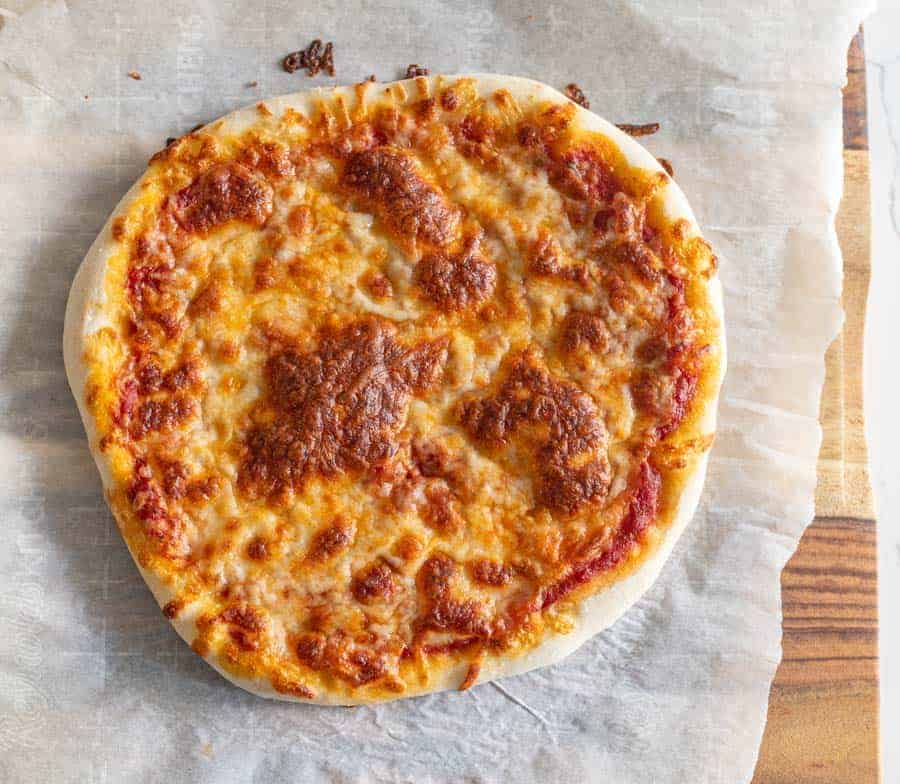
This easy Sourdough Pizza Crust recipe is a lifesaver for those times when you need a quick and simple homemade meal that’s also hearty, comforting, and delicious!
The sourdough flavor does SO well as a pizza crust because it balances nicely with the sharpness of cheese, saltiness of pepperoni, and acidity of tomato sauce. Try pairing with this Arugula Salad , or with these Easy Breadsticks!
Looking for something else to make using your bubbly sourdough starter? (If you haven’t jumped on the sourdough starter train yet, here’s my easy tutorial to get started! You can make so much with it, from bread to cinnamon rolls to pizza! It’s a low maintenance project that gives you lots of yummy things to munch on.) I love this pizza crust recipe because you can start it around lunch time and have fresh pizza dough by dinner, thanks to a few pantry staples and your trusty starter.
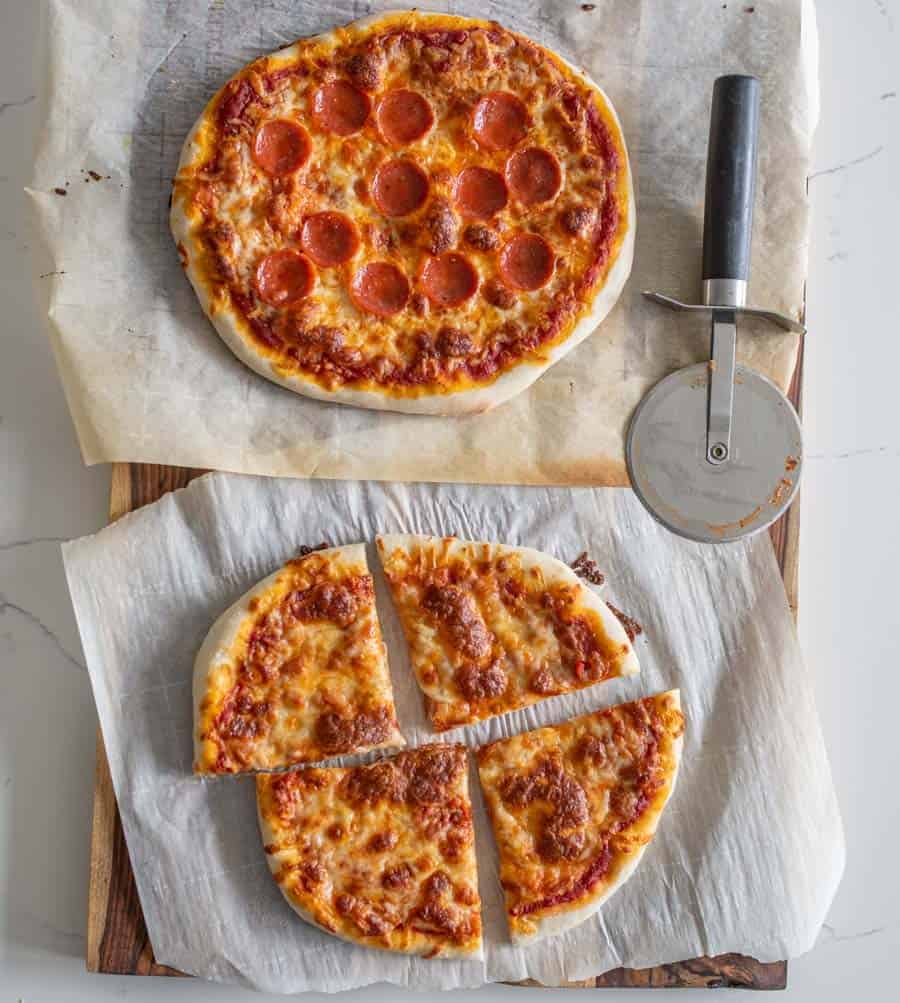
The great thing is that this makes 4 eight-inch individual sized pizzas, so it’s perfect for families with different taste preferences. (You can also double the recipe if needed.) In the recipe below, I give instructions for how to make 4 classic pepperoni pizzas, but you can really add what you like! Any of your favorite veggie, protein, or even fruit (like pineapple) toppings can be used with this crust. Just be sure you give yourself a few hours when making this recipe because the dough does have to rise twice (once for 30-90 minutes and another time for 3-6 hours). Bon appetit!
Table of Contents
🍞 18 Easy Sourdough Recipes!

Ingredients
- Sourdough starter: Find out how to make your own sourdough starter here! You’ll need about 3/4 cup of active bubbly starter.
- Warm water: Warm water activates the natural yeast in the starter, which will help the dough to rise effectively.
- Flour: Flour is what makes the dough thick and bread-like. You can use all-purpose or bread flour.
- Sea salt: Sea salt balances the starchiness.
- Pizza toppings: I like basic marinara sauce, mozzarella cheese, and pepperoni, but use what you like and have on hand!
See recipe card below for full information on ingredients and quantities
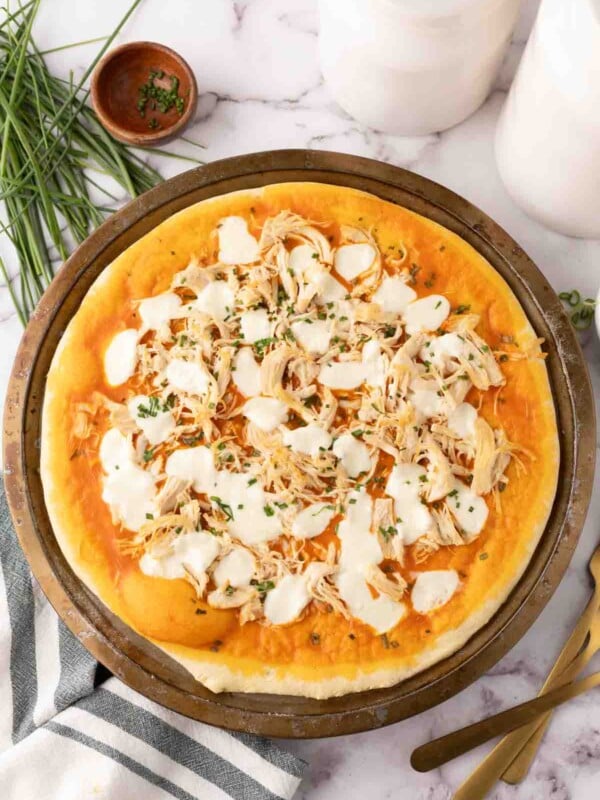
Sourdough Pizza Dough Topping Ideas:
- Crumbled sausage
- Ground beef
- Pancetta
- Roasted chicken
- Onion
- Olives
- Broccoli
- Bell pepper
- Mushrooms
- Fresh herbs
- Tomatoes
- Peaches
- Pineapple
- Ricotta
- Burrata
Tips for Making the Best Sourdough Pizza Dough:
Good pizza dough is all in the baker’s patience!
- Don’t skip the dough rise: If you’re short on time or want to make pizza in under an hour, this isn’t the best recipe. Letting the dough rise two times allows it to get light and airy, which lends to a chewy and balanced crust. Don’t skip the rise.
- Be gentle with the dough as you shape it into flat pizza circles: The dough may be a little elastic, so if it’s not keeping its shape, move on to the next piece. Letting it sit for a bit will allow it to get more flexible and malleable.
- High heat and a preheated pizza stone: Cooking pizza in high heat allows for a crispy exterior on the crust with a nice and tender texture inside. Plus, I love using a pizza stone for a crispy bottom!
Frequently Asked Questions:
Store cooked sourdough pizza that’s been cooled in a large, airtight zipper-topped bag in the fridge for up to 5 days. Reheat in the oven at 350 degrees F for 10 minutes.
Yes! You will want to wrap the premade dough in plastic wrap and the place in an airtight bag in the fridge for up to 5 days. You can also freeze for up to 4 months. Let it thaw in the fridge if frozen, and then follow the instructions for the second rise to form the pizza dough.

More Pizza Recipes to Consider:

Did you make this recipe? Leave a ⭐️ review and share it on Instagram, Facebook, or Pinterest!

Same Day Sourdough Pizza Crust
Ingredients
- 150 g (¾ cup) active bubbly sourdough starter
- 300 g (1 ¼ cup) warm water
- 500 g (4 cups) all-purpose flour or bread flour
- 10 g (1 ½ tsp) fine sea salt
- 1 can pizza sauce, (about 14 ounces)
- 2 cups shredded mozzarella cheese
- 2 ounces sliced pepperoni
Instructions
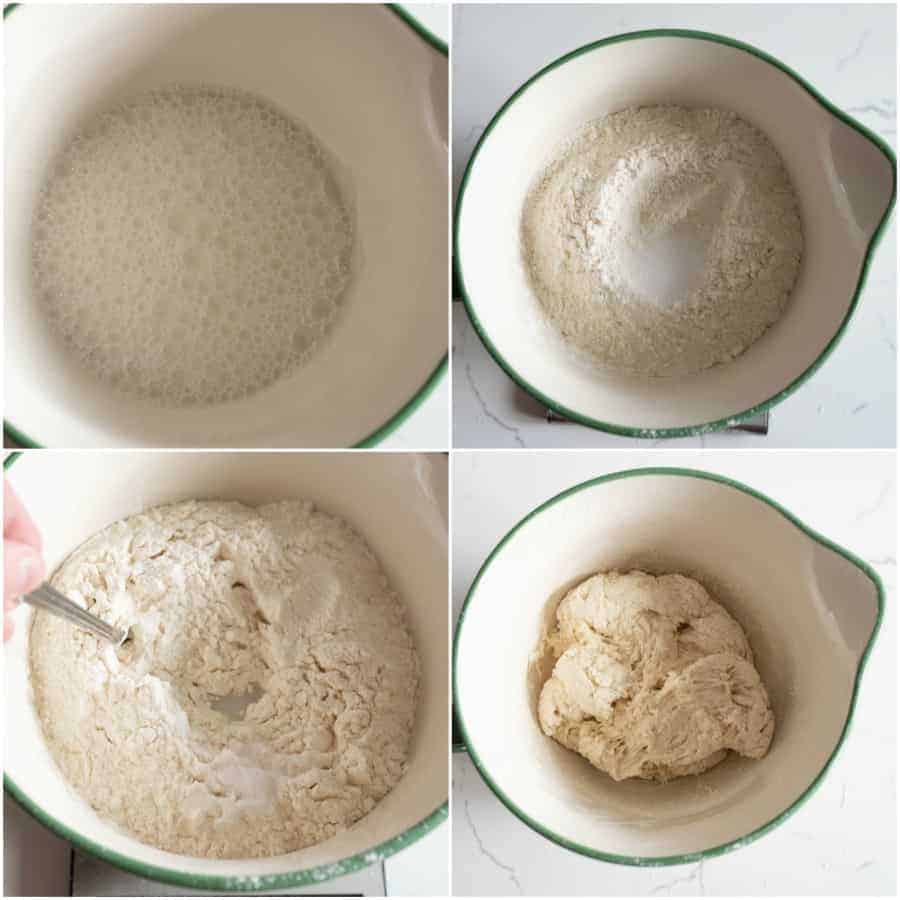
- Make the dough by adding the starter and the water to a large bowl. Use a fork to whisk them together well.
- Add the flour and salt, and use the fork to combine well. Stir until the mixture comes together into a basic rough dough and you’ve incorporated the flour well. You can finish mixing by hand to incorporate all of the flour as needed.
- Cover the bowl with a clean damp kitchen towel, and let the dough rest for 30 minutes to 1 1/2 hours, depending on your schedule.
- While the dough is resting, feed your starter and store it according to your preference.
- After the dough has rested, use your hands to gently pull the edge of the dough near the side of the bowl and push it down into the middle of the bowl. Do this, rotating round the bowl, until the dough starts to look like bread dough and comes together in more of a ball. This should take about a minute of going round the bowl 4 to 5 times, pulling and tucking into the center.
- Cover the bowl with the damp kitchen towel and allow the dough to rest for 3 to 6 hours at room temperature, about 70℉ (21℃). The timing here is very flexible and can work with your schedule.
- After the dough has rested, remove the dough from the bowl onto a lightly floured work surface, and divide the dough into 4 equal parts.
- Preheat your oven to 450℉ (230℃).
- You’ll need a baking stone or cookie sheet to bake your pizza on. If you don’t have a baking stone, you can turn your biggest cookie sheet upside down (so that the flat side is up) or use a rimless sheet. If you are using a stone, let the stone heat for 30 minutes in the oven. If using a baking sheet, let it heat for 10 minutes in the hot oven.
- Tear 4 pieces of parchment paper from the roll that are about 12 inches wide.
- While holding one piece of dough in two hands, gently press it between your thumb and fingers to start forming it into a flat disc by hand. When the dough is about a 5-inch wide circle, place it on one piece of parchment paper.
- Repeat with remaining pieces of dough.
- Return to the first piece of dough that has been resting while you worked with the other pieces, and use the tips of your fingers to gently push the dough into a wider even circle.
- If the dough is springing back into shape when you are trying to make it flatten out into the flat crust shape, work with it for a minute, and then move on to shaping the other pieces. Letting them rest a little in between shaping will make them easier to work with.
- When all 4 crusts are about ¼ inch thick and roughly an 8-inch circle. Top them evenly with pizza sauce, mozzarella cheese, and pepperoni.
- When the pizzas are all ready, working with one pizza at a time, slide the pizza still sitting on the parchment paper onto a rimless cookie sheet or one that is upside down. This will help you get the pizza to the oven.
- Open the oven and slide the pizza which is still on the parchment paper, from the cookie sheet onto the hot baking stone or hot cookie sheet. I just tug on the edge of the parchment paper with my hands and slide it onto the stone. BE CAREFUL! Your oven is set to 450 degrees. It’s super hot!
- Bake for 10 to 15 minutes until the top is bubbly and the edges are starting to brown. When the pizza is done, tug the edge of the parchment paper and slide the pizza back onto the cookie sheet you used to transfer it to the oven. Again, be careful!
- Repeat with remaining pizzas.
- Slice and serve the pizza hot.
Notes
- I’ve found it’s easier to make a couple of smaller pizzas than working with a larger amount of dough to make larger pizzas.
- Feel free to double this recipe if needed.
- If you aren’t up for moving the pizza in and out of the hot oven, you can simply spread out your dough on a parchment paper lined baking sheet and make your pizza on top of the baking sheet. Then place the prepared pan in the hot oven and allow to bake; the pizza will take 5 minutes longer to cook this way.
- If your pizza stone is large enough, you can bake 2 pizzas at a time.
- Feel free to change up the toppings to your liking; you have a ton of flexibility here.


This is my go-to same day recipe! I’ve prepped anywhere from 2-3 hours to 7-8 hours. Thanks for the great recipe!
Yesss! You caught on to why I love it! Sometimes I make it at breakfast and sometimes just early afternoon, it works for me!
Hey there!! Have you frozen this dough to use later?
Yes! It works great Emily!
I LOVE this recipe! First time making it tonight, and hubby gives it the highest rating. Nice to be able to have sourdough pizza dough in under 4 hours. Thanks!
So fast and so good right Pauline?! Thanks for leaving a review!
Loved this recipe! Perfect combination of soft and chewy inside, and crispy outside. Do you think you could make it overnight with sourdough discard as well?
Yessss Molly, it’s a ridiculously forgiving recipe and I adapt it like that all of the time. It never turns out bad.
I just made the dough, worried i used too much flour. Is it usually dryer than your typical sourdough?
Yes, it’ll loosen up overnight! It should still all stir together but it’s not sticky at all.
Amazing! Thank you very much!
I made these with the intention of using them the same day. Things happened and I had to stick the dough in the fridge. I coated them with oil. Didn’t use them until 2 days later… turned out great! Pulled them out about 30 mins before using the dough and stretched them out and baked as recipe states.
Yesss perk of this recipe is that it is really flexible! Thanks for sharing what worked for you Tisha!