Homemade Glazed Donut Recipe
on Oct 02, 2017, Updated Nov 07, 2024
This post may contain affiliate links. Please read our disclosure policy.
This Homemade Glazed Donut Recipe delivers a light, fluffy classic donut—truly the best donuts ever! This is the perfect donut recipe if you’re new to donut making or just want to make a special treat for friends or family.
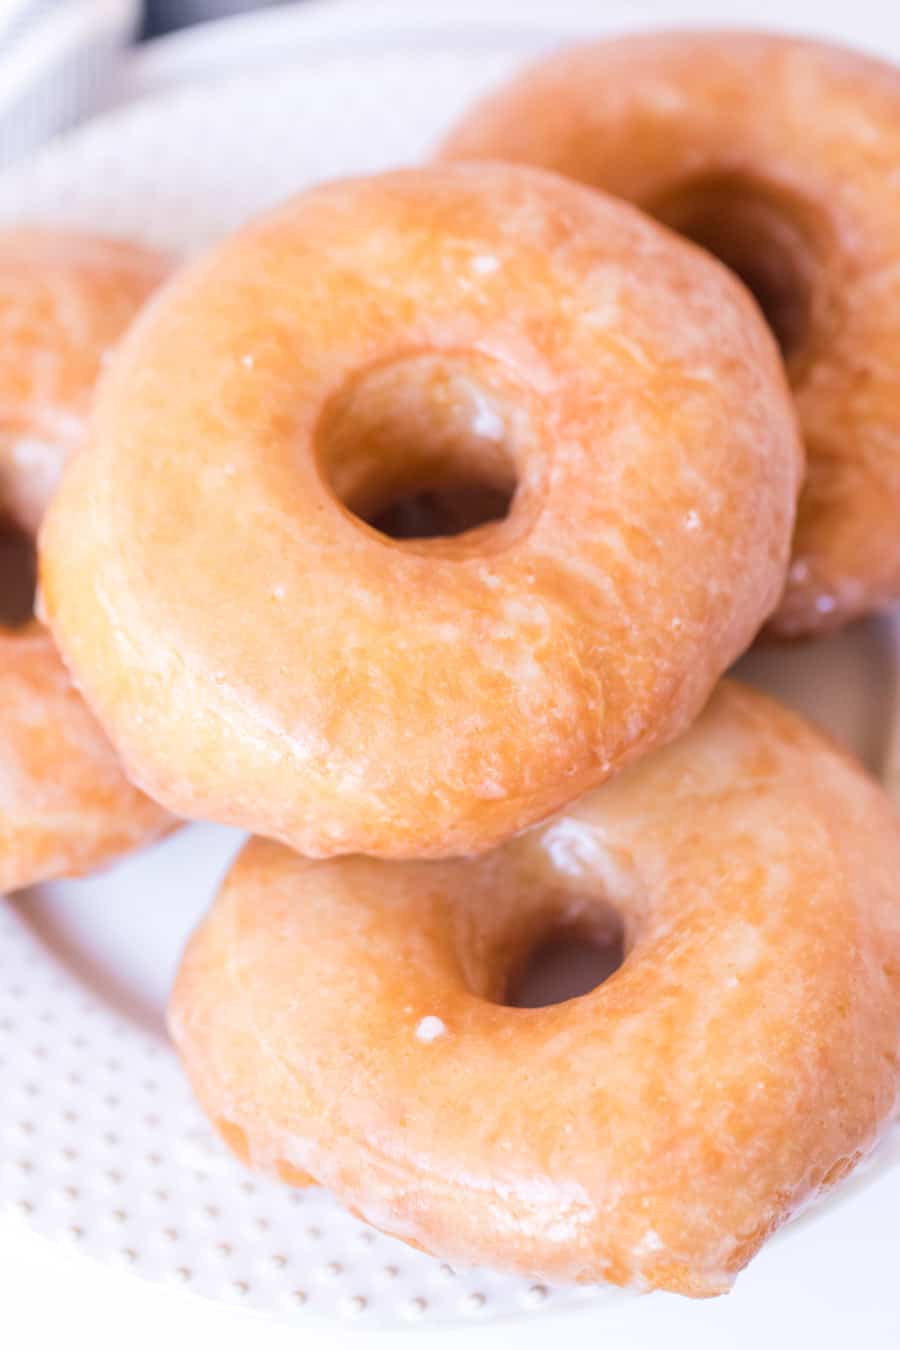
There’s just something about the fluffy and light, yet sweet richness to them that is positively addicting, in the very best way. And these donuts are actually better than any store- or bakery-bought glazed options I’ve ever tried. They are worth the effort.
Serve these donuts with a farmhouse egg bake or a breakfast casserole, some seasonal fruit, and you have the perfect brunch.
Table of Contents
- Why You’ll Love This Recipe
- Recipe Ingredients
- Popular Substitutions and Variations
- {Video} How to Make Glazed Donuts
- How to Make This Glazed Donut Recipe
- Glazed Donut Recipe FAQs
- Expert Tips
- Why do I need to chill the dough?
- Other Donut Recipes You’ll Love
- More Breakfast Recipes to Consider
- Homemade Glazed Donut Recipe Recipe
Why You’ll Love This Recipe
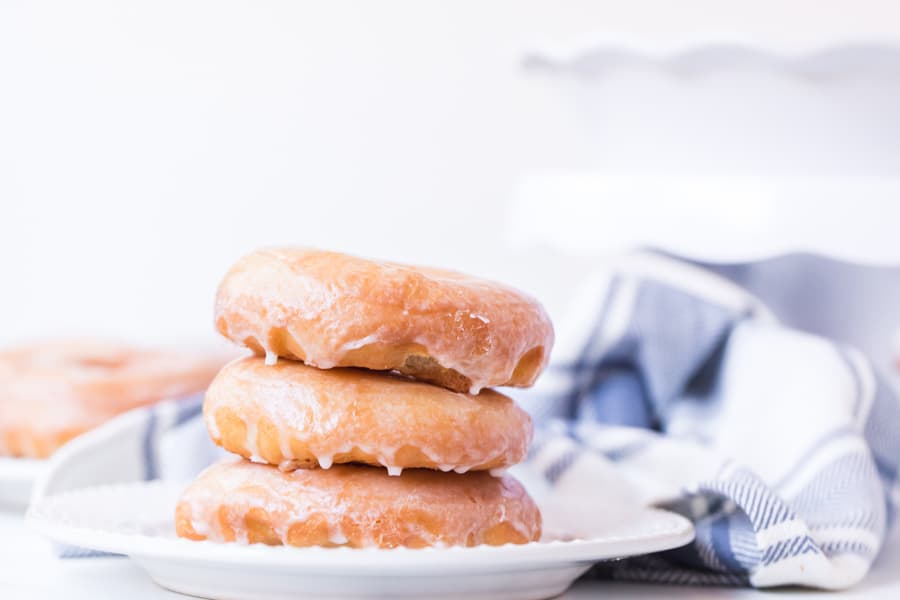
- Crazy Yummy: Homemade donuts are the freshest and most delicious donuts you can find.
- Flavor Variety: You can get creative with the flavor of your glaze. Try the classic, or shake it up and go for chocolate or maple!
- Thrifty Pastries: This recipe is much more affordable than buying donuts at a store or bakery.
🍩 My kids absolutely love it when I make Aunt Beth’s light & fluffy glazed yeast donuts, so be sure to try them next!
Recipe Ingredients
For the donut dough, you’ll need:
- Whole milk
- Sugar
- Instant or active dry yeast
- Eggs
- Unsalted butter
- All-purpose flour
- Salt
- Shortening or oil for frying
For the donut glaze you’ll need:
- Butter
- Vanilla extract
- Powdered sugar
- Cream or milk
- Salt
See the recipe card below for full information on ingredients and quantities.
Popular Substitutions and Variations
- Chocolate Donut Glaze: Add 2-3 tablespoons of cocoa powder when adding the powdered sugar. You’ll need to increase the milk to form a smooth glaze.
- Maple Donut Glaze: Replace the vanilla extract in the original recipe with 1/2 to 1 teaspoon maple flavoring, adjusted to your liking.
- Colored Donut Glaze: Simply add a few drops of food coloring to the glaze.
{Video} How to Make Glazed Donuts
How to Make This Glazed Donut Recipe
Step 1: Make the Donut Dough
Warm the milk until about 105 degrees F. Yeast is alive, and if you put it in milk that is too hot, you’ll kill it, which means there will be no fluffy donuts.
Once your milk is warm, add it to your mixing bowl or the bowl of a stand mixer. Add the sugar and stir to dissolve, then add the yeast and let everything rest for 5 minutes.
Add the beaten eggs and melted butter to your yeast mixture and stir to combine. Then, with the mixer running slowly, add the flour and salt. Mix until the dough comes together. You can also do this by hand if you don’t have a mixer.
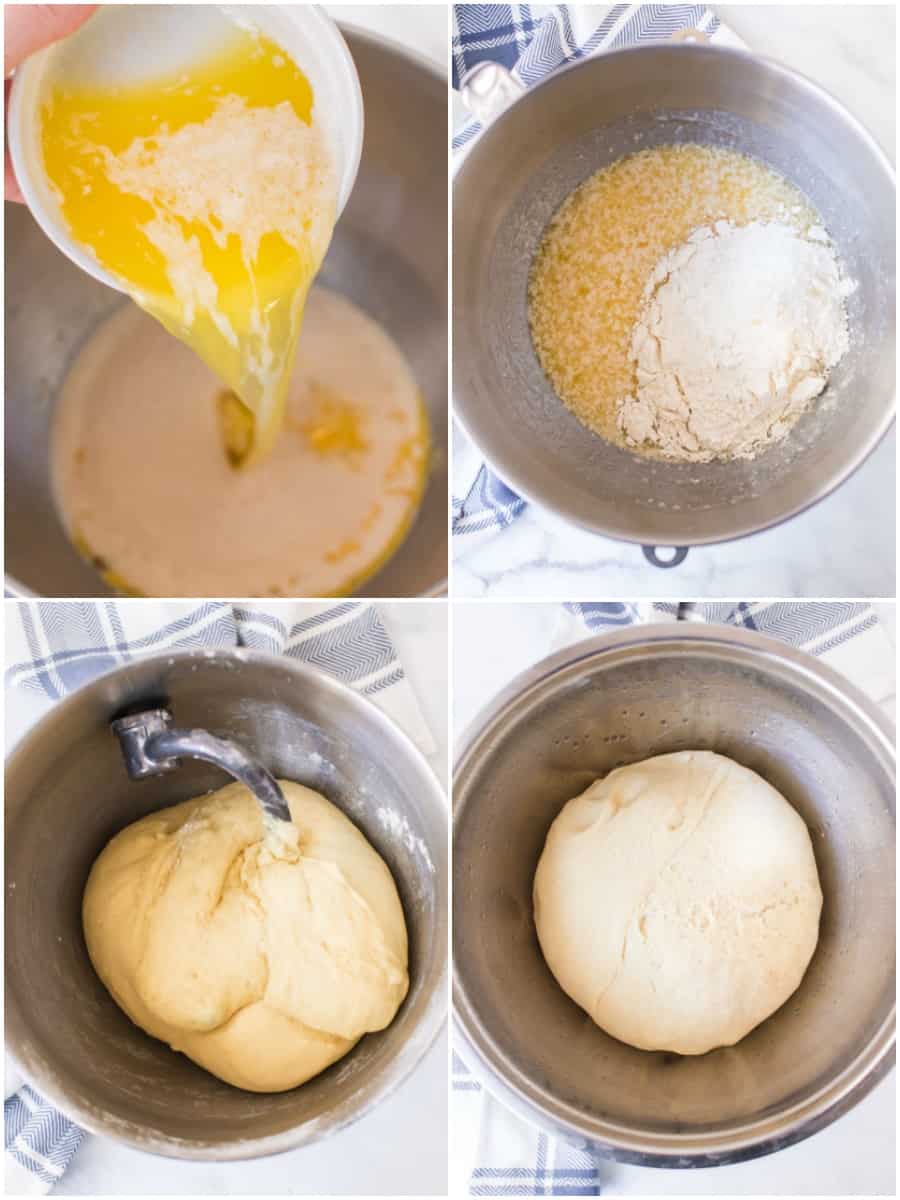
If using a stand mixer, switch to the dough hook attachment and knead the dough for 5 minutes. If you are making the dough by hand, turn it onto a floured surface and knead for 5 minutes. The dough should be thick and soft but slightly sticky.
Let the dough rest for 10 minutes, then transfer it to a lightly oiled bowl and cover it with plastic wrap. Refrigerate the dough for 2-8 hours or overnight.
Step 2: Shape the Donuts
Remove your dough from the fridge and roll it out using a rolling pin on a lightly floured surface until it is 1/2 to 1/3-inch thick. Then, use a three-inch donut cutter to cut out the rounds.
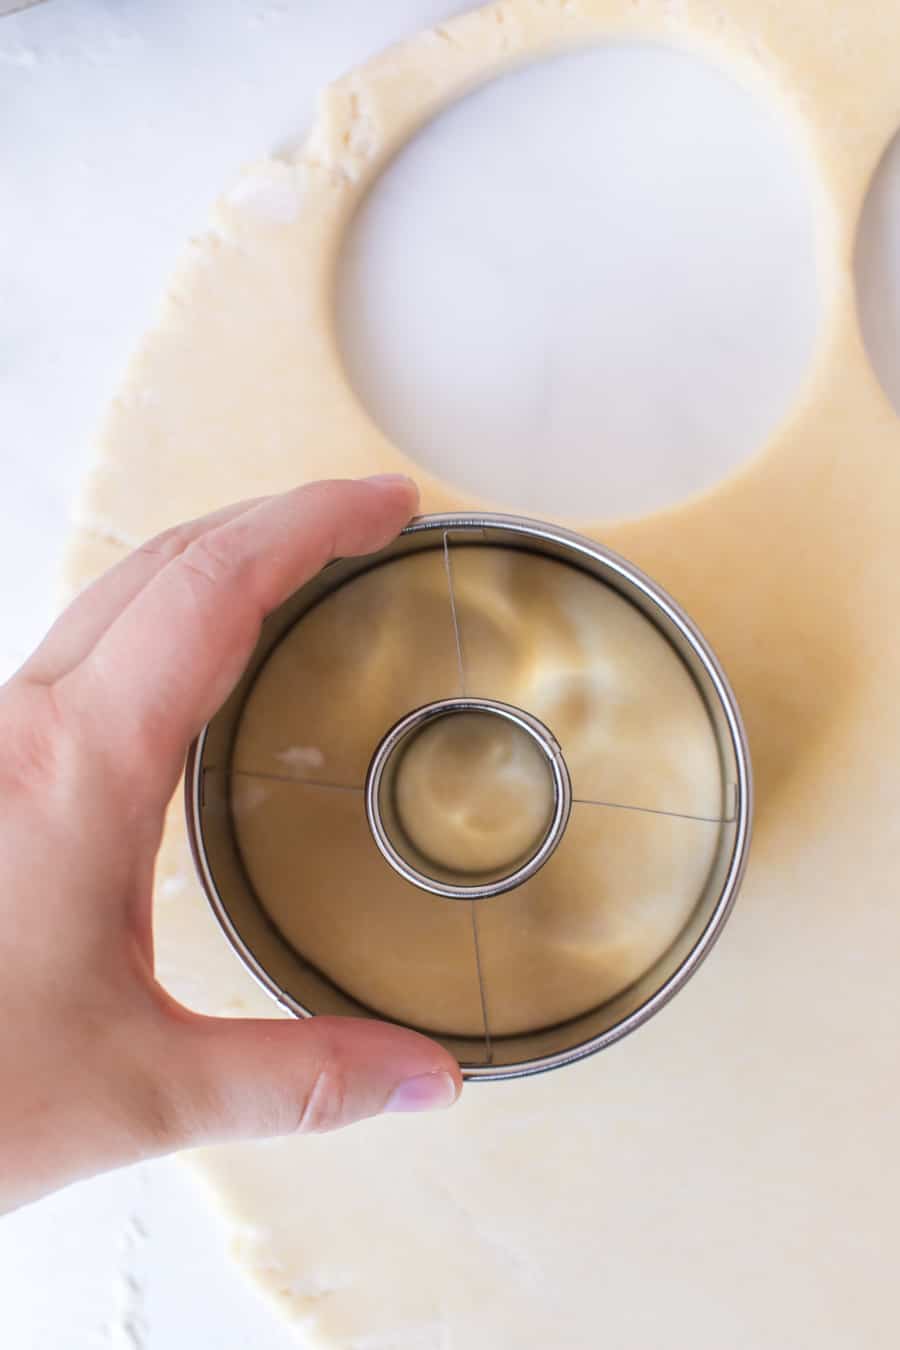
Place the cut donuts and holes on a lightly greased baking sheet. Cover them with a kitchen towel and let rise until they are doubled in size. This will take about one hour. When the donuts are ready for frying, they will look very puffy and airy.
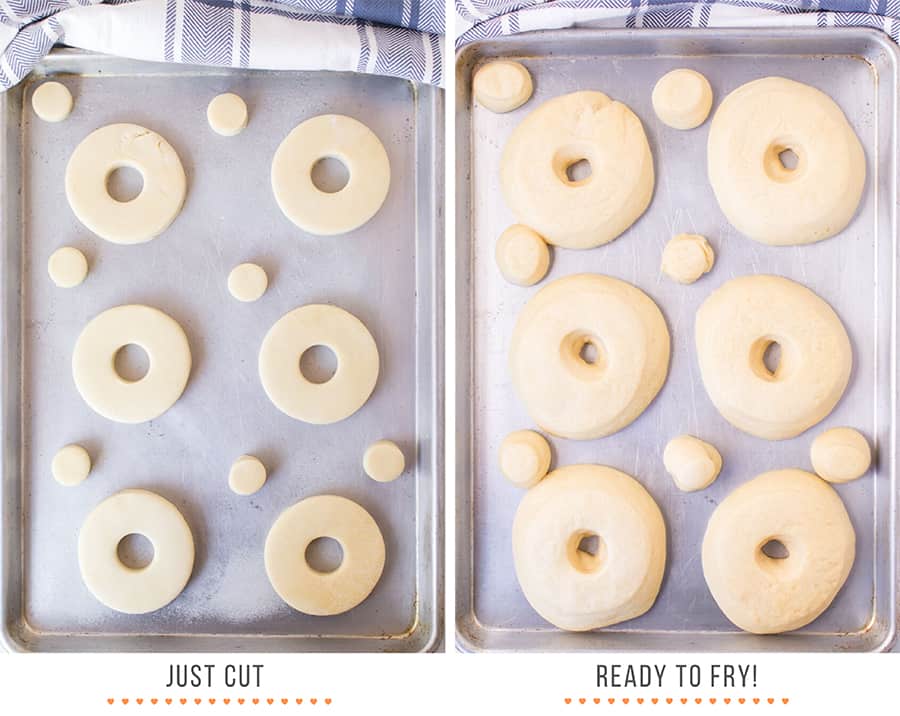
Step 3: Fry Your Donuts
To fry the donuts, heat a few inches of oil or shortening in a large cast iron skillet, Dutch oven, or fryer over medium heat. Use a candy thermometer to monitor the temperature of the oil. When it reaches 365F to 375F, you’re ready to fry.
Line a baking sheet with a paper towel and set aside. Prepare your glaze in a medium bowl by combining all the glaze ingredients and mixing well. The glaze should have the consistency of school glue. Set aside.
Carefully add the donuts a few at a time to the oil. Do not drop them in the oil or it will splash and you can get burned. Depending on your pan size, you can probably fry 3-4 donuts at a time.
Pro Tip: Don’t overcrowd the donuts, or they will be hard to flip, and the temperature of your oil will decrease too much from the cooler dough being added.
Fry the donuts until golden brown, about 1-1/2 minutes per side. Use a metal slotted spoon or metal tongs to gently flip the donuts when ready. Once golden on each side, remove the donuts one at a time to your prepared baking sheet. The paper towel will help soak up the excess oil.
Step 4: Glaze the Donuts
Let the donuts drain and cool slightly. Move them to a plate. Put a cooling rack on top of your baking or cookie sheet lined with a paper towel.
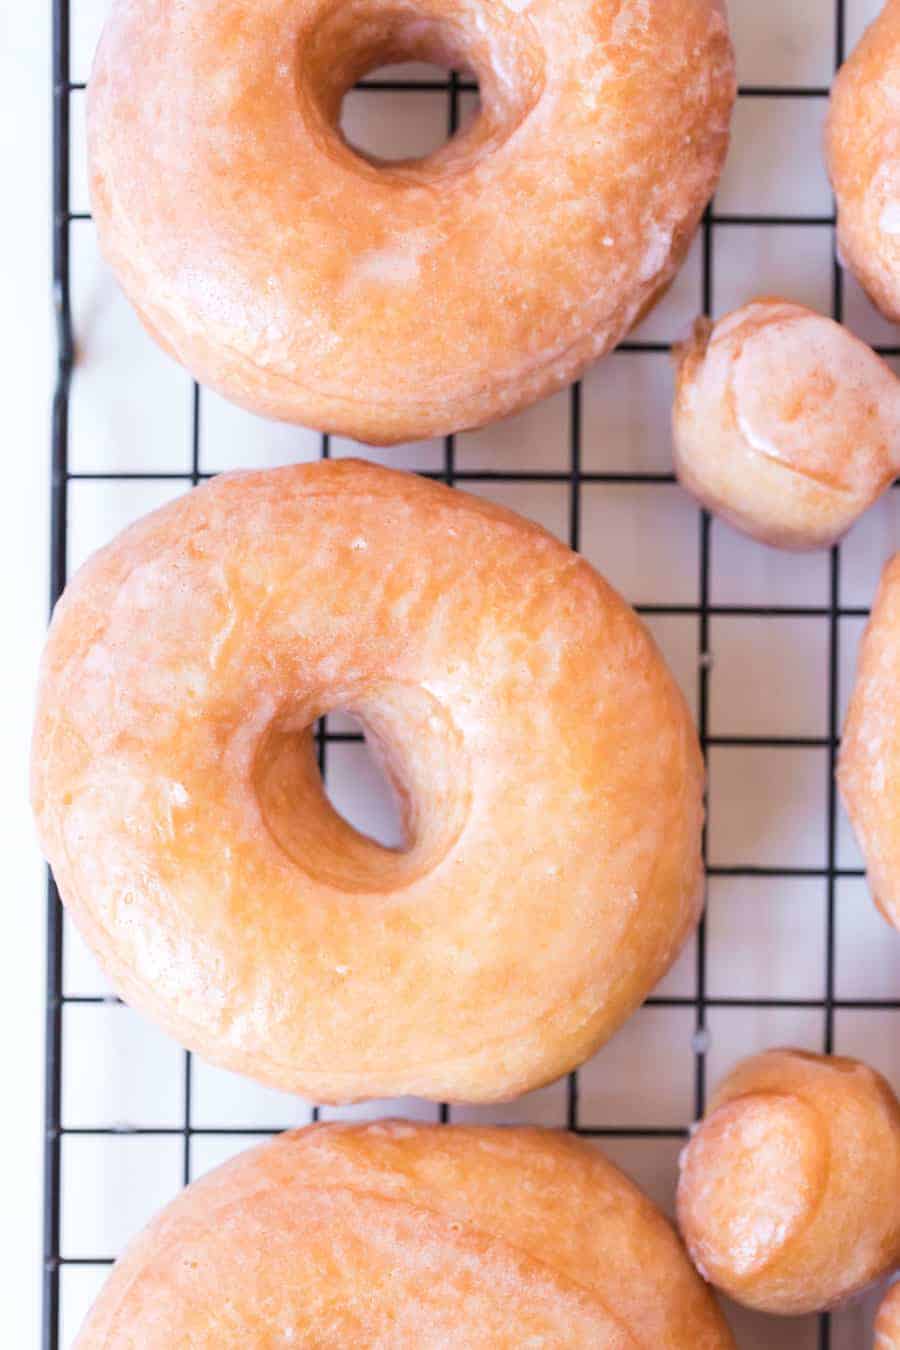
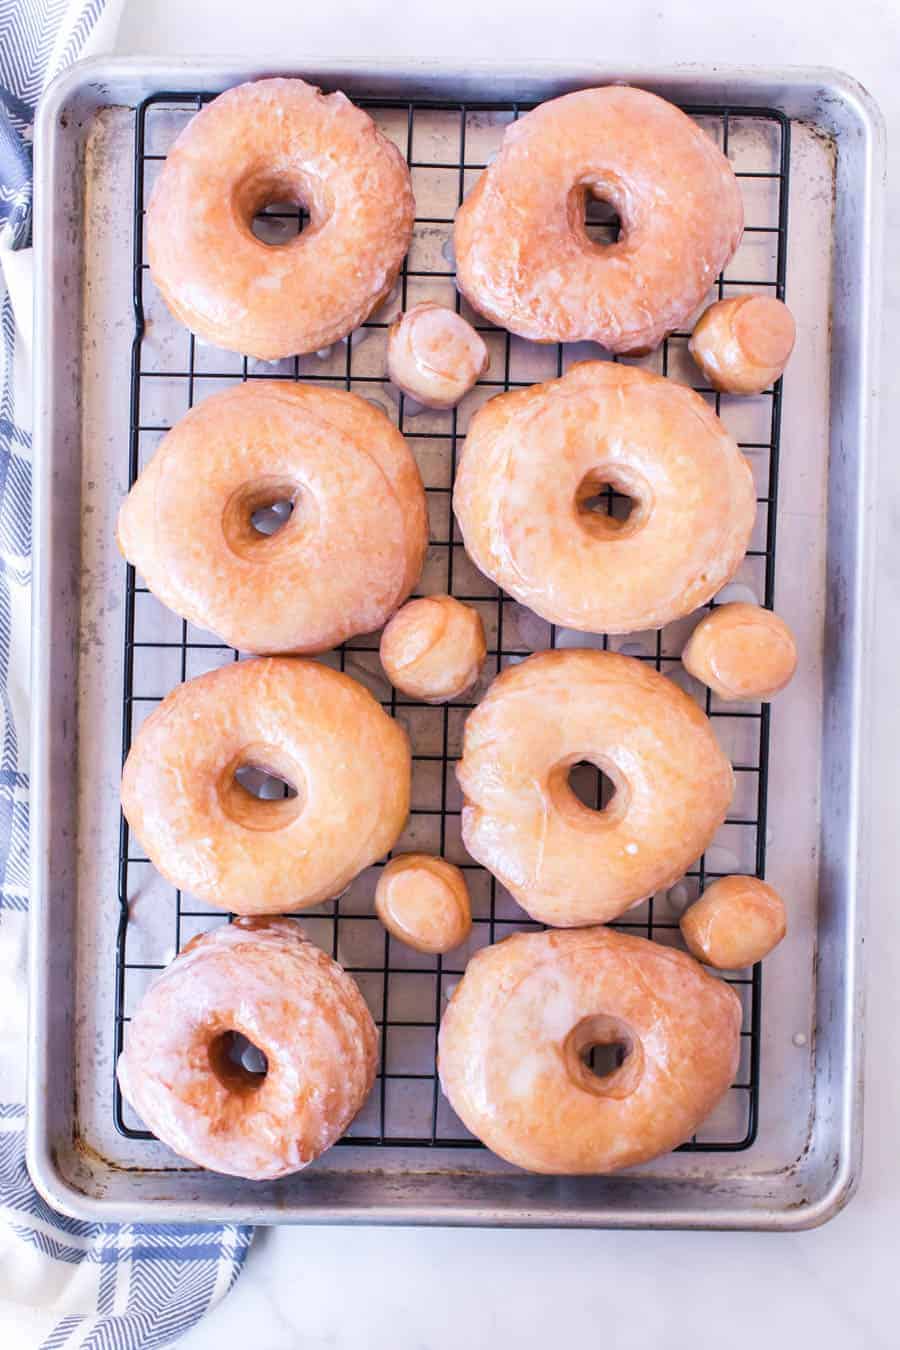
When the donuts are just cool enough to touch, use your fingers or a fork to dip each side of each donut in the glaze. Place on your cooling rack.
Once you have glazed all your donuts, it’s time to dig in! (Unless of course your kids have already started digging in while you were glazing all those donuts – make sure to snag some for yourself!)
Glazed Donut Recipe FAQs
The best temp is 350 to 375 degrees F. Use a candy thermometer to get the temperature right and ensure it’s calibrated so that you know it’s showing the correct temperature.
You can use a wide-mouth canning ring and anything to make the smaller hole. I also have this great set of round cookie cutters that I love and use for all kinds of things (like these amazing biscuits).
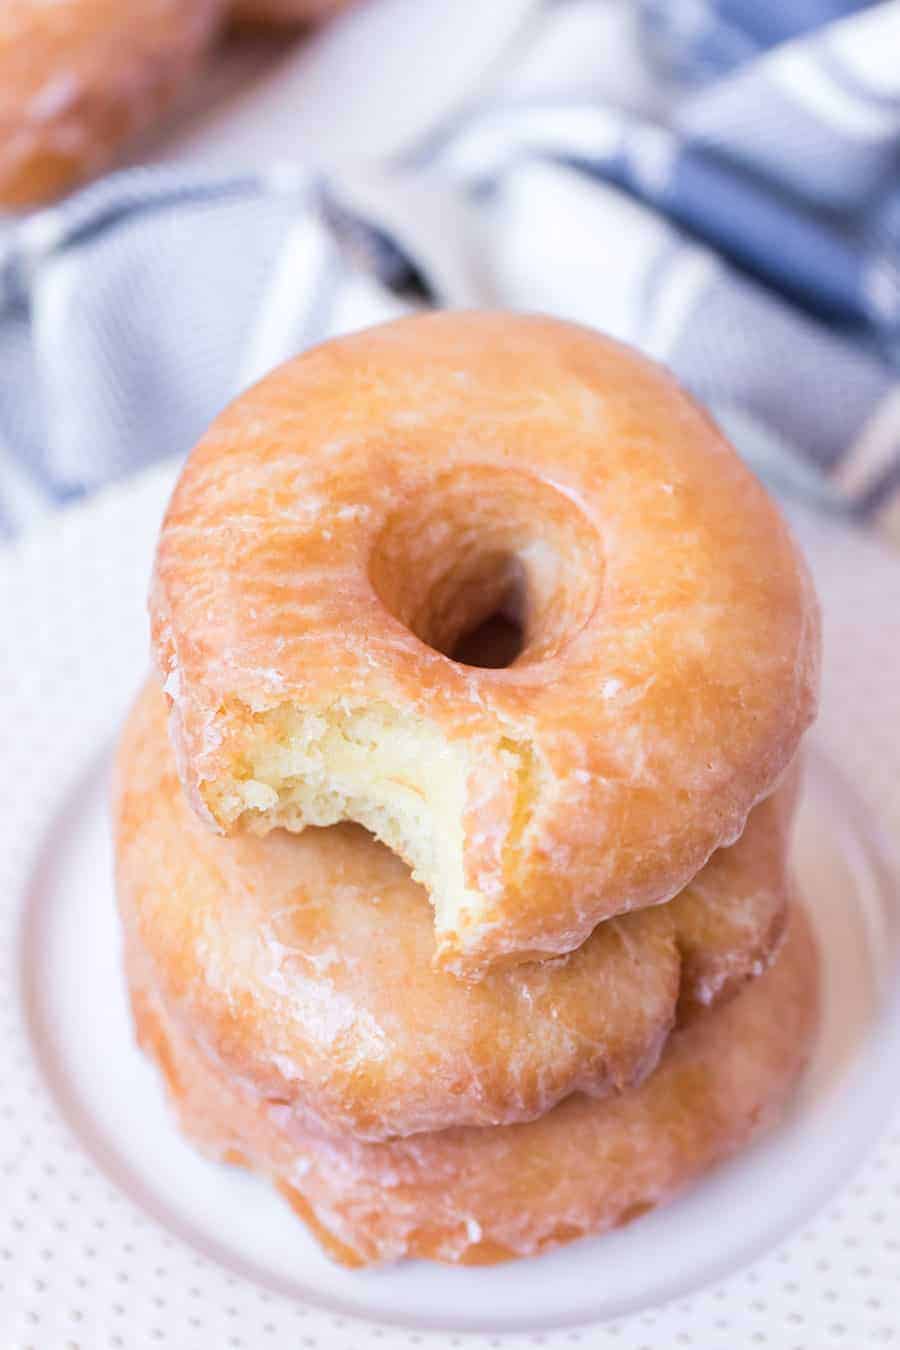
The donuts will be done when golden-brown. It will take about a minute-and-a-half per side and 30 seconds per side for donut holes.
I love a traditional buttery glaze on glazed donuts but feel free to make a maple, chocolate, or colored glaze. The possibilities are endless.
Expert Tips
- Fresh is Best: These donuts are the best eaten fresh. They store about as well as most grocery store donuts.
- Measure Well: Be sure to use accurate measurements, especially for flour and liquid ingredients, and consider using a kitchen scale for greater precision – because making donuts is a science.
- Don’t Overcrowd: Fry donuts in batches, making sure there’s enough space for them to expand and float freely in the oil.
Why do I need to chill the dough?
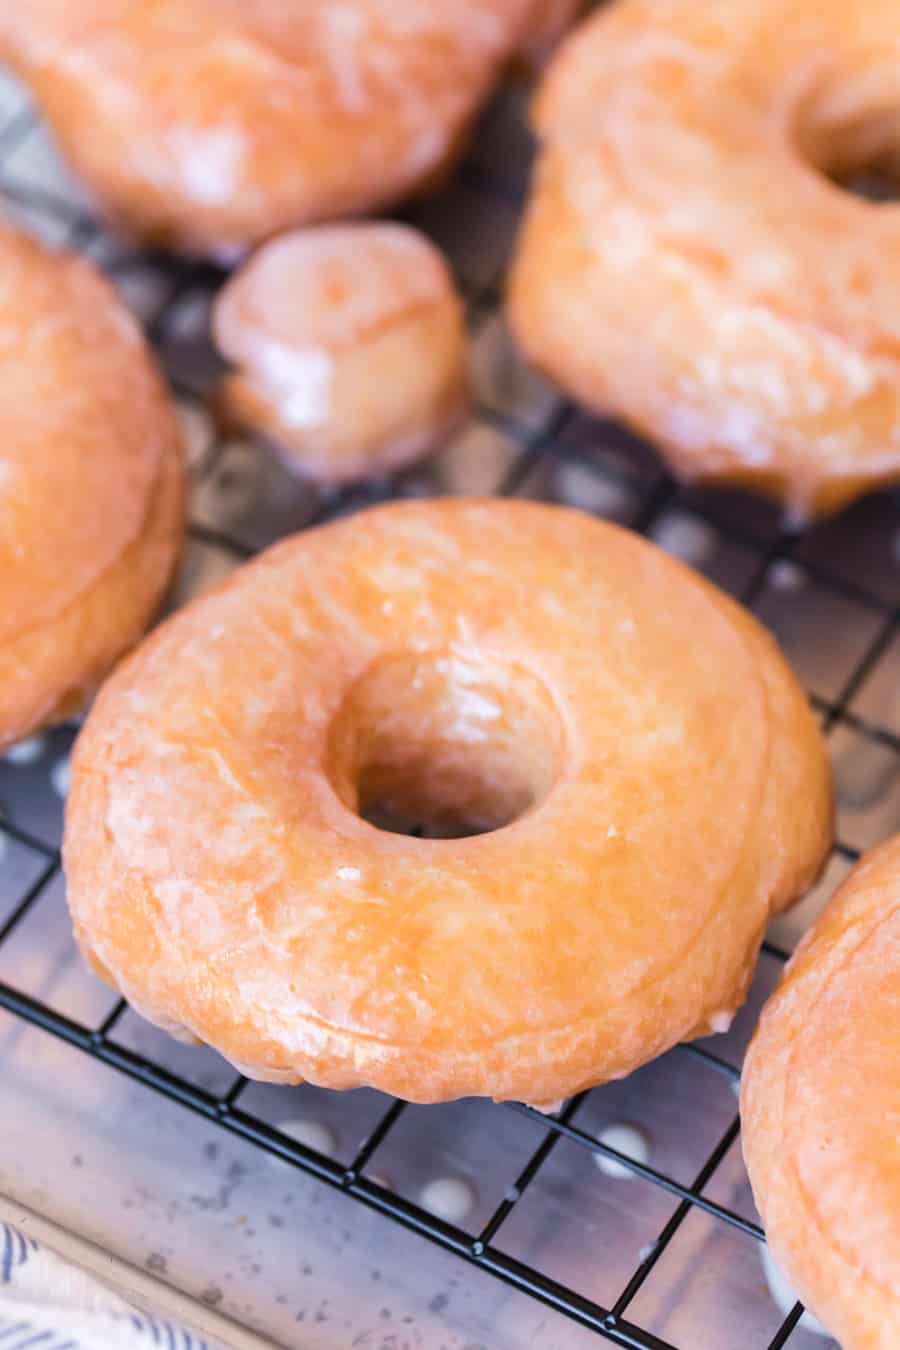
The chilling time is a must for these donuts. The butter needs a chance to solidify in the fridge, making the dough much less sticky than when it went in the fridge. They also keep their shape so much better, and it helps them become fluffy. Don’t skip this step!
However, you can be flexible with the chilling time. If your dough has firmed up after 2 hours, you can use it! You can also wait as long as overnight. Let the timing work for you.
And, if you don’t have time to chill the dough, Beth’s Famous Glazed Yeast Donuts turn out almost just like these and it does not need the chilling time that this recipe does. I’d recommend making that recipe if you are in a hurry to get donuts in your belly.
Other Donut Recipes You’ll Love
- Beth’s Famous Glazed Yeast Donuts
- 15 Minute Donuts from Scratch
- Light & Fluffy Glazed Sourdough Donut Recipe
- Apple Cider Donuts
- Easy Pumpkin Donut Holes
- Pumpkin Donuts
- Baked Donuts
- Donut Holes
More Breakfast Recipes to Consider
Healthy Living
Family Meal Plan: Summer Menu
Breakfast Recipes
Crock Pot or Slow Cooker Yogurt
Healthy Snacks
8 Easy Granola Bar Recipes
Healthy Snacks
8 Delicious No-Bake Oatmeal Energy Balls for Snacking
Did you make this recipe? Leave a ⭐️ review and share it on Instagram, Facebook, or Pinterest!

Homemade Glazed Donut Recipe
Equipment
- mixing bowl I love these because they have lids and double as serving bowls.
- baking sheet These are a go-to that every kitchen should have.
- KitchenAid stand mixer This classic KitchenAid always gets the job done!
- 3-inch donut cutter I love using a biscuit cutter for donuts.
Ingredients
For the Donuts:
- 1 1/8 cup whole milk, warm
- 1/4 cup sugar
- 2 1/4 teaspoons instant or active dry yeast, one package
- 2 whole large eggs, lightly beaten
- 1 1/4 sticks unsalted butter, a total of 10 tablespoons (1/2 cup plus 2 tablespoons), melted
- 4 cups all-purpose flour
- 1/2 teaspoon salt
- shortening or oil for frying
Glaze for hot yeast donuts:
- 1/2 cup butter, melted
- 2 teaspoons vanilla
- 4 cups powdered sugar
- enough cream or milk to thin, (about 3 tablespoons)
- dash of salt
Instructions
To make the dough:
- Warm the milk until it is about 105 degrees F. Add the milk to a mixing bowl or the bowl of your stand mixer. Add the sugar and stir to dissolve. Add the yeast and stir to combine. Let the yeast rest for 5 minutes.
- Add the beaten eggs and melted butter to the bowl and stir to combine.
- While the mixer is running slowly, add the flour and salt and mix until the dough comes together. Mix for 5 minutes to work the dough well. Turn off the bowl and let the dough sit in the bowl of the mixer for 10 minutes.
- After the rest period, turn the dough out into a lightly oiled bowl, cover the bowl with plastic wrap and refrigerate the dough for at least 2 hours, but up to overnight. The goal is to get the dough cold enough to work with easily and have the butter solidify.
To form the donuts:
- Remove the dough from the fridge and roll it out on a lightly floured surface until it is 1/2 to 1/3 of an inch thick. Use a three-inch donut cutter to cut out the donuts.
- Place the cut donuts and holes on a lightly greased baking sheet.
- Repeat with the remaining dough.
- Cover the donuts and let them rise until doubled in size, about one hour. The donuts will be very puffy and airy looking.
To fry the donuts:
- Heat a few inches of oil or shortening in a large cast iron skillet or fryer over medium heat until the oil reaches 350 to 375 degrees (use a thermometer for accuracy). Carefully add the donuts to the hot oil and fry until golden brown, about 90 seconds per side. The donut holes will only take about 30 seconds per side.
- Use a slotted spoon to remove the donuts from the hot oil and place them on a paper towel lined baking sheet to remove extra grease. Let them cool slightly. Dip the hot donuts in the glaze (I like to flip on both sides so it's fully covered) and enjoy right away.
For the Glaze:
- Melt the butter in a medium bowl. Add the vanilla and stir to combine. Add the powdered sugar and stir to form a thick paste. Thin out the paste with milk, one tablespoon at a time, until the mixture is about as thick as school glue.
- Dip the still warm donuts in the glaze and flip over to glaze both sides. Remove from the glaze and enjoy!
Video
Notes
- If you don’t have time to chill the dough, make this donut recipe: Beth’s Famous Glazed Yeast Donuts. They will turn out almost just like these and don’t need the chilling time that this recipe does.
- To make chocolate glaze: Add 2-3 tablespoons of cocoa powder when you add the powdered sugar. You’ll need to increase the milk by a bit to form a smooth glaze.
- To make a maple glaze: Replace the vanilla extra in original recipes with 1/2 teaspoon maple flavoring (you can use up to 1 teaspoon, adjust to your liking).
- These donuts are much better eaten fresh. They store about as well as most grocery store donuts.
- The actual donuts are pretty plain, you need to glaze them for them to be sweet.





Mine rose nicely but when I transferred them to the oil, they lost their nice shape. Sort of collapsed and got wiggly.
They probably just over proofed, next time I’d shorten your shaped rising time a bit.
How would you modify this if you were making th e dough in a bread machine?
Let it go through the rise cycle then pull it out and stick the dough in the fridge.
If I half the recipe, do I half the time in the fridge to 4hrs or will it still require the 8hrs regardless of the volume change?
Thanks!
The goal with the fridge time if just to get the butter to solidify and the dough to be cold enough to work with! So that should happen quicker with a smaller amount of dough to cool!
Is there a way to freeze these for easier baking the next time?
I don’t have great luck getting yeast doughs to come out of the freezer and perk back up. Has anyone else had any luck trying this?
I froze the leftover dough from two batches. I took it out of the freezer and let it defrost in an uncovered bowl overnight. The dough actually rose again! The donuts tasted just the same.
We all owe you a donut for figuring this out! THANK YOU!
You’re very welcome! I defrosted on the counter, not the fridge, BTW. Thank you for this fantastic recipe, I’m making it once a week now! If you use a large water glass instead of a donut cutter you can make jelly filled or Boston Cream, too!
Ohhhh do you have a good Boston cream filling recipe?!
Yes!
2 cups milk
1 tsp vanilla extract
6 egg yolks
2/3 cups sugar
5 tbs flour
scald milk and set aside to cool. Combine sugar and egg yolks, whisk until smooth. add flour, 1 tbs at a time, and whisk until incorporated. Put over medium-high heat and slowly add milk (which should be at room temperature or slightly above.) when all of milk is incorporated, continue whisking briskly until cream thickens and bubbles. Remove from heat immediately and continue whisking for a minute or so. Chill in refrigerator for at least two hours. Remove from fridge one hour before you want to use.
Thank you! That sounds amazing and is definitely my favorite kind of donut!! I really appreciate that!
Anytime! I’m a mom of six and finding tasty food *everyone* likes is a challenge. These donuts were amazing, thank you!
Will this work with baking powder instead of yeast?
I don’t think so.
Have you tried baking the dough?
Thinking about using the dough for apple baked pies.
I don’t think it gets hot fast enough, frying make it puff up and cook through because it’s instant hot, air frying and baking don’t seem to work because it doesn’t have that instant hot to make it puff up.
Can I substitute the butter for margarine instead?
I haven’t tried it but I assume it would work!
So I made these. And I am concerned as to why some of my donuts rose while resting and the rest didn’t?! It’s all the same batch and followed all instructions to the tee! They’re delicious nonetheless but disappointed that majority of my donuts didn’t rise
Weird! Were they stored differently? As in some might have been warmer than the others?
No! That’s the weird part ?
Currently making mine and the same thing seems to be happening. If you look at the original recipe, she suggests warming the oven and placing the doughnuts on a baking sheet on top (once its off) because they need a warm environment to rise. The slightest draft or chill will prevent them from rising!
They aren’t that fussy actually. You can definitely proof them in the oven if you’d like but commercial yeast can tolerate some temperature differences. Ideal is 70 degress F. which is considered room temperature and warmer will help it rise a bit faster.
This same thing is happening to me… so weird! I warmed the oven and put the baking sheet on top on the stove where the heat comes up and they started to rise, but not much :/ Im going to try to put them in the warmed oven and see what happens.
Try turning on your oven light (not the oven) for an hour before you want to proof these and then put them in to proof. The oven light will bring the temperature up to the point where yeast is happy.
The only thing I found wrong with this recipe was I got the donuts done and dip them in the glaze and chocolate frosting as they came out yeah it says leave them in like a minute minute and a half you got to do longer because the inside of my donuts were not done
Can these sit in the fridge for a couple days before frying??
I haven’t tried it. Sometimes yeast gets funny if it hangs out too long. Will you let us know if you try it?