Easy Homemade Pizza Dough Recipe
on Jul 20, 2017, Updated Oct 09, 2024
This post may contain affiliate links. Please read our disclosure policy.
Wondering how to make Easy Homemade Pizza Dough? This is my go-to recipe. You only need 6 ingredients and 10 minutes to make this easy, versatile dough!
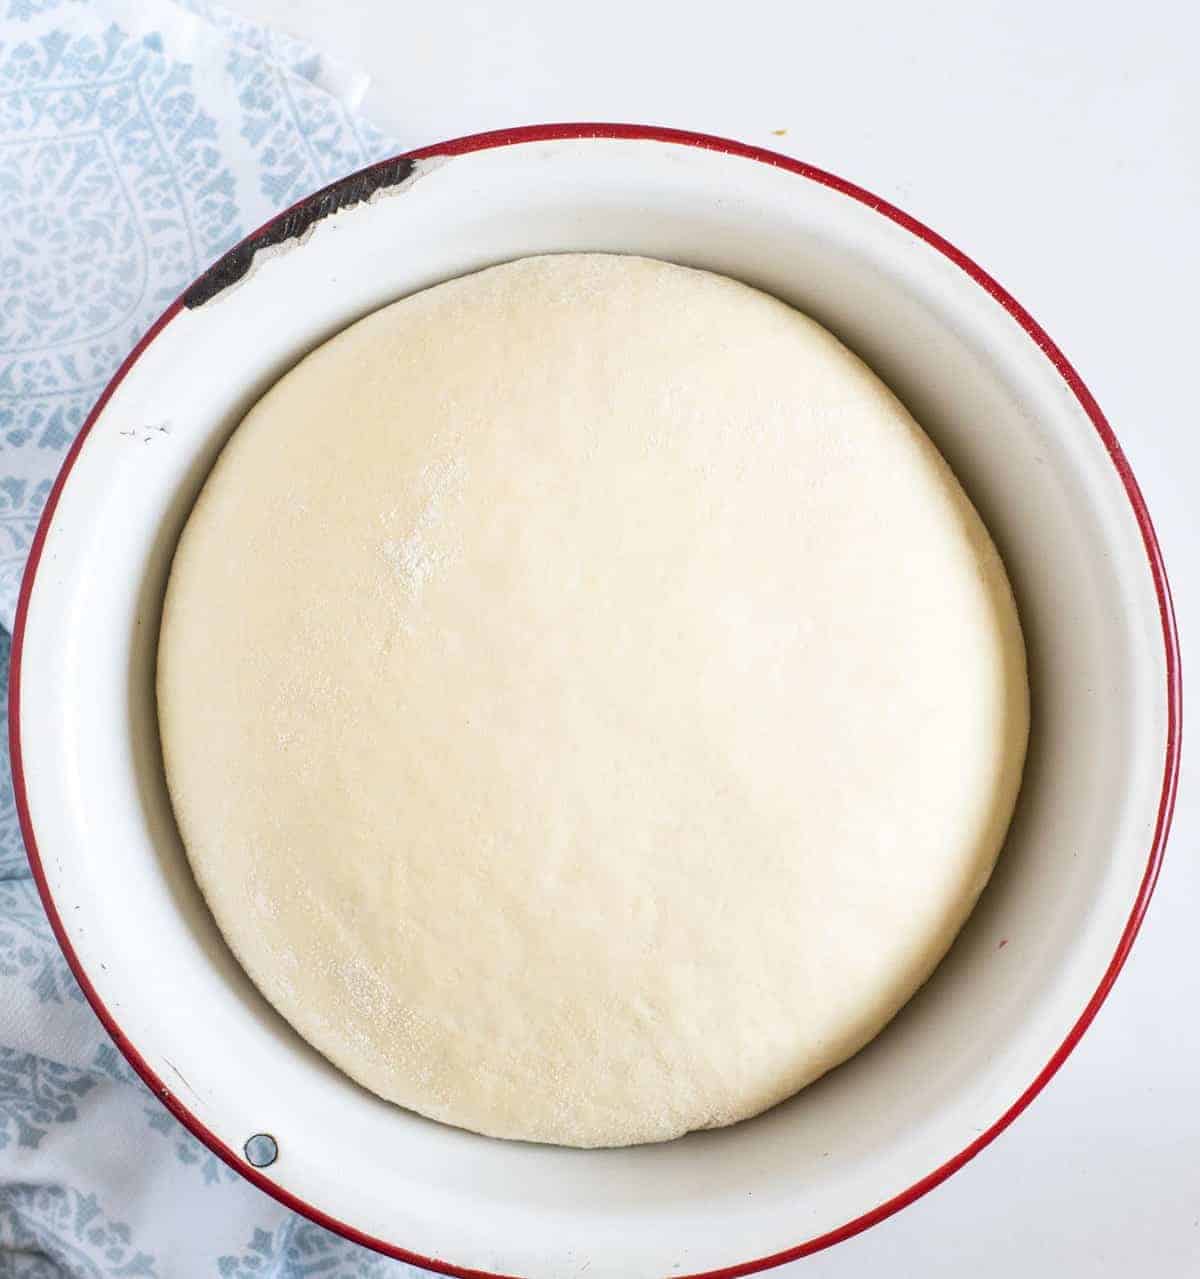
For all of my pizza options, this is the super easy pizza dough that I use. You can’t go wrong with a simple dough that works every time. It only has 6 simple ingredients, and it’s very forgiving (you really can’t ruin this dough, trust me!).
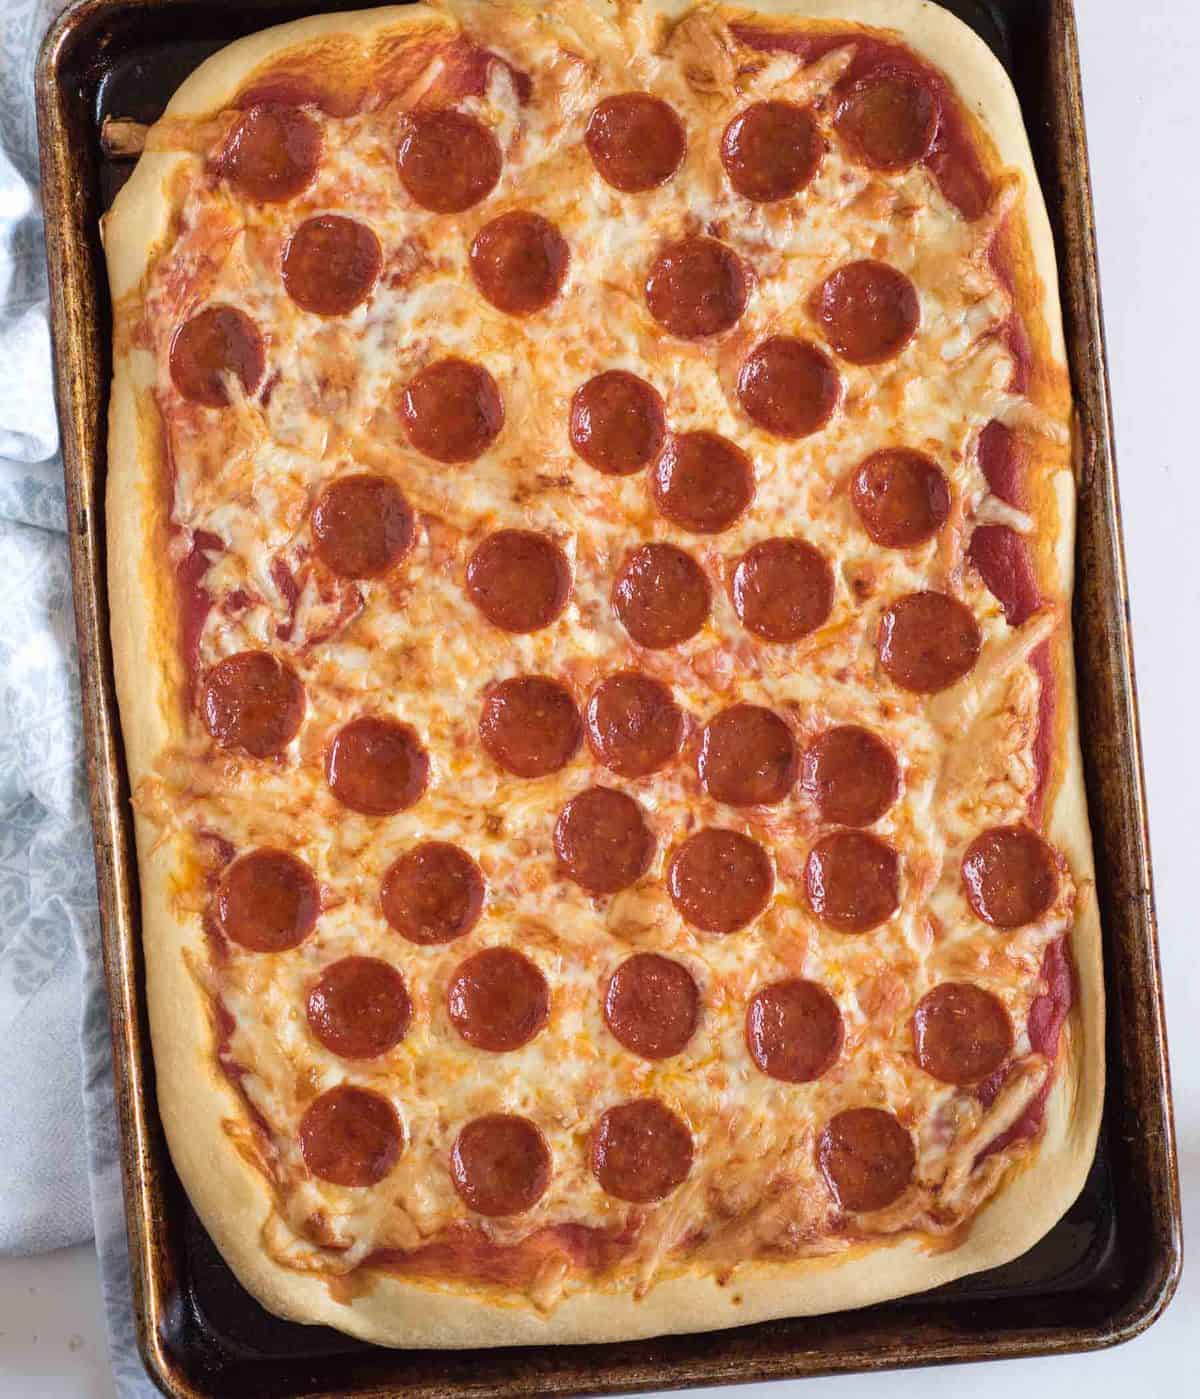
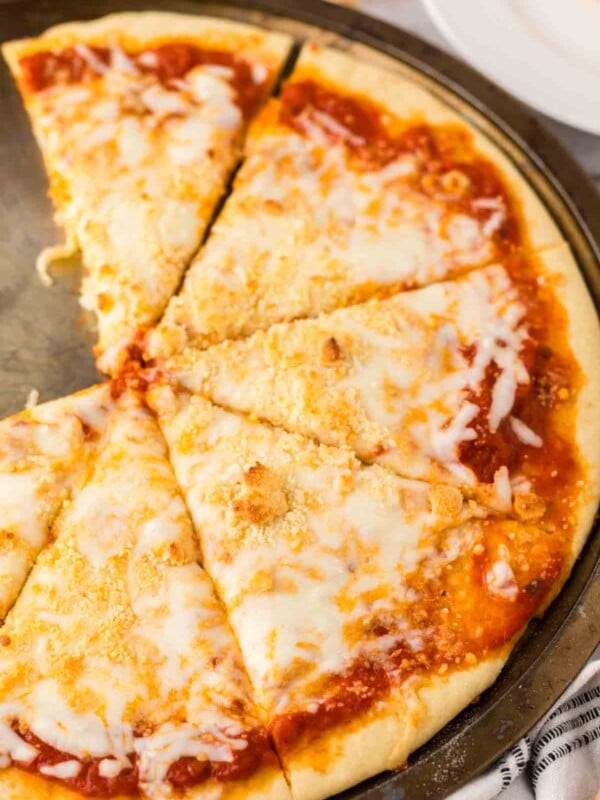
For this recipe I have also included my favorite pizza baking method (because those two things go together). It’s very pizzeria in style. The dough is a medium thickness, the bottom gets nice and brown, and the cheese around the edge gets crusty, edging on burnt. Mmmm…that crusty dark cheese!
I got you covered when it comes to pizza; a few of my favorites are deep dish pizza, Stromboli, no-knead refrigerator pizza dough, supreme pizza recipe and 30 minute meaty Margherita pizza.
Table of Contents

Why You’ll Love This Recipe
- The dough uses just a few pantry staples, and the process is straightforward, making it easy for any level of home cook.
- You can custom tailor the pizza to your taste with a variety of toppings, cheeses, and sauces.
- The dough only needs a short rise time, making it convenient for busy weeknights.
- This recipe is versatile and works for different pizza styles (mini pizzas, sheet pan pizzas) or even breadsticks.
Recipe Ingredients
- Yeast
- Sugar – Granulated
- Salt
- Olive Oil
- Flour – All-purpose
See the recipe card below for full information on ingredients and quantities
How to Make Easy Homemade Pizza Dough
Step #1. Mix warm water, yeast, sugar, salt, and olive oil; let sit for 5 minutes. Gradually add flour and knead the dough until smooth and elastic.
Step #2. Place dough in a bowl, cover, and let rise in a warm spot for 15-60 minutes.
Step #3. Preheat oven to 500°F with a stone or baking sheet inside. Roll dough into a circle, top with sauce, cheese, and desired toppings.
Step #4. Slide pizza onto the heated stone or sheet and bake for 10-15 minutes until golden brown.
Recipe FAQs
I have added my recommendations on how to cook the pizza but you can really cook this however you like. Press it in a sheet pan, in a pizza pan, in a cast iron skillet,or however you like to make pizza.
If you don’t want 2 large pizzas, make 1 large pizza and a batch of breadsticks with the second half of the dough.
Use this dough to make mini or individual pizzas. Let the kids do the rolling and top with what they like. My kids love DIY pizza night.
The rising time if very flexible. The longer it rises, the more fluffy/bready the baked dough; the shorter it rises, the more chewy/dense it will be. I just let it rise as long as it takes me to prep my veggies, cheese, and sauce.
Feel free to use half whole wheat flour and half all purpose flour, so delicious. This is my favorite 100% whole wheat pizza dough recipe if you are in the market.
Looking for the best (and easiest) pizza sauce recipe? You’ll need 2 tablespoons olive oil, 2 cloves garlic, and 1 (28-ounce) can crushed tomatoes. In a small sauce pan, cook the oil and garlic together over medium heat until the garlic starts to smell good. Add the tomatoes and simmer until it thickens a bit, about 15 minutes. Season with salt and pepper to taste. DONE! Really. Three ingredients and it tastes amazing!
Fill up a small measuring cup with a little warm water. Add 1/4 teaspoon of your yeast and then add a pinch of sugar and lightly stir it together. Wait for 5 minutes. If the yeast is still active you will see little bubble along the top of the water and it will start to “foam”. I think the date on the yeast package is a good guide, and I like to store my yeast in the fridge to help keep it fresh. When in doubt, get new yeast. Nothing is worse than a unrisen loaf of bread because of old yeast!
Expert Tips
- Lightly flour your work surface to prevent sticking while rolling the dough.
- Use a preheated baking stone to give your pizza a crispy, restaurant-quality crust.
- Check dough consistency, it should be slightly sticky but workable.
- Don’t be tempted to overload on cheese and toppings. With pizza, more is not always better. The crust won’t cook through if you get too crazy, and very few things are grosser than doughy pizza.
- If you don’t need two pizzas, freeze half of the dough after the rise for quick future meals.

How to Serve and Store Homemade Pizza Dough
Caesar salad or a house salad topped with one of my 9 homemade salad dressing recipes is perfect a fresh, crunchy balance to the richness of the pizza. A light side dish of roasted broccoli or zucchini also complements the pizza.
Leftover pizza can be stored in an airtight container in the fridge for up to 5 days. For best results, reheat leftover pizza in a preheated oven at 350°F for 8-10 minutes, or in a skillet to crisp up the crust. Avoid microwaving, as it can make the crust soggy. After the dough has risen, divide it in half, wrap tightly in plastic wrap, and you can freeze it for up to 3 months. Thaw in the fridge overnight before using.
More Pizza Recipes to Consider
Did you make this recipe? Leave a ⭐️ review and share it on Instagram, Facebook, or Pinterest!
Easy Homemade Pizza Dough Recipe
Ingredients
For the easy pizza dough
- 2 1/2 cups warm water
- 1 tablespoon yeast
- 1 tablespoon sugar
- 1 teaspoon salt
- 1/4 cup olive oil
- 6 to 6 1/2 cups flour
For the Pizza
- 2 cups Pizza sauce, see post for a super simple recipe
- 4 cups Cheese
- Toppings
Instructions
- To make the dough
- In a large mixing bowl, add the water, yeast, sugar, salt, and olive oil. Allow mixture to stand for 5 minutes.
- Add one cup of flour, and mix to combine. Add another cup of flour and mix through. Mix by hand for 1 or 2 minutes. The dough should be the consistency of cake batter. Add another cup of flour and mix until well combined. Add flour until you can’t mix it by hand very well.
- Sprinkle some flour on your table and turn the dough onto the table. Knead the dough by hand until it is smooth and elastic, adding flour as needed. This should take 6 to 10 minutes of kneading. You can also do this part in a stand mixer if you have one.
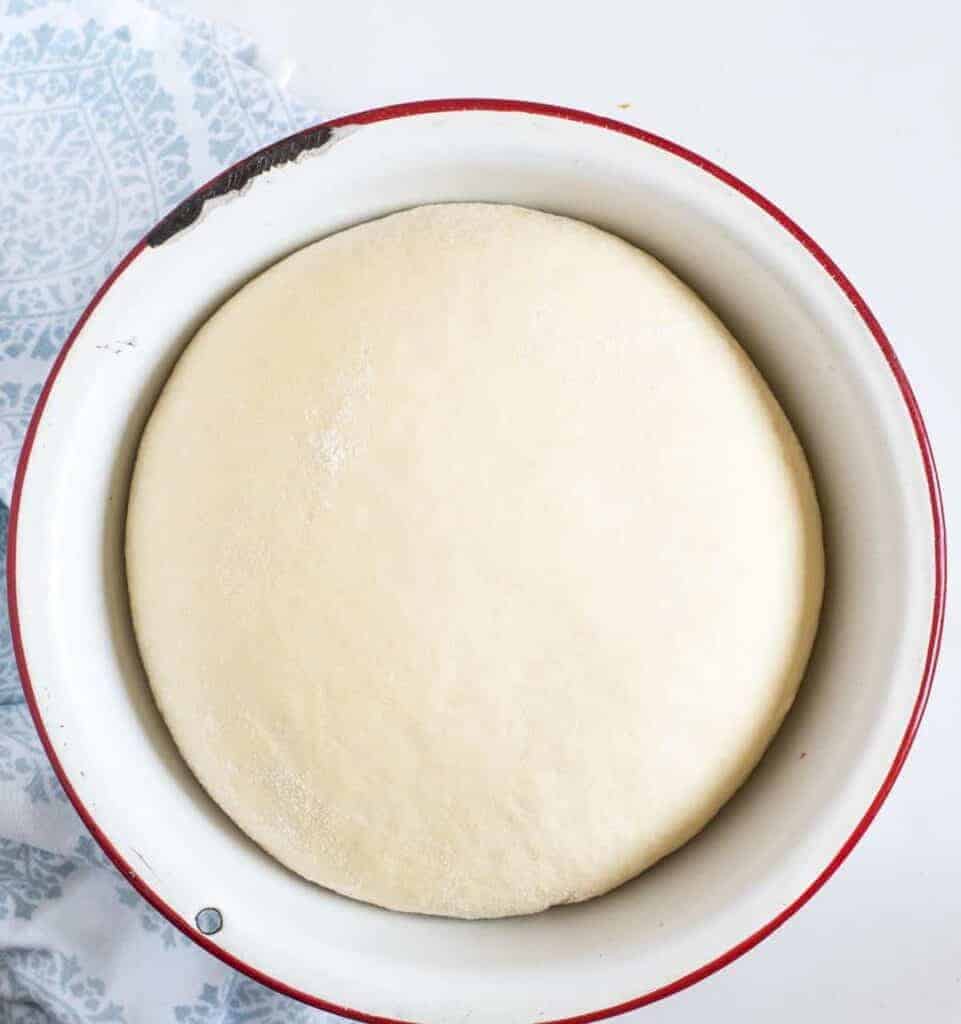
- Place the dough back in the bowl, cover it with a towel, and let it rise in a warm place for 15 to 60 minutes (This time varies a lot for me – I just let it rise according to how long it is until dinner time).
To make the pizza
- While the dough is rising, preheat your oven to 500 degrees. If you have a baking stone, put it in the oven to heat, too. I would recommend using a stone for baking this pizza. If you don’t have a stone, you can turn your biggest cookie sheet upside down (so that the flat side is up) or use a rimless sheet. If you are using a stone let the stone heat for 30 minutes. If using a baking sheet, let it heat for 10 minutes.
- When the oven is hot, cut your dough in half. Place half of the dough on a piece of parchment paper that is 18 inches long. Using a rolling pin, roll the dough (on top of the parchment paper) into a 12 to 14 inch circle. The dough should be about a half-inch thick. Top with 1 cup of pizza sauce, 1 1/2 to 2 cups of shredded mozzarella, and toppings of your choice.
- When the pizza is all ready, slide the pizza, which is on the parchment paper, onto a rimless cookie sheet or one that is upside down. This will help you get the pizza to the oven.
- Open the oven and slide the pizza which is still on the parchment paper, from the cookie sheet onto the hot baking stone or hot cookie sheet. I just tug on the edge of the parchment paper with my hands and slide it onto the stone. BE CAREFUL! Your oven is set to 500. It’s super hot, obviously! Make sure the babies are out of the way and be careful when sliding the pizza into the oven.
- Bake for 10 to 15 minutes until the top is bubbly and the edges are starting to brown. When the pizza is done, tug the edge of the parchment paper and slide the pizza back onto the cookie sheet you used to transfer it to the oven. Again, be careful!
- Let your stone reheat for 10 minutes. While the stone is heating, repeat the whole thing with the second half of the dough and bake the same way.
- Enjoy, enjoy enjoy!
Video
Notes
- I serve it right off of the parchment paper (which gets all dark and cooked looking) or I’ll tear off a new piece and serve it on a crisp white sheet of parchment. Very pretty!
- This cooking method is my preferred way to make pizza at home but it’s just a suggestion. You can use this pizza dough to make mini pizza, sheet pan pizza, and even bread sticks. Just be sure that no matter what you cook you pizza in/on, the bottom of the crust is golden brown before you remove it from the oven.
- Don’t need two large pizzas? Make one pizza and use the rest of the dough for bread sticks.




This is my go-to pizza crust recipe now. Tonight I topped it with some butter and brown sugar, a sprinkle of uncooked oatmeal, mini marshmallows and chocolate chips. S’mores pizza!!!
Whhhaaa?!?! That sounds SO good! Did the mallows brown at all in the oven? I’m so going to have to try that!
Do you use whole wheat flour? I followed a link to this one from your Eat Clean page, and it was for whole wheat pizza dough?
I use 100% whole wheat flour with this 97% of the time and LOVE it. This really is such a great recipe. All of the recipes I linked to I just switch out the white for whole wheat and they work really well (even those corn muffins!). Let me know if you try it 🙂
Yay! I plan on trying this tomorrow. I didn’t realize that you could just switch out the type of flour. I thought you’d need to add more water or something like you do with brown rice. Silly me! I will let you know how it goes. Thanks so much for sharing your recipe. I spent quite a while checking out your blog!
So, I ended up using all whole wheat and LOVE it. My girls still like the white better. Do you ever freeze half the dough? Haven’t tried it, but am planning to do it tonight. Wondering if you had any tips for freezing it. Thanks for the awesome recipe. We all love it!
I don’t freeze it but I always want to. I just pinned a thing about homemade frozen pizzas and I’m just itching to try it. I’ve tried freezing different breads and rolls in my life with little success, so if you have any tips for ME, I’d love to know. Really, let me know how it pans out! Good luck. And the more you make the WW the less your kids will notice… they seem to have short memories 🙂
This was fantastic and made SO MUCH PIZZA! I actually had leftovers! 🙂 The crust was so fluffy, maybe because I let it rise for a really long time. Like 2-3 hours. My only problem was that it was a bit bland. Maybe because my olive oil isn’t awesome? I’m going to try seasoning the crust this time with some garlic or something Italian-y. Or maybe use more sauce. Any thoughts?
Also, I made it sans parchment paper on my pizza pan and it worked out great. And the oven was crazy hot! It was awesome!
Tay- Salt fixes everything. I say double the salt if you thought it was bland. I do add garlic powder, onion powder, or Italian seasoning when I’m in the mood. I love to add some extra flavor when I make calzones because they are so bread-heavy. I haven’t thought the bread was bland when used for pizza crust because the toppings are flavorful, but feel free to play with it. The beauty of it being a little bland is you can bust out pizza, bread sticks, and cinnamon sticks from the same dough.
Let me know if you add anything. I’d love to hear how you like it!
I was afraid to add more salt, in case it would affect the rising, but the garlic powder and Italian seasonings were definitely helpful. I also added a cup of whole wheat flour at the beginning and that added some depth as well. I love how much this recipe makes!
Tried it tonight and it was fabulous. Never managed to remember to get the parchment paper at the store, so I ended up using aluminum foil on the upside down cookie sheet. Worked like a charm. Also, I used 1/2 tbs honey instead of the sugar and that was fine. All boys loved it! And no soggy in the middle! Thanks Melissa!
Hi Agree! I think the heat is a major part of the secret home ingredient that no recipe can overcome without it: major secret:500 F! You have wonderful recipes. We’re going to make your chocolate chip cookies today… although we had planned Valentine’s Treats — these just look too good!
Oh how I love a good comment!
How did it turn out Summer?
and @ Sarah
1. This dough is so forgiving. I use a stand mixer if I want to pull it out, but I’ll mix if by hand if I’m feeling lazy (the mixer isn’t in the main room… I have to go get it!) OR if I want the kids to help. This is a perfect recipe for little mixers! You can’t really over mix- when the dough is like cake batter, it’s good to mix it, regardless of how you do it, for a minute or too. Lots of people don’t do this, but it really helps the gluten in the flour to develop. Then as you are adding the flour you can just mix and mix! Perfect time to get the kids in there! You could let it go in a stand mixer for a full 5-8 minutes of mixing. It only helps the gluten.
2. The rising time does vary immensely in my house!! That is what I love about this recipe and why it’s the “go to”. If you have time, let it rise for the longer time, say doubled. Again it’s a gluten thing. The dough will have more time to make those yummy little air pockets. It will be more tender and fluffier. If you don’t have time, don’t let it rise as much, it will make for a moderately less fluffy bread. No big deal if you ask me. Good both ways.
If you are going to try it with all or half whole wheat flour then let it rise longer. The whole wheat will be dense without a proper rise.
3. Parchment and wax are totally different. Don’t use waxed paper here. Wax paper will smoke really bad (the parchment does smoke some though) and doesn’t have the nonstick properties of parchment. The parchment is “impregnated” with silicone, no wax involved. Now the parchment gets all dark and burnt looking. It falls a part if you pull on the edges, so when taking it out, tug on it close to the pizza.
The hot oven might make you a little nervous the first time you are sticking your hand in there to pull a pizza out, I know that’s how I felt. But you can do it! It’s so much easier the second time around. I made Thomas help me and hold the pan I was sliding the pizza onto the first time, but now I can manage it alone.
4. Yup! Of course it depends on your cookie sheet… I would use a heavy sheet, nothing cheap and flimsy.
Did that help? Will you let me know how it turns out? I hope you LOVE it!
Yumm-O. I waver back & forth from good old pepperoni to Hawaiian (with turkey usually cause I have that instead of ham) to Supreme. I love, love, love red peppers mixed with meat & onions on my pizza. I have a few questions.
1. When mixing by hand-you mean with a spoon or something just not a mixer right? (is that so it doesn’t mix too much?)
2. That dough rising time seems like a huge vast of time. What are you looking for? Double in size?
3. Dumb question but is parchment paper different than wax paper? Can you put wax paper in the oven?
4. The upside-down cookie sheet really works? I’ve tried to keep stones around my house but have broken at least 3. 🙁
YUM! Saturday night is pizza night here and this is our dinner tonight. Your pizza looks so good. I can wait for it to finish rising so i can eat it!
I want a piece of that pizza right now!!!! It looks so good!
That looks delicious. I need some now. But no parchment paper in the house! AHH! 🙂 Rushing to store…