This post may contain affiliate links. Please read our disclosure policy.
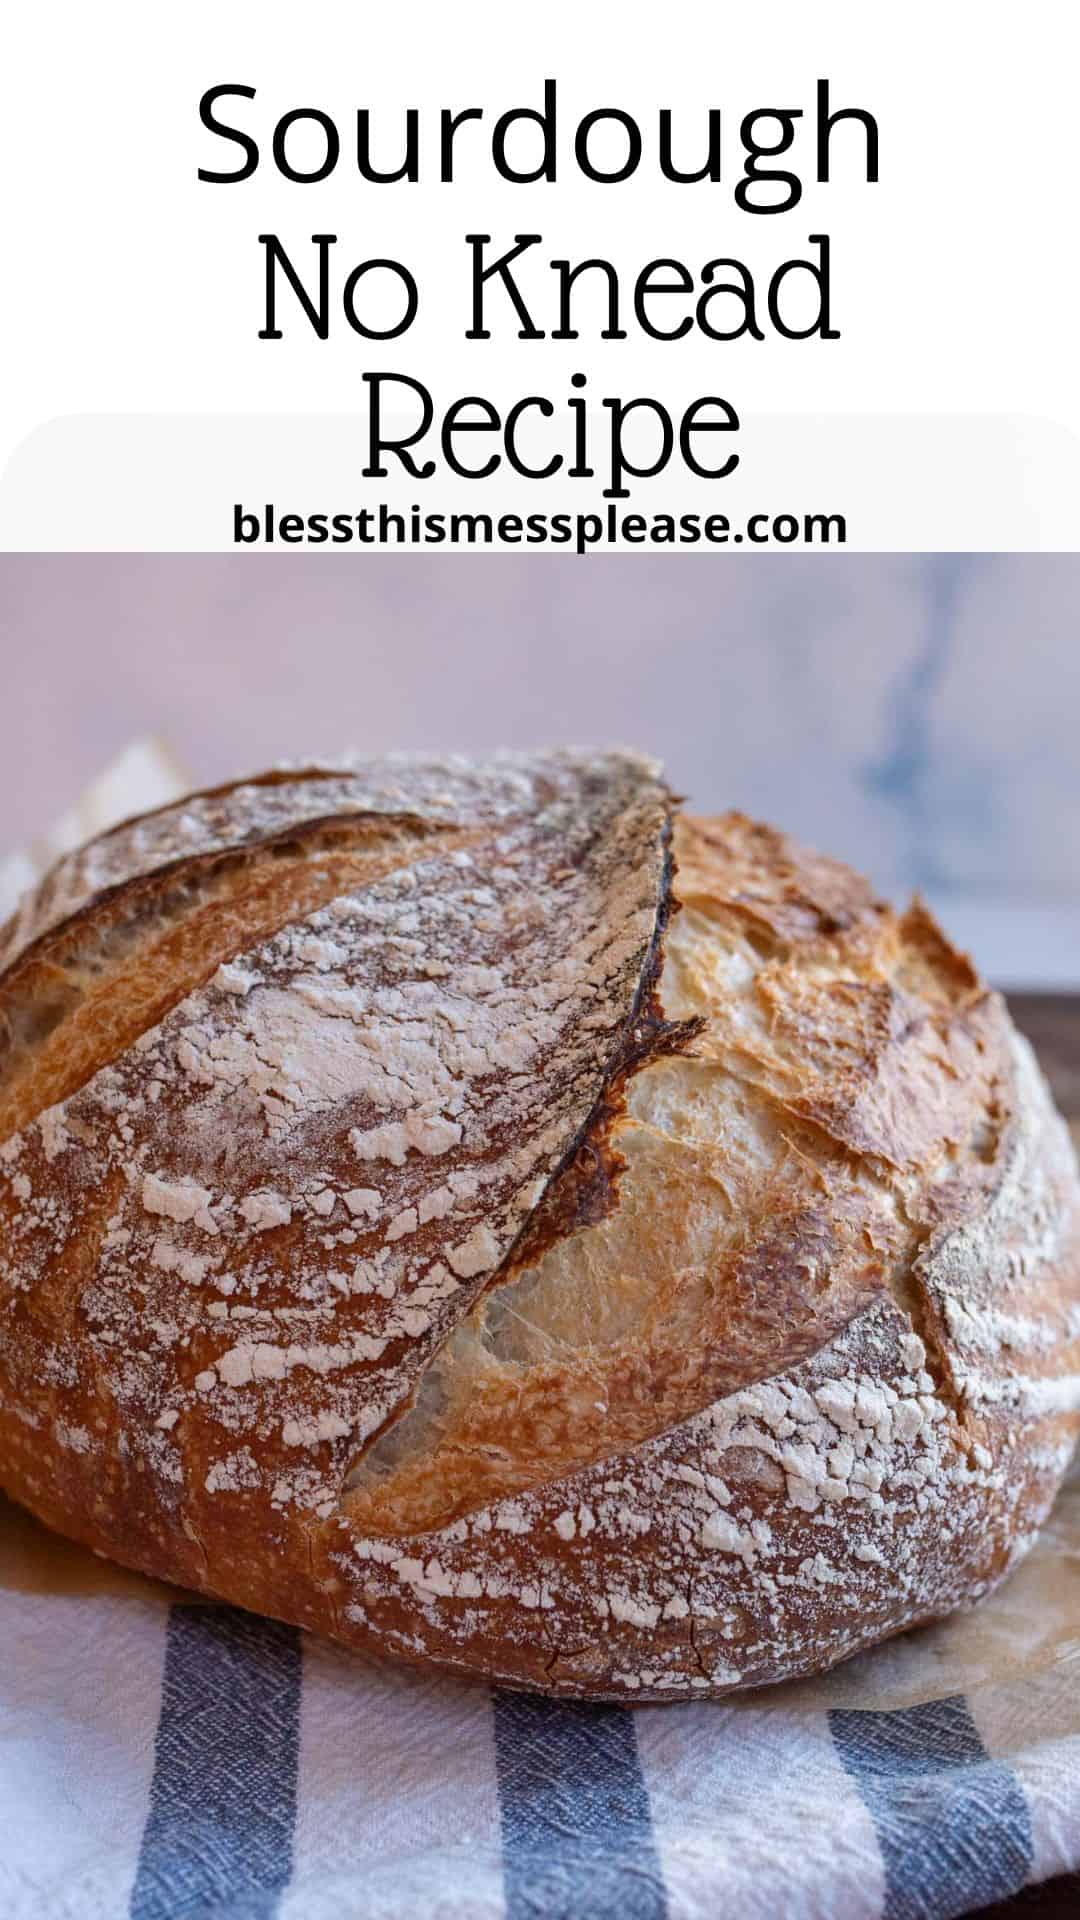
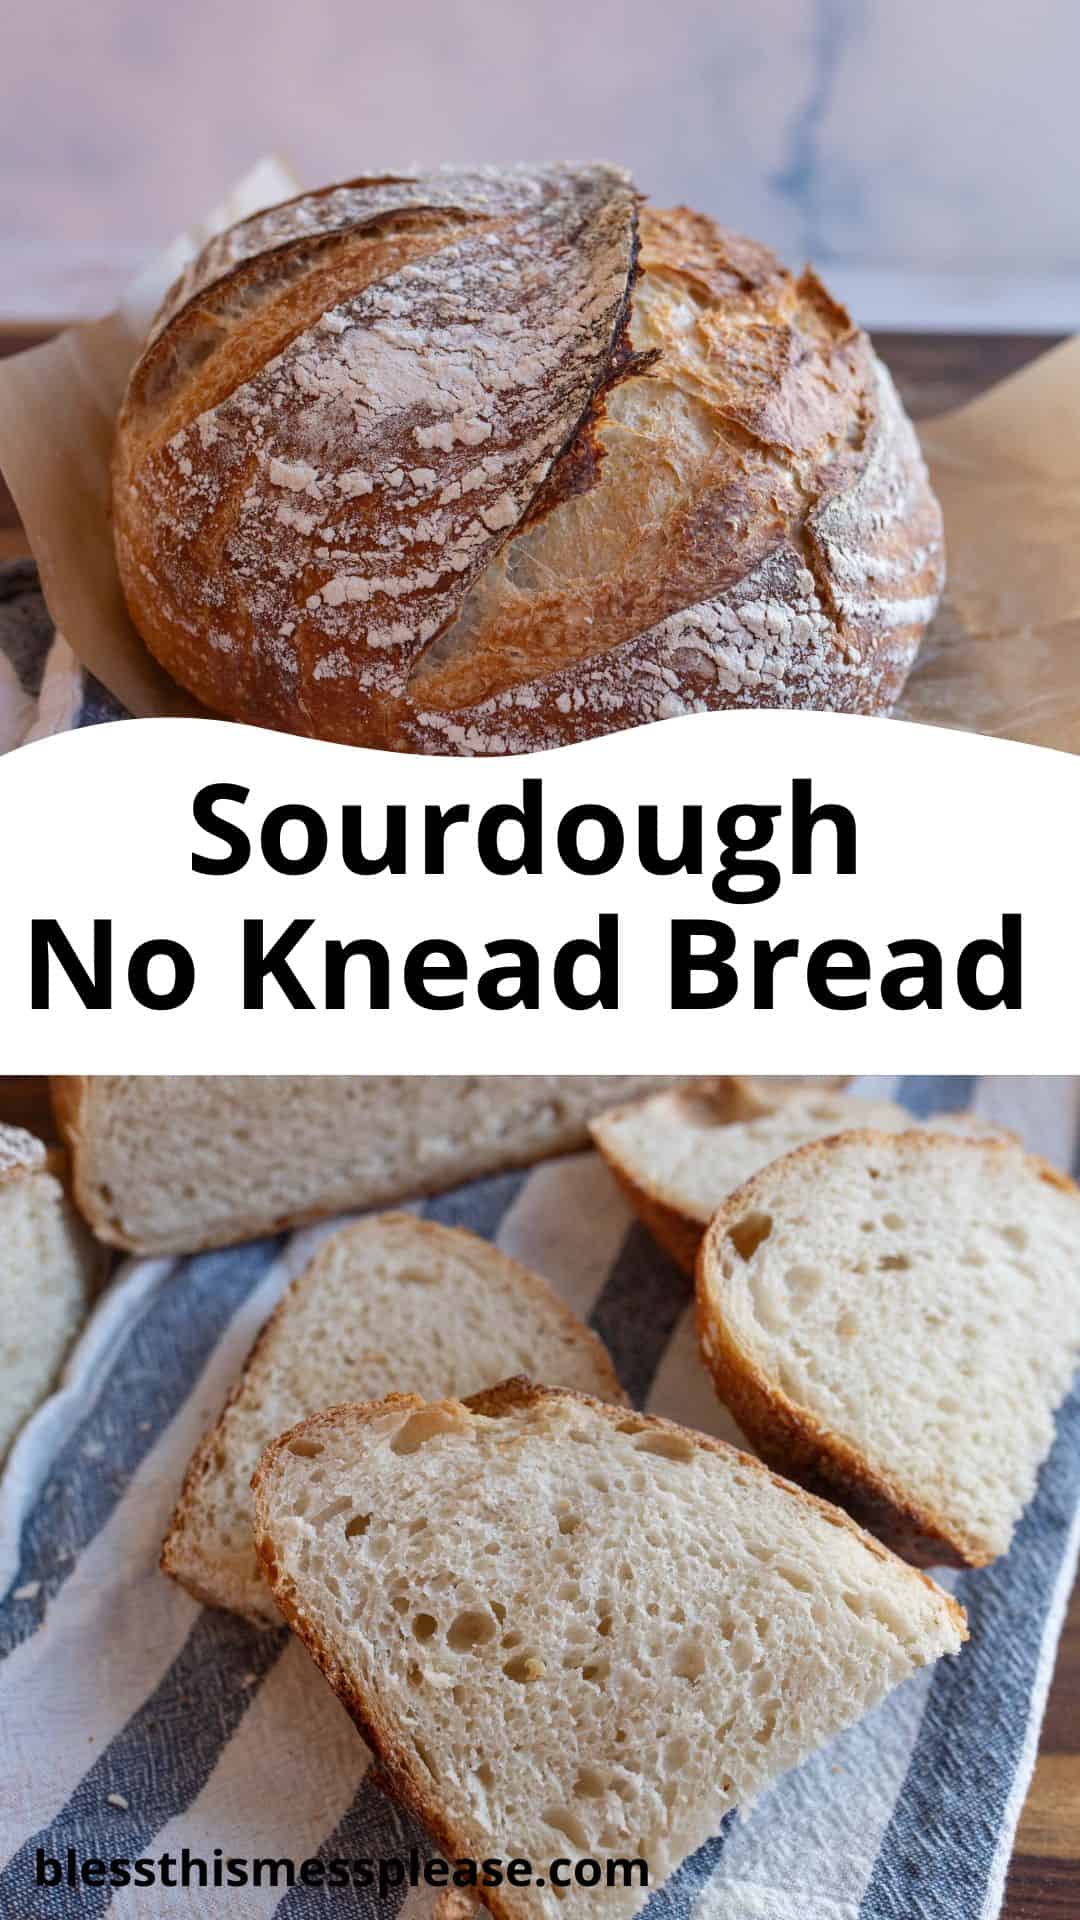
This no knead sourdough bread recipe is the perfect way to enjoy freshly baked bread—an easy beginner’s recipe! Why? Because there is no need to knead!
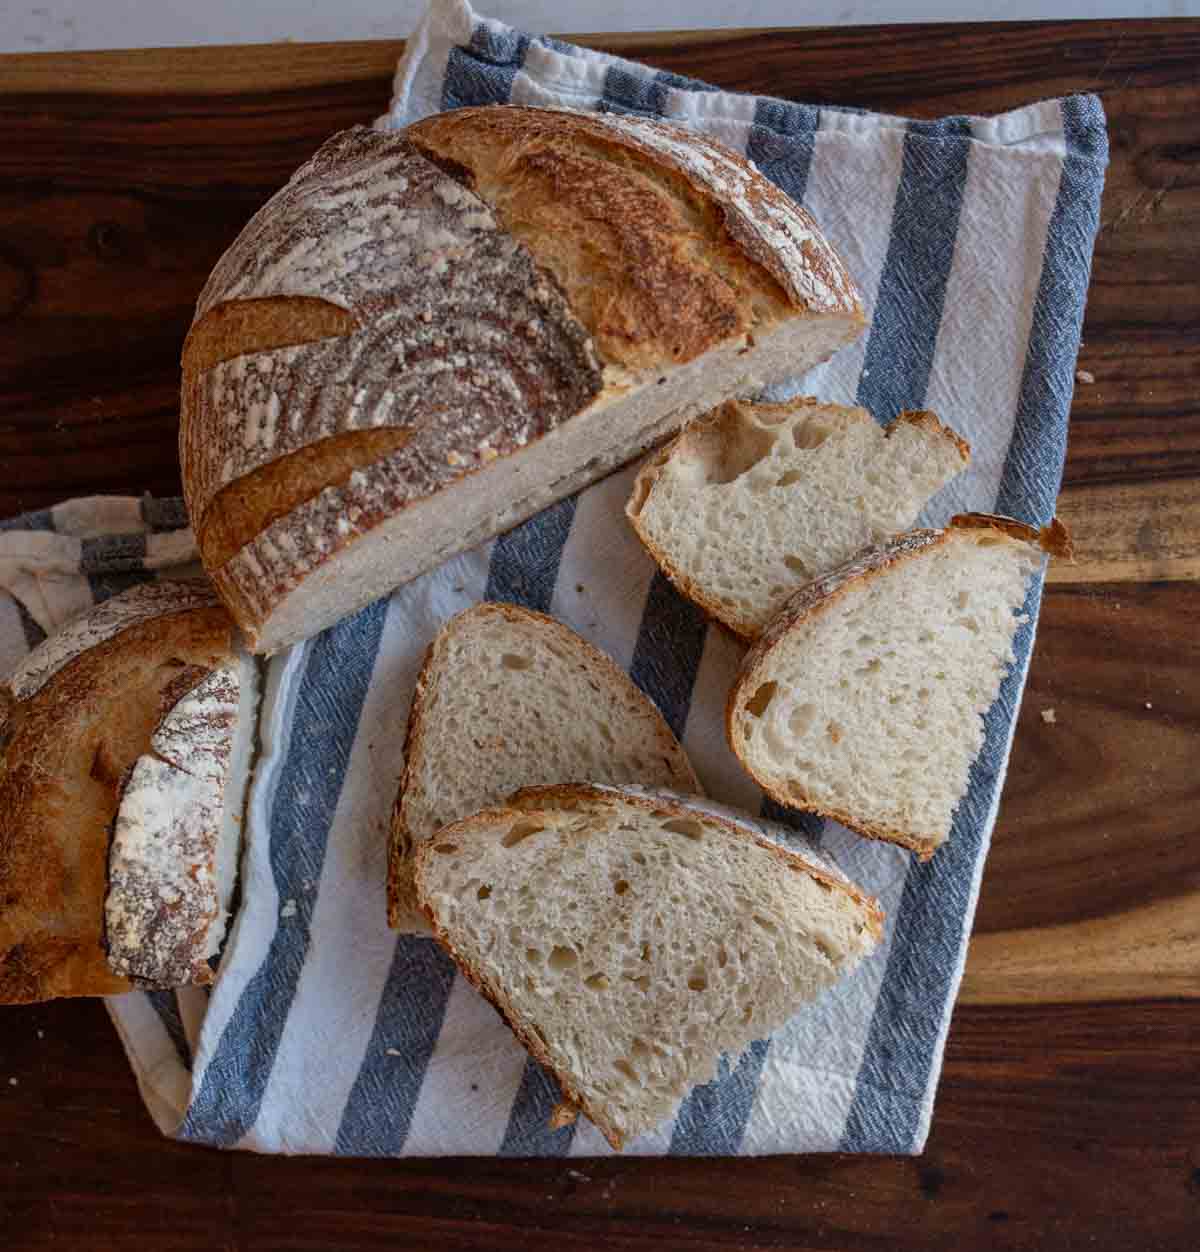
This basic sourdough recipe works through an extended fermentation time, which builds flavor. A simple mix-and-wait approach makes this recipe accessible even for beginners.
Melissa’s Note: The whole thing with this recipe is that it’s SO easy you DON’T HAVE TO STRETCH AND FOLD, which is a big deal in the sourdough world. Please believe me when I say this is super easy and perfect for beginners!
Time, a good sourdough starter, and the protein and gluten in the bread flour are enough to make this a gorgeous loaf with basically no hands-on time; it’s so simple. Follow along for a flexible, forgiving, and irresistibly delicious recipe!
Table of Contents
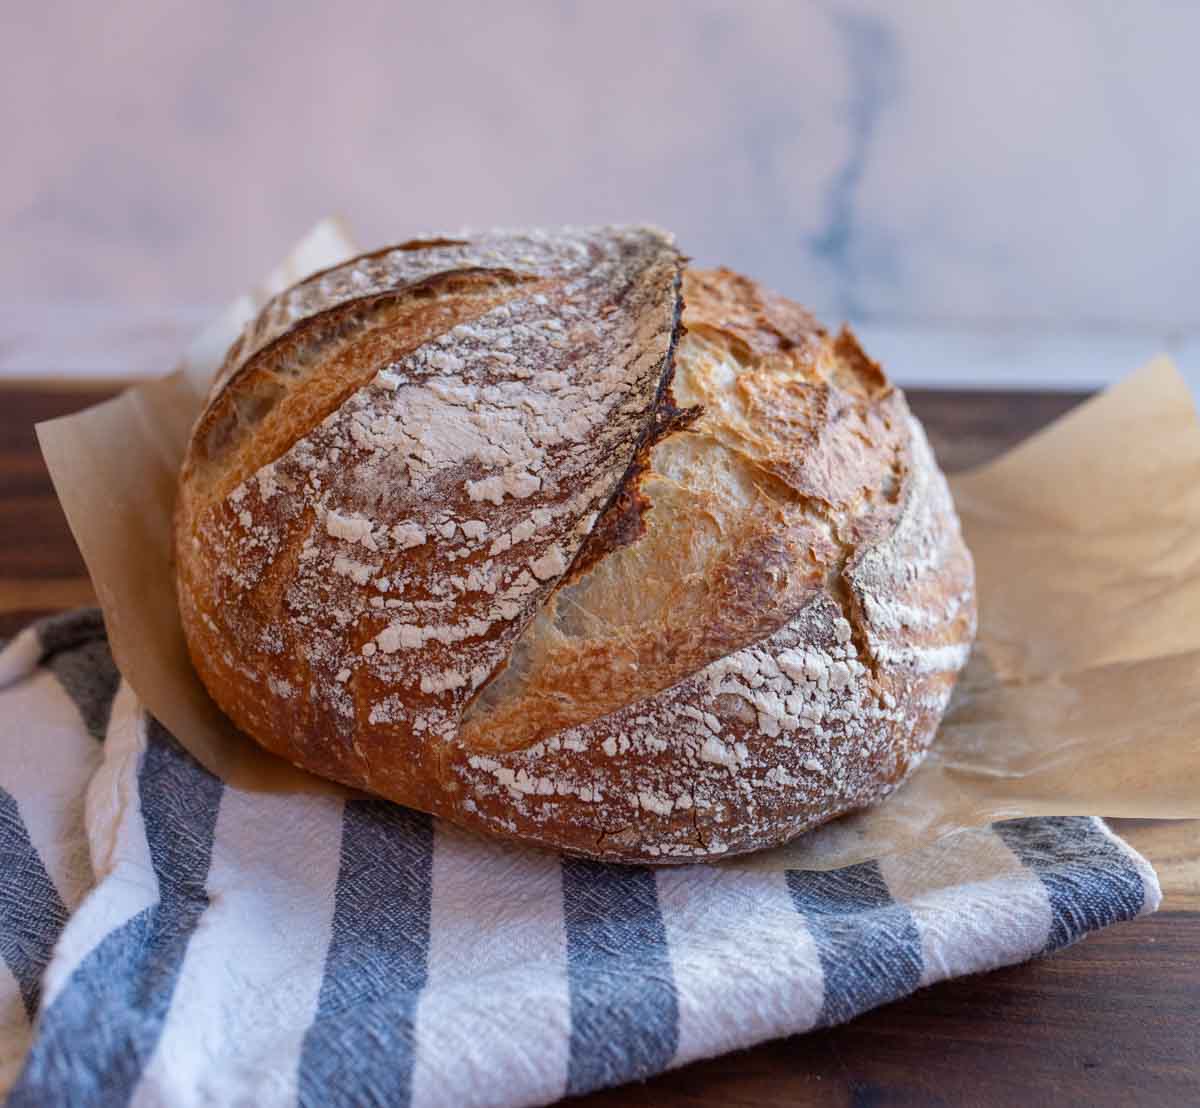
Why You’ll Love This No Knead Sourdough Bread Recipe
- No Knead: Seriously, there’s no kneading required for this recipe—just mix, rise, and bake!
- Perfect for Beginners: Maybe you’ve been brave enough to get your first sourdough starter going but then weren’t quite sure what to do with it. I say to make this super simple bread!
- Very Yummy: Just because it’s so easy does not take away from the class sourdough flavor we love. It’s really a very yummy recipe.
🍞🥖 New to sourdough? Find out how to make your own sourdough starter here, find my most popular and basic bread recipe here, and search the sourdough archive here.
Recipe Ingredients
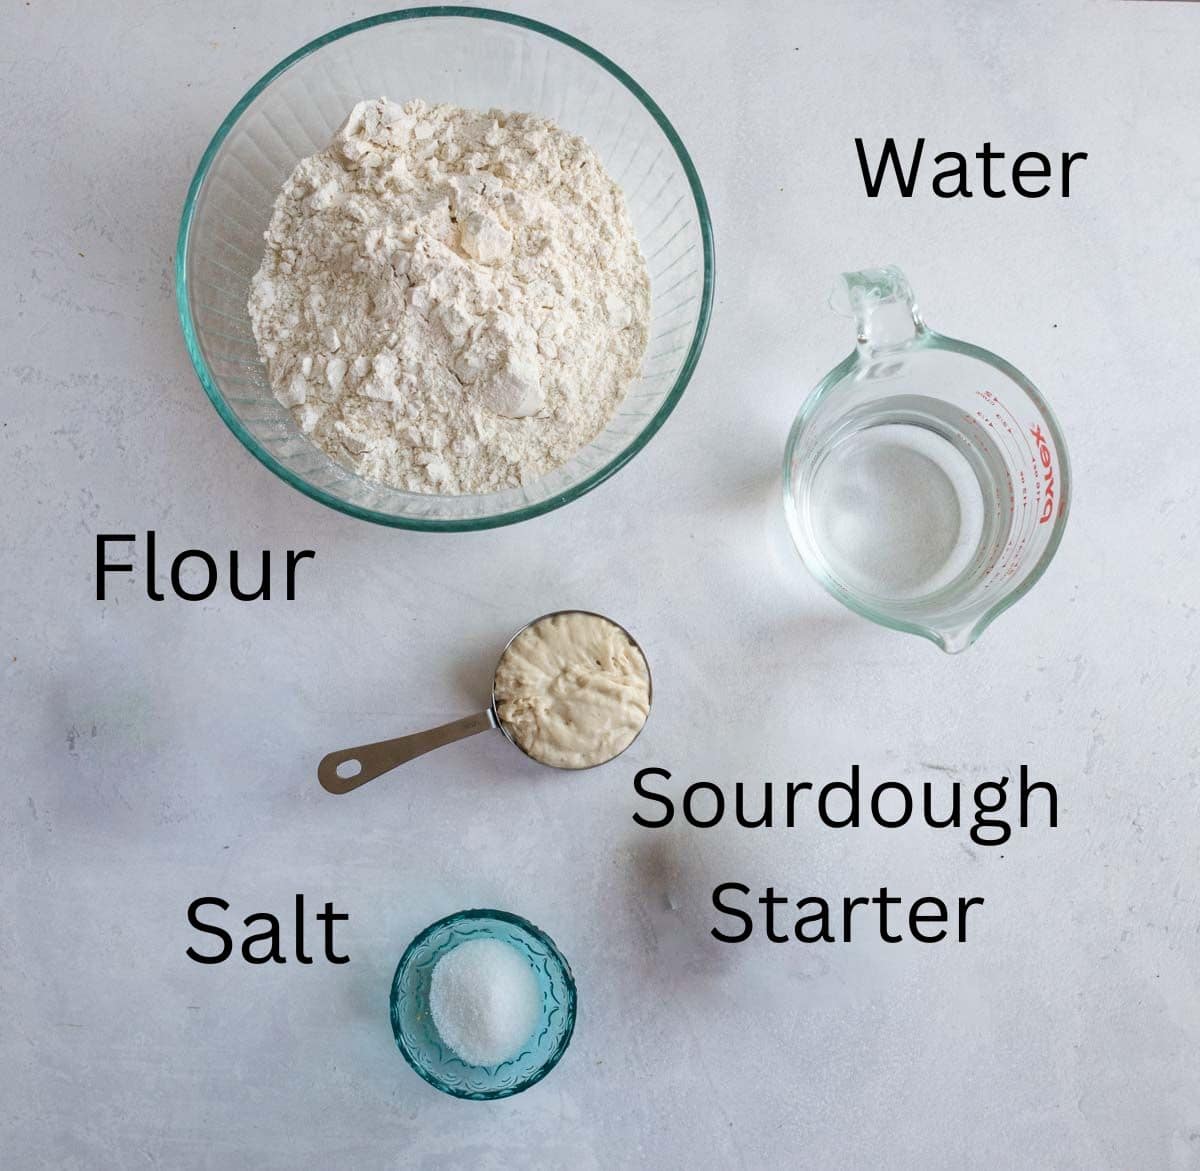
- Bubbly active sourdough starter
- Water
- Bread flour
- Fine sea salt
See the recipe card below for full information on ingredients and quantities.
How to Make No-Knead Sourdough Bread
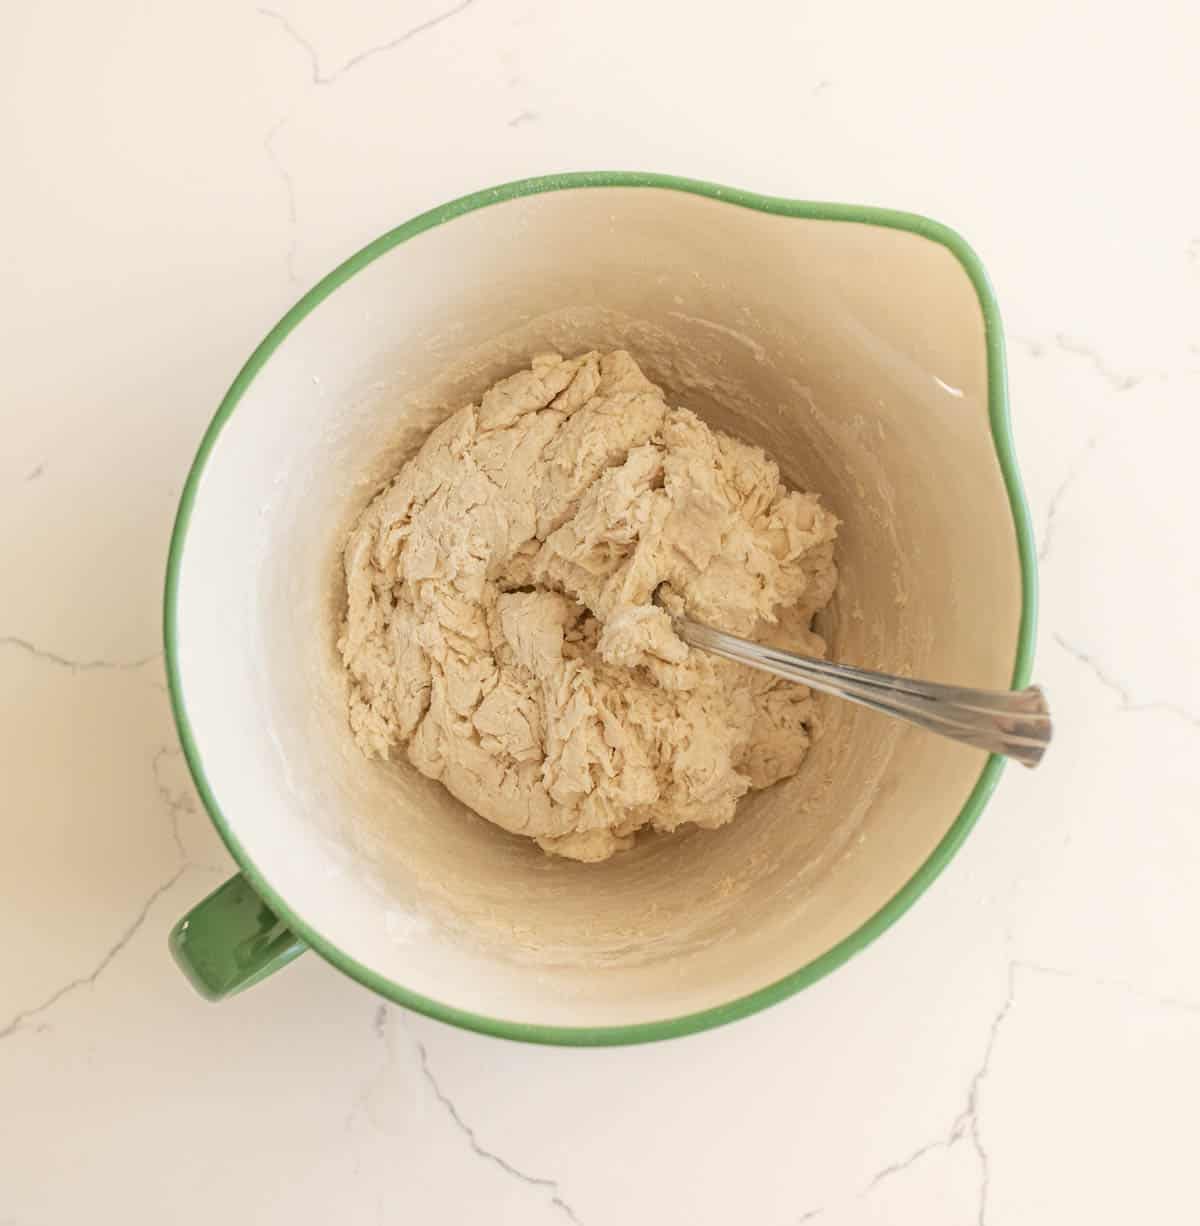
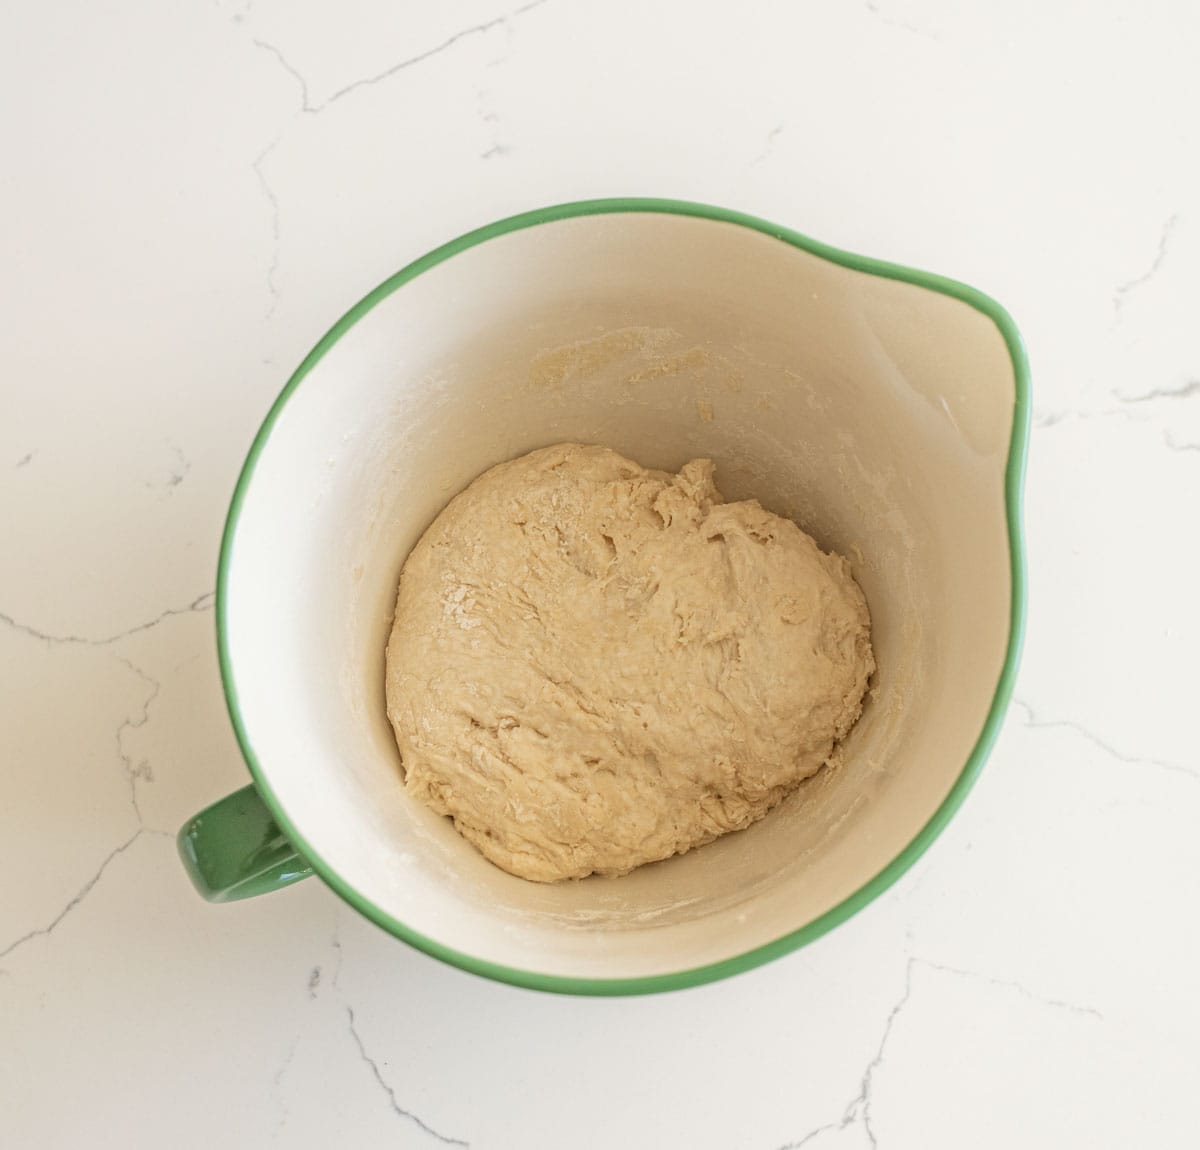
Step 1: Combine the active starter with water, stirring well with a fork. Add the flour and salt. Mix with a fork until the ingredients are combined. The dough will look rough and sticky, which is perfectly fine.
Step 2: Let the dough rest for 10 minutes and then stir it one more time. There should be no dry spots and it should look like traditional bread dough.
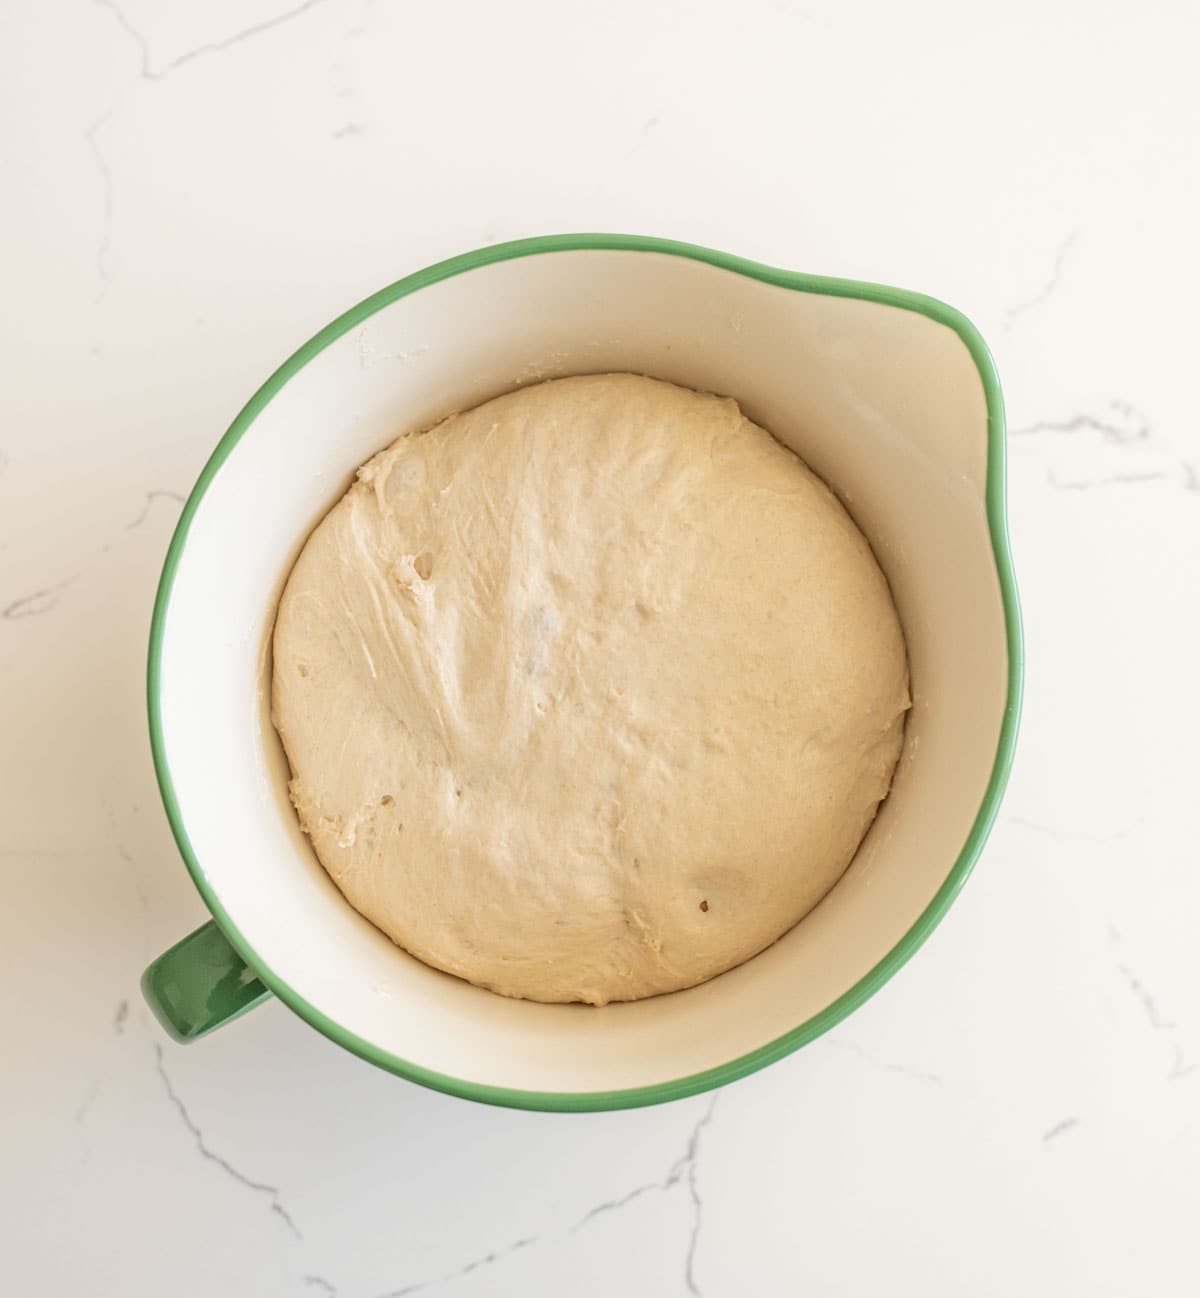
Step 3: After the initial rest, cover the bowl again and let the dough ferment for 8-18 hours at room temperature. This is the bulk rise, allowing the dough to develop flavor and structure. An overnight rise is generally the easiest timer for most bakers.
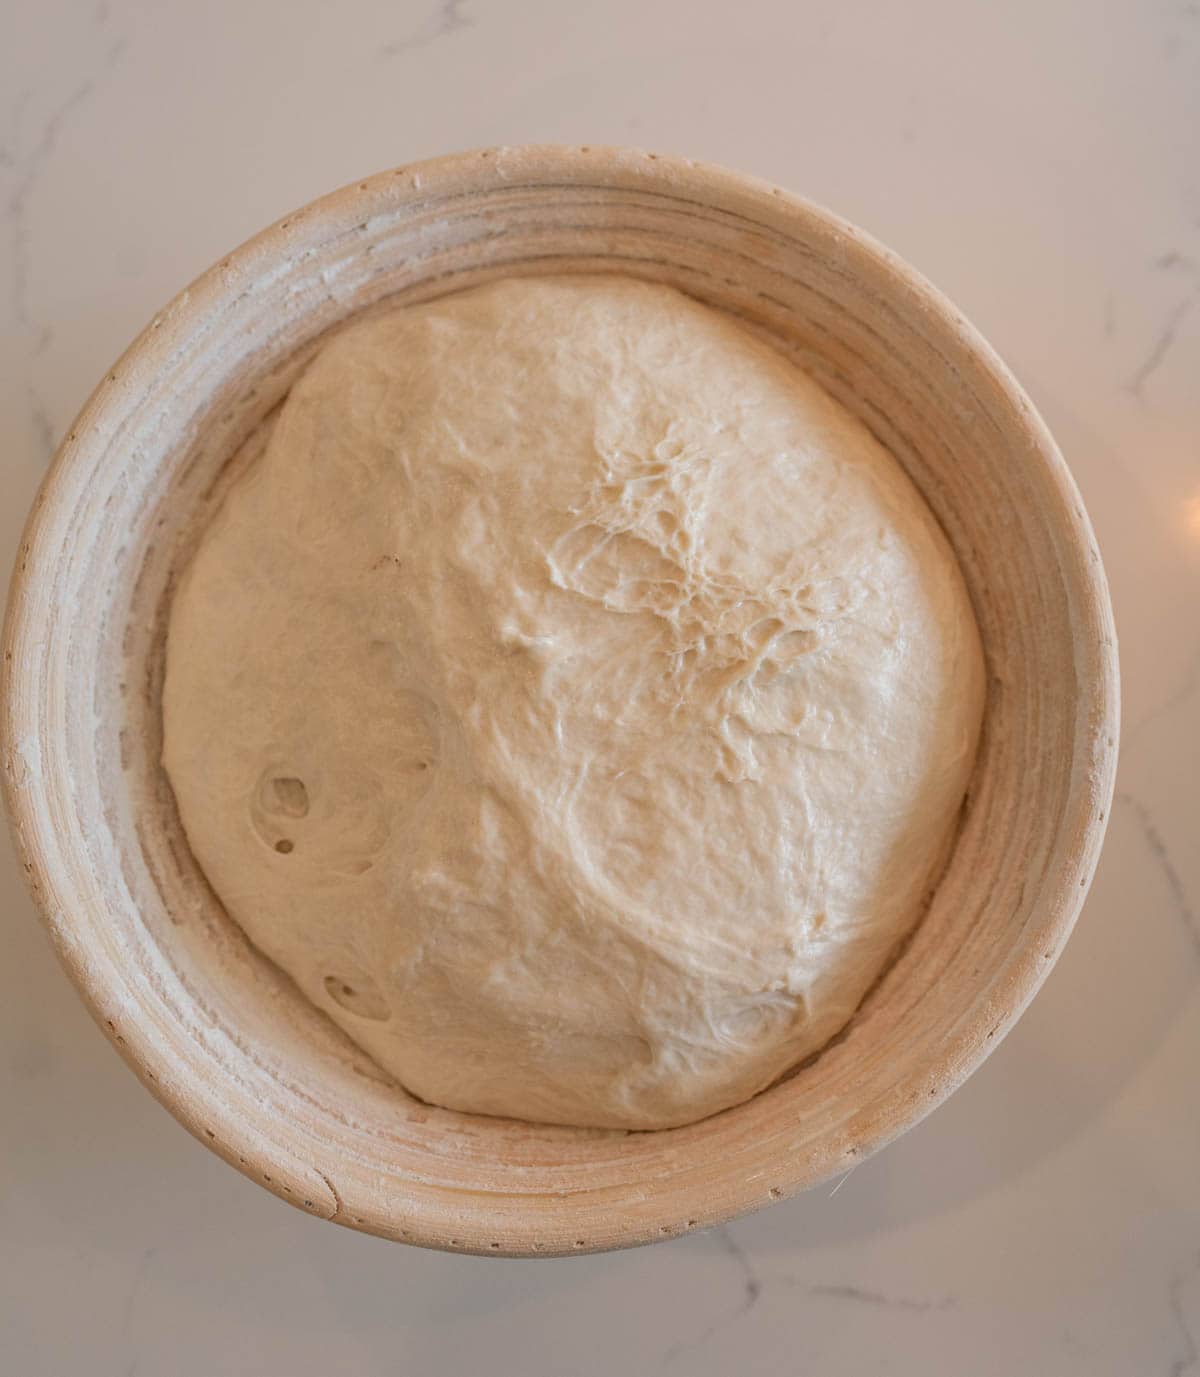
Step 4: Shape the dough on a lightly floured surface and let rest for 5-10 minutes. Place the dough ball, smooth side down, into a proofing basket or bowl. Cover with a damp towel and rest for 1-4 hours at room temperature until it spreads slightly and looks puffy.
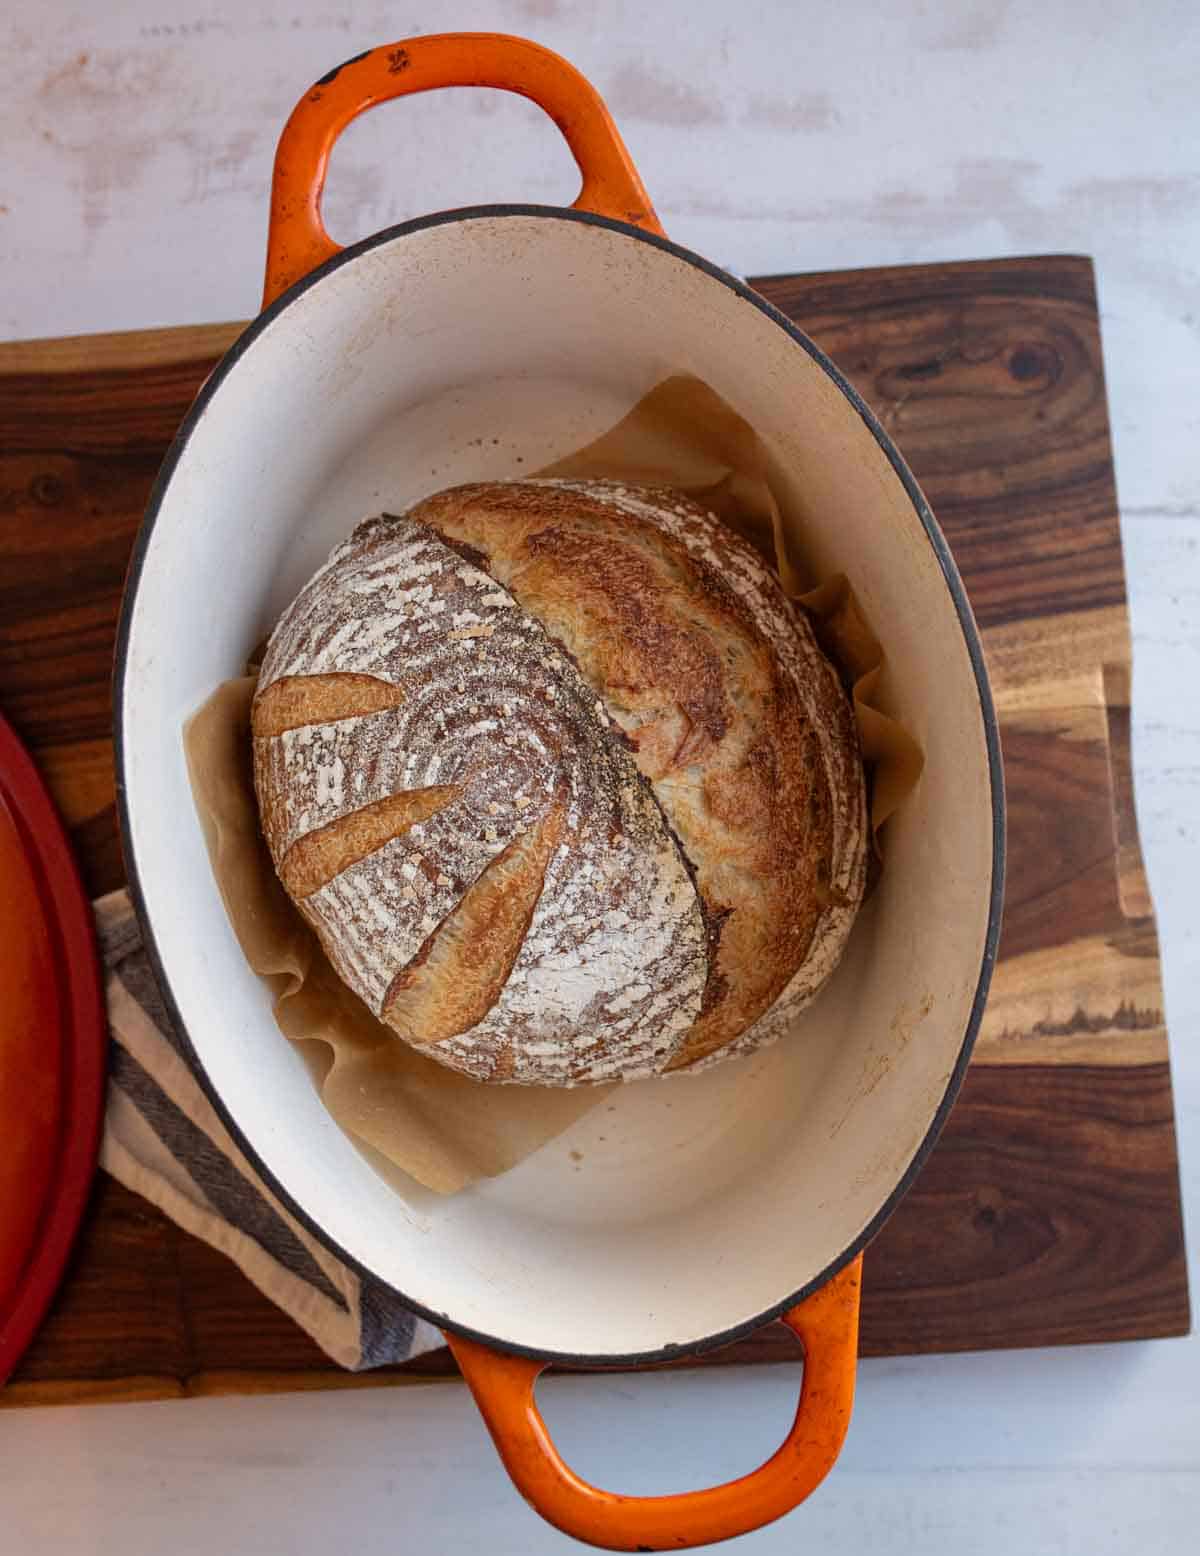
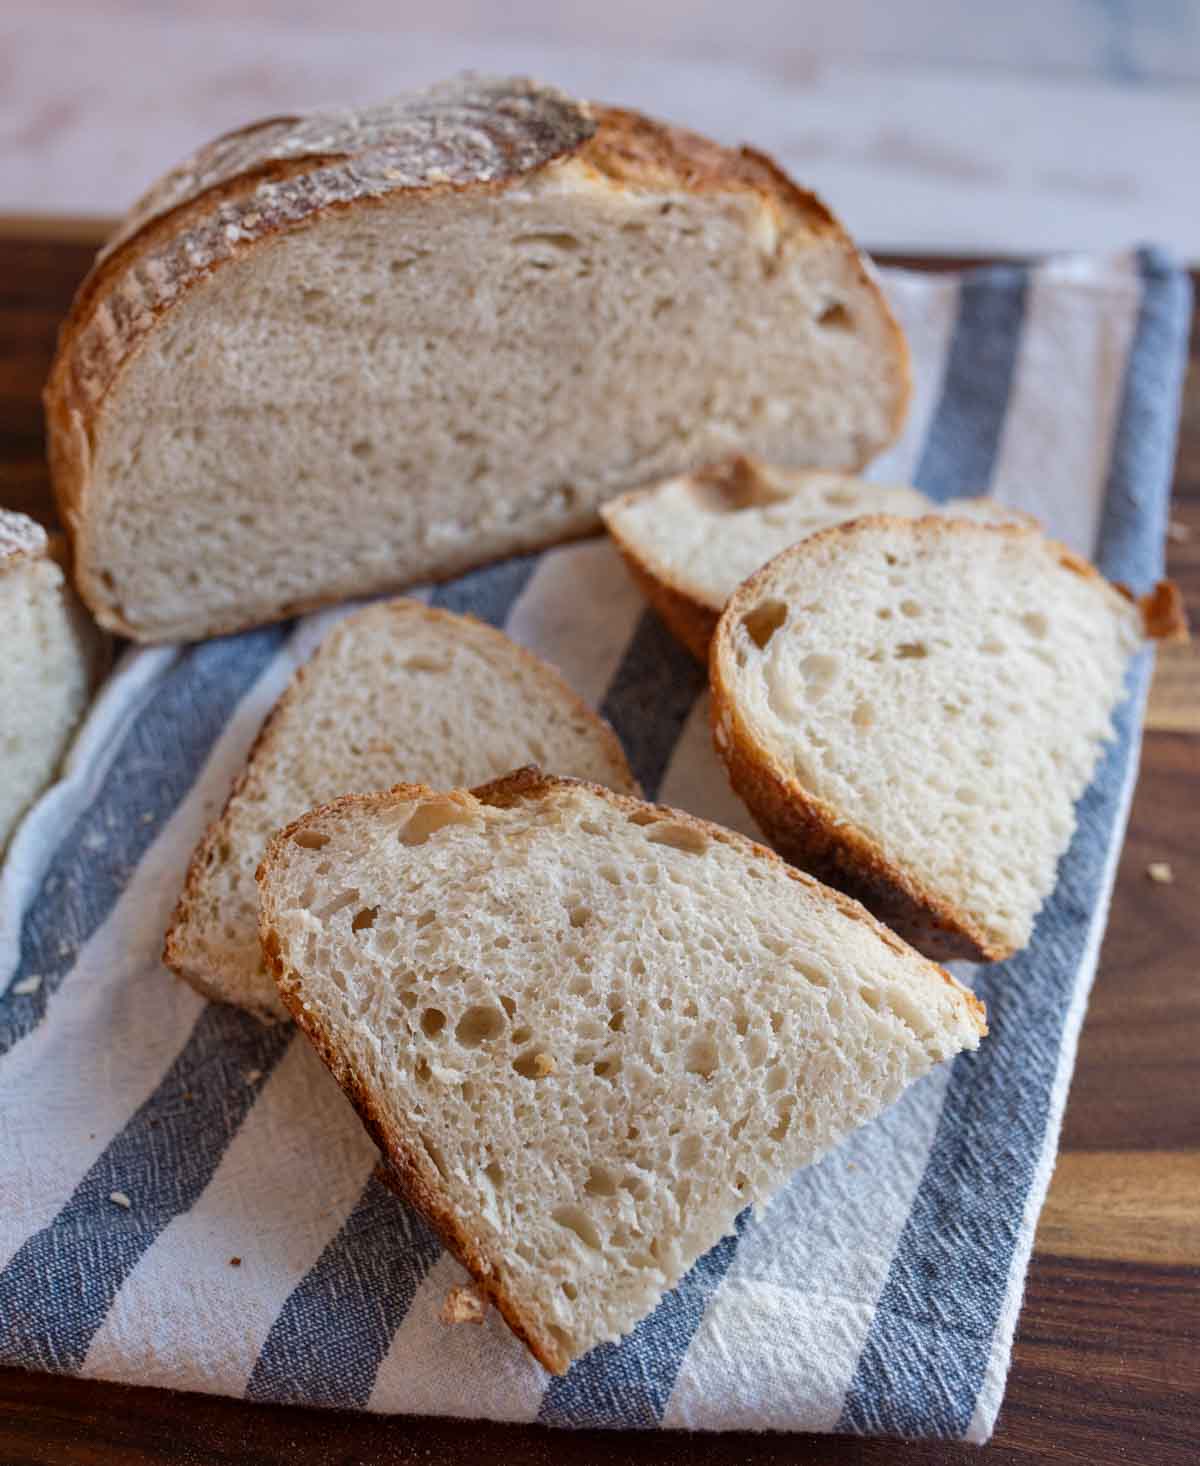
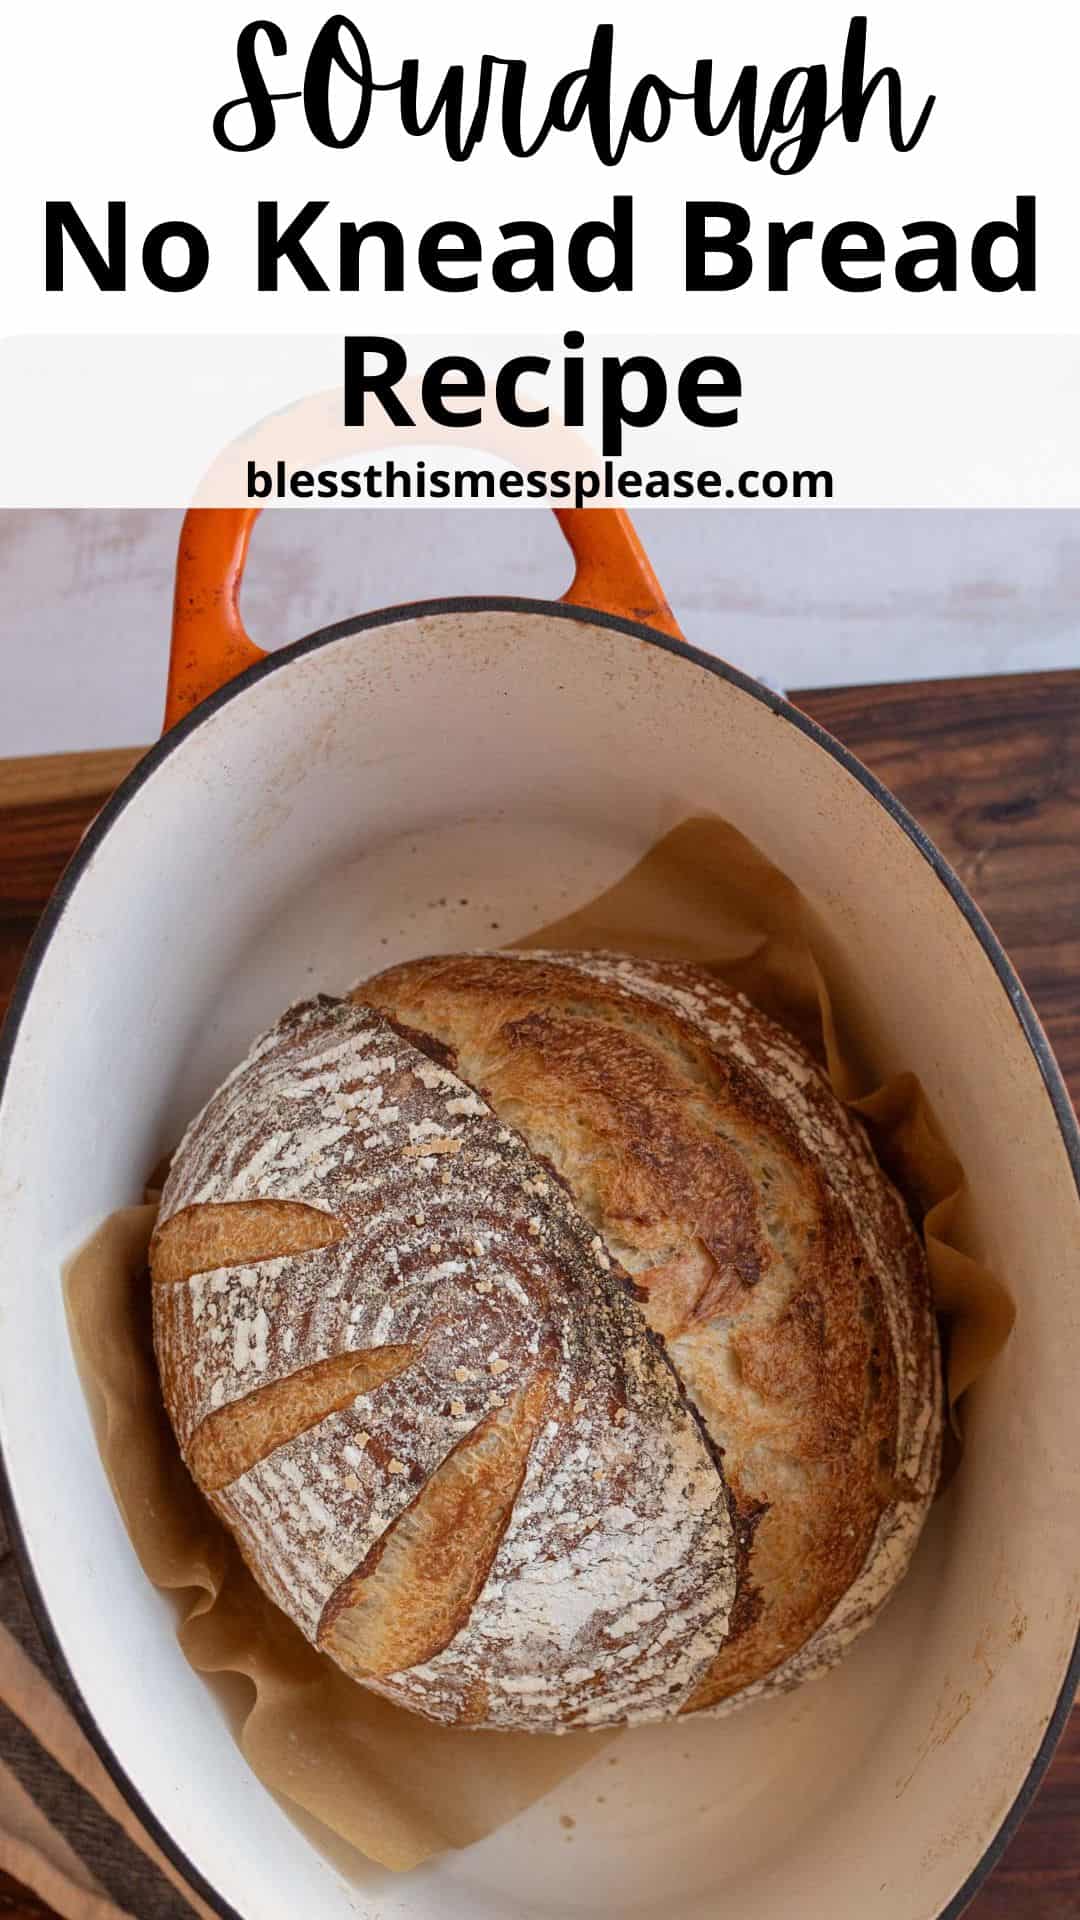
Step 5: Preheat your oven to 450°F (230°C). Turn the dough onto parchment paper, score the top, and transfer to a preheated Dutch oven with the lid on. Bake covered for 40 minutes, then remove the lid and bake for another 10-15 minutes until dark brown and hollow-sounding when tapped.
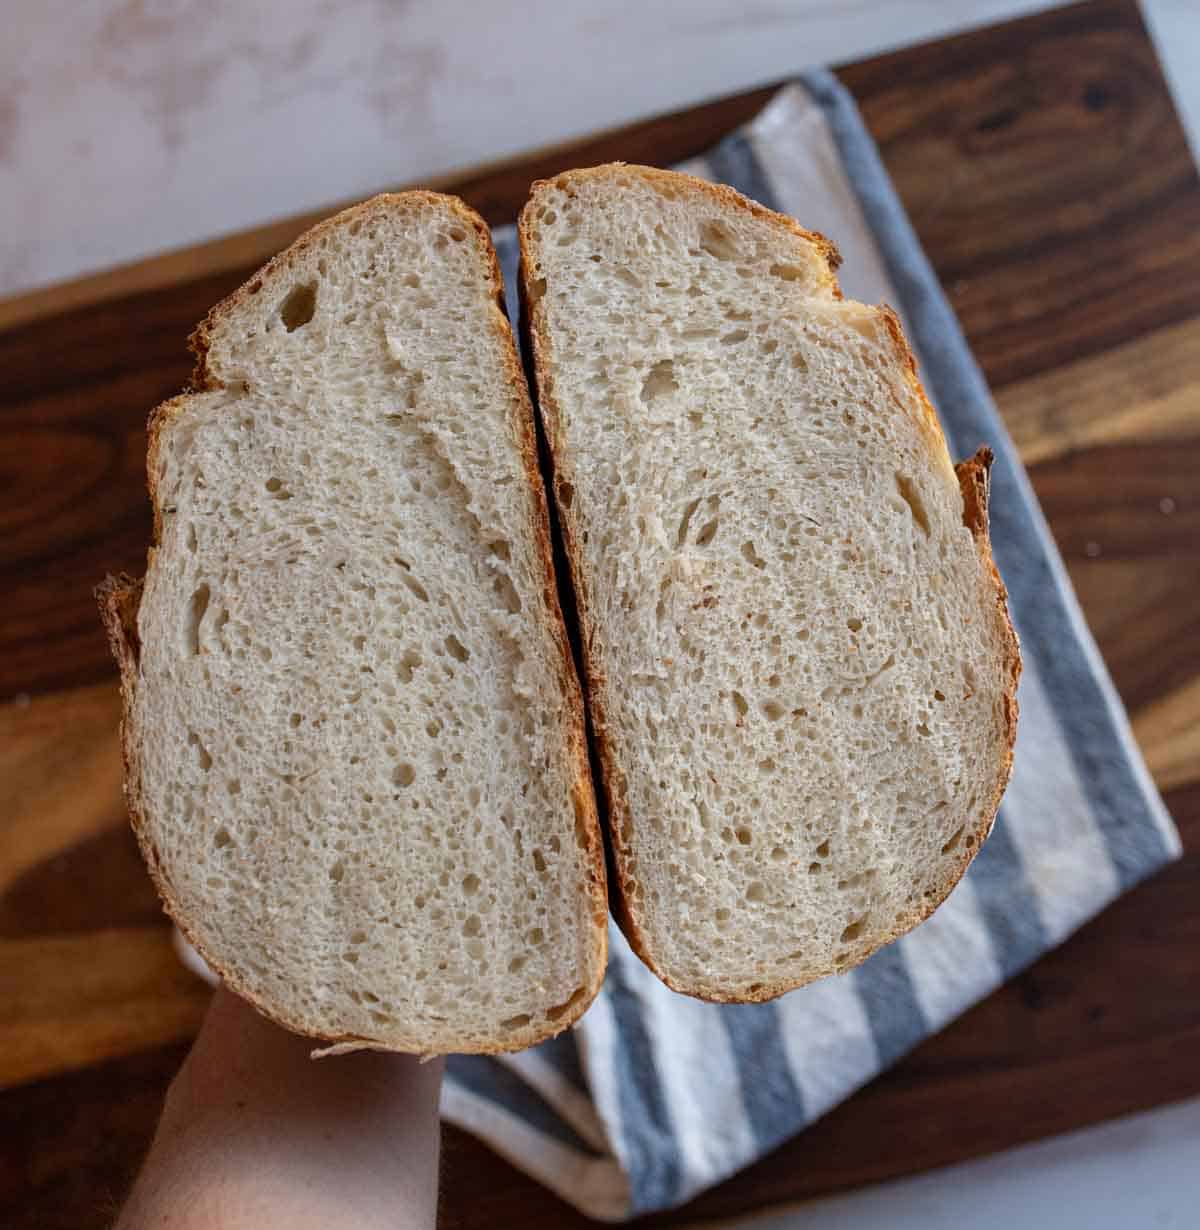
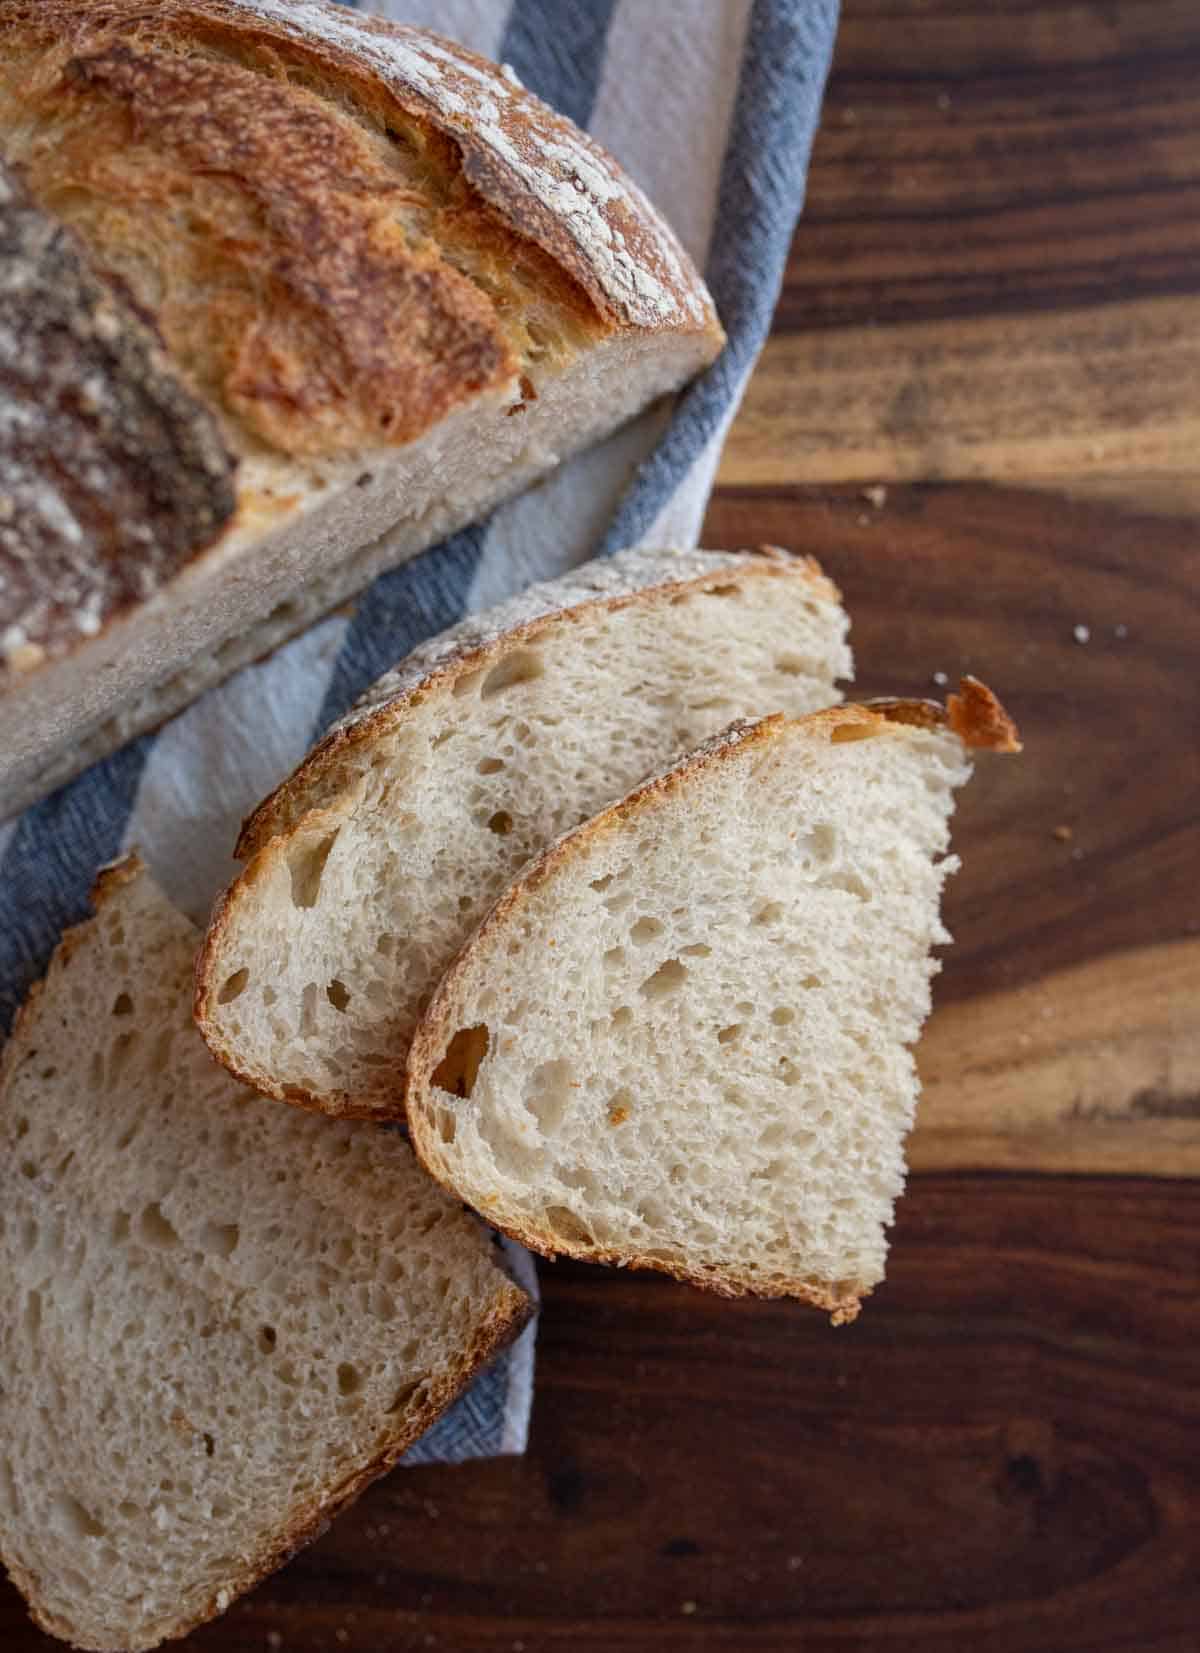
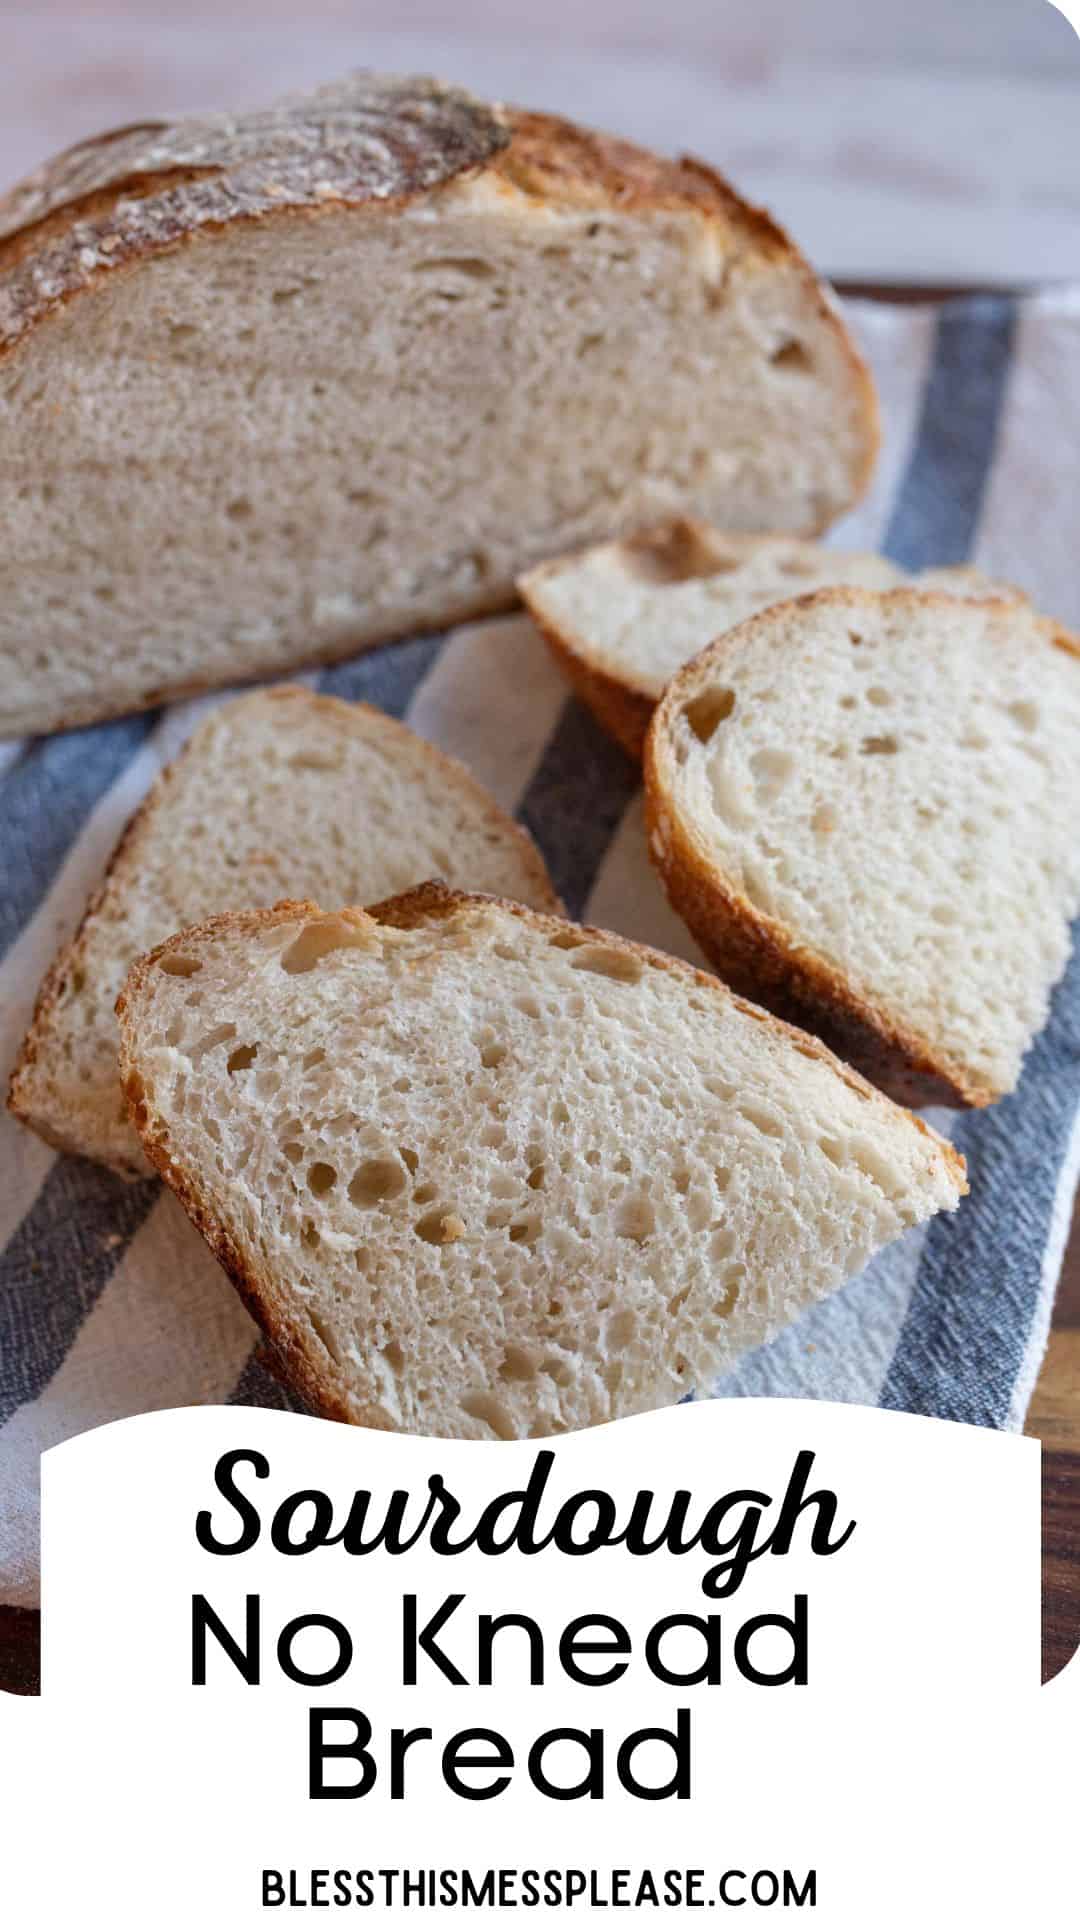
Step 6: Remove the bread from the oven, transfer it to a wire rack, and let it cool for at least 1 hour before slicing. Enjoy the bread fresh, or use leftovers for toast and sandwiches!
Recipe FAQs
If the dough is extremely sticky after the longer rest period you are going to need to knead a bit. Simple work in extra flour to your desired texture or workability. There’s no issue with adding more flour.
Keep sourdough bread at room temperature in a plastic bag for up to 3 days, or freeze it for longer storage. If you need to refresh the crust, toast the slices or warm the loaf in the oven.
Try baking at a slightly lower temperature (425°F) or placing the Dutch oven on a baking sheet to reduce direct heat to the bottom of the loaf.

Expert Tips
- For a Crisp Crust: Keep the lid on during the initial baking stage to trap steam, which helps create a crispy, blistered crust.
- Control the Flavor: A longer bulk rise will develop a more complex, slightly tangy flavor, while a shorter rise results in a milder taste.
- Perfect Scoring: Scoring the dough (making cuts in the top) helps control where the bread expands in the oven, resulting in a more beautiful loaf. Use a very sharp knife or a lame.
- Cooling for Best Texture: Let the loaf cool for an hour to allow the structure to set fully, making it easier to slice.
Other Sourdough Breads To Try
These are some of my other dare-I-say amazing sourdough recipes that have become family favorites!
- Soft Sandwich Loaf Sourdough Bread
- Fluffy Sourdough Rolls
- Sourdough Baguettes
- Sourdough Hamburger Buns
More Bread Recipes to Consider
Sourdough Recipes
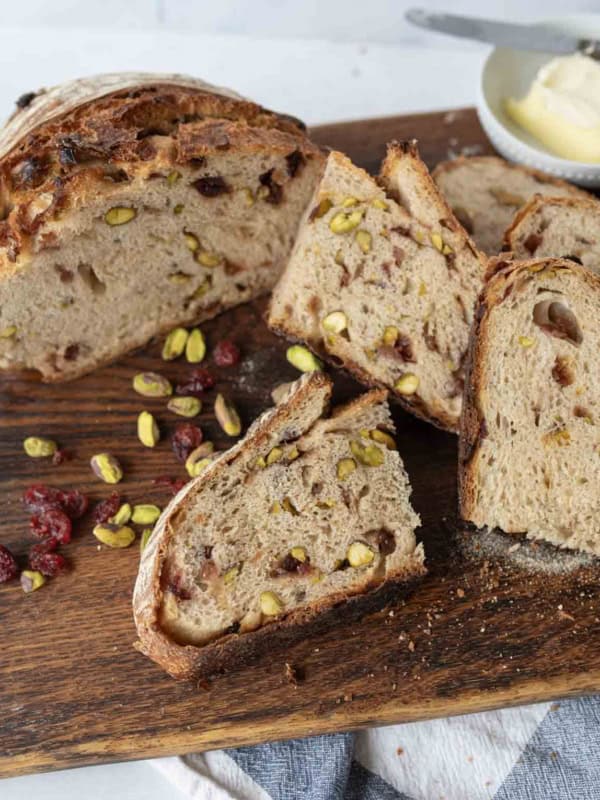
Orange Cranberry Sourdough Bread with Pistachios
Cornbread Recipes
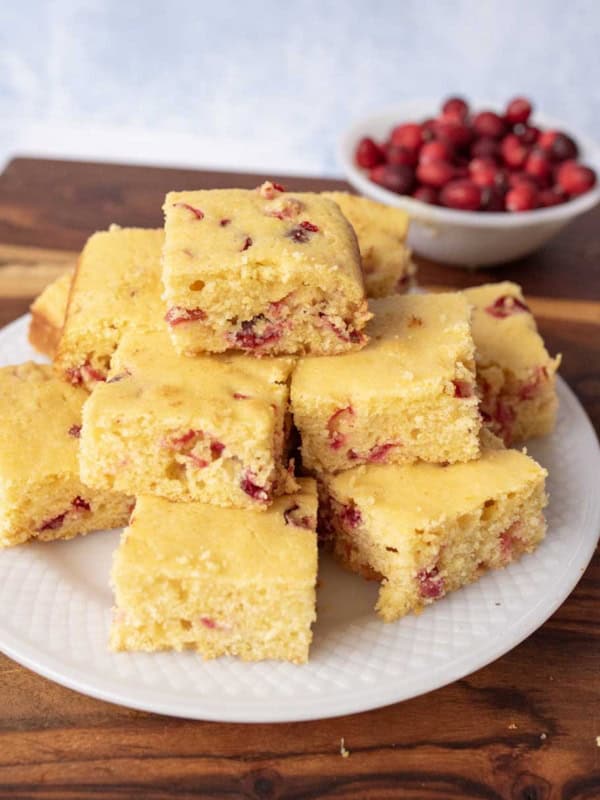
Sweet & Tangy Cranberry Cornbread
French Toast Recipes
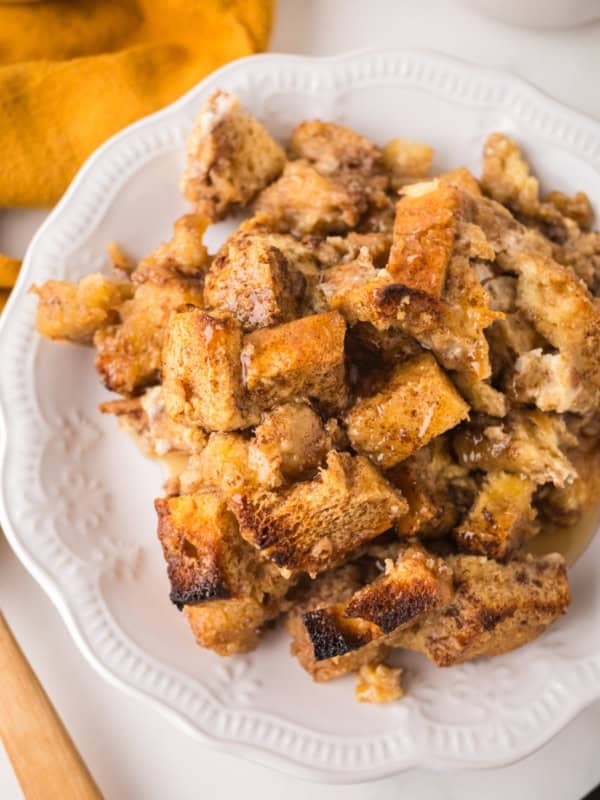
Sourdough French Toast Casserole
From Scratch Recipes
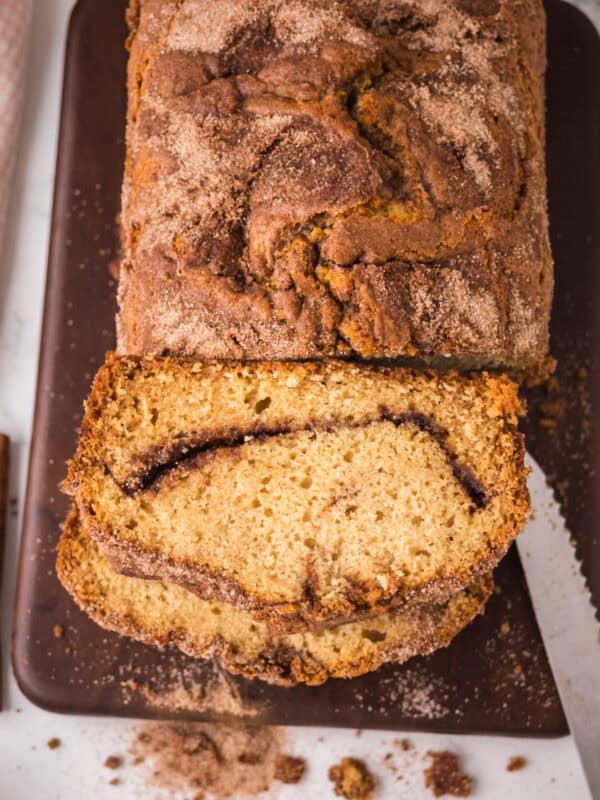
Cinnamon Bread: Easy Cinnamon Sugar Quick Bread
Did you make this recipe? Leave a ⭐️ review and share it on Instagram, Facebook, or Pinterest!
No Knead Sourdough Bread
Ingredients
- 1/3 cup bubbly active sourdough starter, (75 g)
- 1 1/4 cups water, (300 g)
- 4 cups bread flour, (500 g)
- 2 teaspoons fine sea salt, (10 g)
Instructions
- Feed your starter 4-12 hours before you plan to use it.
- In a medium bowl, combine the active starter with water, stirring well with a fork.
- Add the flour and salt. Mix with a fork until the ingredients are combined. The dough will look rough and sticky, which is perfectly fine.
- Let the dough rest for 10 minutes and then stir it one more time. There should be no dry spots and it should look like traditional bread dough.
- After the initial rest, cover the bowl again and let the dough ferment for 8-18 hours at room temperature. This is the bulk rise, allowing the dough to develop flavor and structure. An overnight rise is generally the easiest timer for most bakers.
- Gently transfer the dough onto a lightly floured surface. Shape the dough by tucking the edges into the center, forming a tight ball. Let the dough rest for 5-10 minutes.
- Dust a proofing basket or an 8-inch mixing bowl (lined with a floured kitchen towel or generously coated with cooking spray and flour) to prevent sticking. Place the dough ball, smooth side down, into the basket or bowl. Cover with a damp towel.
- Let the dough rest for 1-4 hours at room temperature until it spreads slightly and looks puffy.
- Preheat your oven to 450°F (230°C). Carefully turn the dough out onto a piece of parchment paper, score the top, and transfer to a preheated Dutch oven with the lid on.
- Bake covered for 40 minutes, then remove the lid and bake for another 10-15 minutes until dark brown and hollow-sounding when tapped.
- Remove the bread from the oven, transfer to a wire rack, and let cool for at least 1 hour before slicing. Enjoy the bread fresh, or use leftovers for toast and sandwiches!
Notes
- I highly recommend using bread flour for this recipe instead of swapping it out for all-purpose. Because we are not building up the gluten by stretching and folding, it’s better to start with flour that has more gluten; that’s bread flour! You’ll get a nicer loaf by using it.
- I’m sourdough obsessed and wrote a whole cookbook about it! It has step-by-step photos of this recipe if that’s helpful. You can buy a digital or hardcover copy of the sourdough cookbook here.
- If the bottom crust is too dark, try lowering your oven temperature by 25 degrees.
- After I mix up my dough, I refresh my starter by feeding it. I keep 25 grams of the leftover starter and mix it with 50 grams of water and 50 grams of flour by weight. I leave it on the counter if I’m baking tomorrow. If I’m not baking again the next day, I let it rest at room temperature for a few hours and then store it, covered, in the fridge until I’m ready to bake again.



I have been struggling with sourdough bread forever and finally have a recipe that works.
Thank you !!
Welcome to the club!! So glad you found my easy recipe!
Finally! Success in baking a sourdough loaf. It was delicious and fairly easy to do. I did knead the dough slightly, a few rubs around the bowl because I didn’t have bread flour. I need to use a smaller Dutch oven for this loaf so it isn’t so flat. I preheated the Dutch oven, used a parchment paper liner. I also sprayed with a water bottle (just a couple of spritz’s) before covering to bake. Resulting crust was nice!
No issues with kneading the dough, it only helps you just don’t have to. And bread flour will make a big difference in this recipe. I can’t wait for you to try it with it!
I’m a self-professed bread-baking failure. In 10 years of on-again off-again attempts at bread baking, I’ve managed just one or two loaves worthy of calling bread. That is until I tried this recipe using a starter I purchased from our local dairy farm store. This recipe is so simple that even I was successful! I can’t tell you how good that felt. And the sourdough loaf? It was delicious. Thank you! Thank you! Thank you! I’m looking forward to baking my next loaf.
Welcome to the sourdough club Stephen! So glad you loved the recipe!
I’m going to give this one a try. I’m going on 83 years old & just got the bug due to my Son-In-Law that started baking loaves of bread a month or so. I never really liked anything to do with cooking even though I’ve done some over the years. The bread thing has me hooked. The real fun is seeing the results of the various recipes when I’m done. I need to be feeding a larger family other than my wife & myself so I could try more variations.
I can’t wait to hear how it goes for you Norman!
This was perfect and so easy! My family loved it.
Yay! Love that it turned out for you Becky! Welcome to the sourdough club!
I absolutely love this method, and the taste is superb. I crave more soon after a loaf is consumed!
Thank you for the recipe. The dough is going into the oven in 2 hrs .
On a different note, my grandfather was from Orderville‼️. Perhaps we’re related 😂😂😂
Thanks again 🫂🥰
We are totally related if your people are from here (at least you’d be related to my husband), his lines run deep!
This was my first attempt at making sourdough bread.
Wow! The end result looked and tasted like bread from
a bakery! Thank you for such a simple, user-friendly recipe.