Mom’s Jumbo Dinner Rolls
on Dec 17, 2009, Updated Mar 12, 2025
This post may contain affiliate links. Please read our disclosure policy.
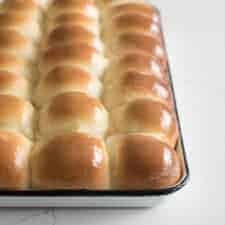
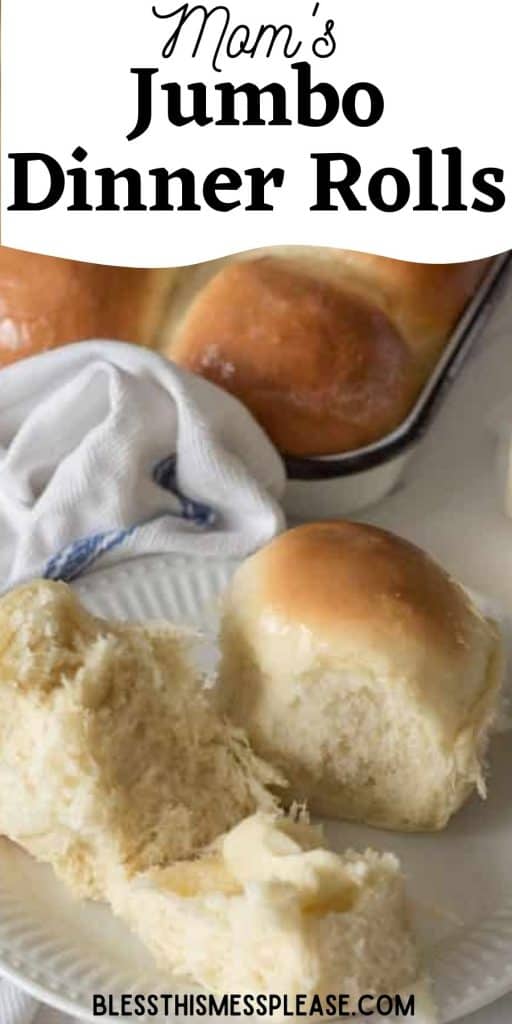
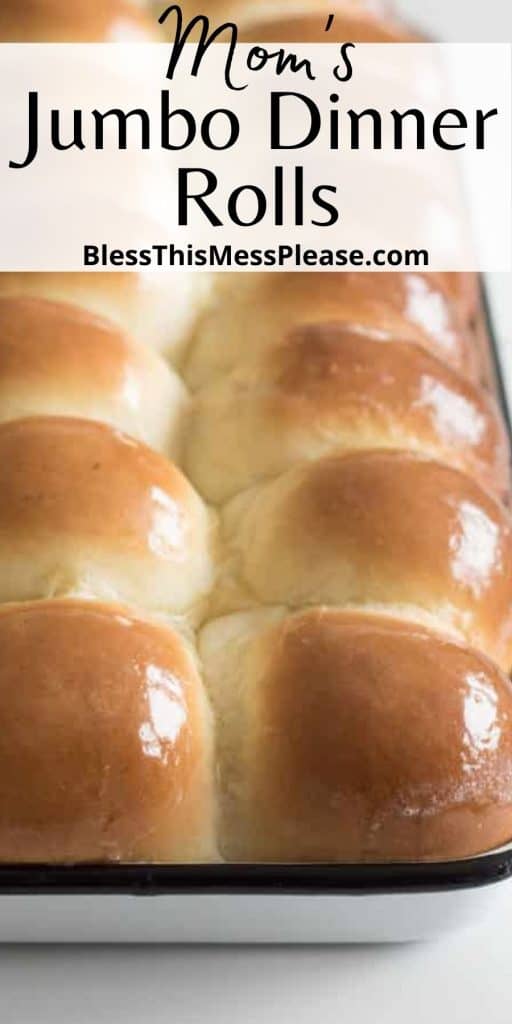
My mom has been making this homemade dinner rolls recipe for years and they’re absolutely divine. They make your house smell amazing and the recipe makes perfectly soft and fluffy jumbo dinner rolls. The dough is extra soft and tender thanks to the addition of butter, milk, and eggs! So tasty and perfect for your Thanksgiving or Christmas dinner table.
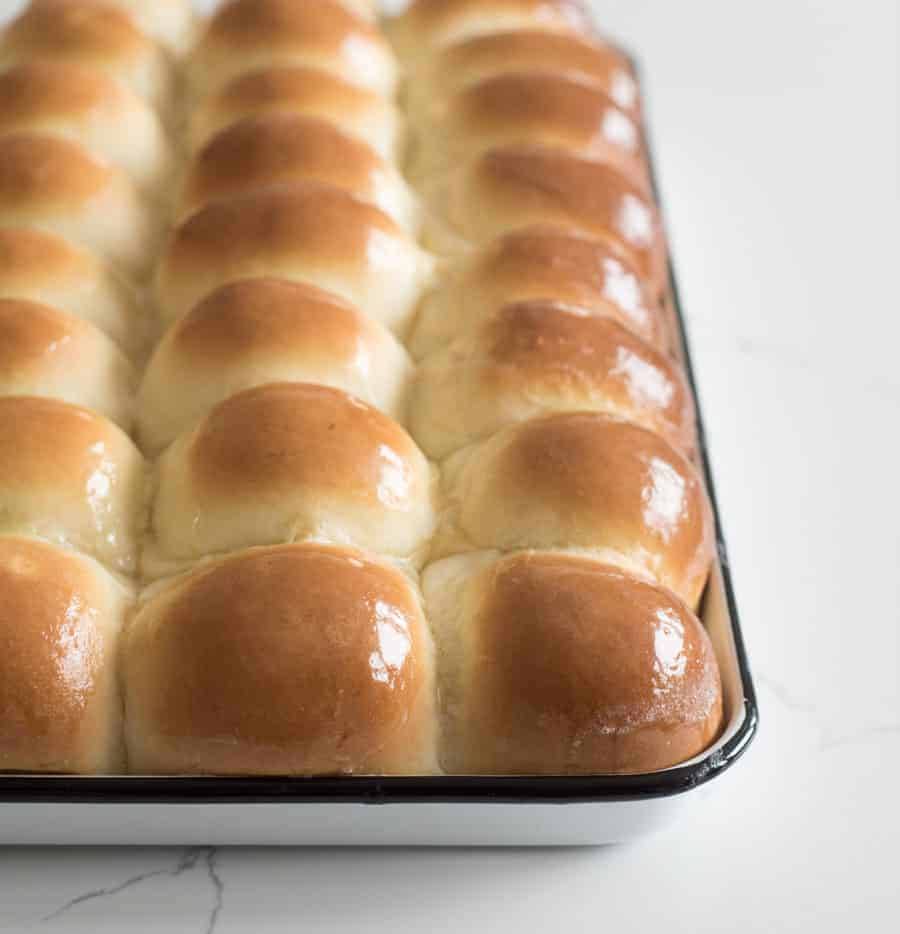
This dinner roll recipe makes big, fluffy dinner rolls that your whole family will love to eat. They simply turn out great every time. My mom has a handful of recipes that she’s “known for,” and this, my friends, is her nearly famous dinner roll recipe. She makes it for all the major holidays and family functions, and when she flies out west to visit all the grandbabies, we always request a batch of her famous dinner rolls. They are the stuff childhood memories are made of.
This is a classic dinner roll recipe, but the trick to make the rolls extra soft and buttery is melted butter, eggs, and milk in the dough. All three of those things lend to really tender dough. This is actually a great dough recipe for cinnamon rolls, but we’ll save that for another post. I can’t wait for these simple dinner rolls to become a family favorite in your house, too.
Table of Contents
Why You’ll Love This Recipe
- Even if you are new to yeast baking these are the easiest rolls ever! Seriously, they’re fool-proof even if baking rolls has given you trouble in the past.
- You can easily spruce these up by adding chopped herbs and garlic, cinnamon and sugar, cheese and jalapeño, or bacon bits and cheese to the dough! Just add your additions of choice before kneading the dough and letting it rise.
- These rolls are kneaded to perfection, resulting in a soft, elastic dough that bakes into light and airy rolls with a golden, buttery crust.
- You can prepare these rolls in advance and either store them at room temperature or freeze them, making them convenient for busy schedules and holiday preparations.
Recipe Ingredients
- Instant yeast
- Flour – all-purpose
- Sugar – granulated
- Milk
- Butter – Can be substituted with margarine
- Eggs
- Salt
See the recipe card below for full information on ingredients and quantities
How to Make Dinner Rolls
Step 1. Combine warm milk, melted butter, water, yeast, sugar, and salt. Add flour gradually and knead into a soft dough.
Step 2. Let the dough rise in a greased bowl for 30 to 60 minutes.
Step 3. Divide dough into 32 pieces, shape into balls, and place on a greased baking sheet. Let rise again until doubled.
Step 4. Bake at 400°F for 14 to 18 minutes, then butter the tops and serve warm or at room temperature.
Recipe FAQs
Fill up a small measuring cup with a little warm water. Add 1/4 teaspoon of your yeast, and then add a pinch of sugar and lightly stir it together. Wait for 5 minutes. If the yeast is still active, you will see little bubbles along the top of the water, and it will start to “foam.” I think the date on the yeast package is a good guide, and I like to store my yeast in the fridge to help keep it fresh. When in doubt, get new yeast. Nothing is worse than an loaf of bread that won’t rise!
I love to serve dinner rolls shortly after taking them out of the oven, when they’re still warm and buttery and soft. If you’re waiting to serve them, you can place them in a cloth napkin-lined basket and loosely cover them with another cloth napkin to keep the warmth inside.
The key to these being super tender and soft is the milk, melted butter, and eggs. Be sure you scald the milk and melt the butter together to get really incredible results! Also, don’t be afraid to over-knead the dough. The longer and more you knead it, the more elastic and tender it becomes.
I could eat these plain and have about 7 of them as a whole meal. But we also love serving them for holiday meals or other special occasions. Serve them with butter and jam if you like, or split them open and make a little turkey or ham sandwich using them.
Expert Tips
- Make sure your yeast is fresh! Check the date before starting. This is the yeast that I use and have great success with.
- Ensure the water is warm but not hot (about 110°F) when mixing with the yeast. Too hot, and it can kill the yeast; too cold, and the yeast won’t activate properly.
- Add the flour gradually, 1/2 cup at a time, to avoid a dense dough. The dough should be soft and elastic but not sticky.
- Don’t be afraid of over-working your dough. Kneading the dough will lead to tender and soft dough.
- Let the dough rise in a warm, draft-free area. If your kitchen is cold, you can place the dough in an oven with just the light on or near a slightly warm oven.
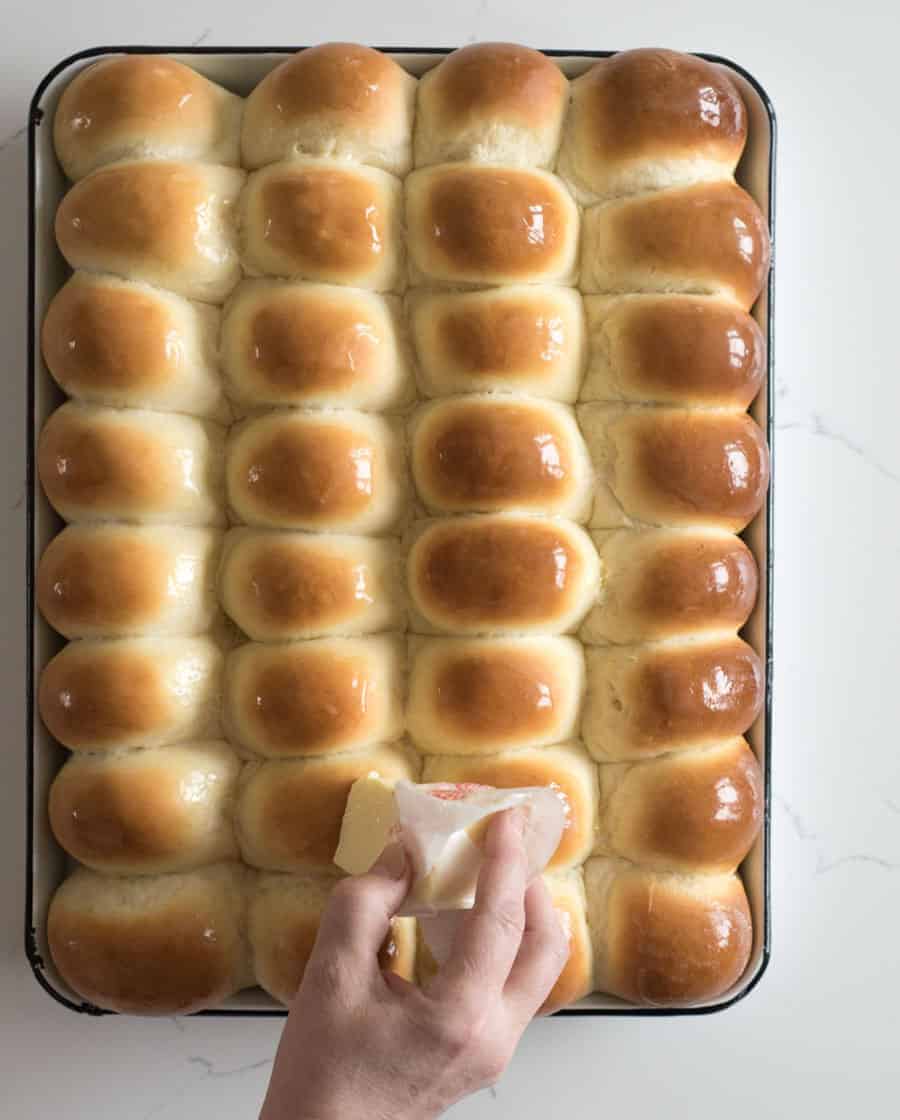
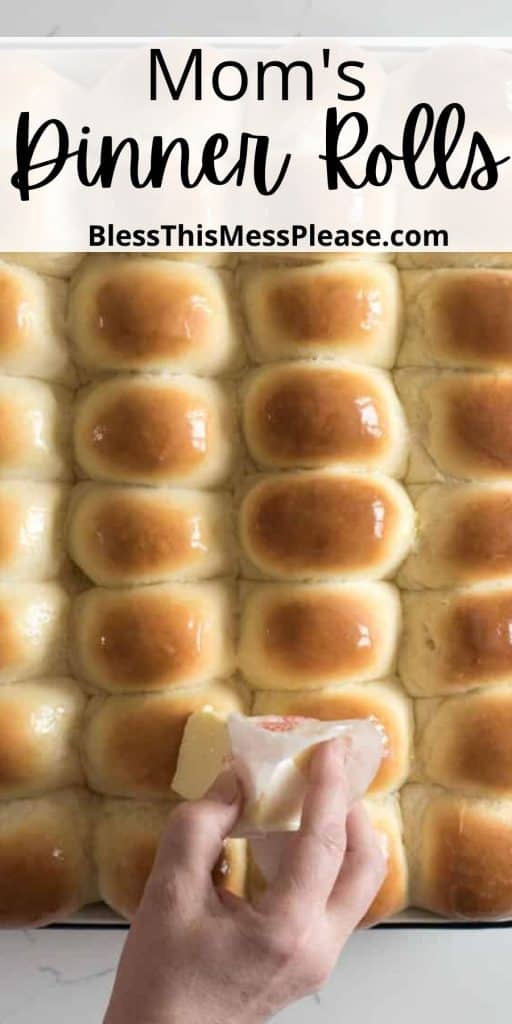
- Brush the tops of the rolls with butter right after baking to add flavor and keep the rolls soft and tender.
How to Serve and Store Dinner Rolls
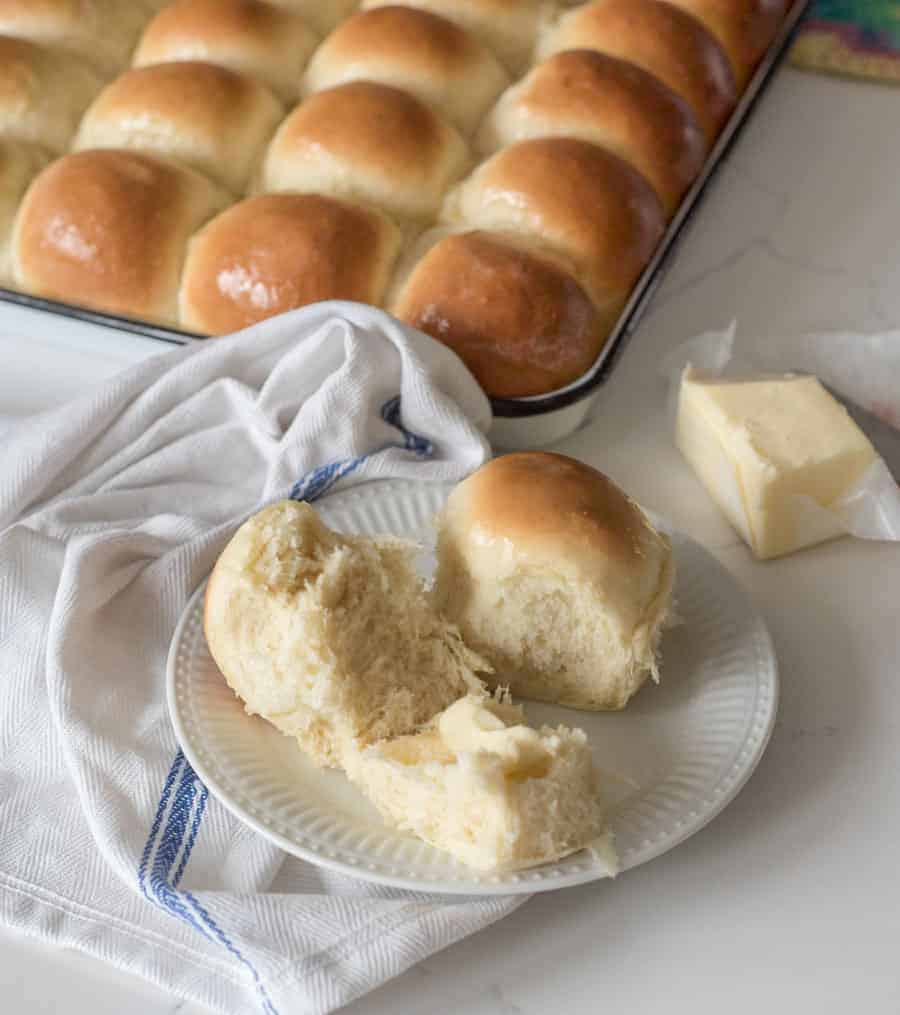
Enjoy these rolls warm or at room temperature. Arrange the rolls in a bread basket lined with a cloth napkin to keep them warm and add a touch of elegance to your table. Serve with butter, jam, or turkey gravy for a delightful addition. They also pair well with soups such as beef noodle, vegetable, and Italian wedding soup, stews such as Brunswick or Hungarian goulash, and holiday meals such as green bean casserole, brown sugar glazed ham, mashed potatoes, and cranberry sauce.
To make these in advance, follow the directions in the recipe card below to make rolls ahead of time. If I’m not serving the rolls right away, I like to remove them from the pan to cool about 15 minutes after they come out of the oven so that the bottoms don’t get steamy and soggy. You can travel with them easily by storing them in an airtight container.
After baking your rolls, remove them from the pan and let them cool completely. Store in an airtight container or freezer-safe sealable bag to store them in your freezer for up to 4 months. To reheat, let them thaw for an hour or two at room temperature, place them back in a baking dish, and bake for about 10 minutes at 250 degrees F. Be sure to rub butter over top before serving.
More Holiday Recipes to Consider
Cornbread Recipes
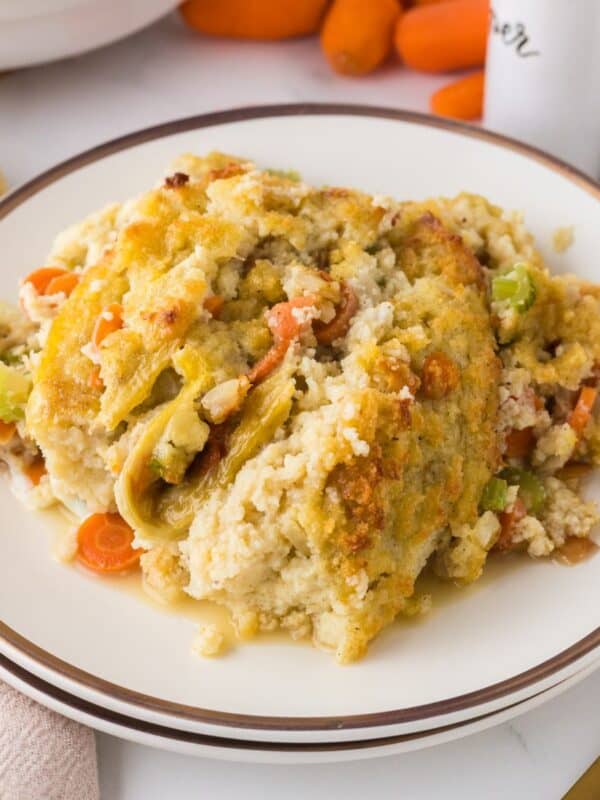
Southern-Style Cornbread Dressing (With Make-Ahead Tips)
Appetizer Recipes
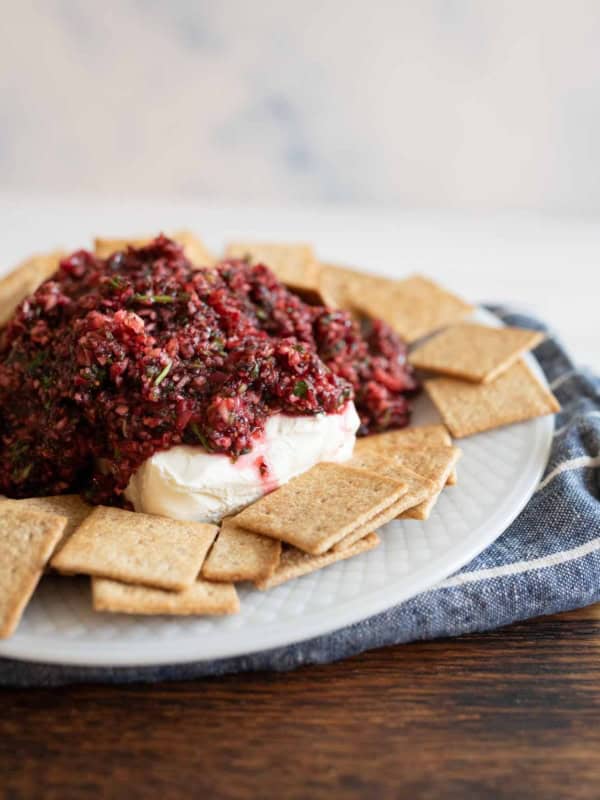
Fresh Cranberry Salsa Recipe | Sweet & Spicy Holiday Dish
Pies, Crisps & Tarts
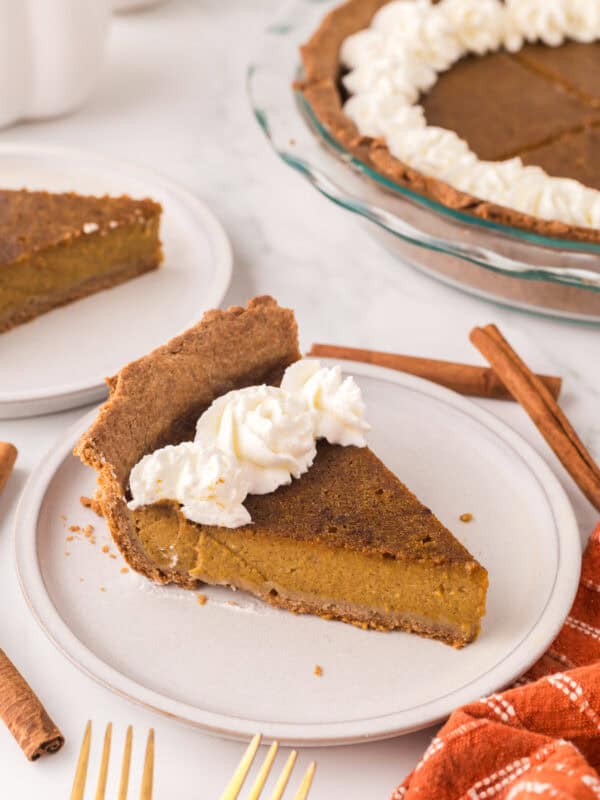
Healthy Pumpkin Pie Recipe
Pies, Crisps & Tarts
Homemade Coconut Cream Pie
Did you make this recipe? Leave a ⭐️ review and share it on Instagram, Facebook, or Pinterest!
Mom’s Jumbo Dinner Rolls
Ingredients
- 2 tablespoons instant yeast
- 1/2 cup warm water
- 2 cups milk
- 1/2 cup butter, cut into 8 pieces
- 1/2 cup granulated sugar
- 2 teaspoons salt
- 2 large eggs
- 6.5 to 7.5 cups all-purpose flour
Instructions
- Heat the milk and butter together in the microwave to scald the milk and melt the butter, 2 to 3 minutes. Let the mixture cool for 10 minutes.
- In a large mixing bowl, combine milk/butter mixture, water, yeast, sugar, and salt. Let yeast rest for 5 minutes.
- Add half the flour, and mix for 3 to 5 minutes.
- Add the eggs, one at a time, and mix until incorporated.
- Add the rest of the flour, 1/2 cup at a time, until a soft dough forms. The dough should be soft and elastic, but not sticky. Knead with your mixer or by hand for 5 minutes.
- Let the dough rise in a greased bowl for 30 to 60 minutes.
- After rising time has passed, divide the dough into 32 pieces. Roll each piece into a round roll, and place it on a greased, rimmed baking sheet (that is 13×18 inches).
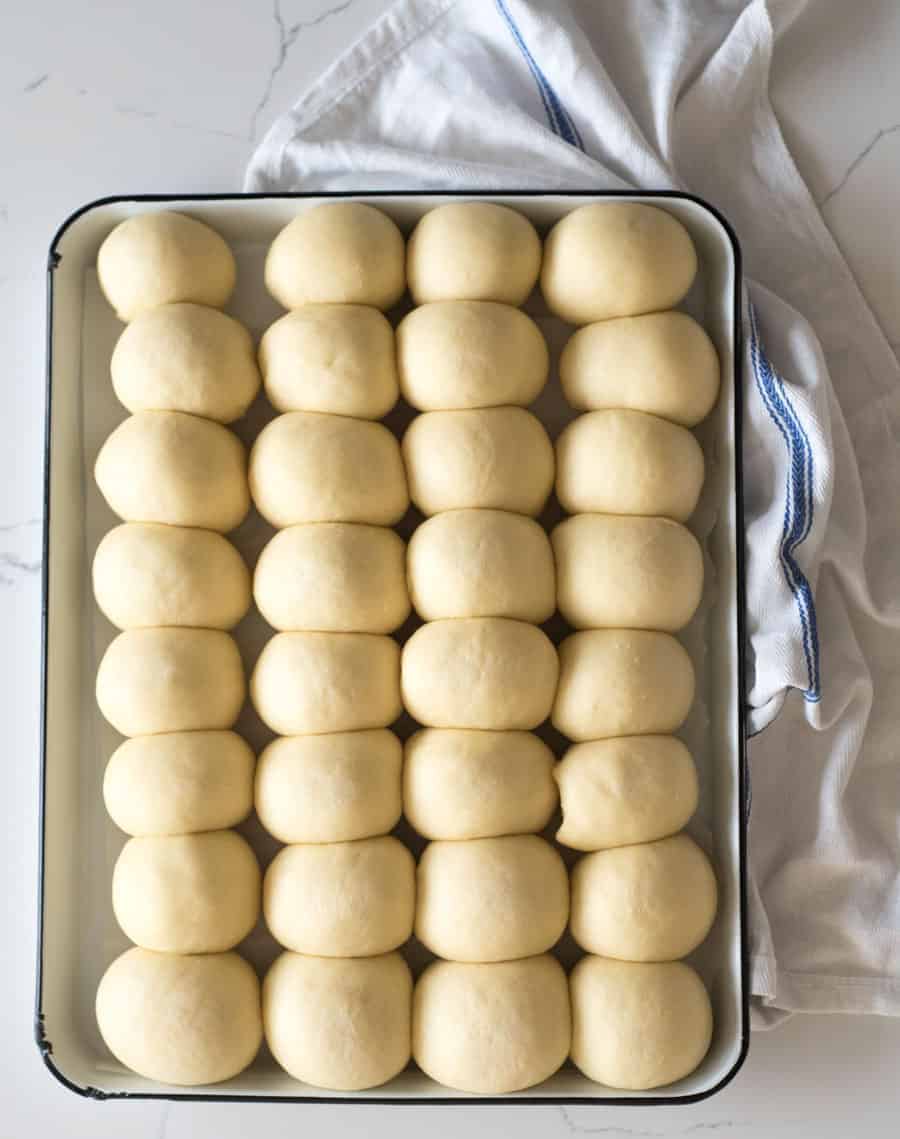
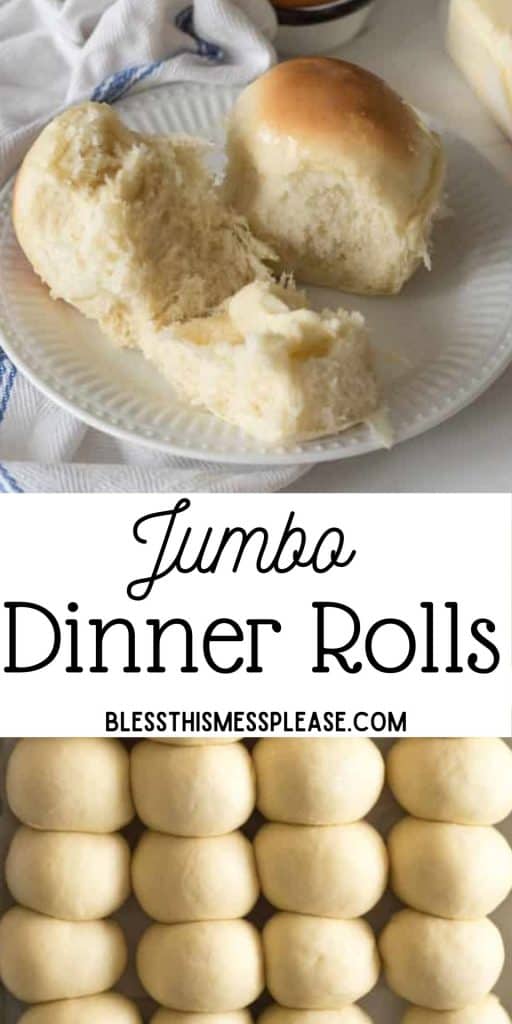
- Once all the dough is shaped, cover the rolls, and let them rise for another 30 to 60 minutes. The sides of the rolls should be touching each other before you bake them, that’s how you know they are ready. If your house is cold it might take a longer for them to rise this much. See the photos of the risen rolls in the blog post for reference.
- Once the rolls have at least doubled in size, bake at 400 degrees F. for 14 to 18 minutes, or until the tops are nice and golden.
- Remove from the oven, and butter the tops of the rolls while still hot. Serve warm or at room temperature.
Notes
- To make this ahead of time simply make the rolls and bake them. After 10-15 minutes remove the rolls from the pan so that they bottoms don’t get soggy from steam (I try to keep them connected in 1 or 2 big pieces). Cool the rolls on a wire rack. When the rolls have cooled all the way, place them back in the pan they baked in and wrap them tightly in plastic wrap. If you are just making them the day before, they can just let them rest at room temperature. If you are making them more ahead of time you can freeze them all wrapped up. Allow 6-8 hours for them to thaw at room temperature before you serve them. They are great at room temperature or you can break them apart, put them in a large oven-safe bowl with a towel in the bottom and then cover them with a clean towel and reheat in a 200 degree oven for 15 minutes or so before serving. I normally put them in my enamelware bowls for this.
- I make this recipe using butter, but my mom often makes it using margarine. It works just great with either one.
- If I’m not serving the rolls right away, I like to remove them from the pan to cool about 15 minutes after they come out of the oven so that the bottoms don’t get steamy and soggy.



This has become my go to recipie for the soup line I donate to weekly! Easy and always delicious…
I started using 3 cups of whole wheat flour in the recipie and they are just as soft and tasty.
Oh I love that so so much, thank you for taking the time to share that. I like adding a little whole wheat too!
Thank you for such an amazing recipe! I am new to bread making and this is a great recipe to follow. The rolls are incredible! Am I able to make the dough ahead of time and bake the rolls the next day? Or do I need to bake them same day and just reheat? Thank you!
It’s better to just bake them a day ahead of time!
A favorite at thanksgiving every year! And I love that it makes so many rolls and a great opportunity for little hands to help and practice in the kitchen!
I’ve been making these for the last few years and they always come out perfect. The only change I make is that I line my pan with parchment paper so I can lift them out easier. My family loves them and there are never any leftovers!
When do you add the 2 eggs? I have been adding them 1 at a time after 1/2 the flour has been added and mixed well. Thank you, LOVE these rolls!
Step 4
My rolls were not NEARLY as pretty as yours because I don’t have the technique down yet. However, they are so pillowy soft and amazing! I have never made a roll in my life and I am not a bread maker and these turned out so well. Thank you for the recipe and excellent instructions!
Oh Martha, that totally made my day to hear! And I always tell my mom these lovely comments. Thank you for taking the time to tell me!
Just tried to make these because they sound perfect. However, after adding all the flour and kneading (mixer) the dough is still very sticky.
Any idea what I did wrong?!
You might just measure a little lighter than I do! Just add a little more flour as needed to make the dough workable!
Just made these for Thanksgiving and first batch turned out perfect!! The butter and milk was at the perfect temp for yeast after resting in the microwave for 10 minutes, just like you said. The tips were very helpful. Thanks for sharing!
I get how you make them, but where the hell are the amount of ingredients, you cant make food without amounts, especially bread.
They’re in the recipe card…
There are great!! Easy to prepare!!