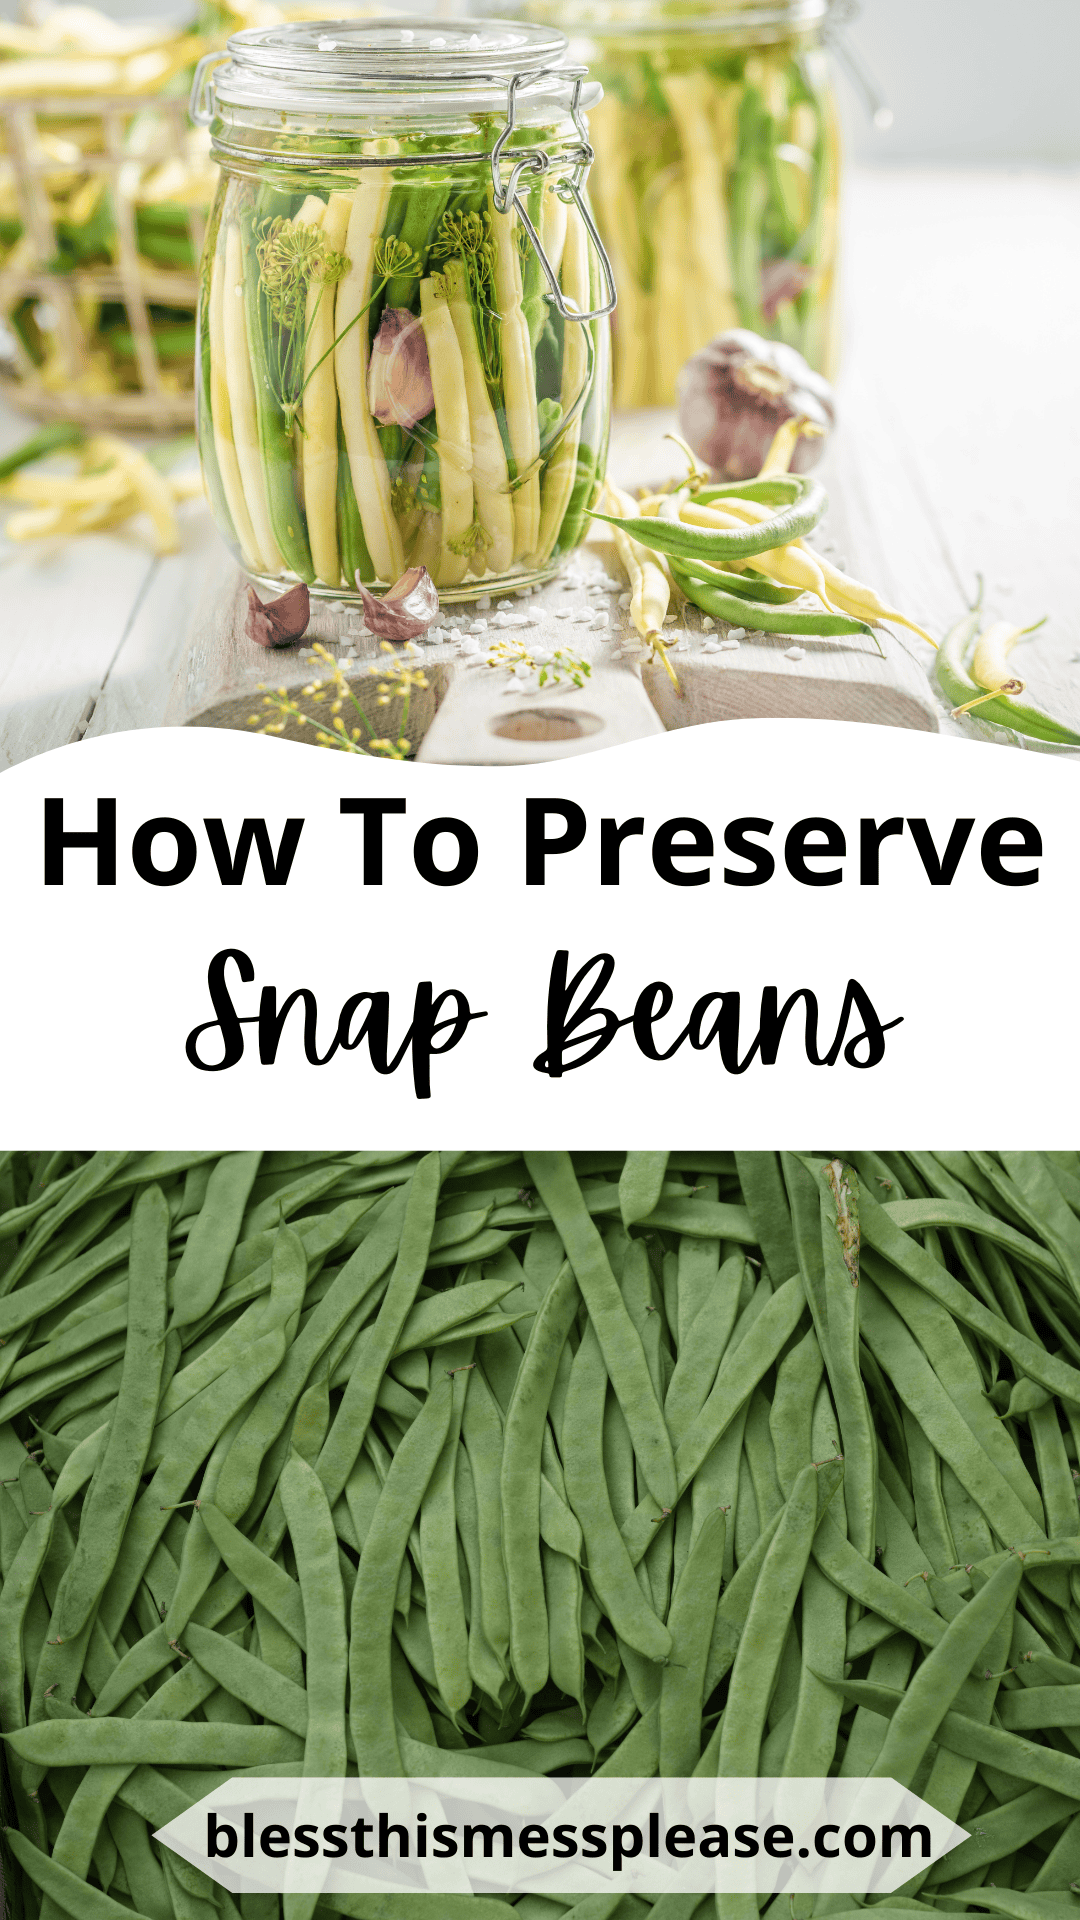
How To Preserve Green Snap Beans
on Apr 28, 2025
This post may contain affiliate links. Please read our disclosure policy.


Learn the best methods for How To Preserve Green Snap Beans with easy drying, freezing, and canning techniques. Stock the pantry and freezer with this season’s abundance, and you’ll have flavorful snap peas all year!
Preserving Guide: How To Preserve Green Snap Beans
Learning how to preserve green snap beans is a homesteading skill worth mastering for any kitchen gardener.
Whether you’re freezing them for winter stir-fries, pressure canning them for pantry storage, or pickling them for tangy snacks, preserved green beans allow you to enjoy your garden’s bounty long after the growing season ends!
With proper preparation and a little know-how, you can capture that fresh-picked flavor and crisp texture that makes home-preserved beans so much better than their store-bought counterparts.
Table of Contents
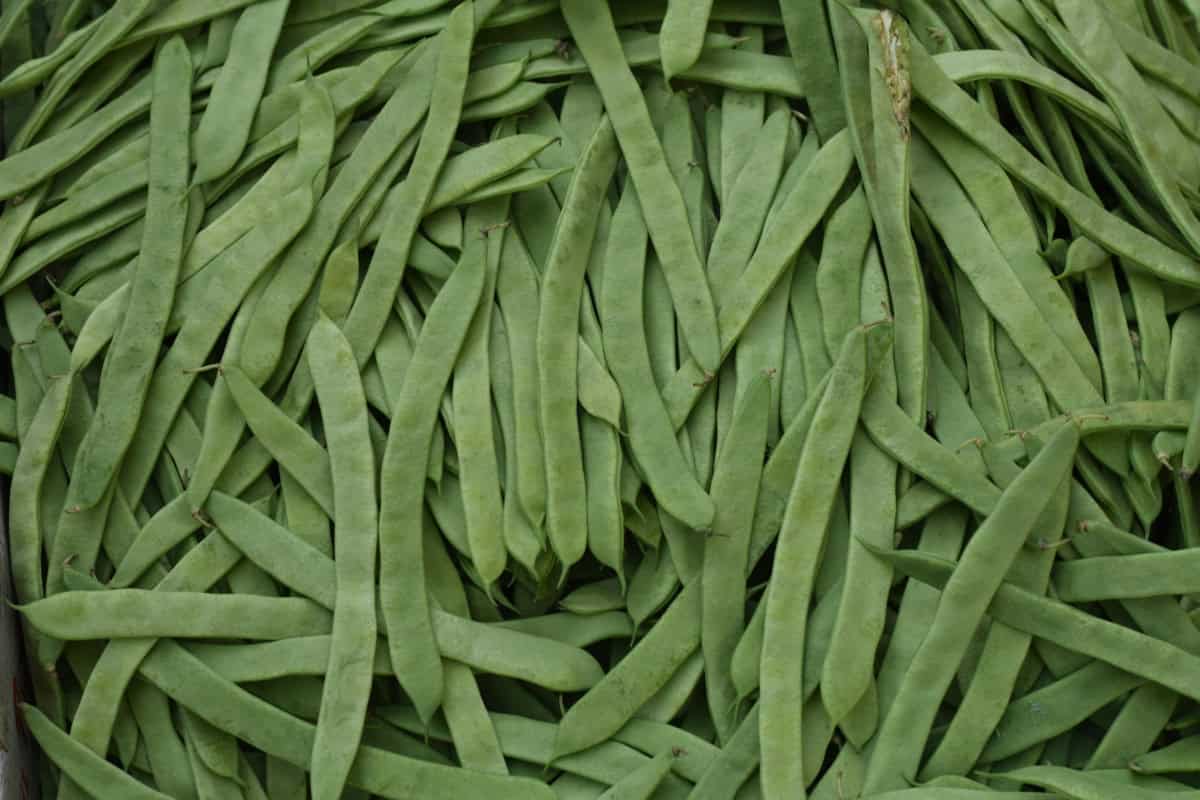
When To Harvest Snap Beans
Begin harvest when pods reach 3 inches long, while still young and tender and the pods break easily with a snap.
How To Store
In the refrigerator
Dehydrating
- CUT: Remove strings if necessary. Split pods lengthwise.
- DIPPING: Water or steam blanch — Water Blanch: 2-3 min. Steam Blanch: 3-4 minutes
- DEHYDRATOR (hours): 8-14 hours
- APPEARANCE WHEN DRY: brittle
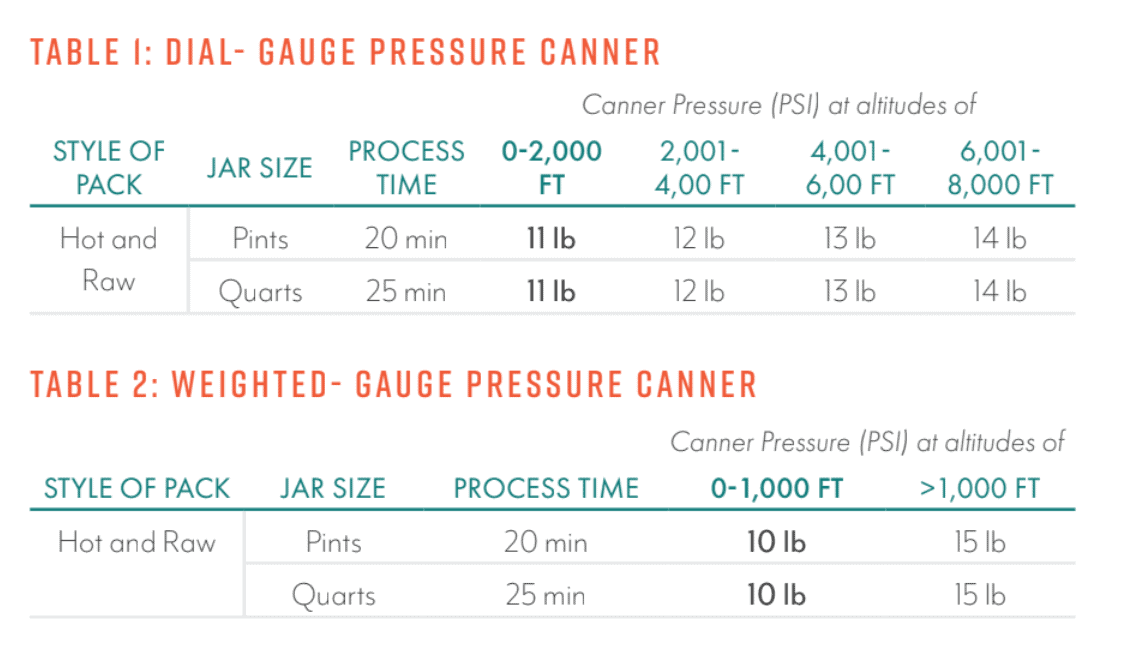
Canning Snap Beans
QUANTITY: An average of 14 pounds is needed per canner load of 7 quarts; an average of
9 pounds is needed per canner load of 9 pints. A bushel weighs 30 pounds and yields 12 to 20 quarts – an average of 2 pounds per quart.
PREPARE
- Wash beans and trim ends.
- Leave whole or cut or snap into 1-inch pieces.
HOT PACK
- Cover with boiling water
- Boil 5 minutes.
- Fill jars loosely with beans, leaving 1-inch headspace.
- Add 1 teaspoon of canning salt per quart to the jar, if desired.
- Cover beans with hot cooking liquid, leaving 1-inch headspace.
RAW PACK
- Fill jars tightly with raw beans, leaving 1-inch headspace.
- Add 1 teaspoon of canning salt per quart to the jar, if desired.
- Add boiling water, leaving 1-inch headspace.
- Adjust lids and process
How To Freeze Snap Beans
I recommend using quality freezer bags or a vacuum sealer with packaging for freezing food.
- Select young tender pods when the seed is first formed.
- Wash in cold water, snip and cut into 2 to 4-inch lengths.
- Water blanch 3 minutes.
- Cool promptly, drain and package, leaving ½-inch headspace.
- Seal and freeze.
🍎🫙 Get a free Preserving Guide for all the details to dehydrate, can, and freeze 42 fruits and vegetables — get the FREE GUIDE here!
Expert Tips
- Storage Limits: Properly pressure-canned green beans maintain quality for 1-2 years. Frozen beans are best used within 8-10 months. Pickled beans keep for about 1 year, while dehydrated beans can last 6-12 months when stored in airtight containers in a cool, dark place.
- Try Fermenting: Fermented green beans make delicious lacto-fermented snacks. Use a 2-3% salt brine solution, keep beans submerged, and ferment for 1-2 weeks at room temperature until they reach your desired tanginess.
- Using Dehydrated Beans: For some recipes, you can use dehydrated beans directly without rehydrating first! This works especially well for long-simmering soups (add them 20 minutes before serving), slow cooker recipes (add at the beginning), and casseroles with plenty of liquid components.
More Tips For Preserving The Harvest
Preserving Guide
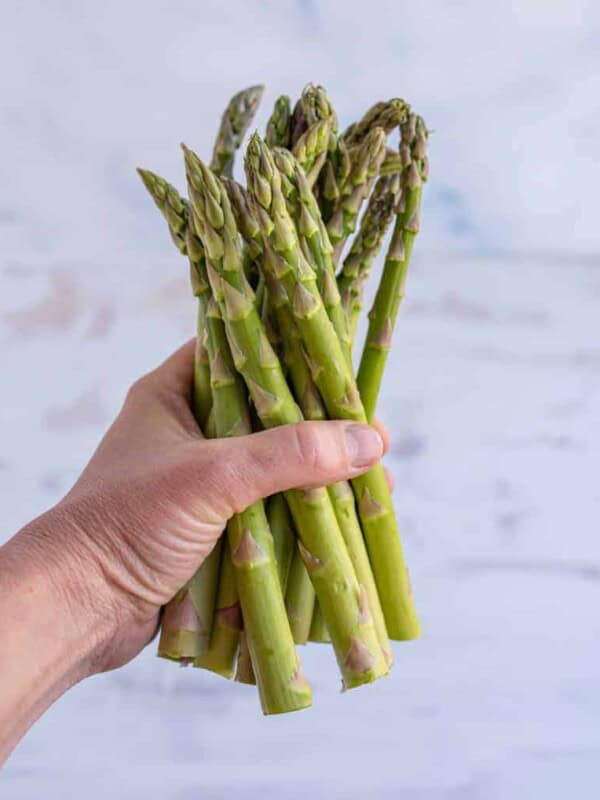
How To Preserve Asparagus
Preserving Guide
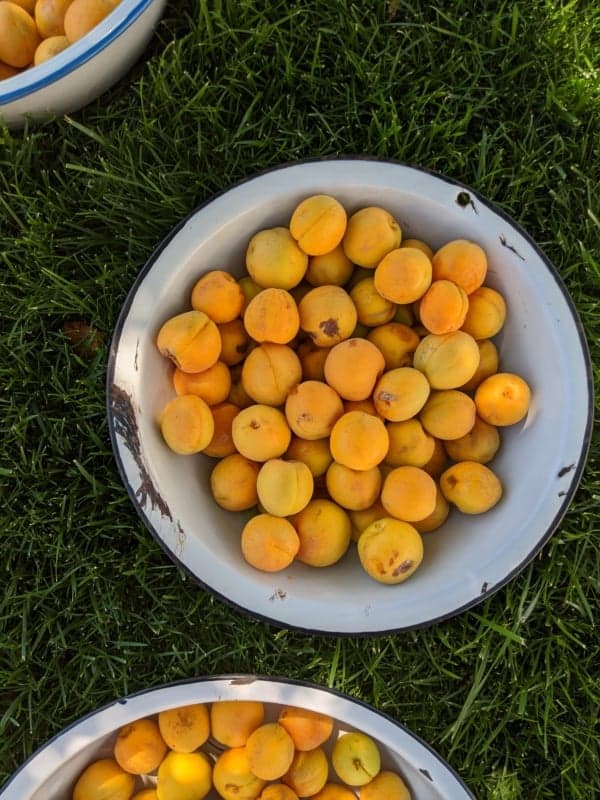
How To Preserve Apricots
Preserving Guide
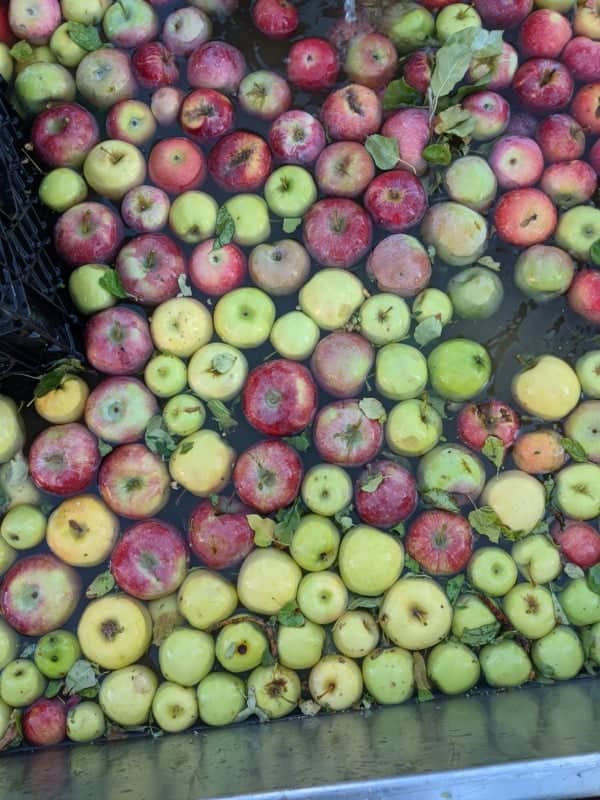
How To Preserve Apples
Did you use any of these preserving tips? Leave a note below in the comments or share it on Instagram, Facebook, or Pinterest!


