How to Make Beef Jerky
on Feb 17, 2020, Updated Jul 02, 2024
This post may contain affiliate links. Please read our disclosure policy.
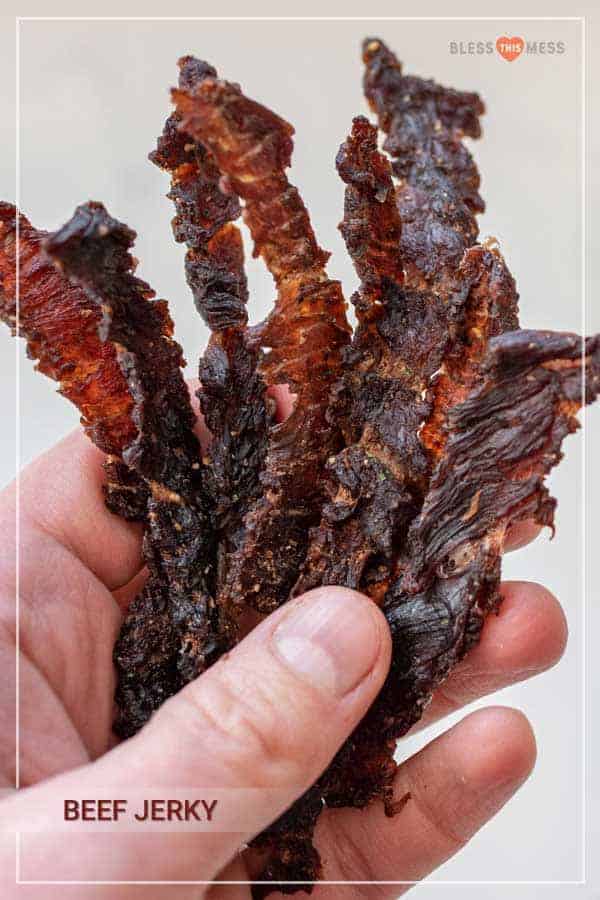
Ever wondered how to make beef jerky!? It’s actually a pretty simple, straightforward, and a fun DIY project you can do anytime and get flavorful, salty, chewy beef jerky to snack on!
You don’t need many supplies or ingredients either, just some time to let it dehydrate (or bake down in the oven if you don’t have a dehydrator) to get a tasty batch of beef jerky made easily at home!
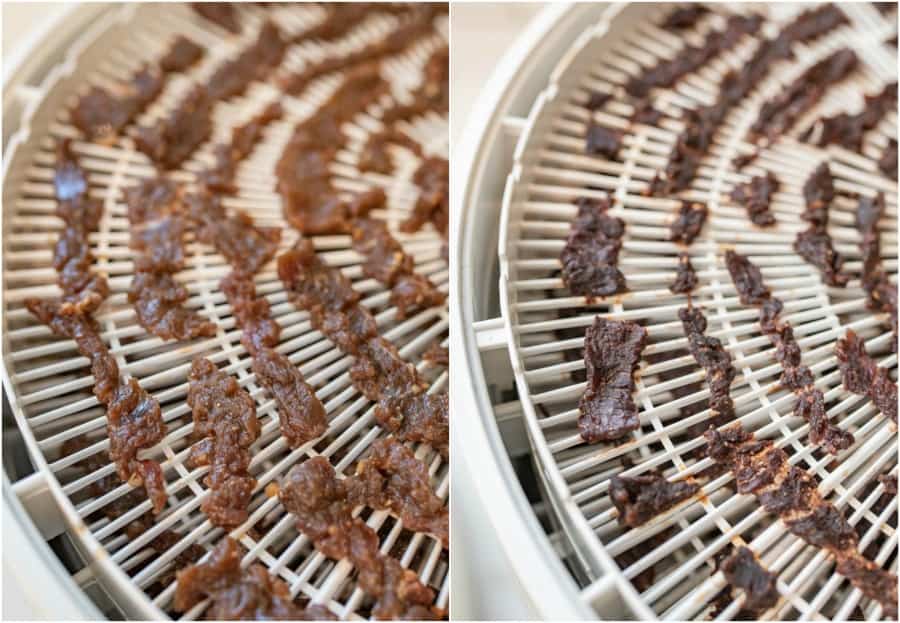
Making beef jerky is easier than you’d expect, too! While a dehydrator works great for making beef jerky, you don’t need one to get the job done. You can easily make beef jerky in the oven too!
The best part about making your own beef jerky is it’s way more affordable than the stuff at the store, you can make a BIG batch of it, and you can switch up the marinade to get the flavors *just* how you like them.
Table of Contents:
Table of Contents
Why You’ll Love this Recipe:
- So much easier to make than you’d think
- Ingredients are cheap
- Cooking time is long, but prep is quick
- Makes a ton! And keeps well
- Much cheaper than store bought!
Ingredients:
- Flank or Round Steak
- Soy Sauce
- Worcestershire Sauce
- Maple Syrup
- Garlic Powder
- Onion Powder
- Season Salt– Yes this is different than normal salt!
- Liquid Smoke
See recipe card below for full information about ingredients and quantities
Frequently Asked Questions:
I prefer to use flank or round steak to make beef jerky. This is because they are leaner cuts of beef, so less fat is needed to be cut off.
This is really up to personal preference. For jerky that stays together better and is chewier, cut the meat with the grain. For jerky that breaks apart easily and is more tender, cut it against the grain. It’s best to freeze the meat for about 20 minutes to make it firmer and easier to slice. Then cut into 1/8 inch slices before marinating.
Yes! A couple pounds of beef may cost you $15 or so, and the rest of the ingredients you probably already have, or are good to have in your pantry regardless. The end result will yield a much larger batch of jerky than the bags you can get at the store for sometimes up to $10.
This recipe took about 4 hours in the dehydrator. But this can vary depending on the thickness of the cuts of meat, the brand of dehydrator, and how you like your beef jerky. Expect anywhere from 4-8 hours.
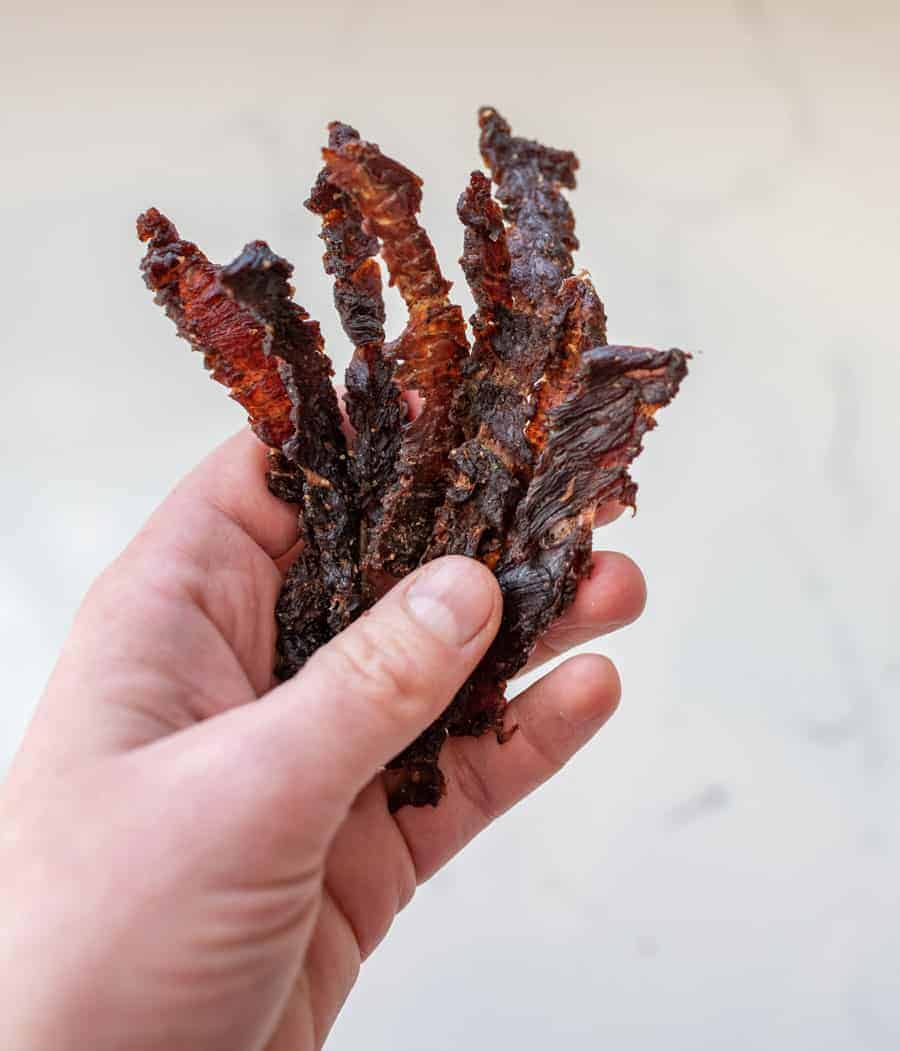
You can test the jerky by picking up a piece, bending it in a 90 degree angle, and seeing if any liquid squeezes out. If moisture comes out, it’s not done yet and can go back in the dehydrator. It’ll be dry and a little bendy when it’s actually done.
More Snacks Recipes to Consider:
Healthy Snacks
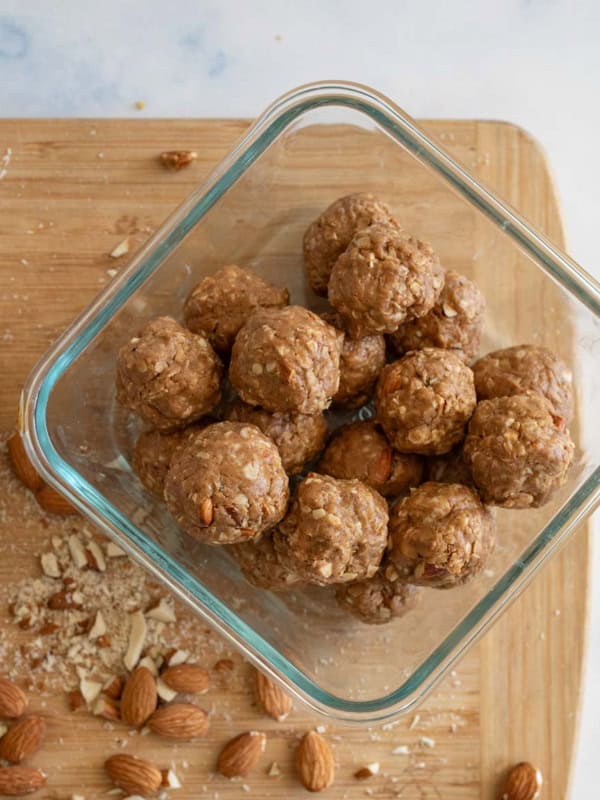
Almond Butter Protein Balls
Healthy Snacks
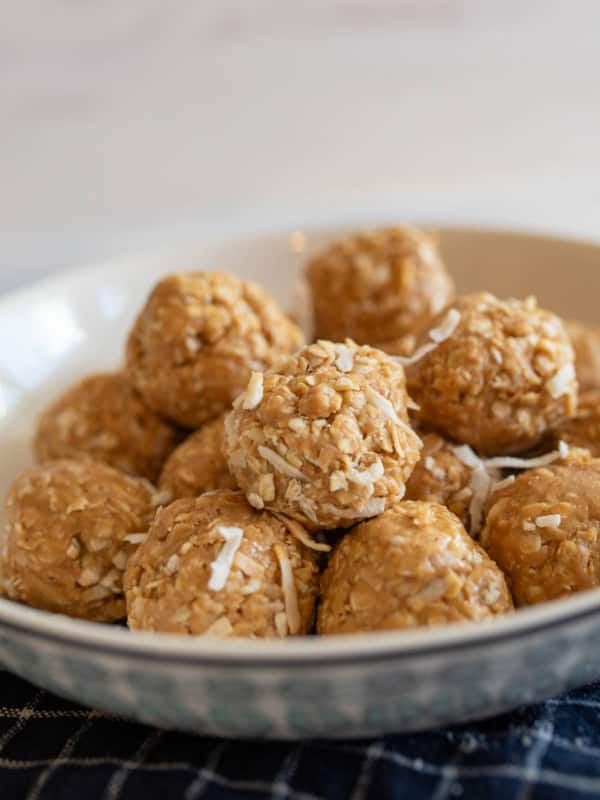
No-Bake Coconut Protein Balls
Simple Gingerbread Recipes
Easy Gingerbread Loaf – Better Than Starbucks!
Healthy Snacks
No Bake Energy Bites: 25 Easy Snack Recipes
Did you make this recipe? Leave a ⭐️ review and share it on Instagram, Facebook, or Pinterest!
How to Make Beef Jerky
Ingredients
- 2 pounds round or flank steak
- 1/2 cup low sodium soy sauce
- 2 tablespoons Worcestershire sauce
- 1 tablespoon real maple syrup
- 1 teaspoon garlic powder
- 1 teaspoon onion powder
- 1 teaspoon season salt
- 1 teaspoon liquid smoke
Instructions
- Using a sharp knife, cut the steak into 1/8-inch thick pieces. This can be made easier by placing the steak in the freezer for 20 minutes first. (It firms the meat up and makes it easier to slice.) You can slice it with the grain (this will result in chewier jerky that stays together better) or against the grain (this will result in tender jerky that tends to break into pieces easier). If there is any fat or tough pieces, feel free to discard them.
- Place the sliced jerky in a medium airtight container with a lid or in a large zipper-topped plastic bag.
- In a small bowl combine the soy sauce, Worcestershire sauce, maple syrup, garlic powder, onion powder, season salt, and liquid smoke. Stir to combine.
- Add the soy sauce marinade to the meat and stir to combine. If your meat is in a container, press it down so that most of it will be submerged in the marinade. If you are using a plastic bag, remove as much air from the bag as possible, and pat it down a bit so the meat is well covered. Seal the bag or put a lid on the container and store it in the fridge.
- Let the marinade meat rest for 8 hours to 12 hours (overnight works great).
- When the marinating time is over, place the meat on the racks of your dehydrator so that it’s in an even layer and not touching. Use as many dehydrator racks as you need. (See notes if you don’t have a dehydrator.)
- Place the racks on/in your dehydrator, turn it on, and cook according to your dehydrator’s manufacturer instructions for cooking jerky. (The booklet that came with the dehydrator will normally have a chart to follow for temperatures and times for cooking jerky.) I cooked mine at a medium-low heat for 4 hours (it was very thin) and most will tell you to cook yours at medium to medium-low for 4 to 8 hours.
- The jerky will be done when it is dry but still a little bendy.
- I like to remove my jerky in batches as it cooks. The thinner pieces will cook faster, so I’ll remove them first and leave the rest to dehydrates as needed. I generally start checking at the 3 hour mark and check/remove done pieces about every hour after that. This helps ensure a more uniform jerky in the end.
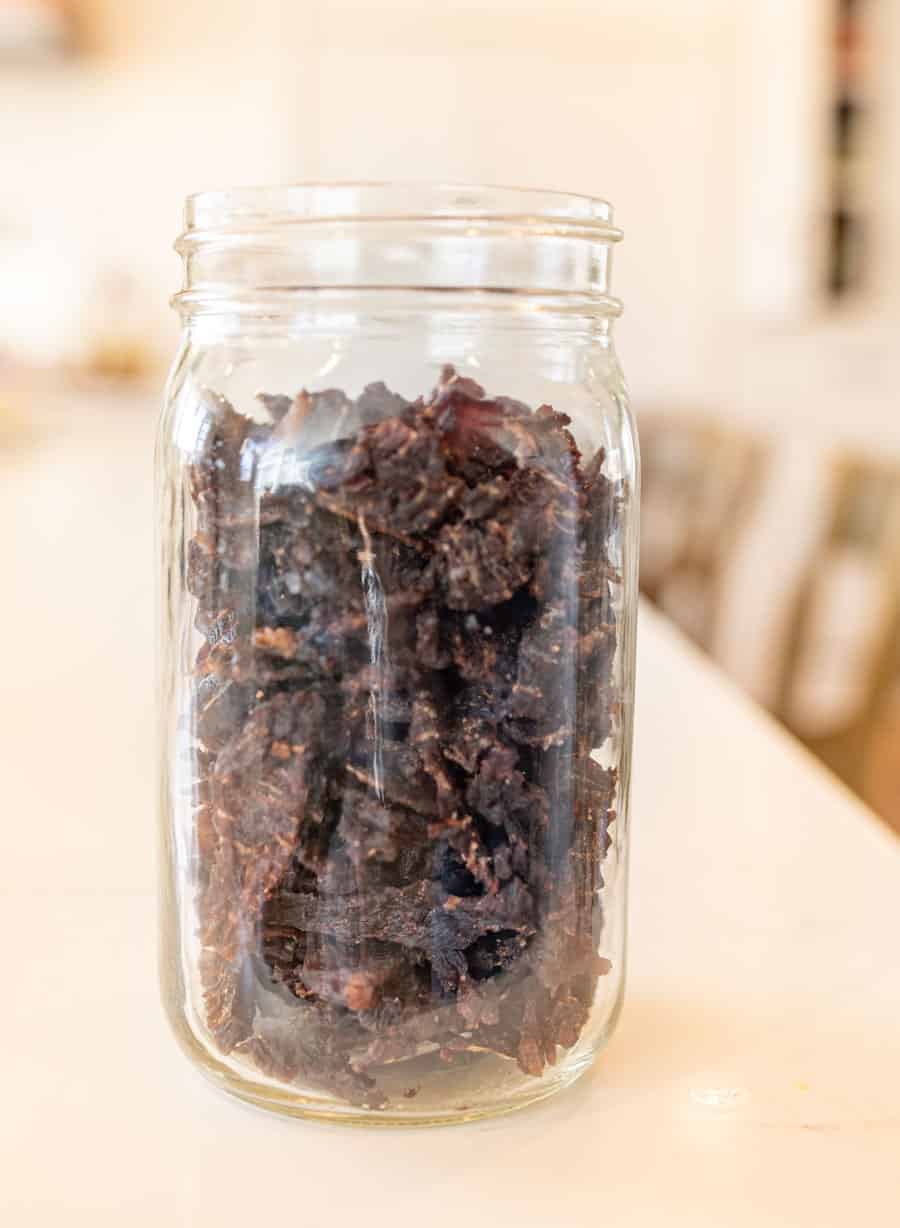
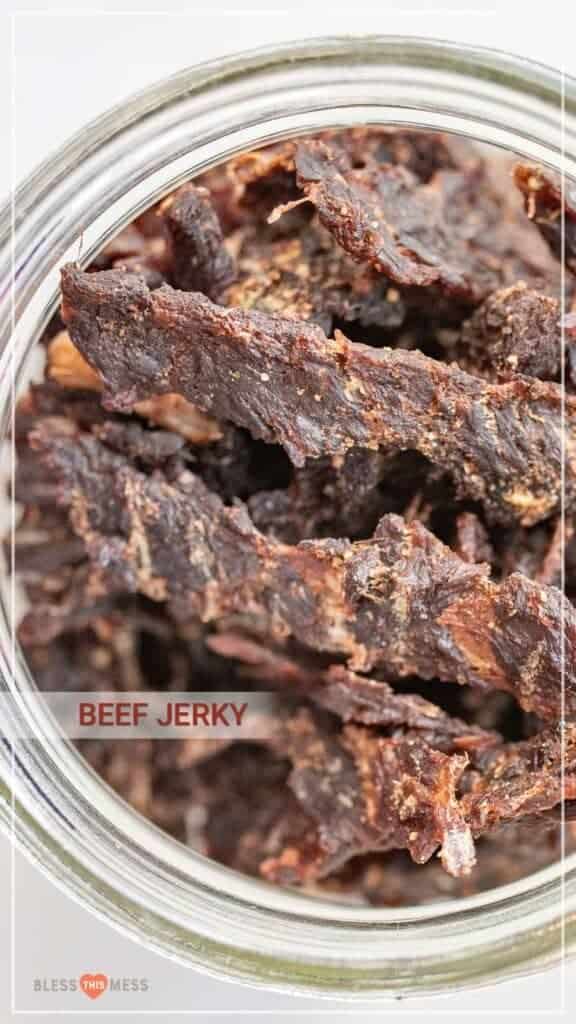
- When all of the jerky is dried to your liking, remove all from the dehydrator and store in an airtight container in the fridge for up to 2 weeks or in the freezer for up to 2 months.
Notes
- It’s very easy to mix up the flavor of your jerky by changing a few things. If you like it spicy, feel free to add 2 teaspoons of chipotle chili powder to the marinade. If you’d like it peppered, simply sprinkle the raw meat with freshly ground pepper once you have placed it on the dehydrator racks.
- No dehydrator? No worries! You can line a rimmed baking sheet with foil and then place a wire baking/cooling rack inside the pan. Simply place your meat on the wire rack and bake at 175 degrees for 2-5 hours. Flip the jerky over on the rack after an hour or so (about half way through your baking time). Again, pulling off the jerky as it’s done will lead to the most consistent results.



Looks great! Will try!