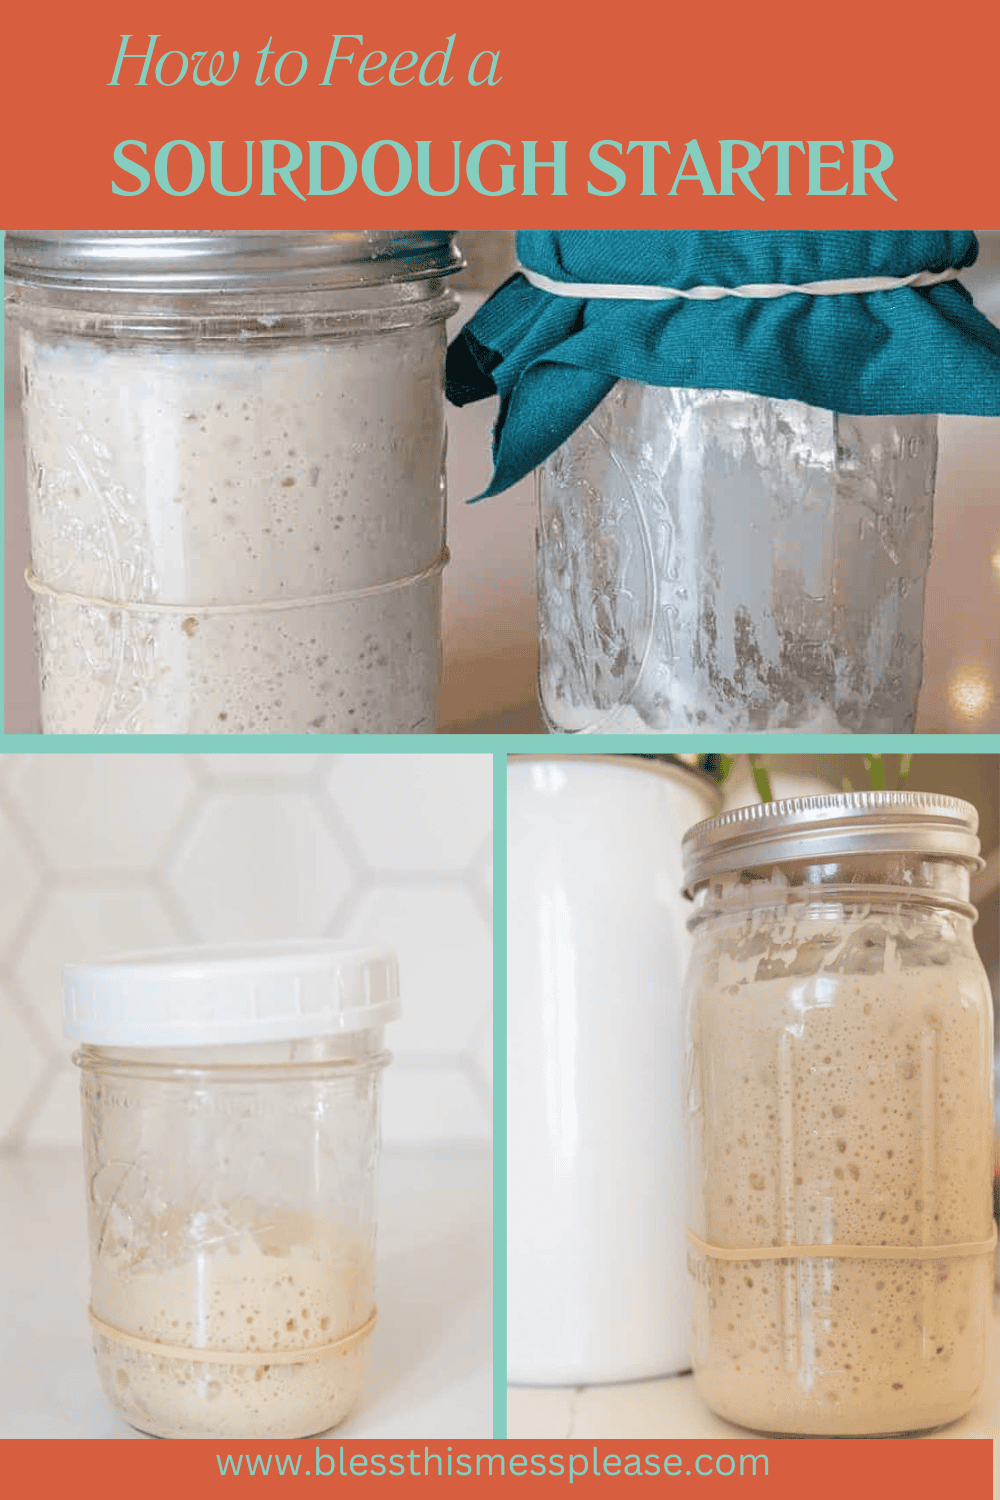
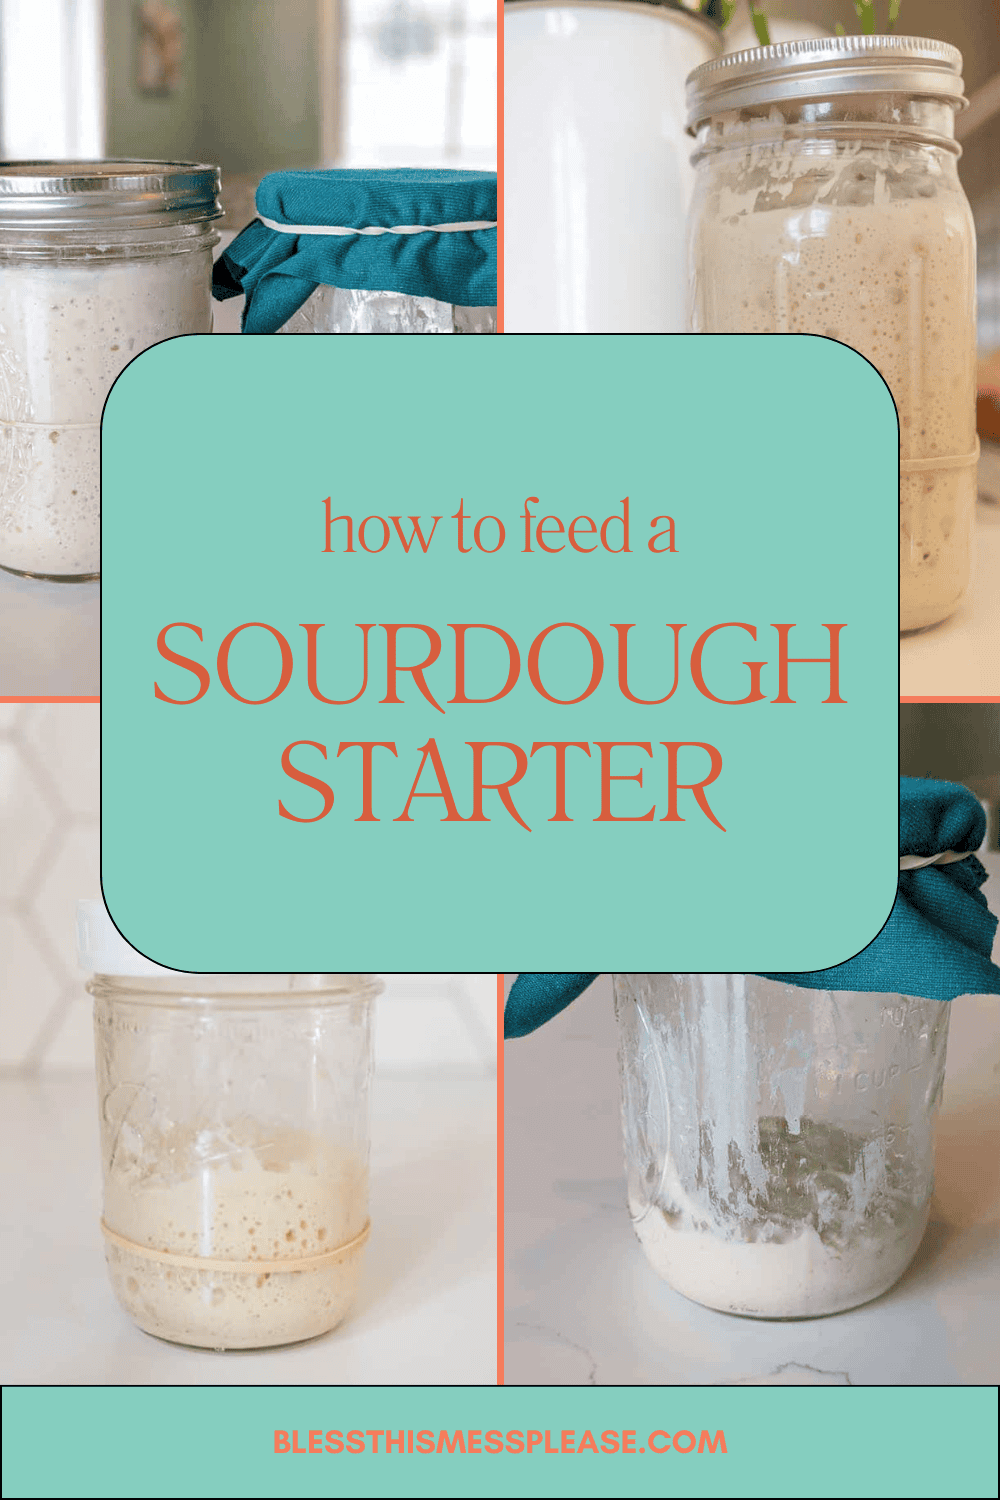
How to Feed a Sourdough Starter: Prepping for Perfect Loaves
on Oct 21, 2024
This post may contain affiliate links. Please read our disclosure policy.
Here is the complete guide for how to feed a sourdough starter. When your sourdough starter is established, keeping it happy and active is key to producing delicious, crusty loaves of bread.
Feeding your starter properly ensures it’s lively and full of the natural yeast and bacteria needed to make your dough rise. Whether you’re baking a loaf of bread tomorrow or just want to keep your starter healthy, here’s how to feed your sourdough starter and get it ready for baking.

🍞🥖 New to sourdough? Find out how to make your own sourdough starter here, find my most popular and basic bread recipe here, and search the sourdough archive here.
Table of Contents
What You’ll Need
- Established sourdough starter: Check out my tutorial for basic steps to making your own sourdough starter!
- Flour: All-purpose or bread flour works, look for unbleached flour, organic is preferred
- Water: Filtered or tap water works fine. If your tap water is heavily treated with chlorine you should filter it first or leave it out overnight before using.
Step-by-Step Guide to Feeding Your Sourdough Starter
- Feed with Equal Parts Starter, Water, and Flour: The typical feeding ratio is 1:1:1 by weight, meaning if you have 50 grams of starter, feed it with 50 grams of flour and 50 grams of water. This is a great amount of starter for most recipes.
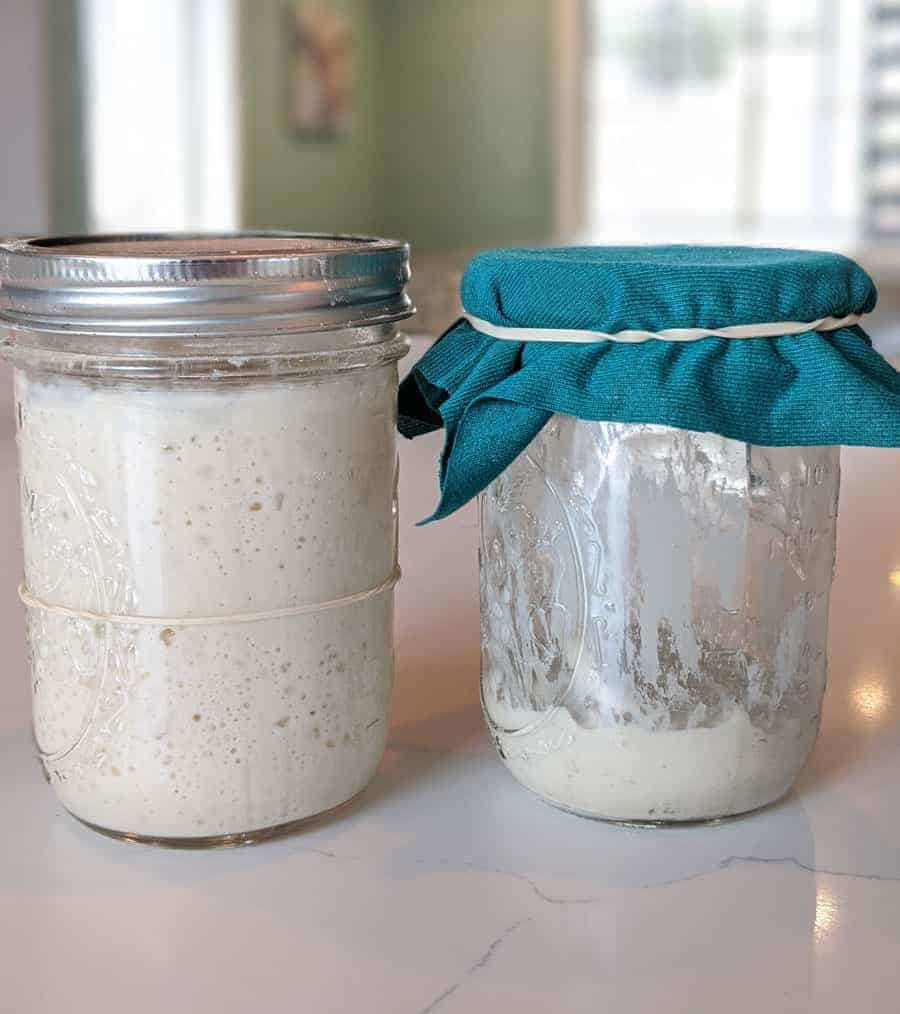
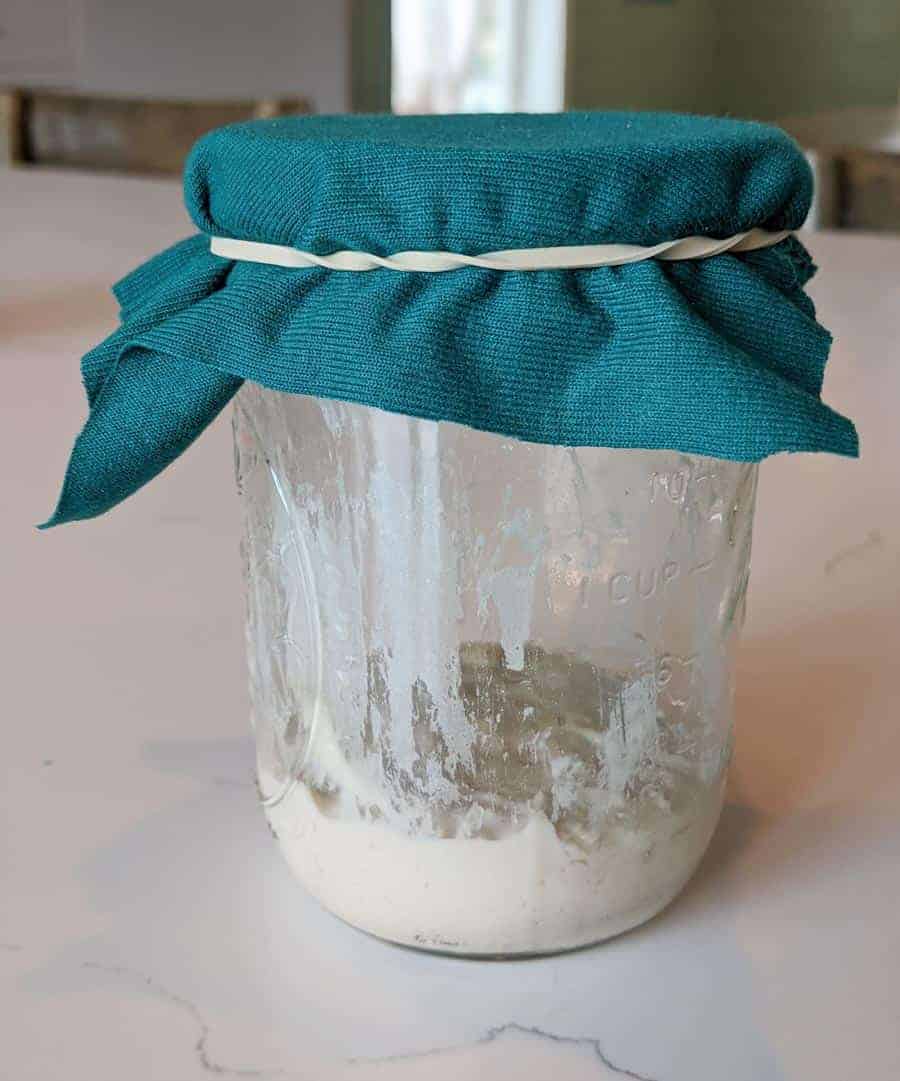
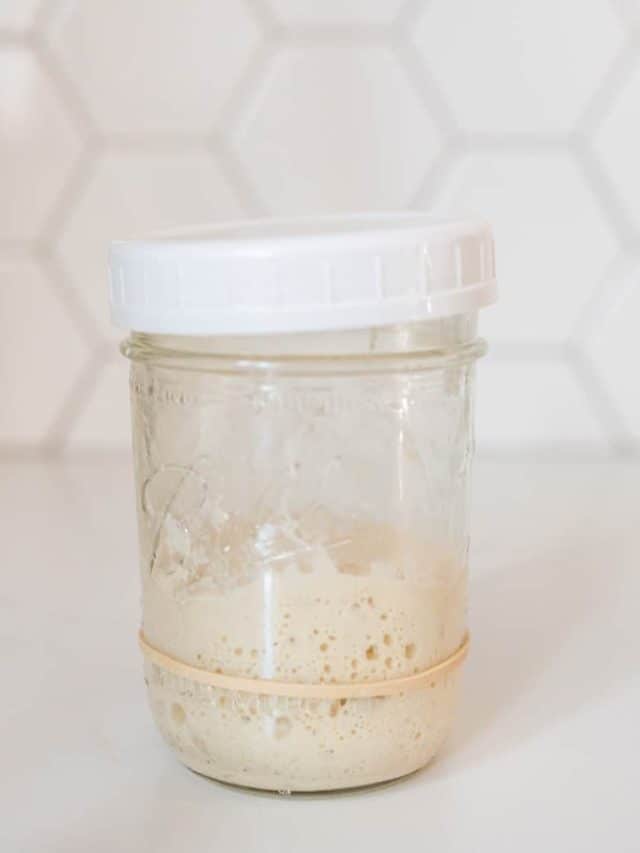
- Measure Your Starter: First, take out the amount of starter you want to keep. You can place it in a clean jar.; 50 grams is a great amount to work with.
- Add flour and water: Now add the same amount of flour and water as you did starter to the jar, 50 grams of flour and 50 grams of water.
- Mix Thoroughly: Stir the mixture until all the flour is incorporated and the starter has a thick, pancake-batter consistency.
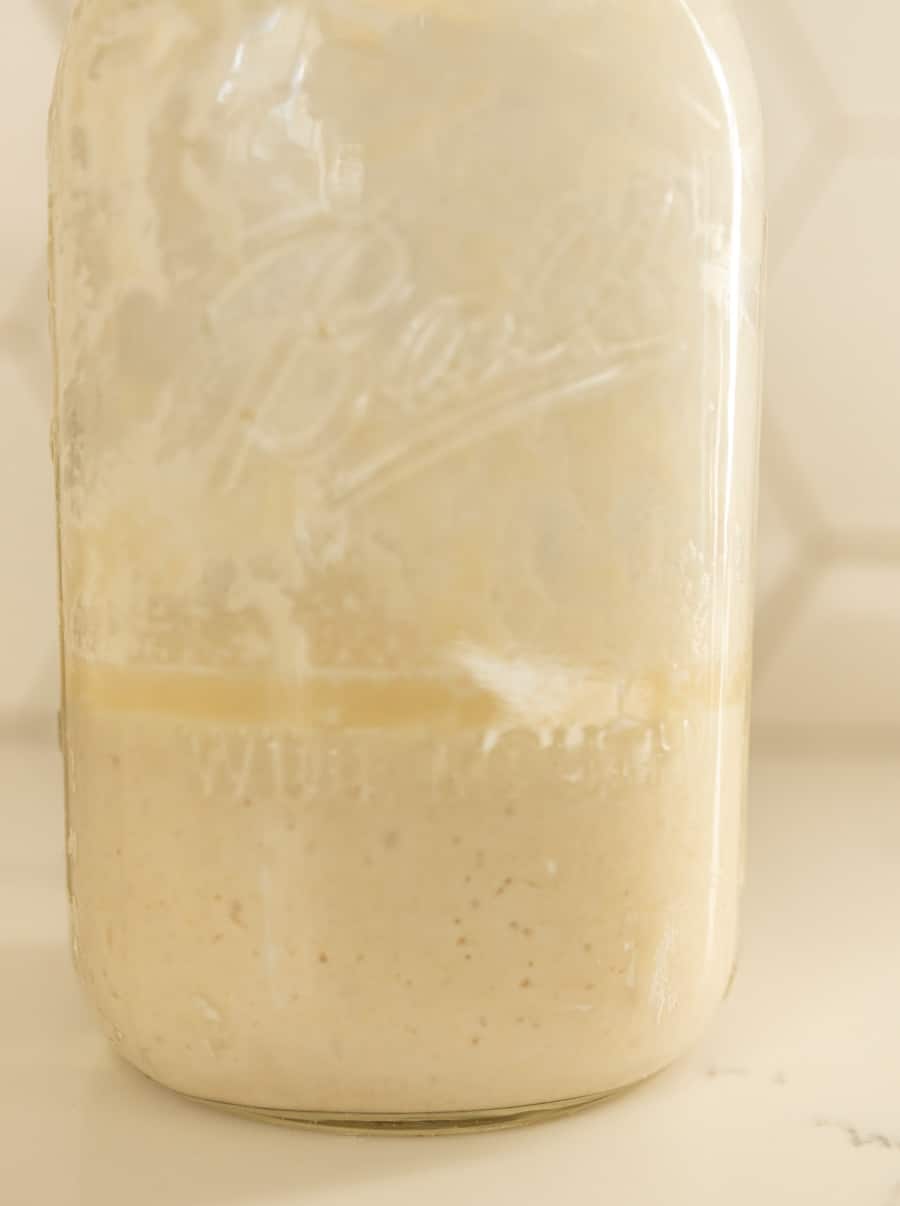
- Let It Rise: After feeding, let the starter sit at room temperature until it doubles in size and becomes bubbly. Depending on the temperature of your kitchen, this can take anywhere from 6 to 18 hours. The starter is ready to use when it’s at its peak, just before it begins to collapse.
Notes:
- A 1:2:2 ratio also works great if you want extra starter for making larger batches of bread. Feed 50 grams of starter, 100 grams of water and 100 grams of flour, it will just take it a little longer to bubble and rise.
- No need to keep a giant starter! Any extra sourdough starter that you had that didn’t fit in your 50g, 50g, 50g ratios is now extra “discard” and can be used in discard recipes. Keep the extra sourdough starter you didn’t use when you fed your starter (to keep your ratio right) in the fridge and use it within 5-7 days.
Adjusting to Your Baking Schedule
- Baking Tomorrow? If you plan to bake the next day, leave your starter on the counter after feeding it. Make sure it reaches its peak before using it in your dough.
- Need More Starter? If your recipe calls for more starter than you have, just double the feeding amount (e.g., 100 grams of water and flour for 50 grams of starter). If you still need more, you can repeat the feeding process once the starter has doubled in size, increasing the amount you are using (so feed 100 grams of starter 100 grams of flour and 100 grams of water and now you have 300 grams of starter!)
- Maintaining Your Starter Between Bakes: If you’re not baking regularly, you can store your starter in the fridge. Before putting it away, feed it and let it rest at room temperature for a few hours then stick it in the fridge. When you’re ready to bake again, take it out and give it a good feeding 12 hours before making your dough to wake it up.
Signs Your Starter is Ready to Use
- Bubbly and Airy: Your starter should be full of bubbles and have a sponge-like texture.
- Doubling in Size: The best indication of an active starter is its volume increase. If it’s not doubling in size, try adjusting the water or flour or giving it more time.
- Pleasing Scent: A healthy starter will smell tangy and slightly sweet. If it smells off, give it a couple of feedings to revive it.
When your sourdough starter is checking off all the boxes, then it’s time to pick out an easy sourdough recipe you’ve been wanting to try!
Troubleshooting Tips
- Slow Growth: If your starter is sluggish or not rising well, check the temperature. Colder environments slow down fermentation. Use warmer water or place the jar in a warmer area to speed up the process.
- Too Sour? If your starter has developed a strong vinegary smell, it may need more frequent feedings. Discard a portion and feed it more regularly to balance out the sourness.
After you get a feel for how a healthy sourdough starter should look and smell, you’ll easily be able to troubleshoot basic sourdough problems.
Final Thoughts
Feeding your sourdough starter is a simple process, but consistency is key. With regular feedings and a little patience, your starter will stay active and strong, ready to create delicious sourdough bread with perfect rise and flavor.
Happy baking!


Hi! I have followed your Sourdough Starter recipe and I think its finally ready to use. On my discard day yesterday, I split the discard starter into four jars and fed each one (in the morning). They doubled/tripled by the evening. What do I do with them today (I plan to bake your sourdough bread recipe tonight)? Do I feed them again? Stick them in the fridge? Discard/split?
Thanks so much! Can’t wait to bake!
You don’t need that much starter do you? When I’m discarding I just dump it all in one jar, keep it in the fridge and do a discard recipe with it (like crackers, waffles, pancakes, that kind of thing). If you need more starter just feed the one more flour and water. Since they are already in different jars I’d still just dump it all together and make a discard recipe so that you don’t have so much to maintain. Holler if you need more information!