Homemade Subway Bread Recipe
on Jul 13, 2017, Updated Aug 21, 2024
This post may contain affiliate links. Please read our disclosure policy.
Perfect Homemade Subway Bread recipe, just like the restaurant. This recipes makes a perfect copycat loaf of Subway bread for sandwiches at home.
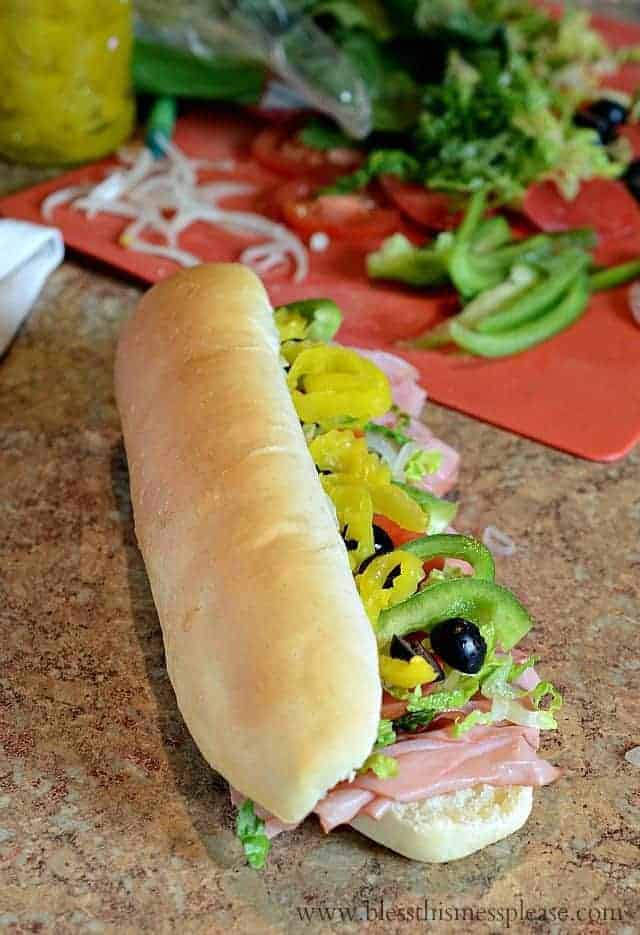
I love making homemade bread. It’s easier than you think, makes the house smell amazing, and provides that little extra something for your meal. Plus I can put on as many banana peppers as my heart desires, so I’ll also be making up a batch of easy refrigerated pickled banana peppers, too.
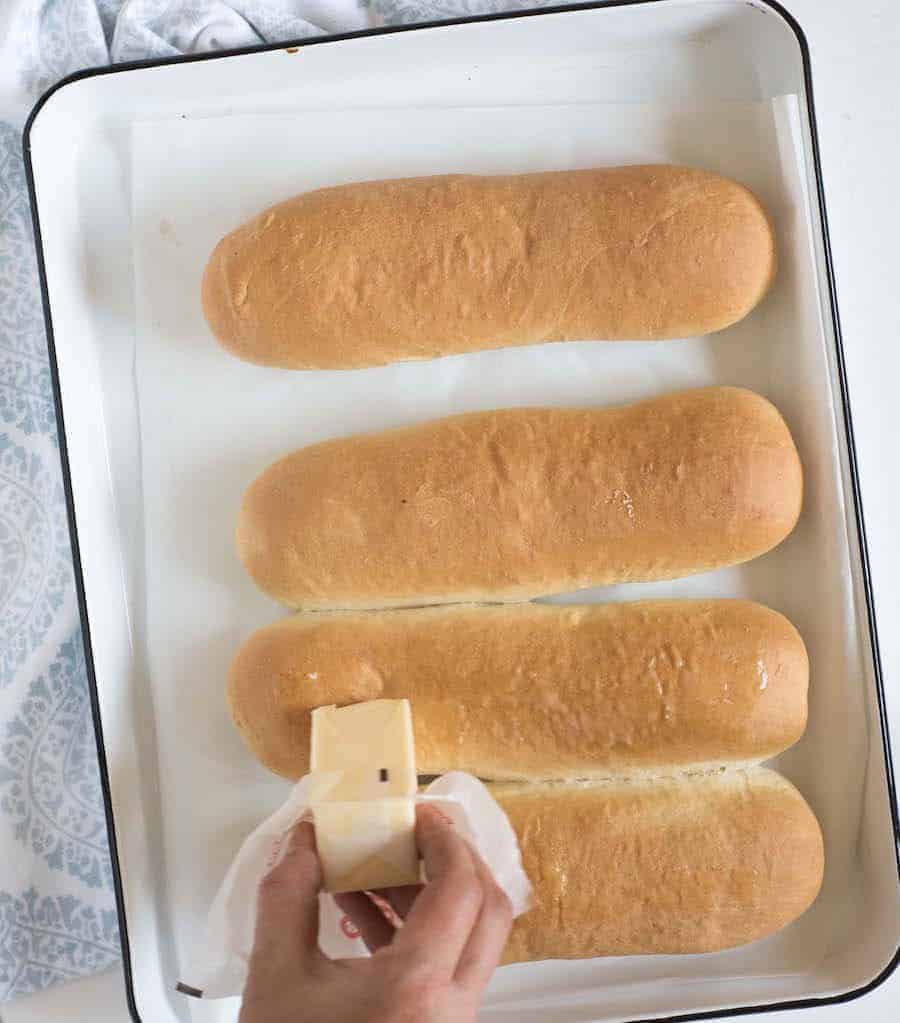
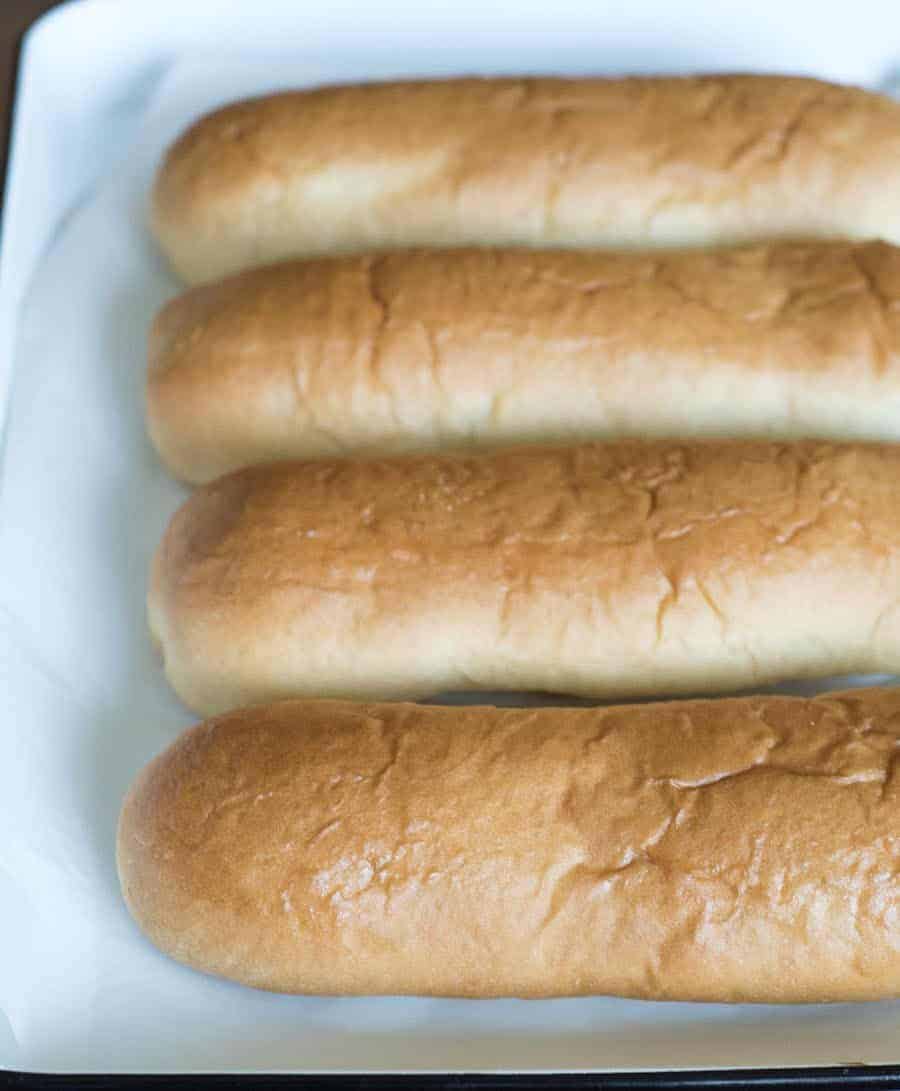
The homemade Subway bread was just perfect. It had a very soft crust (thanks to a little butter and letting it steam in a towel as it cooled) and a light middle, and it kind of smashed into nothing when you ate it. Just like the real thing.
Your family will be shocked and amazed at your mad skills, and you can wow them with an amazing cheese steak sandwich served on this perfect sandwich bread. Mom for the win!
Table of Contents
Why You’ll Love This Recipe
- Soft crust and light as air in the middle – a perfect replica of Subway bread
- This is a great recipe to keep on hand for any future hoagie needs
- A simple bread recipe with basic ingredients you’ll likely find in your pantry
Recipe Ingredients
- Yeast – If buying yeast in the packets, you’ll need to open two to measure out the amount needed for this recipe
- Sugar – Plain old sugar to make the yeast happy!
- Olive oil
- All-purpose flour
See the recipe card below for full information on ingredients and quantities.
Popular Variation: Italian Herb & Cheese Bread
I have had a few people email me and say that just before baking they brushed the outside of the dough with olive oil or butter and then sprinkled on some Italian seasoning and some Parmesan cheese for a great homemade Subway Italian Herb and Cheese bread.
I can’t wait to try this myself on any number of creative sandwich recipes!
How to Make Homemade Subway Bread
- Mix wet ingredients with all dry ingredients except the flour. Let the mixture stand for 5 minutes.
- Add 1 cup of flour and mix for 3 to 5 minutes. Add an additional cup of flour and mix well, and then add rest of flour a little at a time, until a soft dough is formed. Knead until smooth.
- Place the dough in a bowl and cover. Allow to rise and then shape into 4 rolls, allowing these to rise again.
- Bake at 350 for 25 minutes, brushing with butter and covering when they come out of the oven.
Recipe FAQs
If you haven’t ever made a simple bread recipe before, the goal is to add just enough flour for it to be a soft but not sticky dough. If you add too much flour, you’ll end up with Subway bricks instead of bread.
No stand mixer? This recipe can be made by hand, just be sure to knead it for a full 8 minutes. That’s a long time but developing the gluten helps the bread to be soft.
This recipe works well with half whole wheat flour mixed with half all-purpose flour for whole wheat sub buns.
Expert Tips
- This bread froze just about as well as other breads. It was still soft but seemed a bit dryer after freezing. Fresh is best but they do freeze and thaw well.
- Do not skip rubbing with butter and covering the bread with a towel to cool. This is the key to the texture of this awesome bread!
- One of the awesome Bless this Mess readers, Kim, had great success using her bread machine to make this recipe. She let the bread machine run the full dough cycle, which is 1.5 hours long. After the cycle she shaped the loaves and let them rise for an hour before baking.
More Amazing Bread Recipes to Consider
Homemade Bread
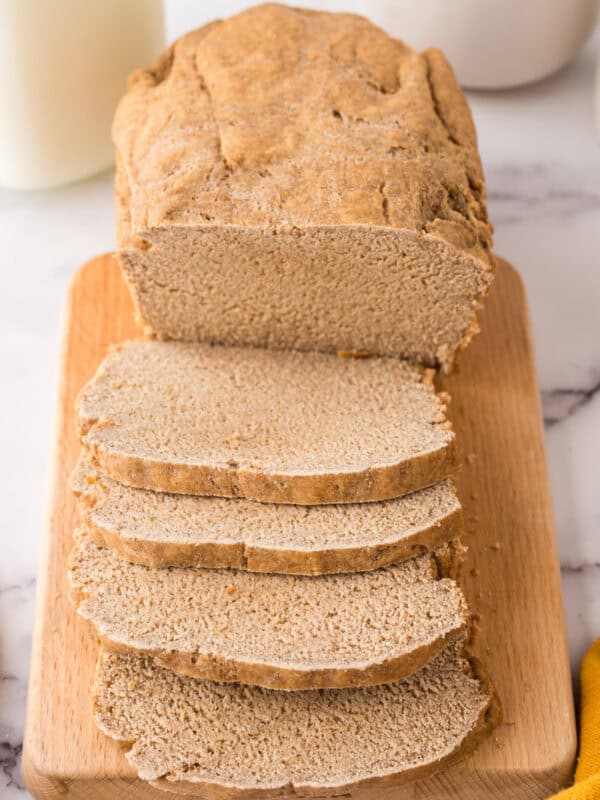
100% Whole Wheat Bread Recipe
Homemade Bread
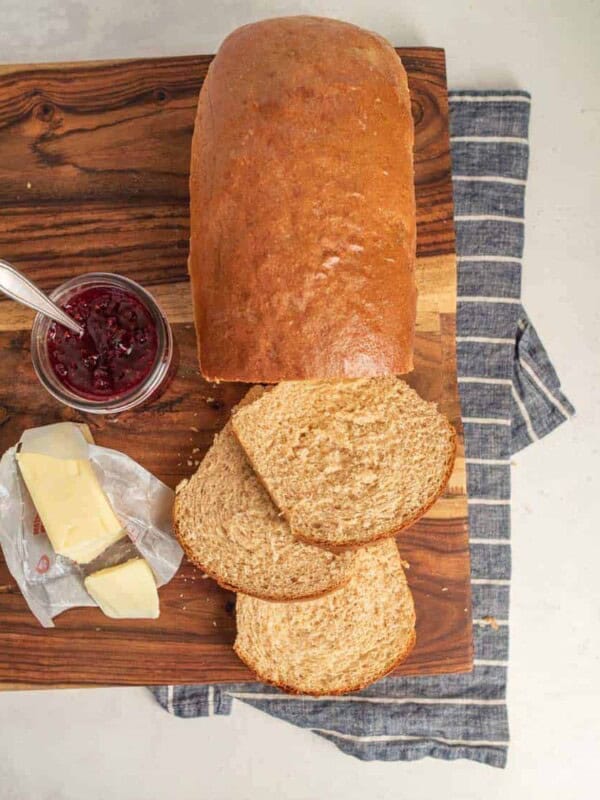
Soft Whole Wheat Sandwich Bread
Yeast Bread Recipes
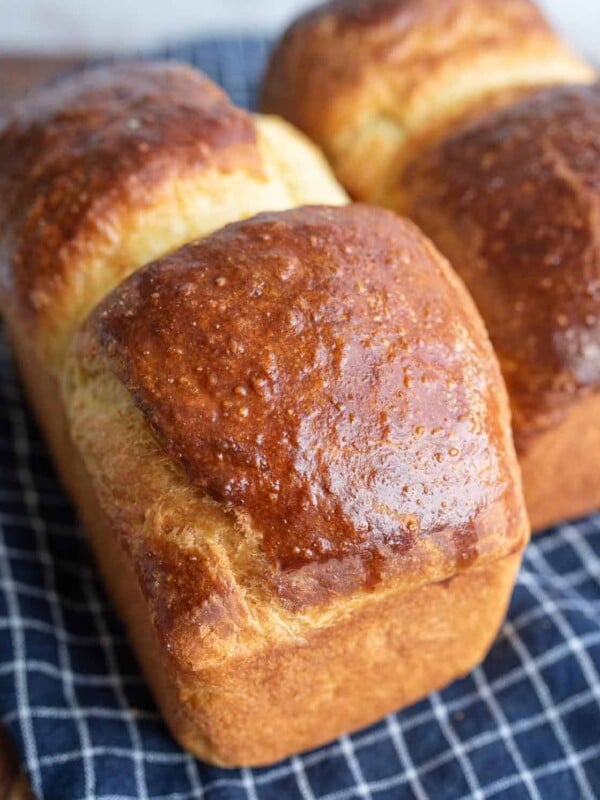
Brioche Bread
Yeast Bread Recipes
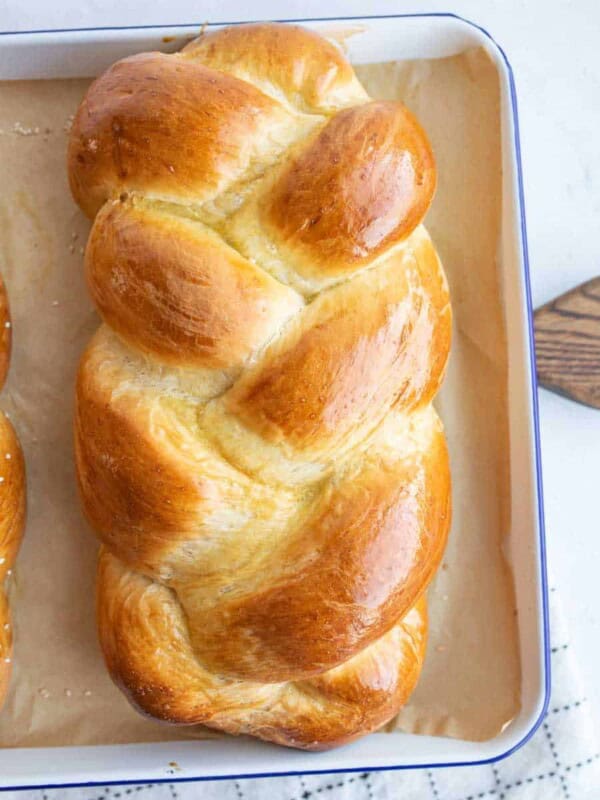
Challah Bread
Did you make this recipe? Leave a ⭐️ review and share it on Instagram, Facebook, or Pinterest!

Homemade Subway Bread Recipe
Equipment
- baking sheet These are a go-to that every kitchen should have.
- KitchenAid stand mixer This classic KitchenAid always gets the job done!
Ingredients
- 1 cup warm water, (110 degrees F)
- 1 tablespoon instant yeast
- 1 tablespoon sugar
- 1 1/2 teaspoon salt
- 4 tablespoons olive oil
- 2 1/2 to 2 3/4 cups all-purpose flour
Instructions
- In the bowl of your stand mixer, add the water, yeast, sugar, salt, and olive oil. Let the mixture stand for 5 minutes.
- Add 1 cup of flour and mix with the dough hook for 3 to 5 minutes. Add an additional cup of flour and mix until well combined. Continue adding the flour, 1/4 cup at a time, until a soft dough is formed. The dough should still stick to the bottom of of the bowl, but pull away from the sides. Let the dough mix for around 8 minutes total.
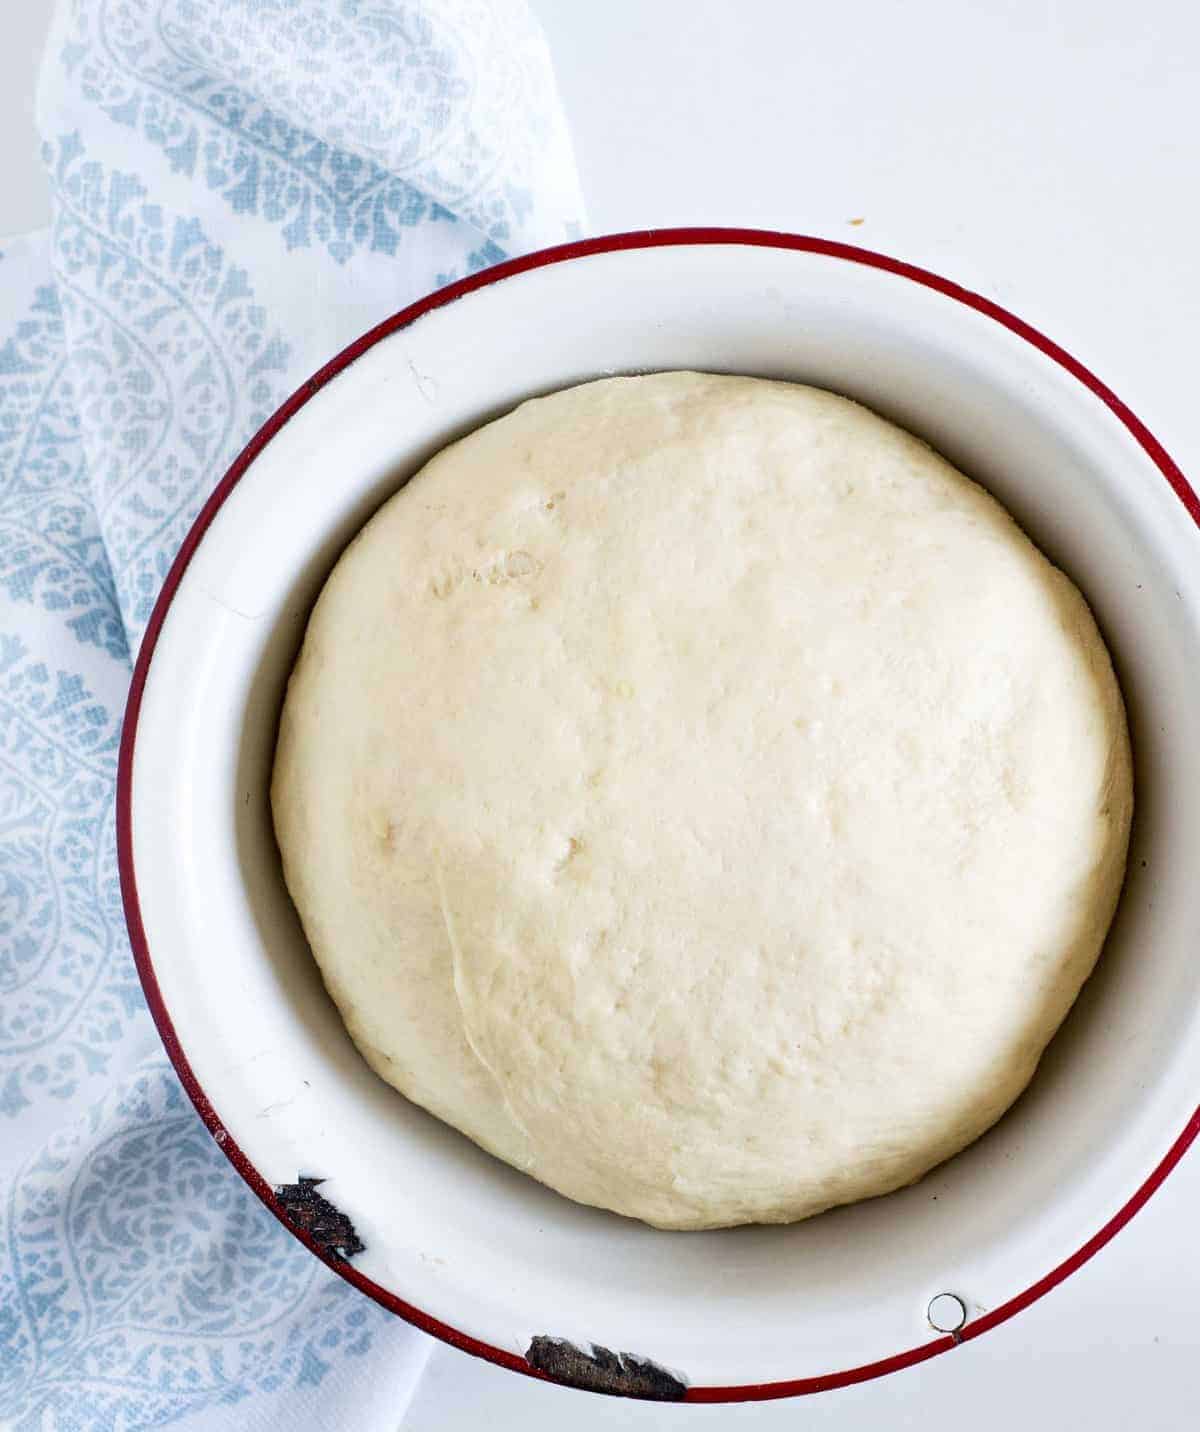
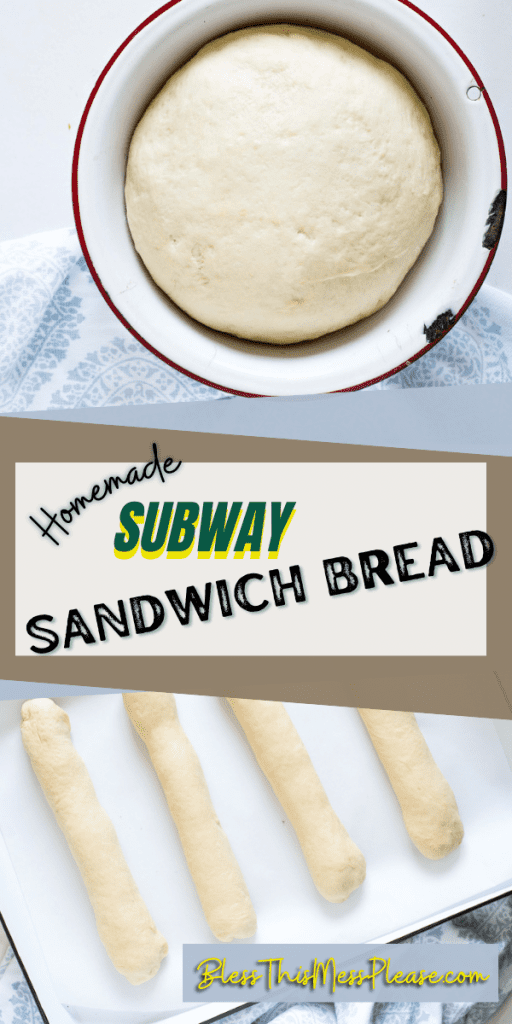
- When the dough has come together but is still sticking a bit to the bottom of the bowl, turn it out onto a lightly floured surface and knead until smooth. The dough should be very soft. Shape the dough into a ball and return it to the bowl. Cover the bowl with plastic wrap and allow the dough to rise for a half hour.
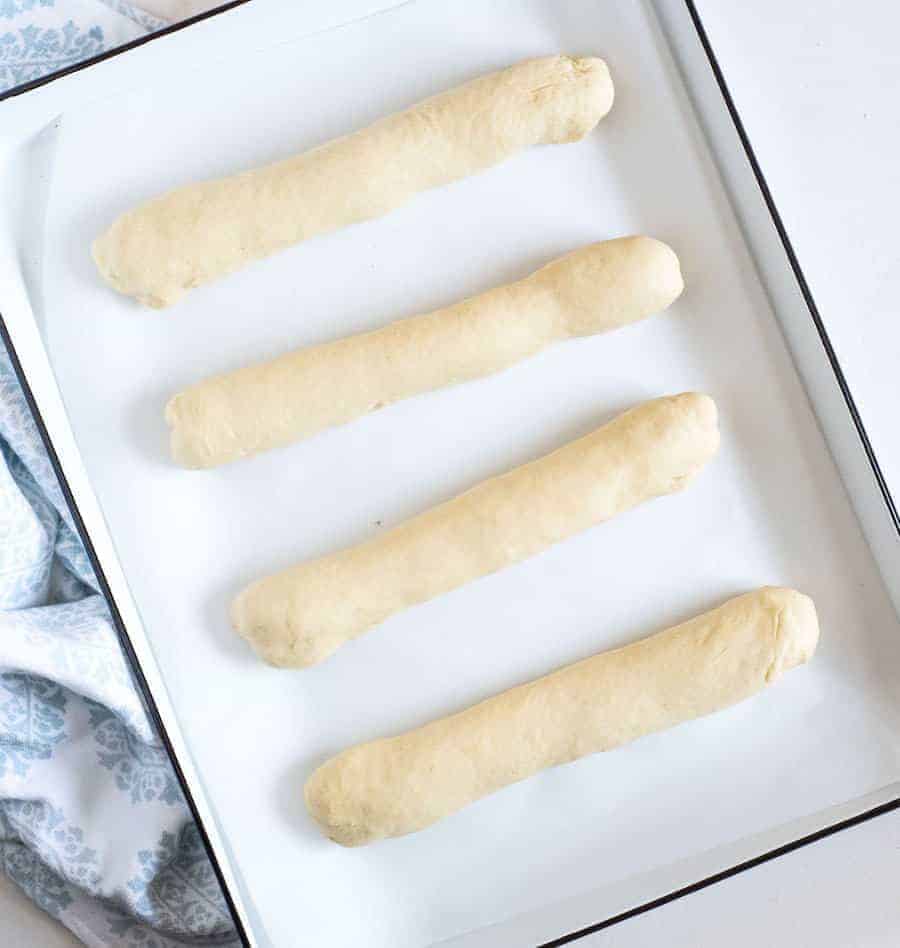
- After the dough has risen, turn it out onto a clean surface and divide it into 4. Roll each piece of dough into a long skinny loaf that is about 9 to 10 inches long.
- Place the rolled loaves onto a baking sheet lined with parchment or a baking mat. Repeat with the rest of the dough. Allow at least 2 inches between each loaf on the pan.
- Cover the loaves with a greased piece of plastic wrap and allow the loaves to rise until doubled, about an hour.
- Towards the end of the rising time, preheat the oven to 350 degrees. When the loaves are ready, bake them in the preheated oven for 25 minutes.
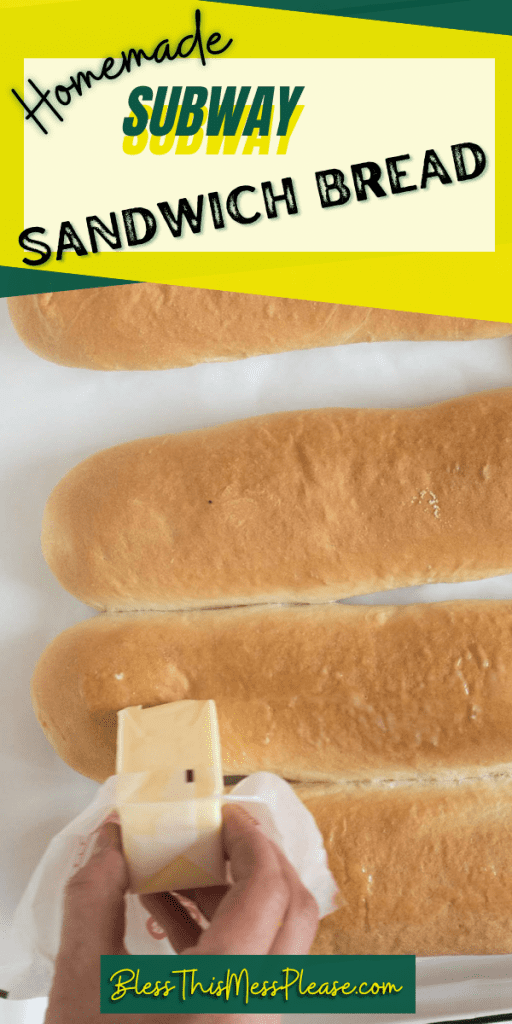
- When the loaves come out of the oven, rub the tops with a stick of butter and cover them with a dish towel to cool.
- Let the loaves cool for at least 30 minutes before cutting down the middle and topping with your favorite sandwich fixings.
Notes
- Rubbing the loaves with butter and covering them with a towel to cool are part of what keeps them very soft, so be sure not to miss those steps
- If you don’t have a stand mixer, just mix the flour in a bit at a time, kneading very well after it’s all incorporated.
- Add seasonings to the dough to change it up, like garlic powder or Italian seasonings.
- Instead of shaping the dough into loaves for Hoagie-style bread, make it into whatever shapes of sandwich rolls your family likes. Note that smaller shapes may need a shorter baking time.





I am yeast-sensitive and have learned that I can make bread with much less yeast than the recipes call for as long as the dough has a nice, warm place to rise. I don’t have a mixer, so mixed and kneaded the traditional way. I used 1 teaspoon of yeast for this recipe, let the yeast ferment in just the water and sugar until bubbly, added the salt and oil to some of the flour, then added the yeast mixture to the flour, then kept adding flour and mixing, then kneading, until the dough was the right consistency. I didn’t measure the flour. I put the dough in the microwave and let rise until double, heating the microwave for 15-20 seconds occasionally, then divided and formed 6 buns (more the size we like for sandwiches. I may make 7 or 8 next time). Covered and let them raise in the oven at 115 degrees, then baked and finished as directed. They turned out very well! Thank you for the recipe and tips. I buy yeast either in the glass jar or in bulk from our local health food/bulk food store, and keep in the freezer.
The first round was great but just physically a little flatter than I wanted. On second go round I tried some advice from the comments. 1) Bought new yeast 2) Put mixer on lowest setting 3) Didn’t mix as long as last time. We went through the flour quicker. 4) Our second rise was for about 45 minutes instead of an hour. 5) When covering dough for second rise last time we only had foil. This possibly could have forced the rise out instead of up. Used plastic wrap this time. So the results this time were much better. It held a better shape. Also, with about 8 minutes left of cooking we snatched it out of the oven real quick, buttered the top of one loaf and sprinkled a parmesan, garlic, oregano mix we had prepared… then threw it back in to finish baking. Mmmmm….
Eric you are a bread baking ninja! Thanks for all the tips!
My 5 yo daughter has discovered Subway and loves it. So we made these at home this evening. On second rise they went more out than up. Ours didn’t rise while baking, slightly flat, but still great! We’re ready to do it again and she wants to have a Subway party! Thanks for posting!
Have you ever tried to double the recipe??
Yep, it worked great! Have fun making it Margo.
Hi Melissa. Can you please have another look at the amount of warm water needed that must be the reason why there’s so many hard bread. I’ve been making 3 times now with doubled the amount of warm water and never had problems. By the way this timeI made garlic bread (warm up in a bowl some butter, garlic paste or grated fresh garlic, some dried oregano and parsley. Slice up the roll and spead lots of the mix, wrap with foil and put in oven for 10-15 minutes. Open up the foil on the last 5 minutes for a crispy garlic bread. Trust me you’ll never want to buy any garlic bread from the shop coz this is the best. Thanks again Melissa.
I just made halves of the ingredients and my kids won’t want to keep it for long after cooked so we break it up and slam some better inside and it was gone within 5 minutes.
I put 2 teaspoon yeast and same with sugar. I boil my kettle and I used half cup from that boiling water and half of normal cold water together I mix and add to the yeast and let it sit. I sieve 1 1/2 cup flour into a bowl and along with the salt. So I made a well in the middle and I pour two table spoon olive oil to the yeast and straight into the well. Then I use the back of my wooden spoon to mix in a circular way. I see that the mix is still too sticky so I keep adding very little by little of flour until you see the dough has come out of the sides but still stick to the bottom. I then turned it into a clean surfaces with some dry flour. Try to put the dough together by folding it in with fingers and push with back of your palm. Keep adding little flour until they just about to stop sticking to my hands. This stage the dough is still very soft. I rub olive oil onto a bowl and I cover dough with plastic wrap and put aside. After one hour I cut into two and roll it out without any dry flour. I put into the baking tray which I spray oil into. I then cover with plastic wrap which i rubbed some oil on. So I let it set then bake. My oven was too hot so i pulled it out 7 minutbefore when I see it’s getting too brown and check under bread it’s already little brown. Well this is how i made mine. Now I can make according to the full recipe with the twists than will work for me. Thanks once again. I might add sprinkle of herbs and cheese on the top before bake for some Italian taste. But I’m happy with just your recipe.
That sprinkle of herbs and cheese sounds perfect! Thanks for all the tips Elisa!
I recommend making half the ingredients first as try out/ experiment. So you can really work out if any problems need adjust or perfect and need no change. This time you can make according to equipments you have available ie. type of mixer brand and speeds -fast or slow, hand mixed only and how long for, watch it might have to do with the oven function ie. Temperature of your oven need adjust, the water temperature right or not for yeast to work on rising the dough – check expiry date of yeast if passed definitely not going to work. I recommend sugar with yeast and salt on flour to start with. Good luck and thanks Melissa for the inspiration and for sharing this great recipe. I will sure try this and let you know.
Hello! I made your sub roll recipe!! Omg!!! They are super beautiful and so soft and delicious! Thank you for this post!!
Made these last night. WOW!!! They were very good. Granted they aren’t fine Italian bread, but they aren’t suppose to be.
This is a great recipe for a good soft white subway roll.
Will definitely be making again!!!!!
Stephen, thanks for the comment! We really like this bread too. If you are on the hunt for a really good Italian bread I recommend this recipes. It’s one of my best! https://www.blessthismessplease.com/2012/08/rustic-italian-bread.html
Hi, can you please tell me the weight of each bun?
Just made these for sloppy Joe last night. DELICIOUS