Homemade Subway Bread Recipe
on Jul 13, 2017, Updated Aug 21, 2024
This post may contain affiliate links. Please read our disclosure policy.
Perfect Homemade Subway Bread recipe, just like the restaurant. This recipes makes a perfect copycat loaf of Subway bread for sandwiches at home.
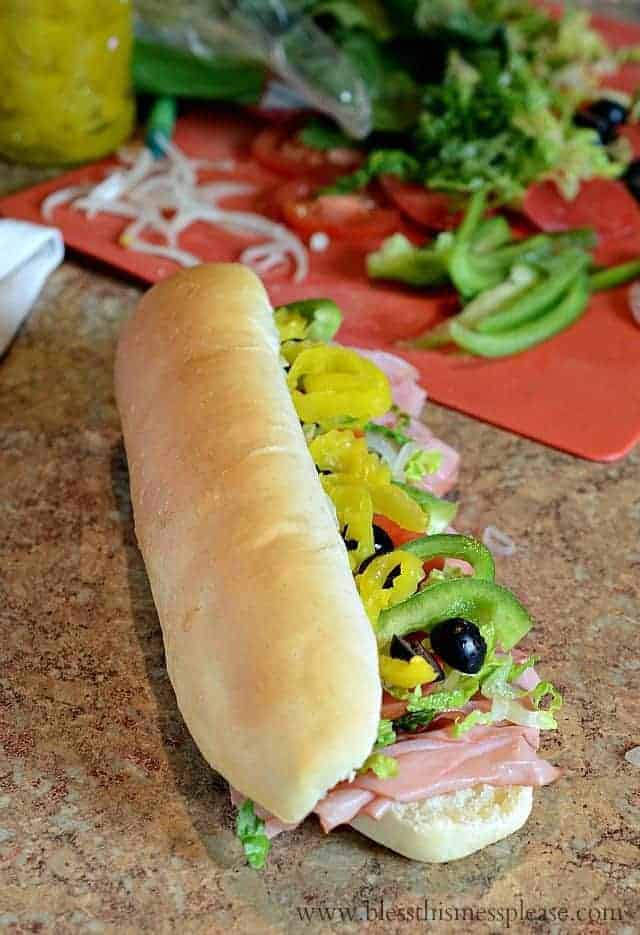
I love making homemade bread. It’s easier than you think, makes the house smell amazing, and provides that little extra something for your meal. Plus I can put on as many banana peppers as my heart desires, so I’ll also be making up a batch of easy refrigerated pickled banana peppers, too.
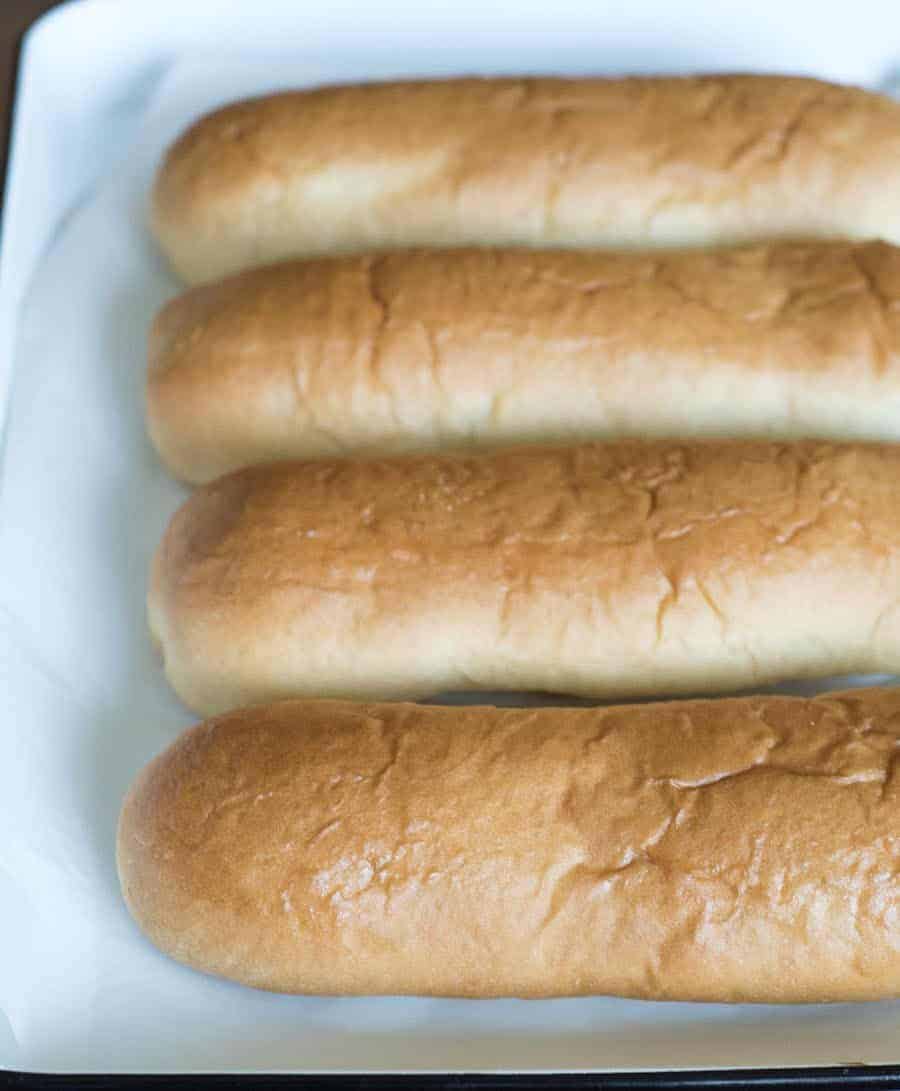
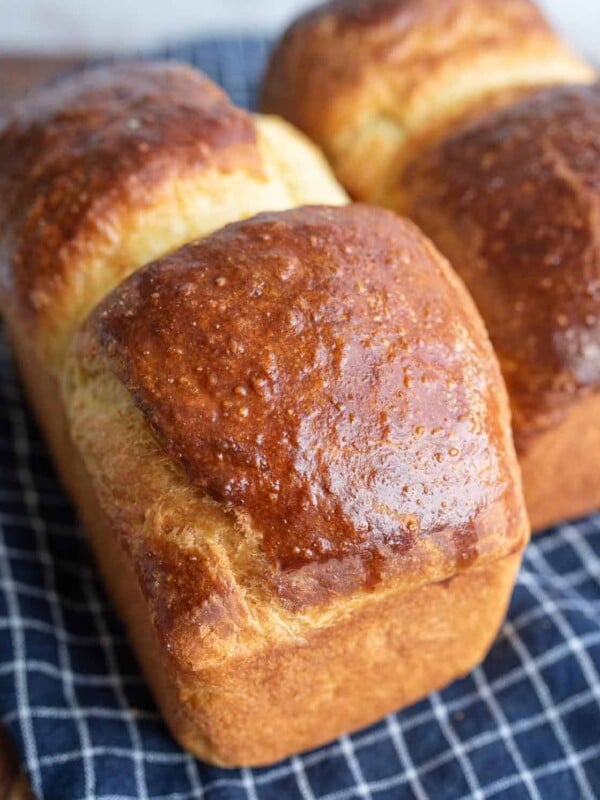
The homemade Subway bread was just perfect. It had a very soft crust (thanks to a little butter and letting it steam in a towel as it cooled) and a light middle, and it kind of smashed into nothing when you ate it. Just like the real thing.
Your family will be shocked and amazed at your mad skills, and you can wow them with an amazing cheese steak sandwich served on this perfect sandwich bread. Mom for the win!
Table of Contents
Why You’ll Love This Recipe
- Soft crust and light as air in the middle – a perfect replica of Subway bread
- This is a great recipe to keep on hand for any future hoagie needs
- A simple bread recipe with basic ingredients you’ll likely find in your pantry
Recipe Ingredients
- Yeast – If buying yeast in the packets, you’ll need to open two to measure out the amount needed for this recipe
- Sugar – Plain old sugar to make the yeast happy!
- Olive oil
- All-purpose flour
See the recipe card below for full information on ingredients and quantities.
Popular Variation: Italian Herb & Cheese Bread
I have had a few people email me and say that just before baking they brushed the outside of the dough with olive oil or butter and then sprinkled on some Italian seasoning and some Parmesan cheese for a great homemade Subway Italian Herb and Cheese bread.
I can’t wait to try this myself on any number of creative sandwich recipes!
How to Make Homemade Subway Bread
- Mix wet ingredients with all dry ingredients except the flour. Let the mixture stand for 5 minutes.
- Add 1 cup of flour and mix for 3 to 5 minutes. Add an additional cup of flour and mix well, and then add rest of flour a little at a time, until a soft dough is formed. Knead until smooth.
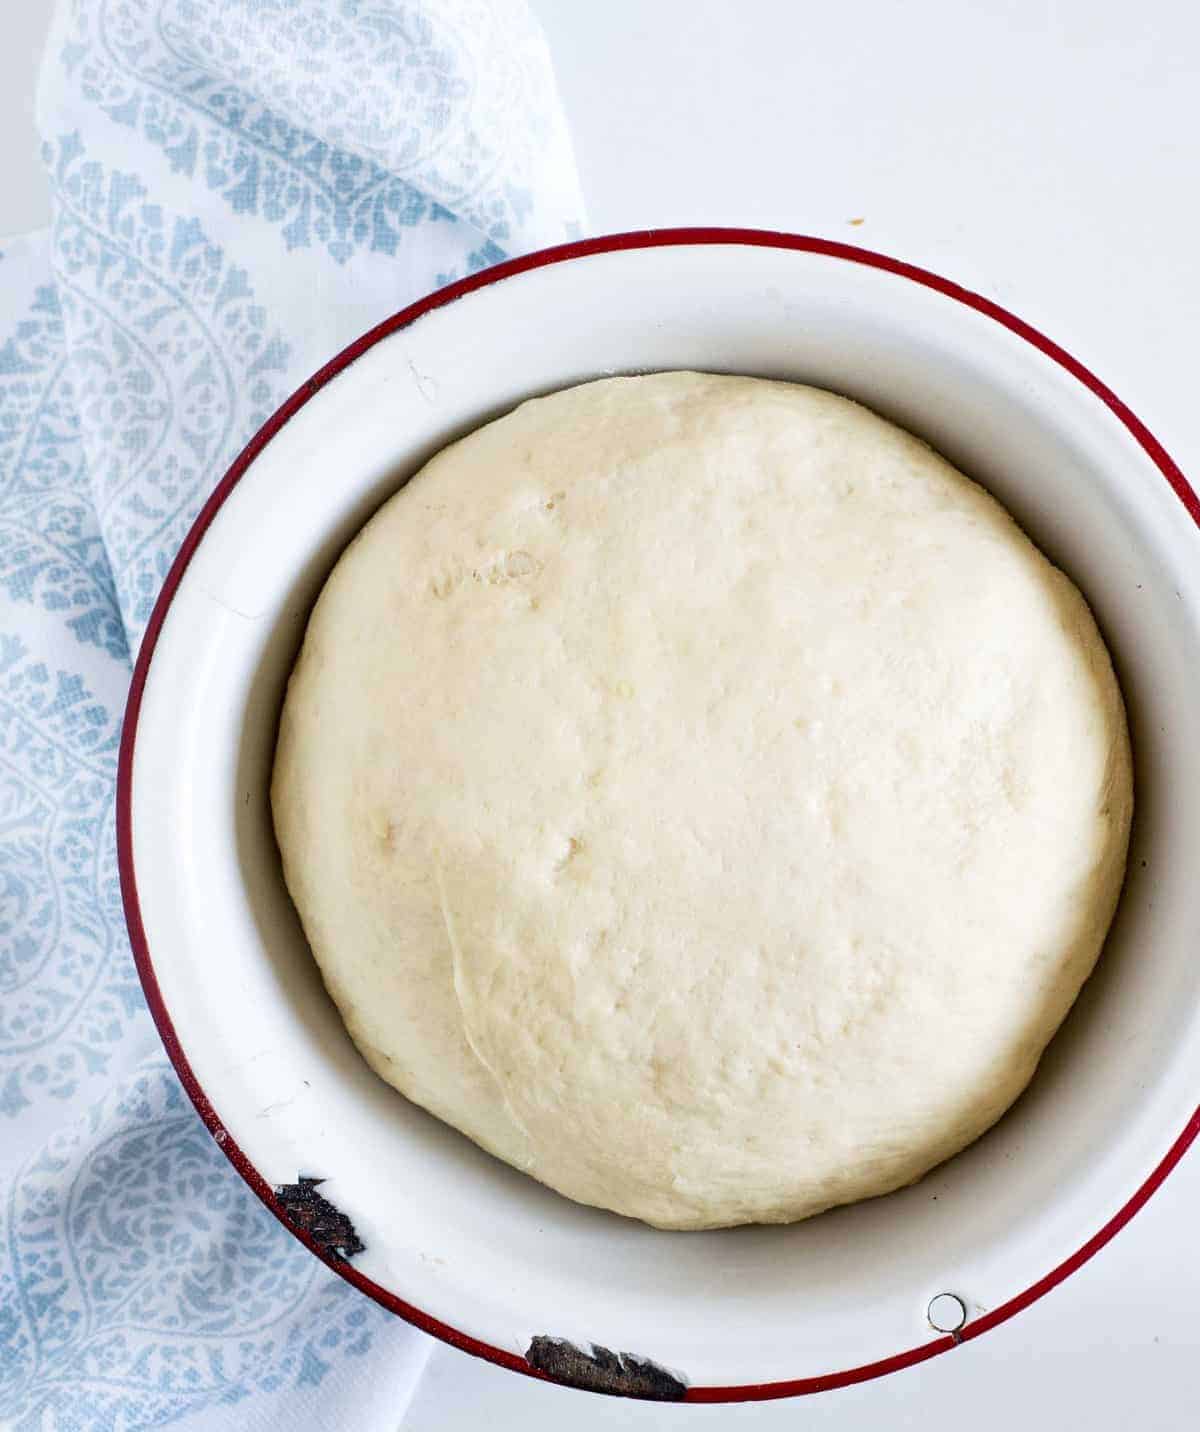
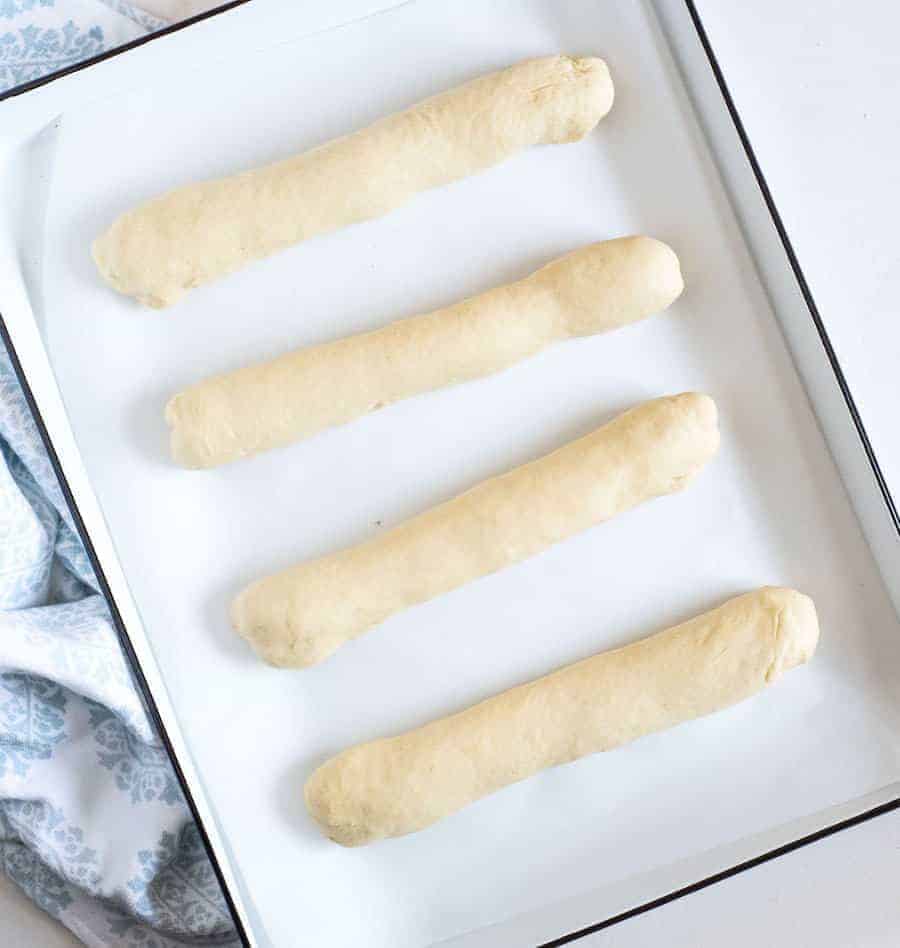
- Place the dough in a bowl and cover. Allow to rise and then shape into 4 rolls, allowing these to rise again.
- Bake at 350 for 25 minutes, brushing with butter and covering when they come out of the oven.
Recipe FAQs
If you haven’t ever made a simple bread recipe before, the goal is to add just enough flour for it to be a soft but not sticky dough. If you add too much flour, you’ll end up with Subway bricks instead of bread.
No stand mixer? This recipe can be made by hand, just be sure to knead it for a full 8 minutes. That’s a long time but developing the gluten helps the bread to be soft.
This recipe works well with half whole wheat flour mixed with half all-purpose flour for whole wheat sub buns.
Expert Tips
- This bread froze just about as well as other breads. It was still soft but seemed a bit dryer after freezing. Fresh is best but they do freeze and thaw well.
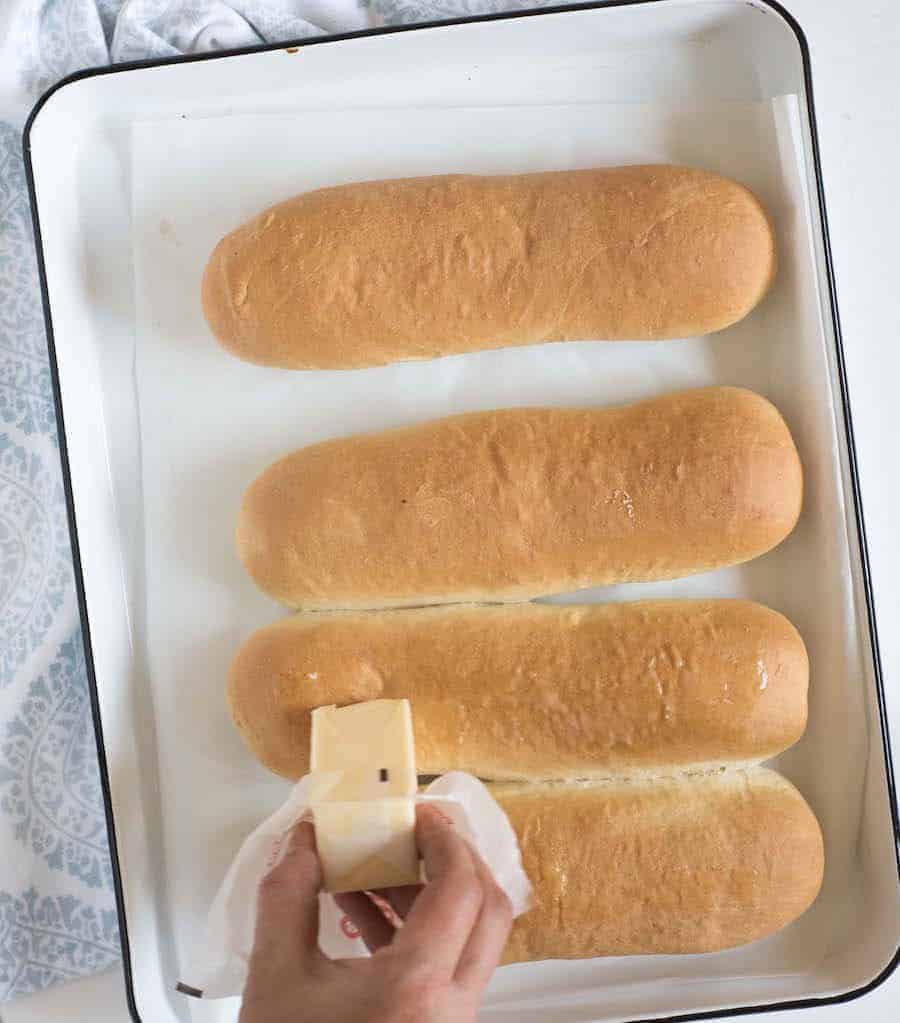
- Do not skip rubbing with butter and covering the bread with a towel to cool. This is the key to the texture of this awesome bread!
- One of the awesome Bless this Mess readers, Kim, had great success using her bread machine to make this recipe. She let the bread machine run the full dough cycle, which is 1.5 hours long. After the cycle she shaped the loaves and let them rise for an hour before baking.
More Amazing Bread Recipes to Consider
Homemade Bread
100% Whole Wheat Bread Recipe
Homemade Bread
Soft Whole Wheat Sandwich Bread
Yeast Bread Recipes
Brioche Bread
Yeast Bread Recipes
Challah Bread
Did you make this recipe? Leave a ⭐️ review and share it on Instagram, Facebook, or Pinterest!

Homemade Subway Bread Recipe
Equipment
- baking sheet These are a go-to that every kitchen should have.
- KitchenAid stand mixer This classic KitchenAid always gets the job done!
Ingredients
- 1 cup warm water, (110 degrees F)
- 1 tablespoon instant yeast
- 1 tablespoon sugar
- 1 1/2 teaspoon salt
- 4 tablespoons olive oil
- 2 1/2 to 2 3/4 cups all-purpose flour
Instructions
- In the bowl of your stand mixer, add the water, yeast, sugar, salt, and olive oil. Let the mixture stand for 5 minutes.
- Add 1 cup of flour and mix with the dough hook for 3 to 5 minutes. Add an additional cup of flour and mix until well combined. Continue adding the flour, 1/4 cup at a time, until a soft dough is formed. The dough should still stick to the bottom of of the bowl, but pull away from the sides. Let the dough mix for around 8 minutes total.
- When the dough has come together but is still sticking a bit to the bottom of the bowl, turn it out onto a lightly floured surface and knead until smooth. The dough should be very soft. Shape the dough into a ball and return it to the bowl. Cover the bowl with plastic wrap and allow the dough to rise for a half hour.
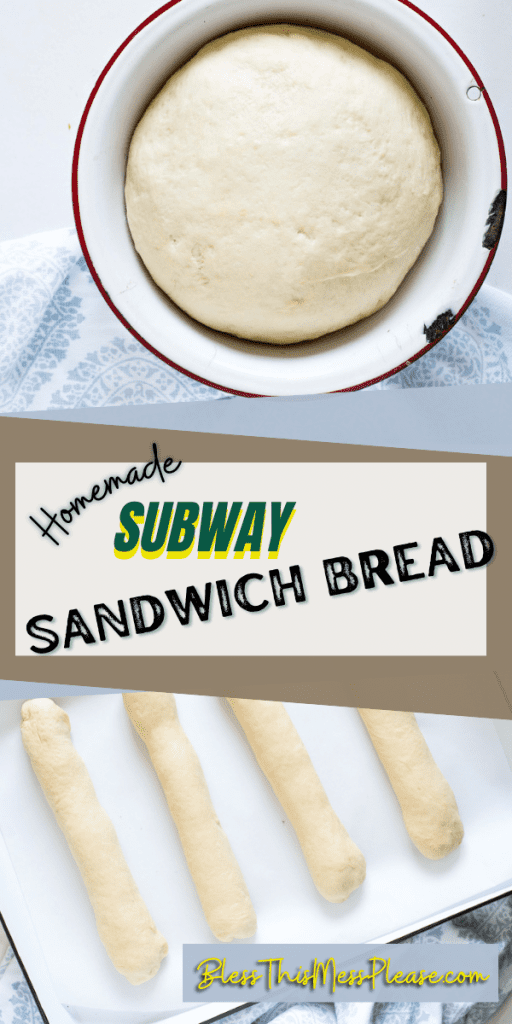
- After the dough has risen, turn it out onto a clean surface and divide it into 4. Roll each piece of dough into a long skinny loaf that is about 9 to 10 inches long.
- Place the rolled loaves onto a baking sheet lined with parchment or a baking mat. Repeat with the rest of the dough. Allow at least 2 inches between each loaf on the pan.
- Cover the loaves with a greased piece of plastic wrap and allow the loaves to rise until doubled, about an hour.
- Towards the end of the rising time, preheat the oven to 350 degrees. When the loaves are ready, bake them in the preheated oven for 25 minutes.
- When the loaves come out of the oven, rub the tops with a stick of butter and cover them with a dish towel to cool.
- Let the loaves cool for at least 30 minutes before cutting down the middle and topping with your favorite sandwich fixings.
Notes
- Rubbing the loaves with butter and covering them with a towel to cool are part of what keeps them very soft, so be sure not to miss those steps
- If you don’t have a stand mixer, just mix the flour in a bit at a time, kneading very well after it’s all incorporated.
- Add seasonings to the dough to change it up, like garlic powder or Italian seasonings.
- Instead of shaping the dough into loaves for Hoagie-style bread, make it into whatever shapes of sandwich rolls your family likes. Note that smaller shapes may need a shorter baking time.







I used bread machine for whole dough cycle, 1.5 hour, then rolled and shape dough and I just left mine in the oven on a tray for an hour then baked as per your suggestion.
I also did it by taking out after 50 min then shaped and let rise for an hour.
Both turned out, my preference though I think the first batch was better
(using the whole 1.5 hour cycle)
Either way they were a big hit in my house. Kids loved having a sub to talk to school.
I think I Love You! Thank you, keep up the good work.
LOL, best comment of the day. ENJOY Dave!
Can you use bread flour with this recipe??
Yep, it makes them extra chewy and is a great option for this recipe! ENJOY!
I made this in my bread machine. I added the ingredients per my machines directions. I used 2 3/4 c flour called for and took it out ofter the first rise in my machine. Rolled and baked as normal. Rubbed with butter when done and covered to cool. They came out perfect.
Ooohhh thanks for sharing the bread machine tips, I’m sure many others will appreciate that too.
Also one needs to properly activate their yeast with just enough warm water if it is too hot you might have just killed the yeast before even adding. So fresh yeast and suitable activate must be used within dough for getting the maximum proof for your breads.
You mentioned you can make this in the bread machine. The recipe says to only let it rise for a half hour where as the bread machine rises for an hour. Should I take it out half way of rising and then continue to roll out and let it rise for an hour on pan? Thanks!
Yes, I’d take it out after the half hour mark and finish as directed. Happy baking Stephanie!
Ok, Thanks
Also do you know how to make the vinegar that subway uses on the sandwich my husband will want that one his
Thanks
Im going to make the sub rolls to day Can you please explain how to measure the flour and do you swift it
Thanks
You’ll just want to use a spoon to scoop the flour into a measuring cup and then use the back of a butter knife to level off the top, no need to sift. And as for the subway vinegar, the internet says that it’s equal parts red wine vinegar and canola or vegetable oil that they shake together before using. You’ll have to try it and let me know if it tastes the same!
Hi Melissa,
I’m a homesteader and have been providing my family with homemade bread for more than 35 years. This morning I was making my everyday bread and came across this recipe so I made this as well and decided that we would make one of my families home made steak, steak and more steak sub for dinner. I have a beautiful recipe that makes 30 dinner rolls or 12 sub buns and it is very good but we don’t always want a dozen sub buns so I thought I would give this recipe a try. While I was waiting for the bread to rise, I was reading through a lot of comments and found that a lot of people were having problems with the recipe. I would like to put in my two cents for whatever it is worth to whoever wants to read it.
1 – I don’t believe you can over knead dough or at least, I never have.
2 – When I first started making bread I kept jumping around trying all different kinds of yeast until one day I came across “Fermapan Instant Yeast”… No I don’t work or represent them in any way…lol. Since I have since then found that it is a commercial yeast which I can only means… “guaranteed to please” It seems to rise 3 times… 1st in the first proof, 2nd in the second proof and then again in the oven. I have passed this yeast on to everyone I know that makes or wants to make bread as it is the first failing point if the yeast does no co-operate. For years I use to order it on line 7 pounds a year… It comes in a 1 pound airtight package and I keep it in a baggie in the fridge once I open it. I keep the other pounds in the freezer. I use Fermapan the way I would a dry active yeast.
3 – I always follow certain rules when it comes to making bread.
Always put the “sugar, Honey, maple syrup, (sweetener) in the bottom of a glass 2 cup measuring cup
Always add the liquid on top of the sweetener and mix ( liquid should never be too hot to touch)
Always sprinkle your yeast on top and mix in until it sinks and set aside.
Always add the salt to the flour in the mixing bowl (NEVER to the yeast mixture)
Never add butter/eggs/oil into the yeast mixture, until yeast is ready for the flour/salt mixture,
Always do a pinch test before removing the dough from the bowl
The pinch test consists of pinching the dough with two fingers very hard and then release
and there shouldn’t be any dough on your fingers but it felt like it was going to stick when
you released. if it doesn’t stick but feels like it will your dough is PERFECT and ready to use
In your recipe I followed my above rules and placed the sugar in the measuring cup and then the water and then sprinkled only 1 Tablespoon of yeast and set aside until ready to add to the flour/salt in the mixing bowl.
I added the salt to the flour mixture and with the dough hook mixed until blended
Once I could see the yeast growing, I added the oil and mixed and poured into the mixing bowl while the mixer was on low.
I continued to mix in flour about 1/4 cup at a time until it made a really really soft ball… it did not stick to the bottom of the bowl or the sides but when I did the pinch test it was still very sticky to my fingers, but didn’t stick.
The buns turned out perfect and I am very pleased with the finished product.
Fermapan Instant Yeast can be found at the below website for anyone interested in having the largest and most successful bread ever.
https://www.breadbeckers.com/store/pc/Instaferm-Fermipan-Instant-Yeast-p2359.htm
I have a facebook page called The Martin Homestead located in Tamworth, Ontario i will be posting your recipe there with pictures of the finished product which is just beautiful…
I thank you Melissa!!!
Fiona
Such a helpful comment! Thank you so much taking the time to educate and explain and I’m excited to see your pictures of the bread!