Easy Homemade Cherry Pie Recipe
on Nov 20, 2019, Updated Jun 28, 2024
This post may contain affiliate links. Please read our disclosure policy.
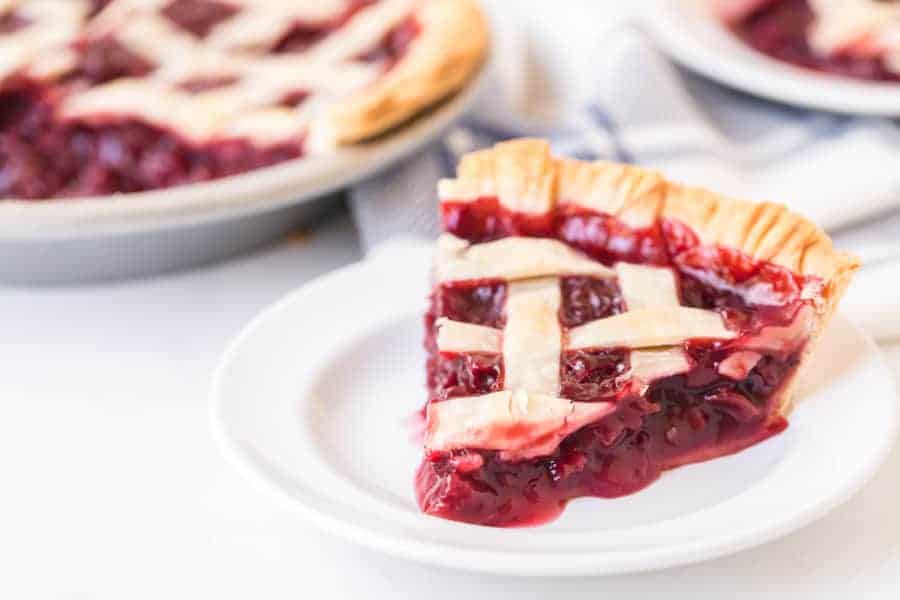
This easy Homemade Cherry Pie recipe has a flaky crust filled with the most delicious cherry pie filling. It’s perfect for the holidays or a summertime dessert! Pair it with this Whipping Cream, or this Ice Cream!
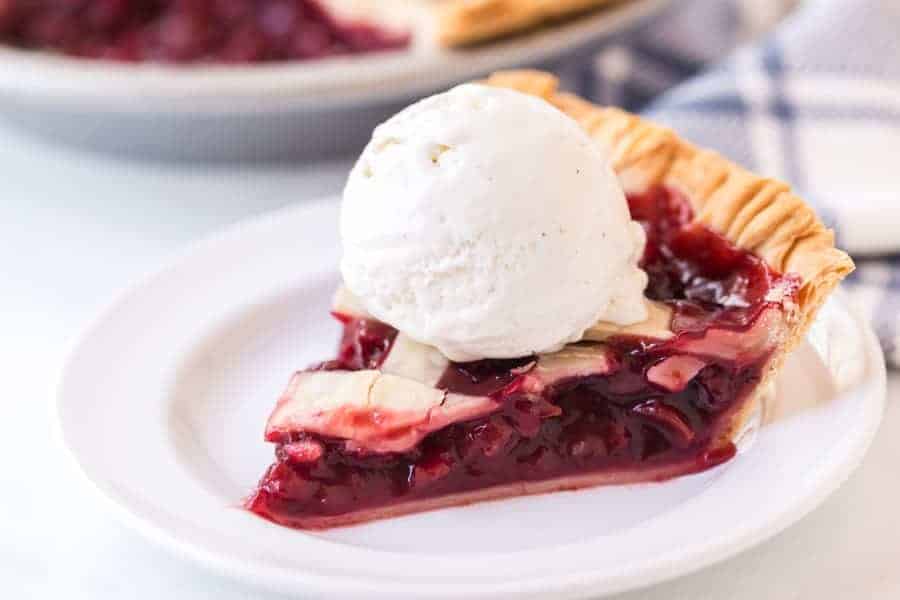
Cherry pie is one of my all-time favorites, and it’s my dad’s favorite, too. For this recipe, you start with 2 cans of pitted sour cherries (look for ones canned in water). Sour cherries are so good in pie because a little bit of tartness in the land of sugar and flour is always a nice complement. When it’s baked, the filling is thick, gooey, and just sweet and sour enough to be heavenly. You’ll love it so much if you like pies or fruity desserts!
I know you will fall head over heels for this delectable pie that’s simple to make and so satisfying to enjoy! Happy baking!
Table of Contents:
Table of Contents
Ingredients:
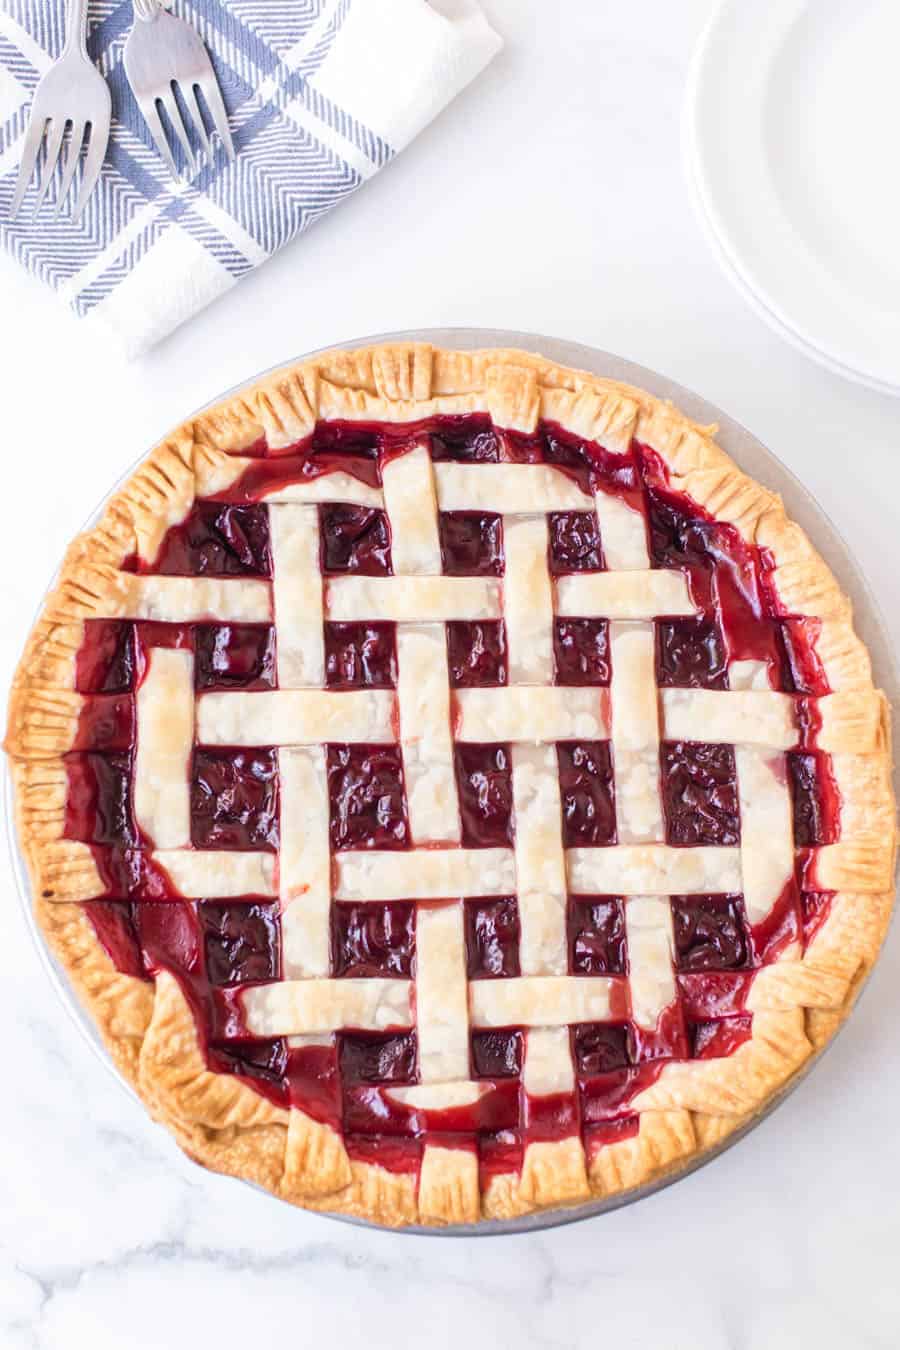
- Red tart pitted cherries: These are my favorite cherries to use in pie because they are so juicy, flavorful, and tart, but you can also use frozen tart or sweet cherries with great success. See the notes section below the recipe if you end up using frozen cherries.
- Granulated sugar: To cut the tartness of the cherries and give the filling the most heavenly sweet flavor.
- Cornstarch: This will thicken the cherry filling and make it a gooey, delicious pie.
- Butter: Adds just a touch of richness and complexity to the filling
- Double pie crust: My favorite pie crust ever! It’s so easy, flaky, and tasty. Click the link to find the recipe. You may also use store-bought crust if you don’t want to make it yourself.
See recipe card below for full information on ingredients and quantities
Serving Ideas:
You can serve this pie warm out of the oven or at room temperature, depending on your preference. Serve alone, or with whipped cream or vanilla ice cream!
Common problems or concerns with making cherry pie:
How to avoid a soggy bottom: If you experience soggy bottom pie crust, you can try blind baking it (or baking the crust for about 10 minutes at 350 F. before adding the filling and top), brush the bottom with egg, make the crust thicker, or bake the pie in a tin placed on a cookie sheet.
How to thicken a cherry pie: Using cornstarch will thicken the pie filling; if you want it to be thicker, add an additional tablespoon of cornstarch.
How to reheat cherry pie: You can reheat pie in the oven. Place the pie tin on a cookie sheet, lightly cover it with foil, heat the oven to 350 F., and reheat for about 12 to 15 minutes.
How to tell if a pie is done: For cherry pie, you can tell it’s done when the top crust is golden-brown, and the filling is bubbling around the edges and through the vents. Let the filling bubble for minimum 5 minutes before taking it out of the oven.
How to keep a pie from getting watery: Using a lattice or vented top crust will help the filling to thicken, as well as letting the pie bake thoroughly and cool completely before serving.
Frequently Asked Questions:
Store Cherry Pie by letting it cool and then covering it tightly with plastic wrap before refrigerating for up to 5 days. To freeze, wrap the plastic pie tightly with foil, place in a large zipper-topped bag, and freeze for up to 3 months.
My favorite type of cherry to use for pie is canned, pitted red tart cherries. You could also use frozen tart cherries or frozen sweet cherries. See the notes at the bottom of the recipe card for how to adjust the baking ratios if you use either of those.
By letting the filling cook and bubble with some cornstarch over the stove. It will thicken the mixture into a less runny consistency that’s perfect for pie. You could also use some flour in a pinch.
You do not need to let frozen cherries thaw if you choose to use them in your pie, but when you make the cherry pie filling, you’ll heat them with a cherry sauce on the stove, which will thaw and cook them anyway.
More Pie Recipes to Consider:
Pies, Crisps & Tarts
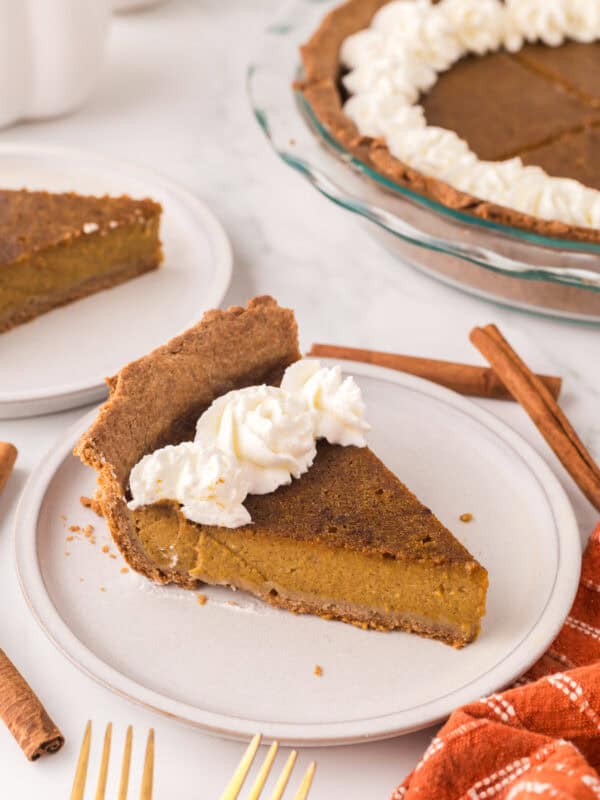
Healthy Pumpkin Pie Recipe
Pies, Crisps & Tarts
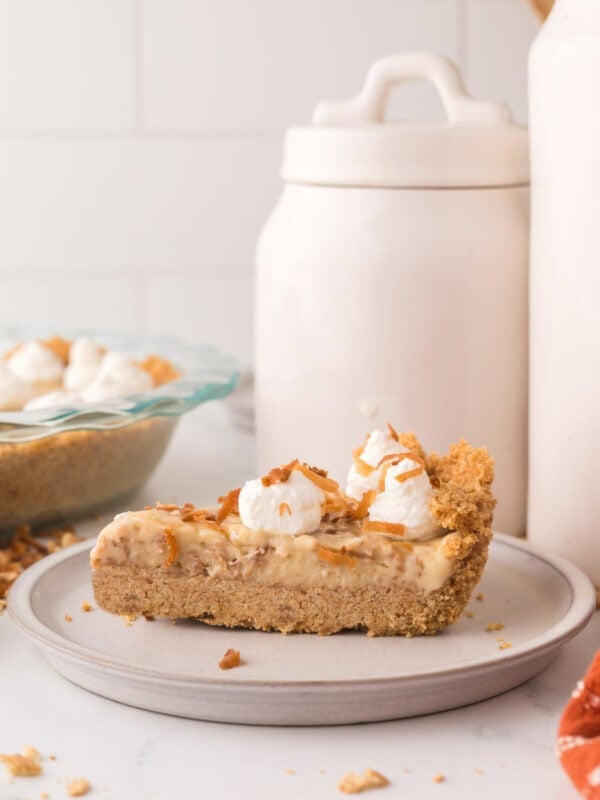
Homemade Coconut Cream Pie
Pies, Crisps & Tarts
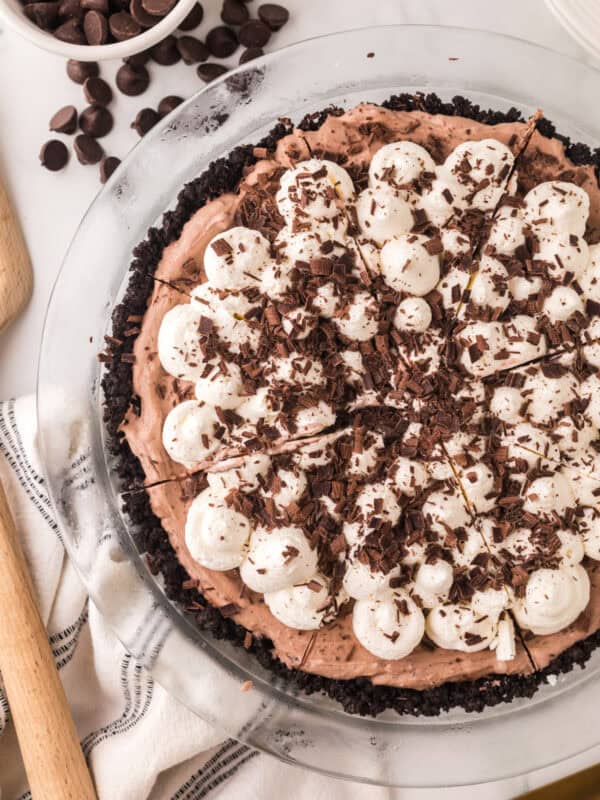
Homemade Chocolate Cream Pie
Pies, Crisps & Tarts
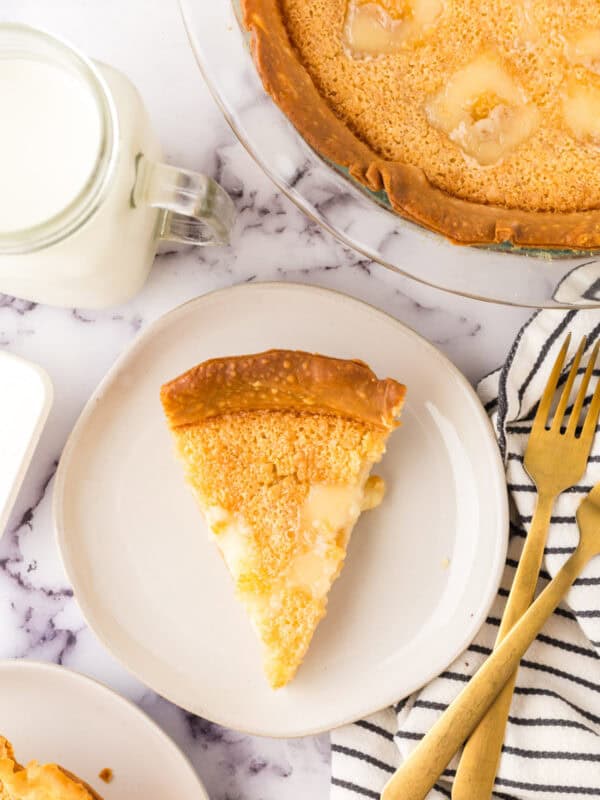
Hoosier Sugar Cream Pie
Did you make this recipe? Leave a ⭐️ review and share it on Instagram, Facebook, or Pinterest!
Homemade Cherry Pie Recipe
Ingredients
- 2 cans red tart pitted cherries, about 15 ounces each
- 1 cup granulated sugar
- 3 tablespoons cornstarch
- 1 tablespoon butter
- Double pie crust
Instructions
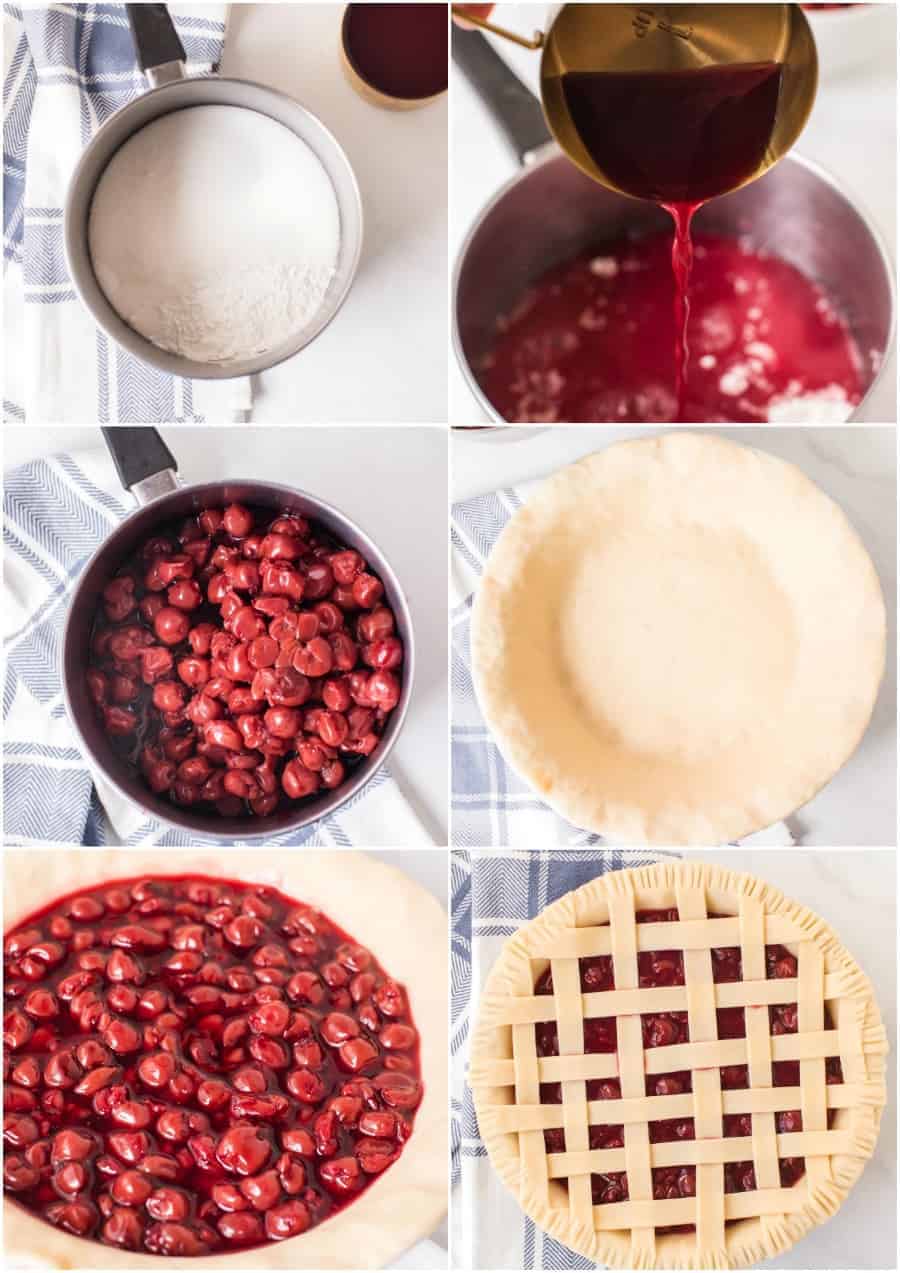
- Drain cherries, reserving 1 cup of the liquid.
- Mix sugar and cornstarch in small, heavy saucepan. Gradually whisk in reserved cherry liquid until smooth. Cook and stir over medium heat until bubbly.
- Cook an additional 3 to 5 minutes until thick and clear. Remove from heat. Stir in butter and cherries.
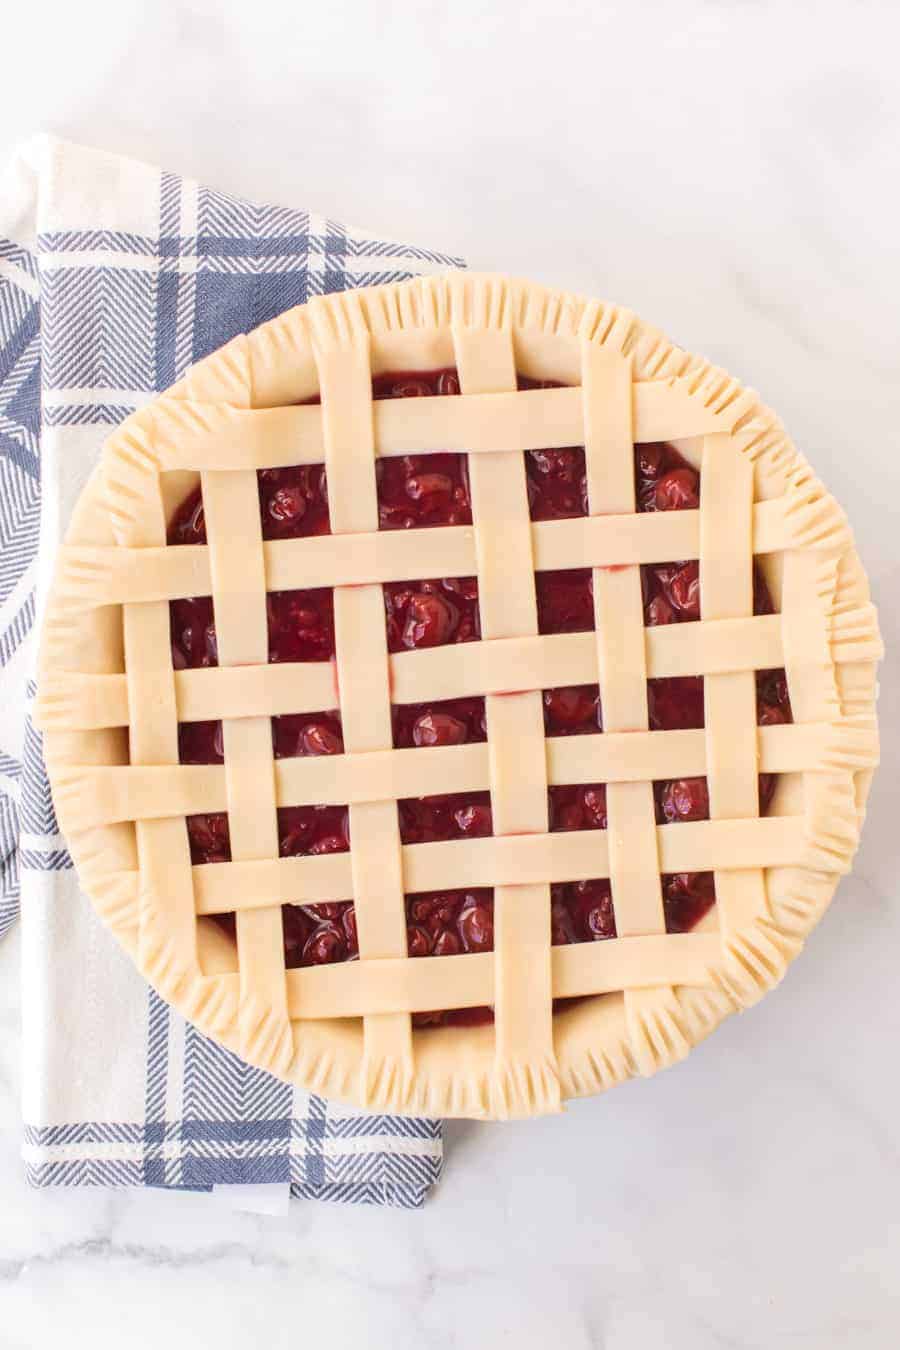
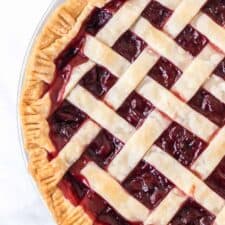
- Roll out the pie crust, and place it in the bottom of a 9-inch pie plate (it doesn't have to be a deep one, but it won't hurt if it is). Pour the cherries into prepared crust. Cover with a vented or lattice top.
- Bake at 450℉ for 10 minutes, and then reduce heat to 350℉, and bake 25 to 30 minutes.
Notes
- To make with frozen tart cherries, just use water instead of the reserved liquid from the can, and make according to the directions.
- To make with frozen sweet cherries, use water instead of the reserved liquid, 1/2 the sugar, and add 1 tablespoon lemon juice to the water when you add it. Easy!
- This is the brand of cherries that I used and will probably be the kind that your grocery store has in stock too.
- You can add a drop or two of red food coloring if you’d like to make the cherries more red, but I think the natural cherry color is lovely on its own.
- Recipe from my sister-in-law, Beth.





I made this recipe and got so many compliments from my family. A previous recipe i had tried was too runny. This one turned out so nice and perfect consistency.