Homemade Candy Bar Recipes
on Oct 29, 2024
This post may contain affiliate links. Please read our disclosure policy.
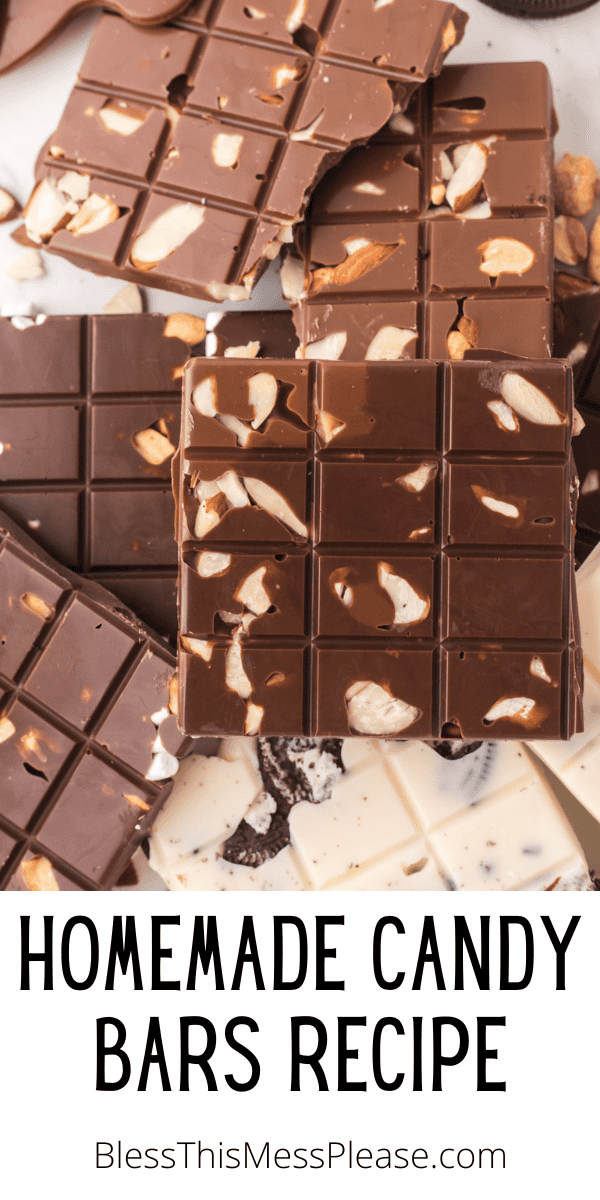
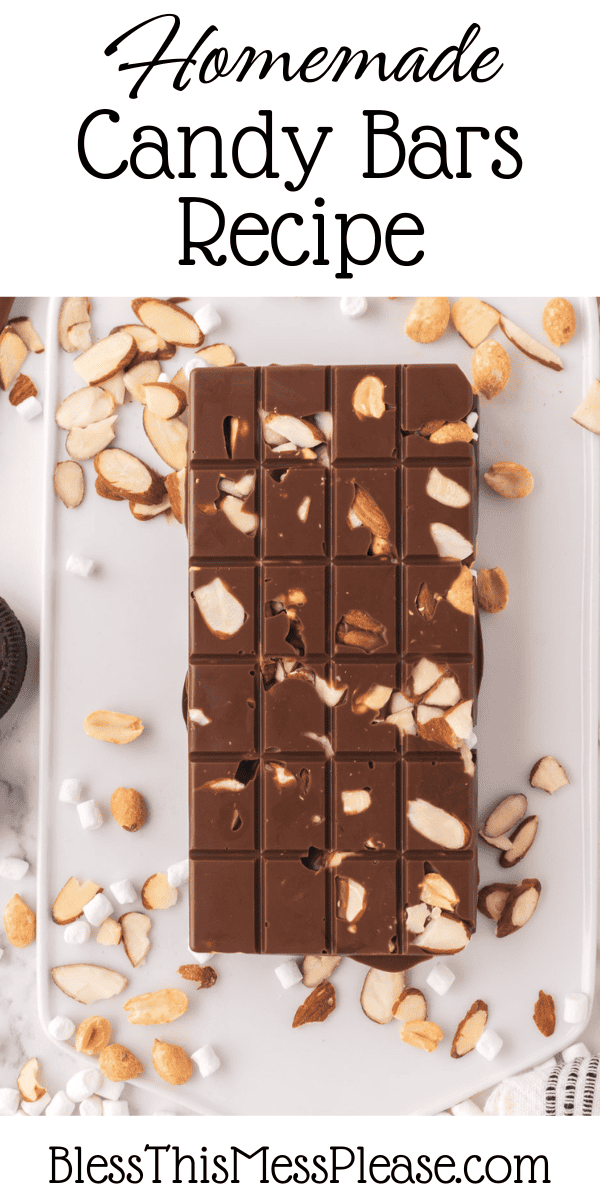
With tempered chocolate and your favorite add-ins, you can make delicious candy bars right in the comfort of your own home! These homemade candy bars are incredibly simple, and make a wonderful gift.
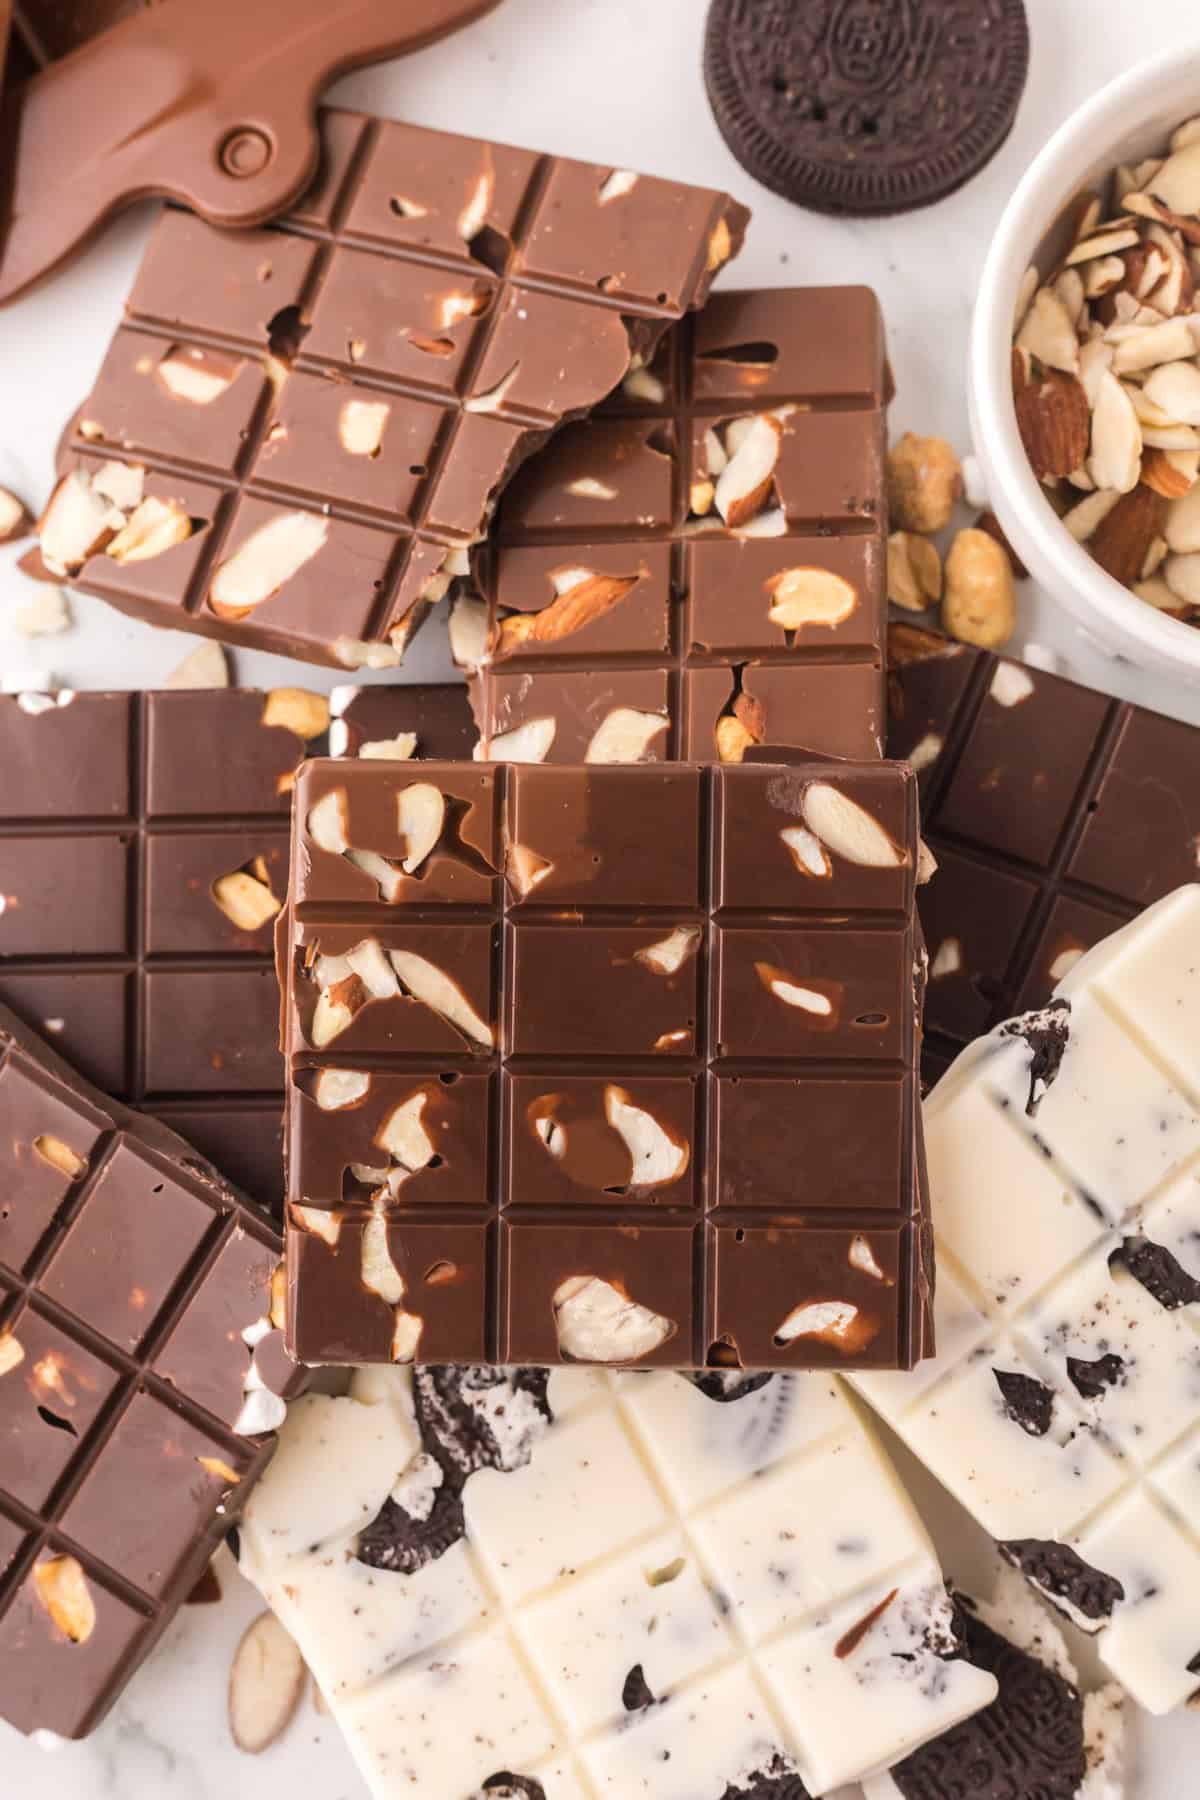
Making candy at home does not always have to be a time-consuming or difficult task! These chocolate bars are so easy to make, and the only tough part is waiting for them to set. With endless options of combinations and flavors, it is almost impossible to get tired of them. As long as you have some chocolate molds, then the sky’s the limit.
These candy bars make a great late night snack and personalized gift for friends and family. We love how quick and easy it is to create custom flavors for everyone in the family!
Table of Contents
Why You’ll Love This Recipe
- You only need a few ingredients to create delicious, homemade treats.
- These candy bars make the perfect gift for birthdays and holidays.
- There are so many different candy bar variations you can make.
Equipment You’ll Need
In order to make these candy bars, you will want to get some chocolate molds! We use a rectangle for a traditional look, but any size or shape works well. Just be sure to adjust your amounts for the molds that you have. It is important to use soft, silicone molds to remove the chocolate easily. You can find these molds at most stores or online, and some even come with a complete candy making kit!
Recipe Ingredients
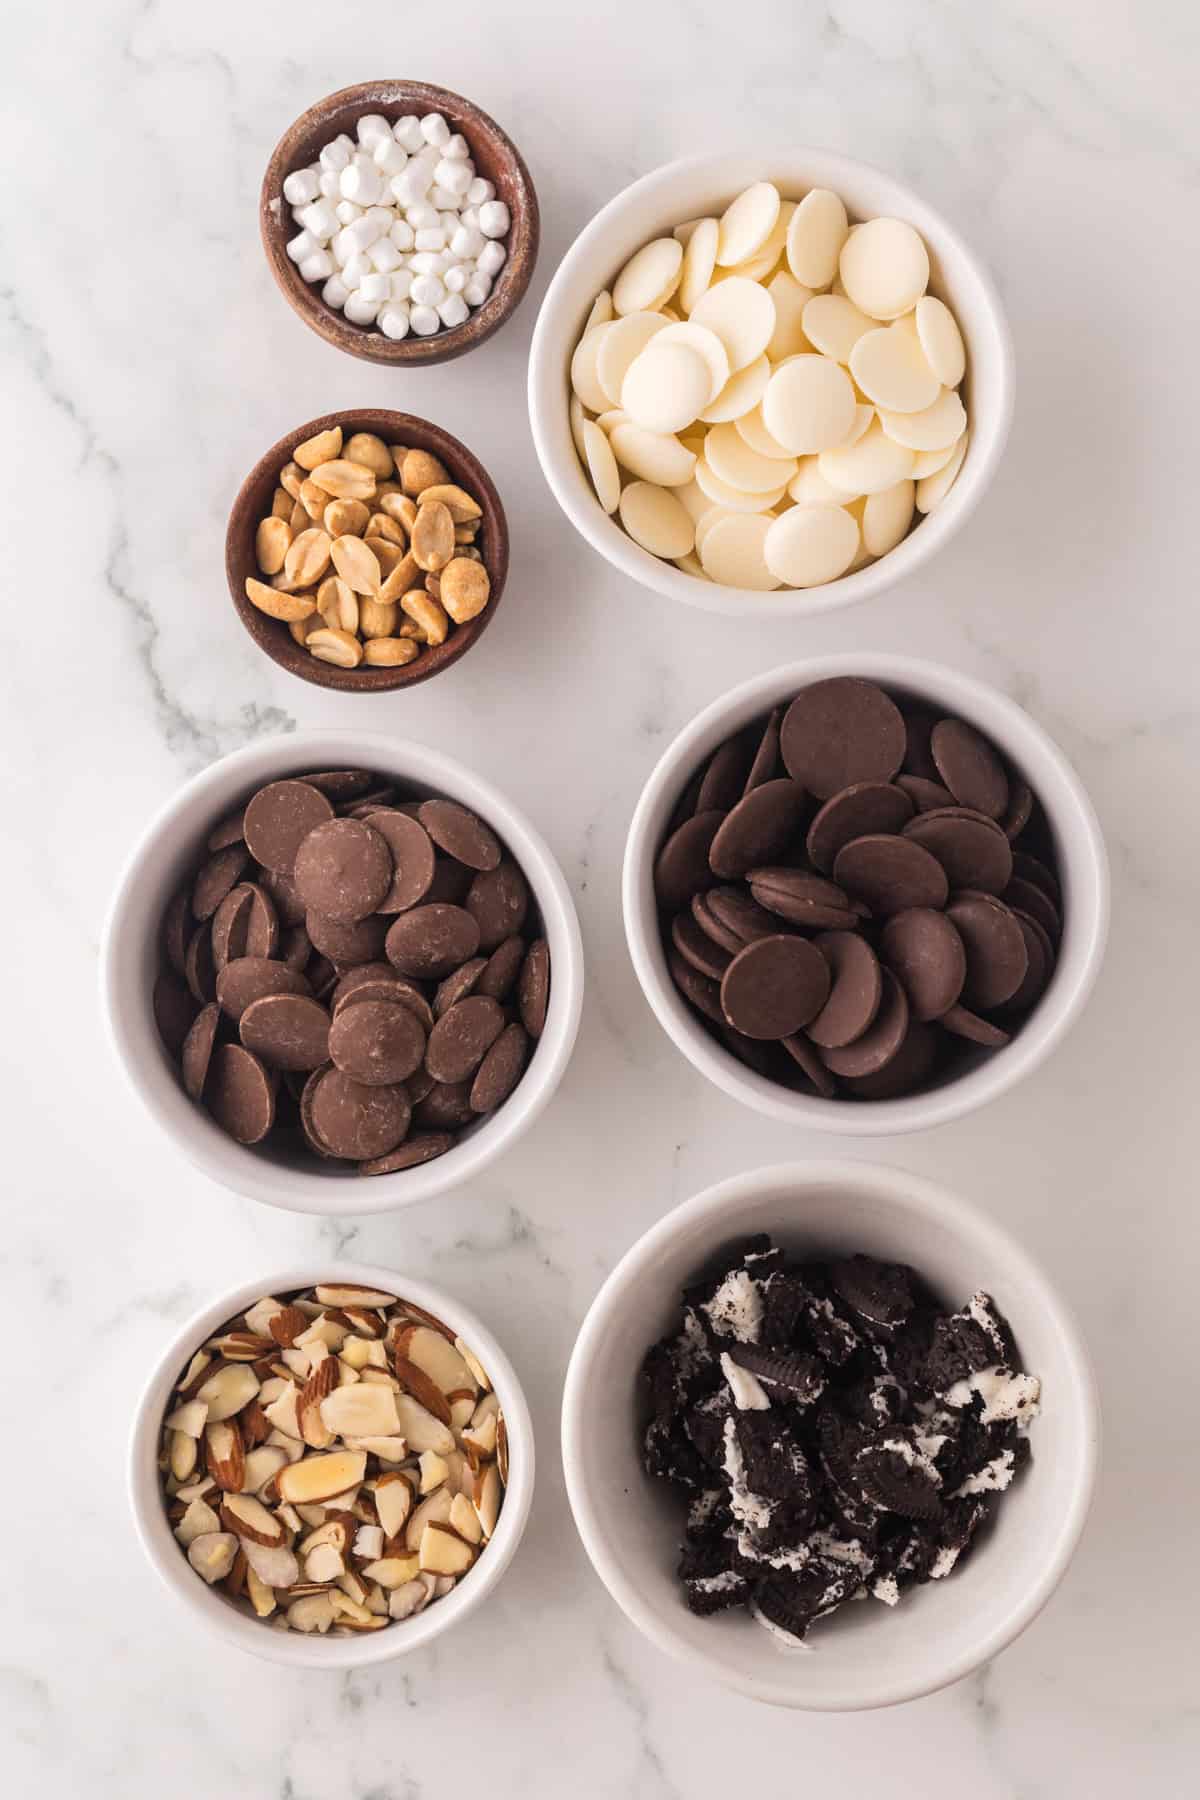
- Melting Chocolate—Milk, dark, or white chocolate.
- Add Ins—Get creative to make new flavor combinations! Check below for some ideas.
See the recipe card for full information on ingredients and quantities.
How to Make Homemade Candy Bars
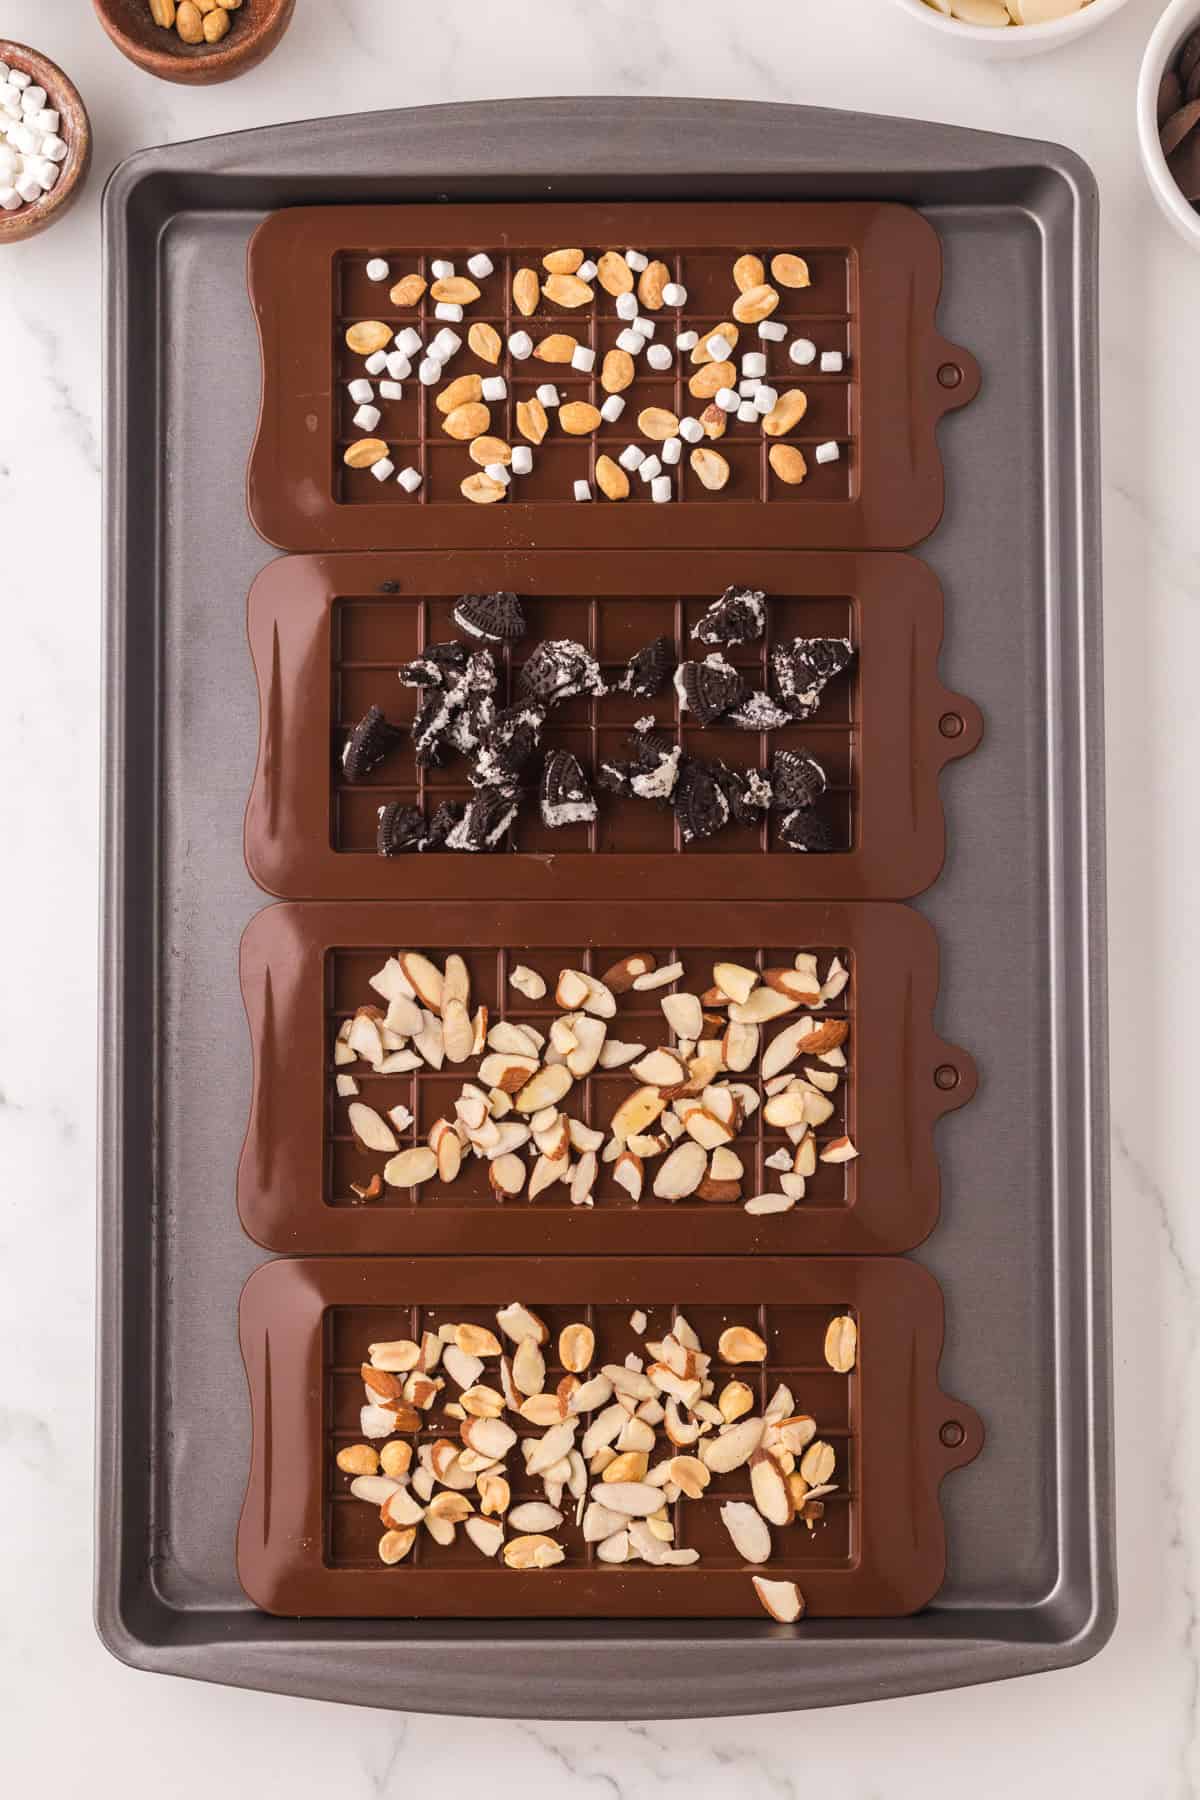
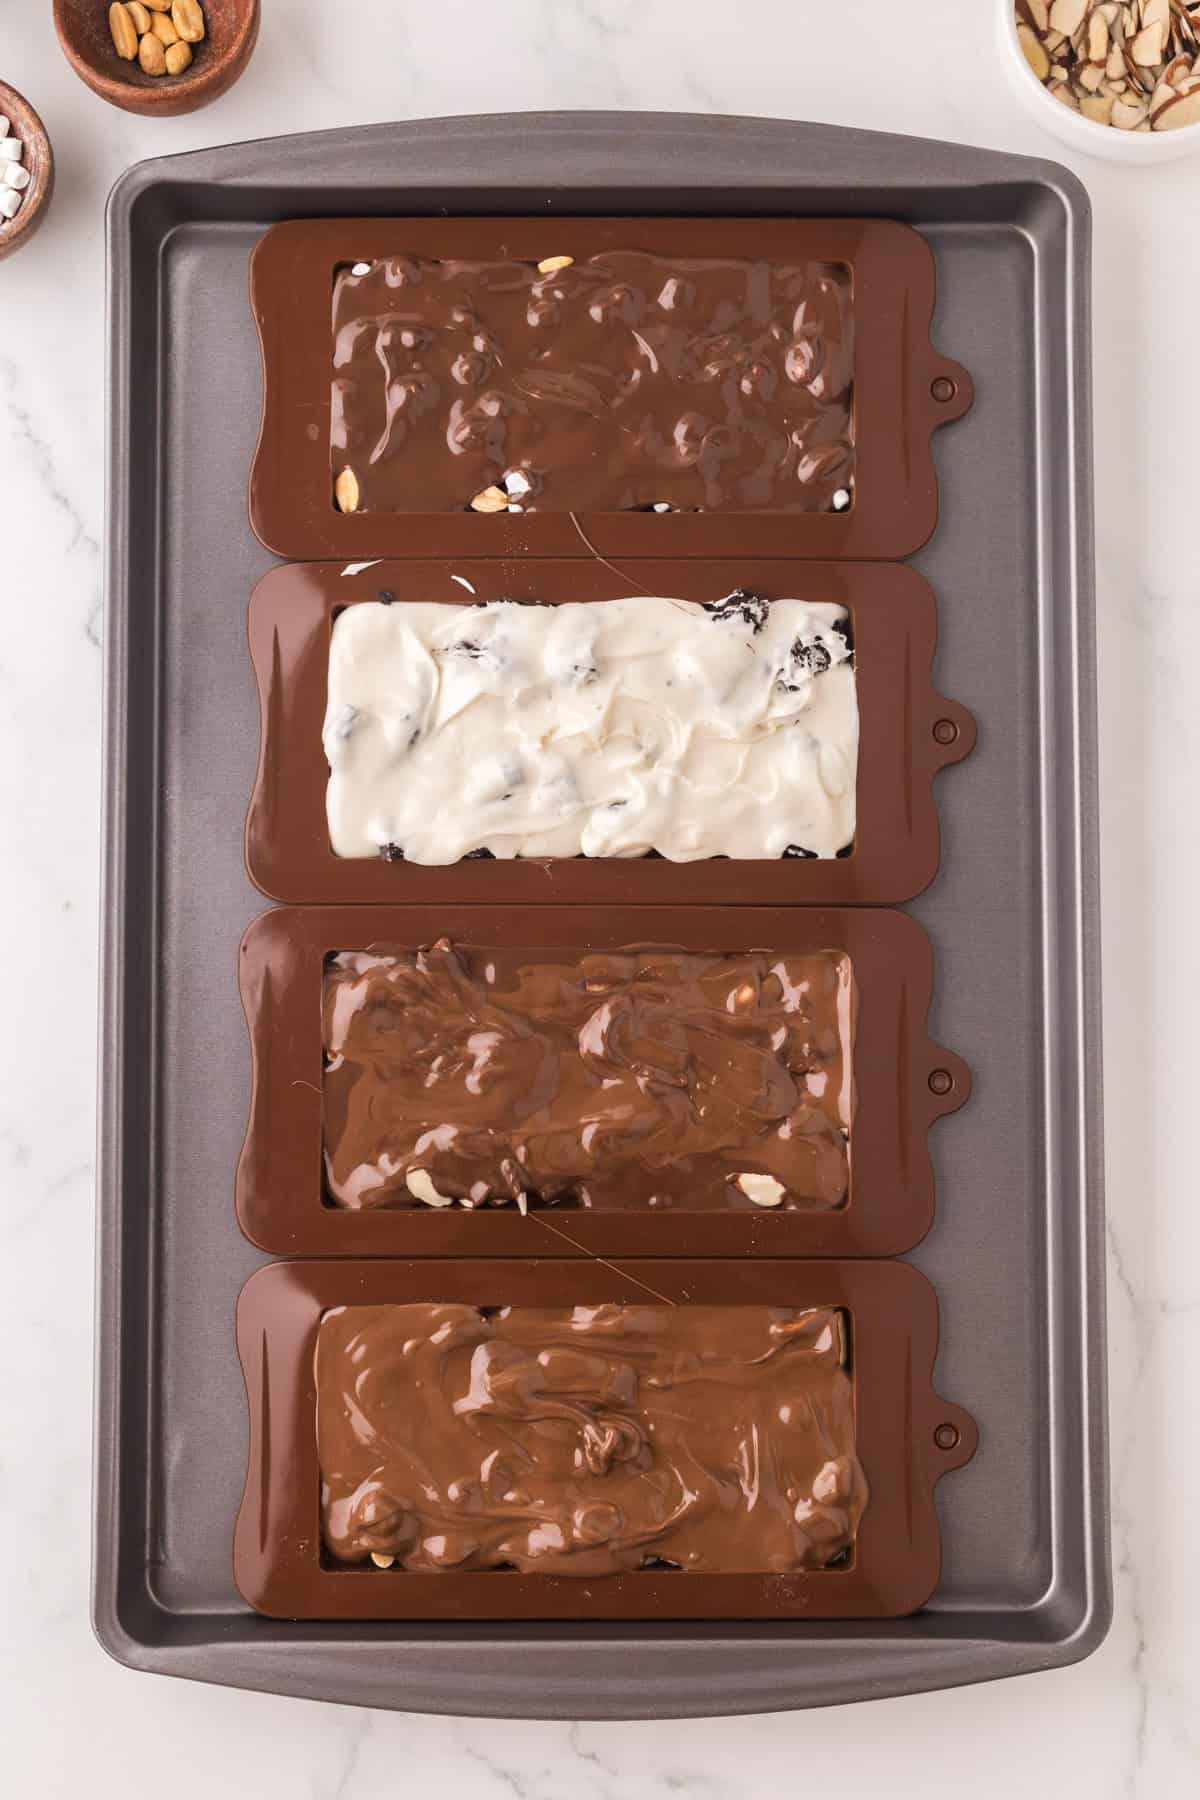
Step #1. Place each mold on a flat surface and add the ingredients you would like to them.
Step #2. Melt the chocolate according to the directions. Carefully drizzle a small amount of chocolate over the ingredients in the mold.
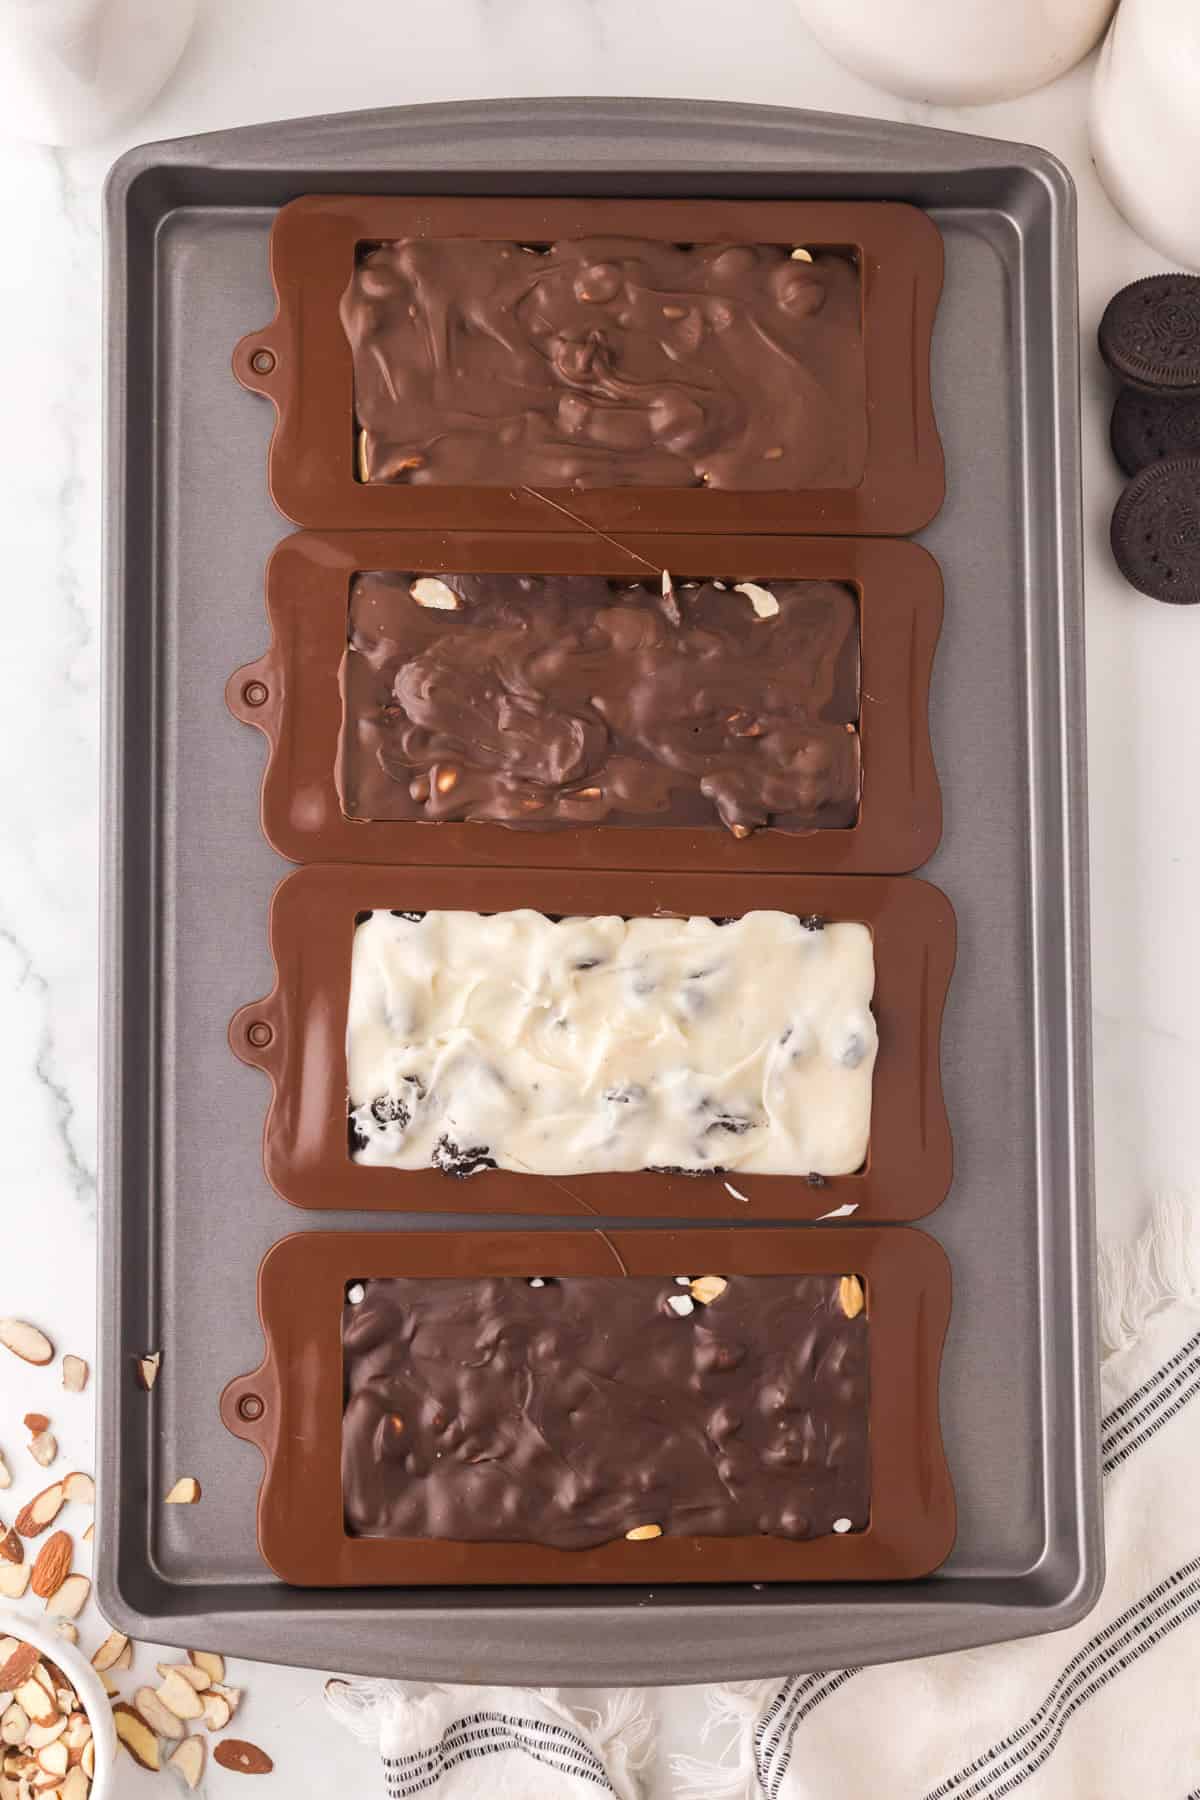
Step #3. Slowly fill up the mold with chocolate and make sure the top is smooth. Let the bars rest at room temperature until solid.
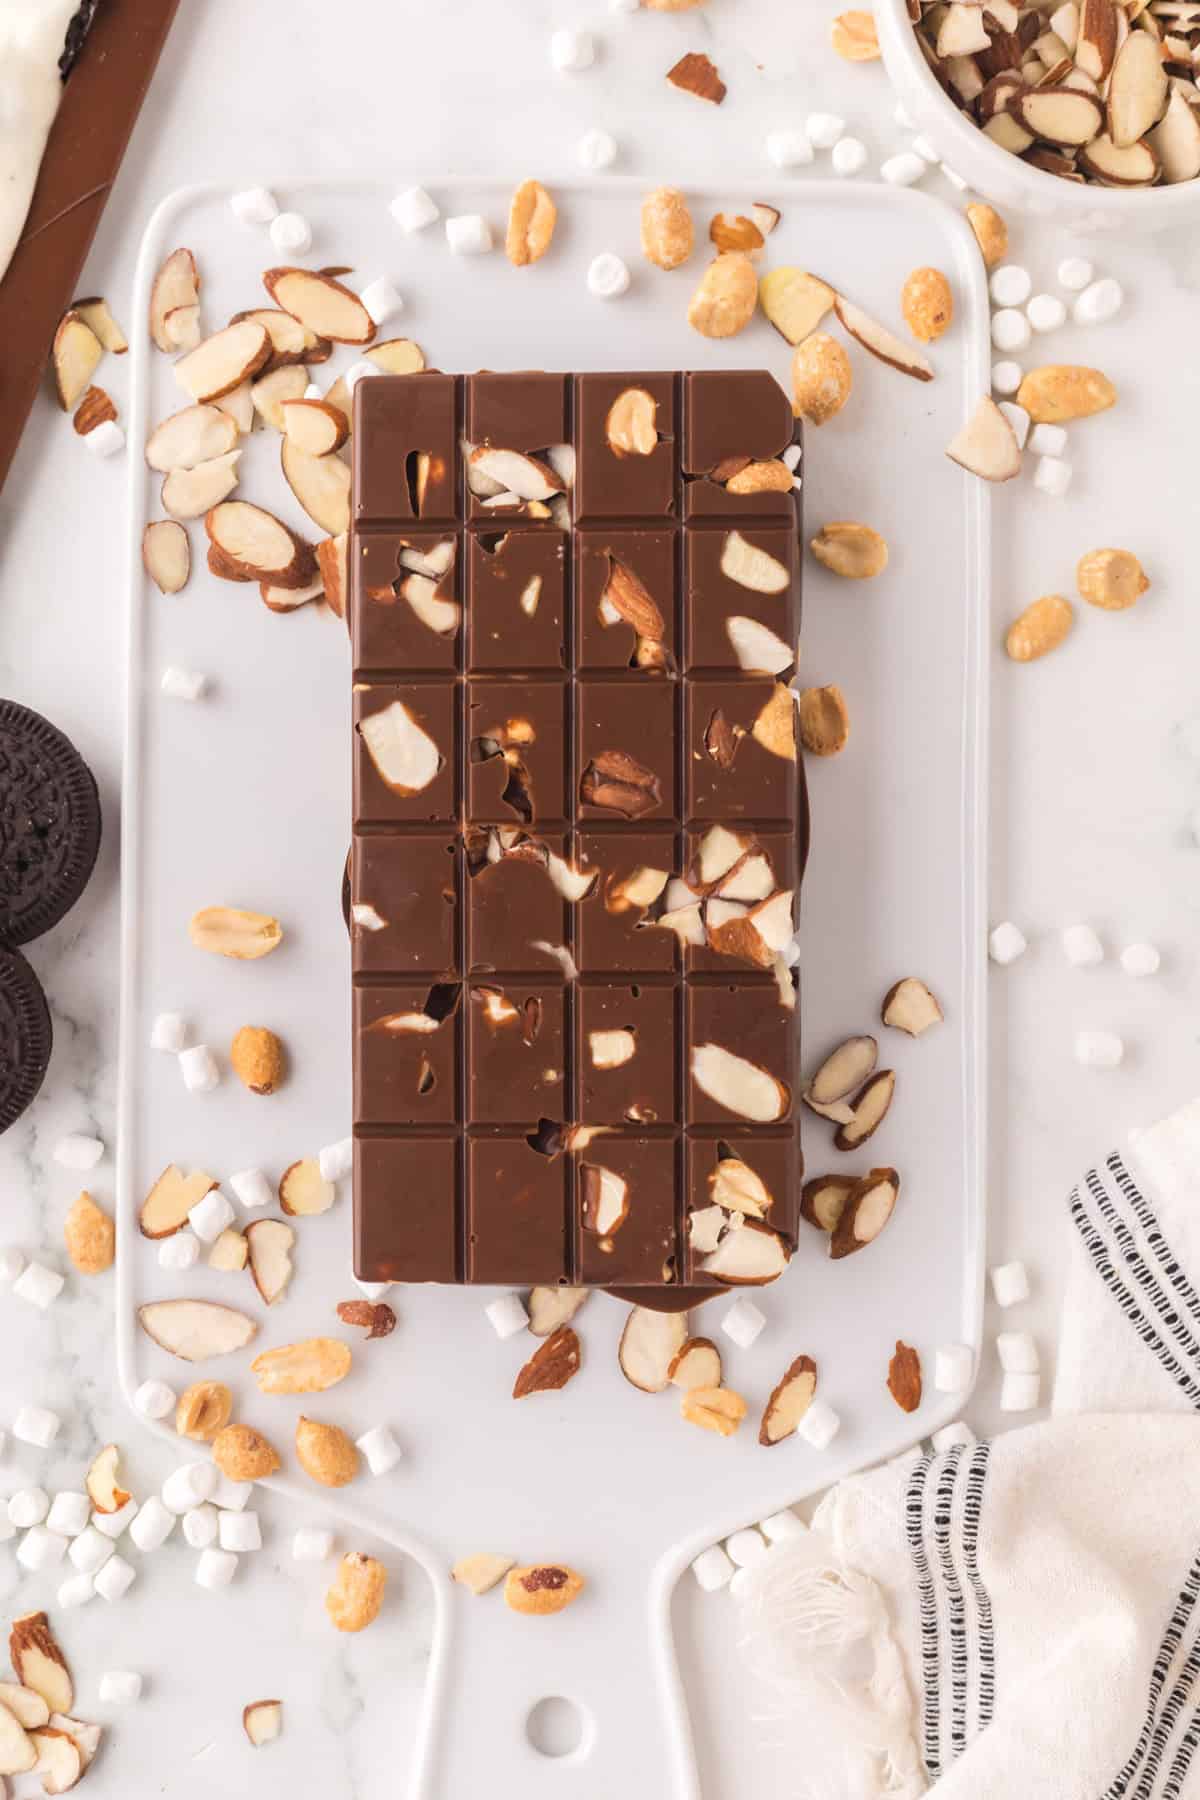
Step #4. Once the chocolate is set, gently remove the mold and place the candy bar in a bag. Enjoy!
Recipe FAQs
Tempered chocolate is a shiny, uniform chocolate that breaks off easily, exactly what you would expect from a chocolate bar. When chocolate is tempered, it is slowly heated and cooled which can turn into a time-consuming process. Keep in mind that not all chocolate you buy is tempered, so it is important to know what kind you are buying. Most melting wafers are already tempered which makes the process much easier!
There are so many different candy bar flavors you can make with this homemade recipe, so feel free to experiment. Some good basic add-ins to start out with are: mini marshmallows, slivered almonds, chopped peanuts, crushed Oreo cookies, chopped pretzels, toffee bits, or dried fruit. Play around with different combinations of the type of chocolate and the add-ins to customize these candy bars to you or the people who will be enjoying them!
There are two ways you can melt the chocolate for these bars. First, you can use a double boiler on the stovetop, stirring constantly until it is smooth. Second, you can melt the chocolate in a microwave safe bowl. Start with 20 second intervals, and stir in between each to avoid burning the chocolate.
There are two ways you can melt the chocolate for these bars. First, you can use a double boiler on the stovetop, stirring constantly until it is smooth. Second, you can melt the chocolate in a microwave safe bowl. Start with 20 second intervals, and stir in between each to avoid burning the chocolate.
Popular Substitutions and Variations
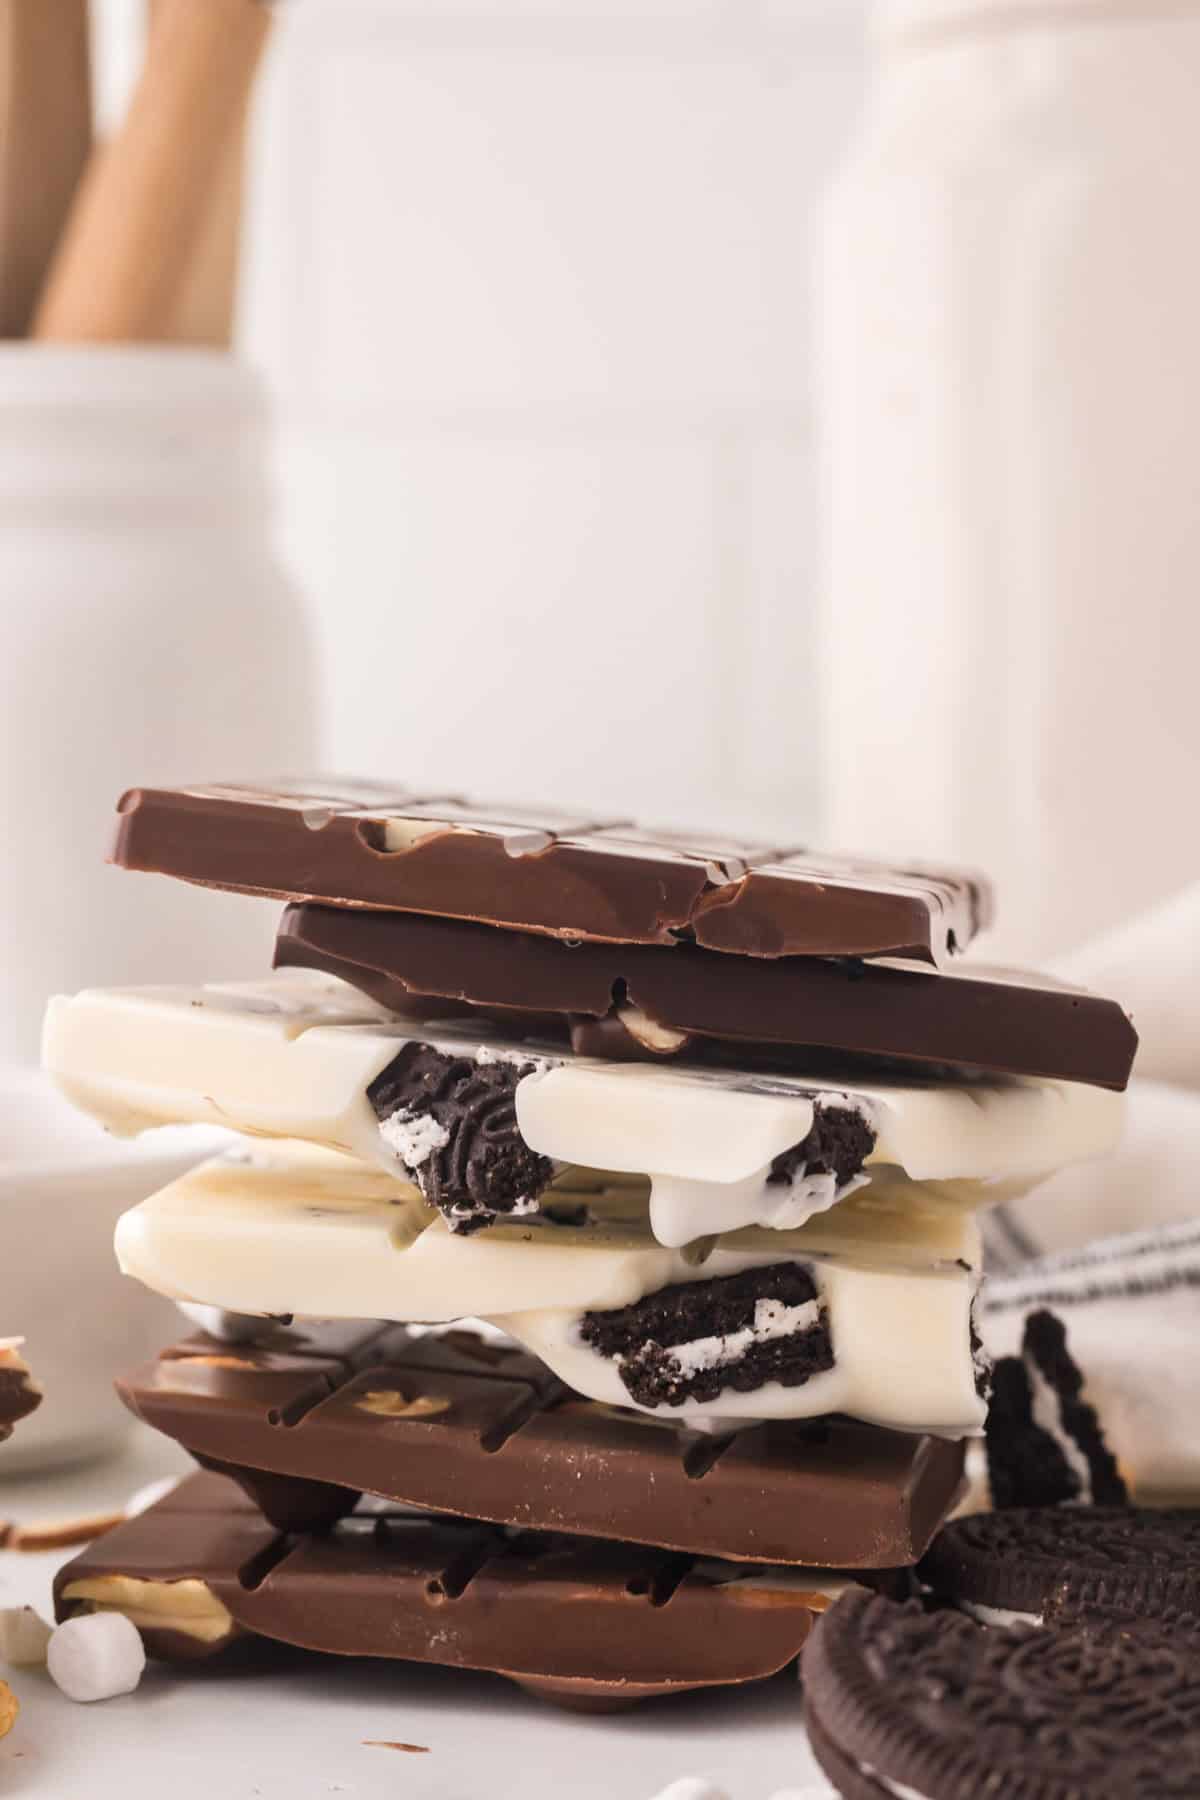
You can make some of your favorite classic candy bars in this recipe! Here are a few copy-cat bars you can test out:
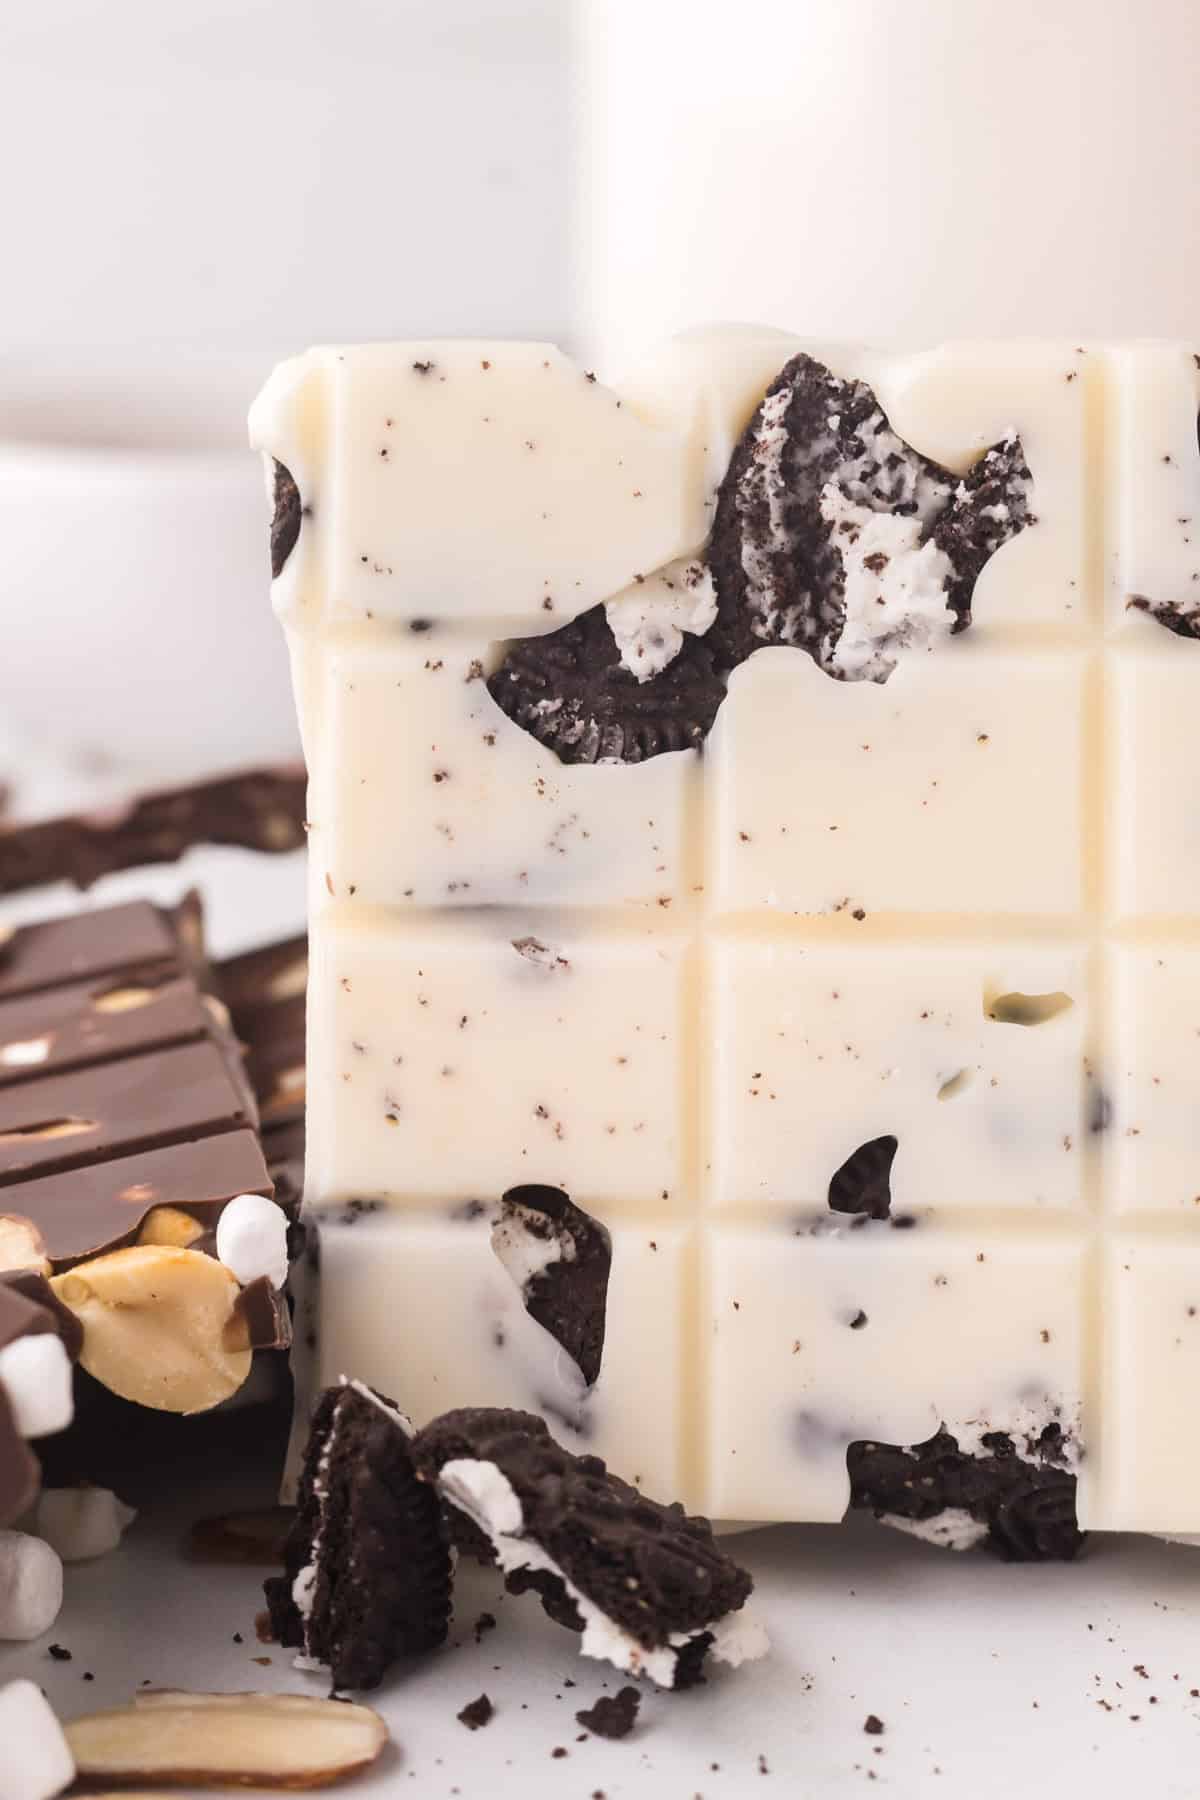
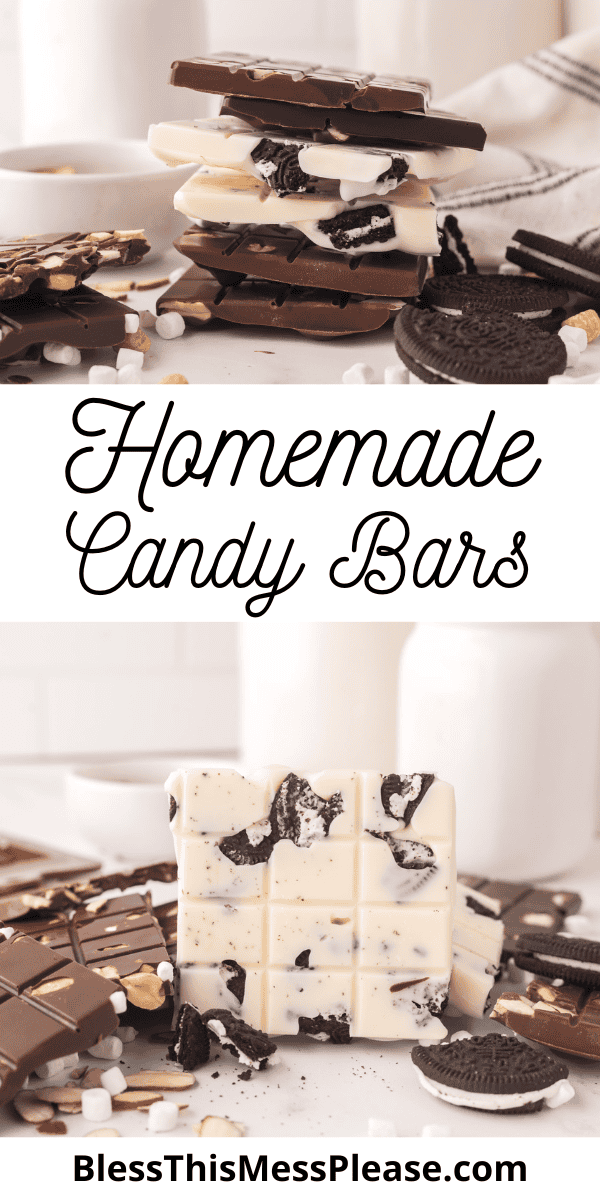
- Cookies and Cream— 1 to 2 crushed Oreo cookies in white chocolate.
- Homemade Symphony Bar— ¼ cup of both slivered almonds and toffee bits in milk chocolate.
- Rocky Road— ¼ cup of both mini marshmallows and dry roasted peanuts in dark chocolate.
- Dark Mr. Goodbar— ¼ cup dry roasted peanuts in extra dark chocolate.
How to Store Homemade Candy Bars
Depending on if you get a candy bar making kit, there might be bags provided to store the chocolate bars! If not, you can use small cellophane bags that fit the size of your candy bars. Tie them up with ribbon, string, or use plastic ties to seal the bags up. Store them in a cool, dry place for up to 2 weeks for maximum freshness.
Expert Tips
- There are no specific measurements for the chocolate! Melt some and fill up the mold, then melt more if you need it.
- You can buy different colors of wafers if you want to give your candy bars a fun, unique color!
- To avoid any bubbles, you can carefully lift up the mold in between pouring the chocolate and carefully drop the mold on the counter. This will also help the chocolate settle into the small cracks.
- Other ingredients you can add to your chocolate include freeze dried strawberries, coarse sea salt, potato chips, etc. Feel free to get creative!
More Dessert Recipes To Consider
Healthy Snacks
Medjool Date Protein Bites: No-Bake Sweet Treat
Healthy Snacks
Chocolate Peanut Butter Protein Balls
Healthy Snacks
Almond Butter Protein Balls
Did you make this recipe? Leave a ⭐️ review and share it on Instagram, Facebook, or Pinterest!

Homemade Candy Bar Recipes
Ingredients
- Chocoley Chocolate-
- Bada Bing Bada Boom Candy & Molding Formula – White
- Bada Bing Bada Boom Candy & Molding Formula – Milk
- Bada Bing Bada Boom Candy & Molding Formula – Dark
- Bada Bing Bada Boom Candy & Molding Formula – Extra Dark
- Candy Bar Mold & Packaging
- Things to add to the chocolate bars- mini marshmallows, slivered almonds, dry roasted peanuts, crushed Oreo cookies, toffee bits, etc.
Instructions
Place the molds on a flat surface and add what you would like to them. My favorite combos were:
- Cookies and Cream: 1 to 2 crushed Oreo cookies in white chocolate
- Homemade Symphony Bar: scant 1/4 cup of both slivered almonds and toffee bits in milk chocolate
- Rocky Road: scant 1/4 cup of both mini marshmallows and dry roasted peanuts in dark chocolate
- Dark Mr. Goodbar: 1/4 cup dry roasted peanuts in extra dark chocolate
- You really could add just about anything!
- Melt the chocolate according the directions that come with the package (they are great and really detailed!). Carefully drizzle a small amount of chocolate over the goodies in the mold. You’ll add 1/4 to 1/3 cup of chocolate per mold. Gently pick up the mold holding onto the edge and raise it off the surface you are working on 3 to 4 inches. Drop the mold so that it kind of smacks down on to the table. This helps the melted chocolate to settle into the cracks and it also gets air bubbles out. Continue to carefully drop the mold 4 or 5 times until things look settled. If you need to add a bit more chocolate do it now. Drop it another time or two to smooth out any chocolate you might have added.
- Repeat until you make as many chocolate bars as you’d like.
- Let the homemade candy bars rest at room temperature until completely set. This may take a few hours depending on the temperature in your house.
- Once the chocolate has set gently remove the mold and place the candy bar in the cellophane bag that came with the mold. Store according to the package directions for storing the Chocoley chocolate (in a cool place away from strong odors).




These look great! I found your blog on Pinterest and am wondering how many bars you get out of a 1 lb. bag of chocolate? Thanks for posting!
Chocolate chips! Or you can buy bulk chocolate pieces at the grocery store this time of year! Enjoy!
Oh, this all looks so inviting. I can’t wait to try. What made you choose those particular molds? Are they deeper? I am just trying to understand and compare the molds since there are so many to choose from and I have no idea.
Thanks!
Thank you! They were really really fun to make. I tried these molds because I was working with this company, and thought they looked fun. They worked great but I didn’t do a ton of research else where… They are a lot like any of the other chocolate molds I’ve bought though, stand quality of plastic. Does that help? I hope you make some!
Thank you! Yes, your info helped. Your bars came out so beautiful. I truly want to make some SOON! 🙂 Oh, I just think they would look so pretty wrapped up and given as foodie presents. YUM!
Um YES!!!! Emily loved her chocolate!!!!! Thank you TONZ for curbing this girls cravings!!! You rock! 🙂
Melissa, those look fantastic! I think the boys and I may have to try them out, soon! Wish we were closer and I could come steal some. 😛
I absolutely love this post and can’t wait to try some of these with my boys!
Thanks Matt! I’m pretty stoked you commented on my blog PS. Totally made my day 🙂