Homemade Beeswax Lip Balm (Homemade Pink Grapefruit Burt’s Bees!)
on Dec 02, 2015, Updated Jul 17, 2024
This post may contain affiliate links. Please read our disclosure policy.
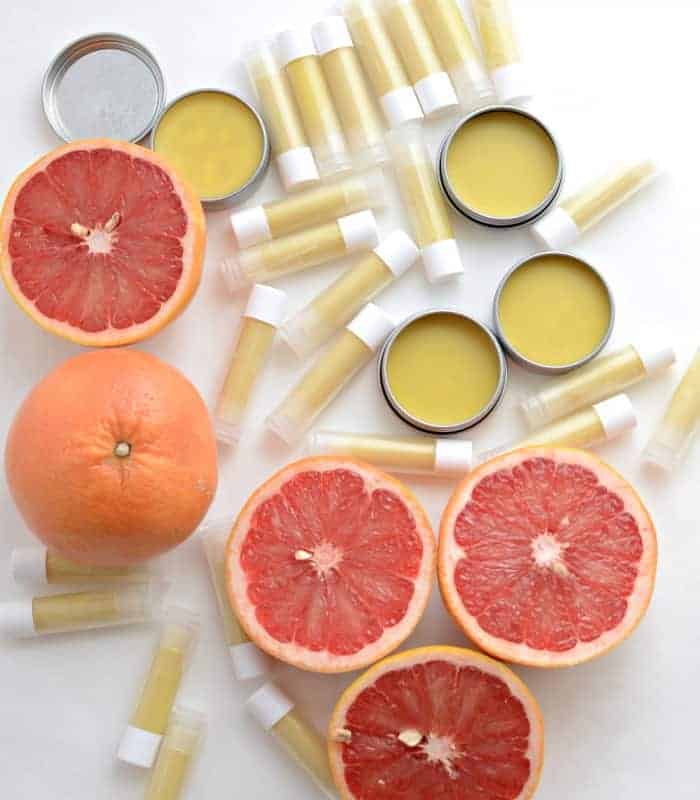
Homemade Beeswax Lip Balm is a simple and easy homemade gift! Made with a few simple and healthy ingredients, it’s the perfect gift to make and share with friends.
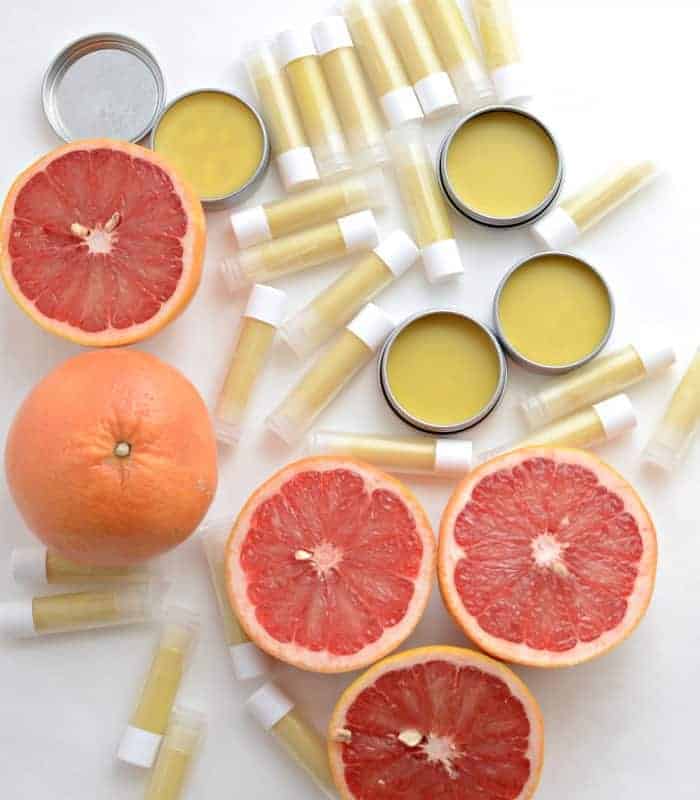
It’s surprisingly easy to make Homemade Beeswax Lip Balm. All you need is some shea butter, coconut oil, and beeswax pellets. Even better – you can customize the scent with the essential oil you add. I chose grapefruit but peppermint would be another great choice.
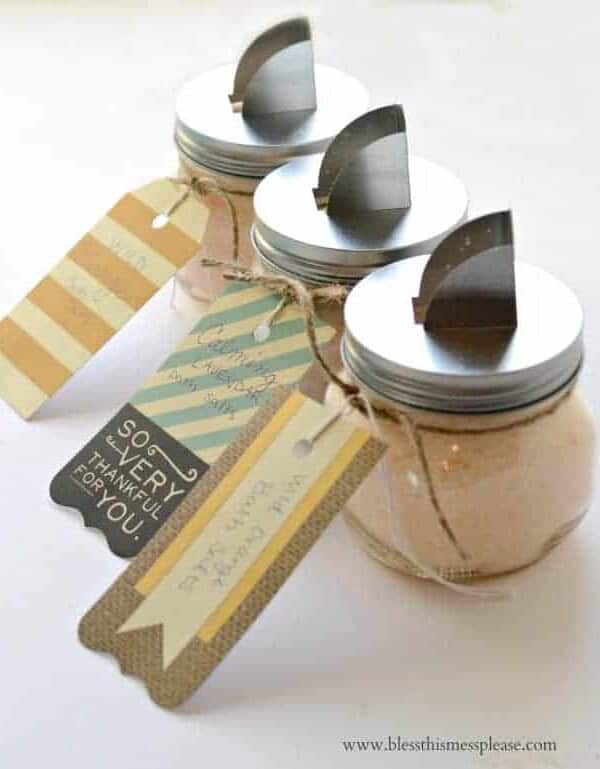
These lip balms pair well with DIY Bath Salts and Sugar Scrubs for a little gift. And, if you like making homemade items using beeswax, check out these Reusable Beeswax Wraps and Simple DIY Beeswax Candles.
Table of Contents
Why You’ll Love This Recipe
- Makes a great gift!
- All natural – there are no preservatives or harmful ingredients.
- It’s super easy to make from a few simple ingredients.
- Gluten-free and dairy-free!
Recipe Ingredients and Supplies
- Shea butter
- Coconut oil: You can use either virgin or extra virgin.
- Beeswax: Pellets work the best because they melt easily.
- Essential oils
- Containers: Little pots and traditional lip balm tubes both work well.
- Pipettes: Optional but help pour the melted lip balm into the containers.
See the recipe card below for full information on ingredients and quantities.
How to Make Homemade Beeswax Lip Balm
- Step #1. Put 4 ounces each of shea butter, coconut oil, and beeswax pellet in a Pyrex glass measuring cup.
- Step #2. Microwave the beeswax mixture on high in 30 second intervals, stirring after each time, until everything is melted together – about 3 to 6 minutes.
- Step #3. Add the essential oil of your choice and then use a pipette to put the lip balm into the containers.
- Step #4. Let the lip balm set until firm without the lid on – about an hour. Once cool, add the lid onto the lip balm.
Recipe FAQs
You can use any essential oil that you like. I went with DoTerra’s Grapefruit essential oil because I wanted it to be like Burt’s Bees Grapefruit lip balm. Peppermint essential oil is another great option for lip balm.
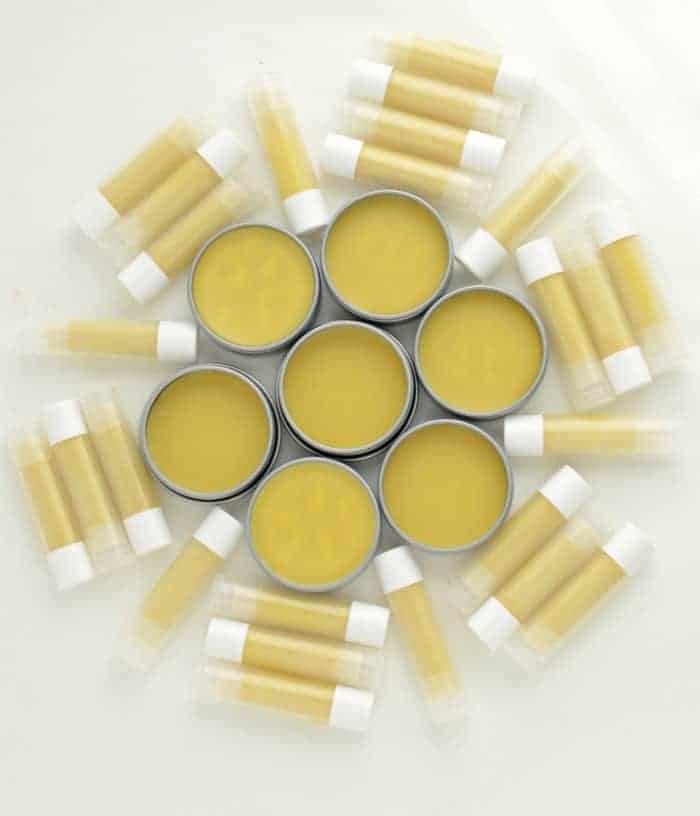
I ended up with 40 tubes and 8 canisters of my lip balm. They are great to have on-hand to throw in a gift. Once I had the supplies together, it only took about 30 minutes to make all of these!
Homemade beeswax lip balm usually lasts one to two years because they don’t have preservatives in them. I usually try to give them away within six months because I have noticed that they smell a bit rancid when they have become too old.
Expert Tips
- It’s best to use high-quality essential oils for making homemade lip balm. (I have tried it with cheaper oils and they had a bitterness to them that wasn’t pleasant.)
- If you use a traditional lip balm tube, put them in something that will hold them upright as they cool. I like to turn an egg carton upside down and make a couple cuts in the shape of an X and then push a tube into each egg cup.
- To finish off these lip balms before you use them or give them away, add a sticker label with the scent and/or the ingredients.
- This is a good project to do with teens, but I wouldn’t recommend it for kids or little ones because of the hot ingredients.

What type of container should I put my Homemade Lip Balm in?
You have several options when it comes to containers for your homemade beeswax lip balm.
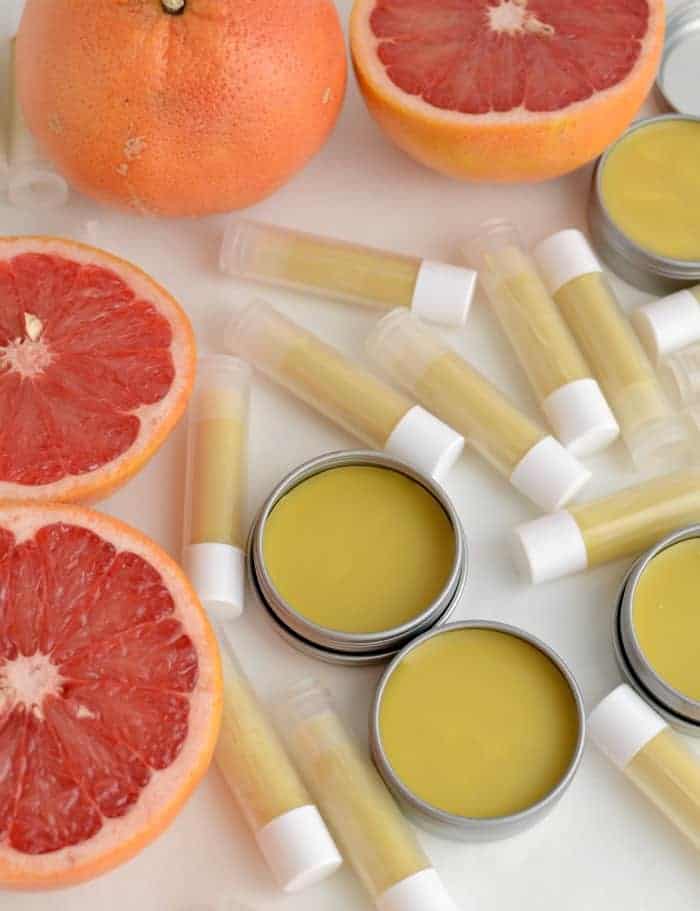
Stainless steel pots: With this kind of pot, you apply the lip balm with your finger. They also have lids that screw on and off, which is a nice feature.
Traditional lip balm tubes: They come in a variety of colors. I chose clear because I like that you can see how much product you have left in the tubes.
Little plastic pots: These are smaller than the stainless steel pots and work well, too, especially if you want to have more containers of lip balm.
More Homemade Gifts to Consider
Crafts & DIY
Minnie Mouse Birthday Party
Crafts & DIY
Painted Sharpie Mugs (that won’t wash off!)
Holiday Recipes
DIY Bath Salts and Sugar Scrubs (Great Homemade Gifts!)
Did you make this recipe? Leave a ⭐️ review and share it on Instagram, Facebook, or Pinterest!
Homemade Beeswax Lip Balm (Homemade Pink Grapefruit Burt’s Bees!)
Ingredients
- Shea Butter
- Coconut Oil
- Beeswax, pellets work best
- Essential Oil
- Containers
- Pipettes, optional but handy
- Large microwave safe container, 4-cup glass Pyrex measuring cup is perfect
- Stirring spoon
Instructions
- Add equal parts of shea butter, coconut oil, and beeswax to a microwave safe container. I used 4 ounces of each and that made 40 tubes plus 8 one-ounce containers. Feel free to use 2 ounces of each for a smaller batch.
- Microwave on high in 30 second intervals, stirring after each time, until the oils are all melted. The beeswax will melt the slowest. This should take 3 to 6 minutes of microwaving total. You can also use a doubler boiler to melt your ingredients.
- Add the essential oil to your liking. I added 160 drops of grapefruit oil for mine. You will probably want to start with less if using a peppermint oil. Stir to combine and then test a little on your lips to see if it is to your liking (careful though, the beeswax mixture will be hot).
- Use the pipettes to put the lip balm into the containers.
- Let the beeswax mixture set until firm and then place the lids on the containers. Add labels as desired.
Notes
- The amount of essential oil you need is really going to vary depending on the brand and type that you use. You’ll want it to smell strongly after it has gone into the other oils/waxes. It’s easier to test a little before putting it in the containers than it is to change your mind after.
- As the lip balm mixture cools, it will get harder to pour into the containers so reheat it as needed.
- Clean up right away. If you don’t, you’ll probably have to boil some water and pour it over the container you made the lip balm in to get the lip balm mixture hot enough to dissolve off. Mine didn’t just wash out with a normal washing.
- If you want to make more than one scent, divide the melted lip balm into smaller containers and then add the essential oils of your choosing. Use a fresh pipette for each scent.
- Because of the hot beeswax mixture, I wouldn’t recommend making lip balm with little ones or kids but it would be a good project for teens.



do you have a go to shea butter?
What would you swap it for Holly? I’d find something that is moderately firm when at room temp like more than coconut oil and less than beeswax if that makes sense. You can use something else but the texture of the end product will change so find someone that is similar to the shea butter (maybe cocoa butter?). I’d love to hear what you try!
do you have a brand or type of shea butter that you like to use? There are many different kinds…
I am wondering if I could melt this all in a crockpot. I’m going to do it with a group of women outside so I wouldn’t have a microwave available. Do you think it would work in a crockpot?
You can but it might be a bit of a mess to clean up. It would work but you’ll probably need to use boiling water to get the residue out, it won’t just wash up nicely with soap and water.
Great chapstick!
I love this! Is there anyway to tint the balm? I’m addicted to Burt’s bees tinted balm…..
Ohh that’s a fun idea! I know they make tinted beeswax for candles, maybe look for a food grade version!?
Hi Melissa! Your recipe was my first ever at trying my own homemade lip balm. I actually made it a while back and was getting ready to make my second batch, because I loved it SO MUCH! I’ve printed it out and laminated it, because I plan on making this as a staple. This time I’m using refined shea butter, because the scent of my regular shea I used originally was a little off putting to me. While I was here printing out your recipe, I wanted to drop a line and let you know how much I liked it and to THANK YOU for sharing it. I’ve been a Burt’s Bee’s vanilla bean lip balm junkie for years, but not since I’ve made/used this recipe! I have been pleasantly surprised how much softer and nicer my lips feel since using it. I have a bad habit of licking my lips, and would have to re apply my lip balm often. Your recipe “stays” on much longer, and I don’t have to re-apply as often, which is great! It is a good summer time recipe, that I do have to warm up a second on my lips to get it to spread nicely. I like that I don’t have to worry about it melting in my purse. I used the lip balm containers from WSP and a vanilla flavor oil. And also printed out labels for them w/ a list of ingredients. Thank you again for sharing!! It’s an awesome recipe!!
I love this review SO much, thank you for taking the time to write it! It’s a recipe I published quite a few years ago but I, like you, still make it often enough to never run out! I haven’t bought lip balm in years and I find I breakout less around my mouth now. I totally love it too and it makes a great gift!