Halloween Sugar Cookies
on Oct 07, 2019, Updated Jun 06, 2024
This post may contain affiliate links. Please read our disclosure policy.
These Halloween Sugar Cookies are such an easy Halloween food idea! As a lover of sweets, I’m of the firm belief that sugar cookies aren’t just for Christmas, and candy isn’t just for Halloween!
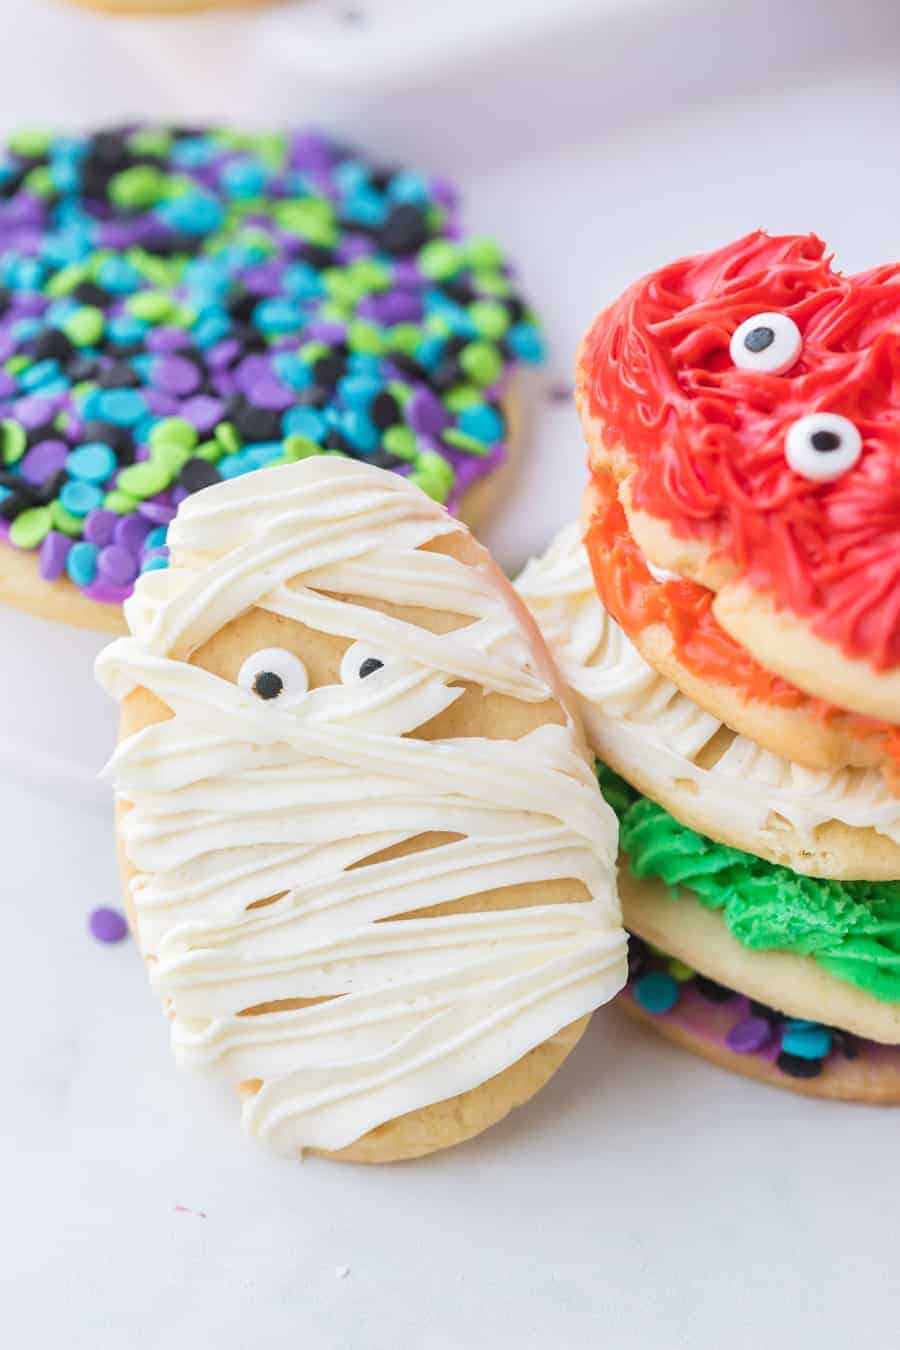
Christmas gets all the sugar cookie attention, but I’m here to vouch for Halloween to get its fair share of these soft and chewy cookies, too. Don’t you just love Halloween? Between pumpkin carving, trick-or-treating, spooky stories, and fall decor galore, Halloween is just one of the best times of year, if you ask me.
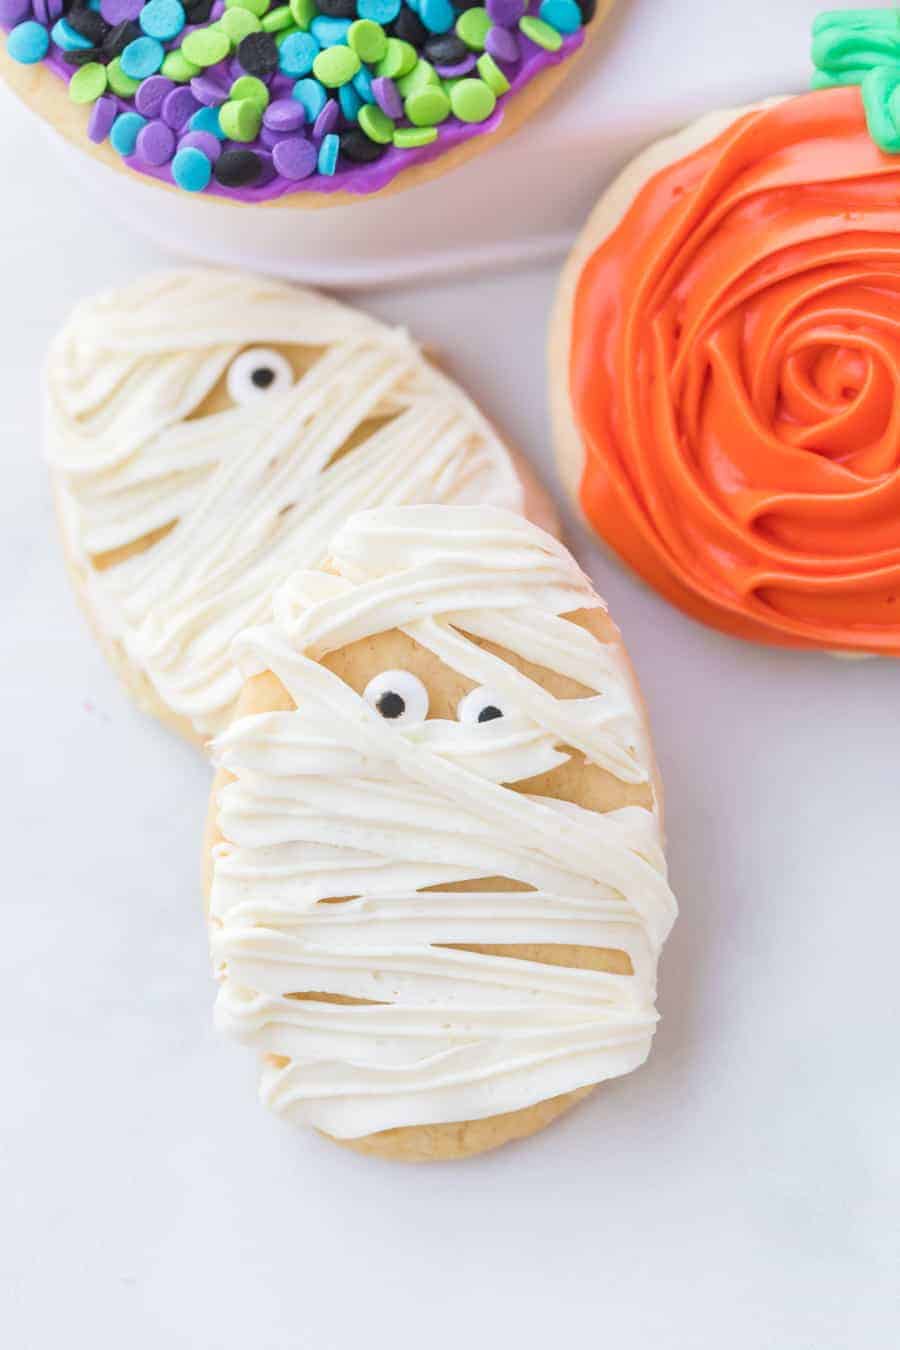
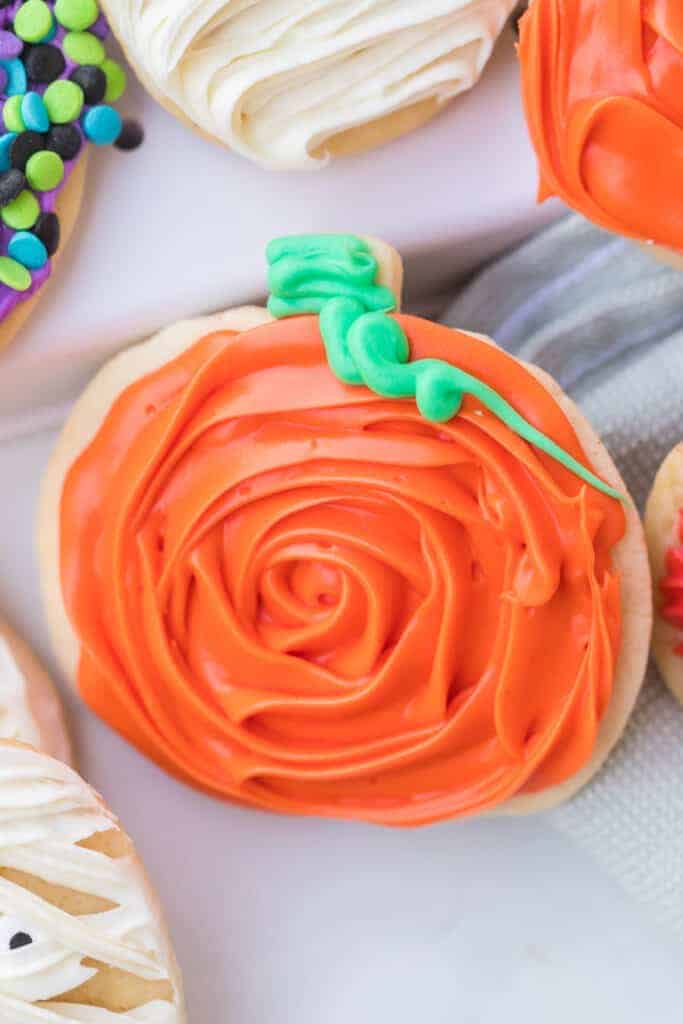
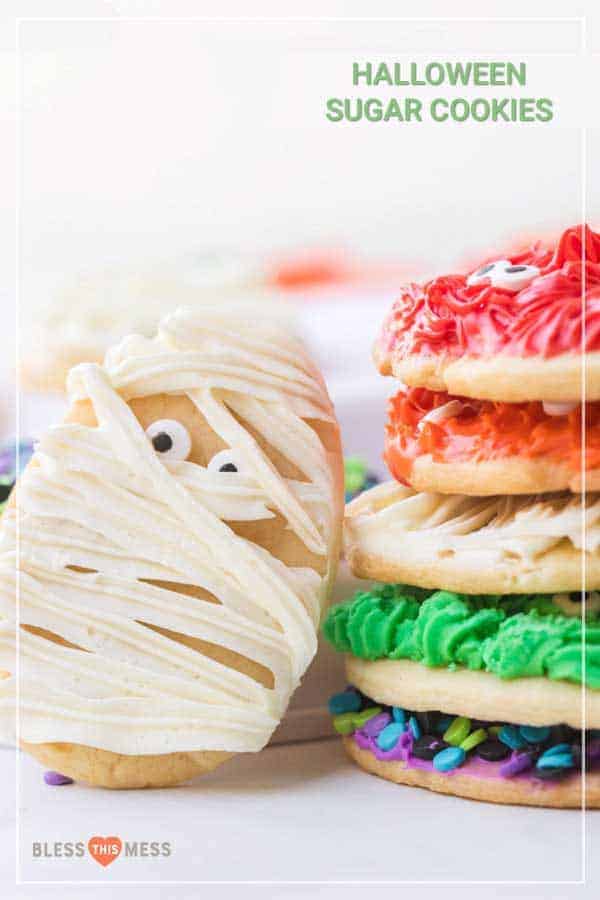
And these sugar cookies bring home that point. They’re so scrumptious, sweet, and chewy, and with ample opportunities for shapes (pumpkins, ghosts, and mummies, oh my!), they’ll be the hit of any Halloween party this season.
Table of Contents
Why You’ll Love This Recipe
- Undecorated cookies can be stored in the freezer for up to 3 to 4 months so they are great to make ahead and have ready for a fun decorating activity with the kids.
- Decorating sugar cookies is a family-friendly activity that can be enjoyed by people of all ages. It’s a fun way to spend time with family and friends.
- Decorating cookies encourages children to use their imagination and develop their artistic abilities and have a yummy treat in the end!
Recipe Ingredients
- Butter-flavored shortening
- Sugar – granulated
- Eggs
- Sour cream
- Vanilla
- Baking soda
- Baking powder
- Flour
- Nutmeg – just a dash
See the recipe card below for full information on ingredients and quantities.

How to Make Halloween Sugar Cookies
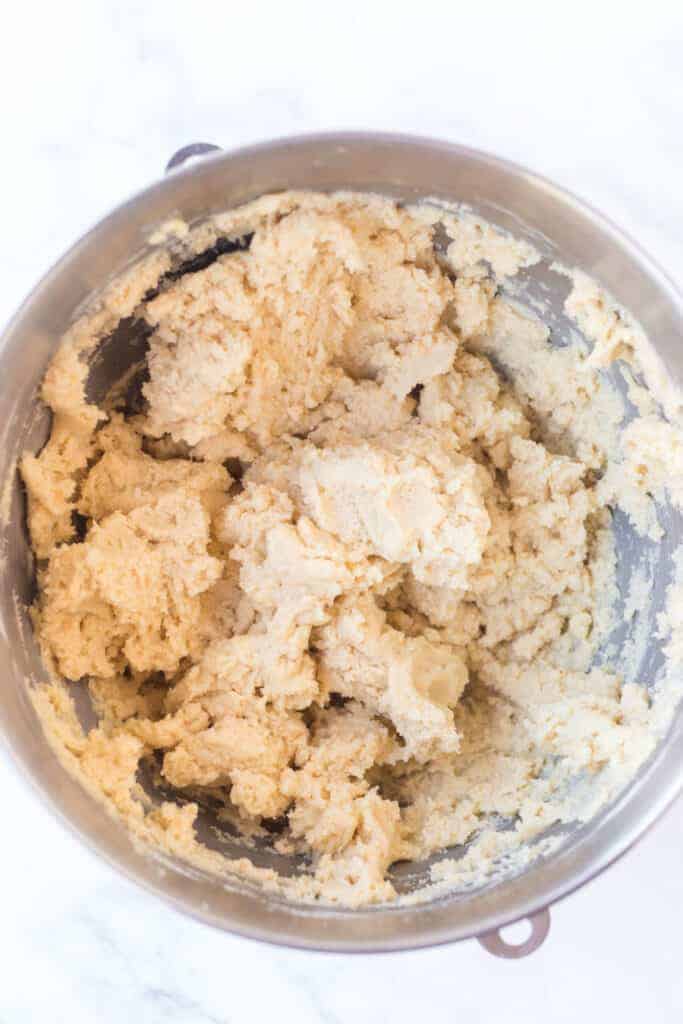
- Cream shortening and sugar together.
- Next add eggs, followed by sour cream and vanilla.
- Then mix in dry ingredients and refrigerate the dough.
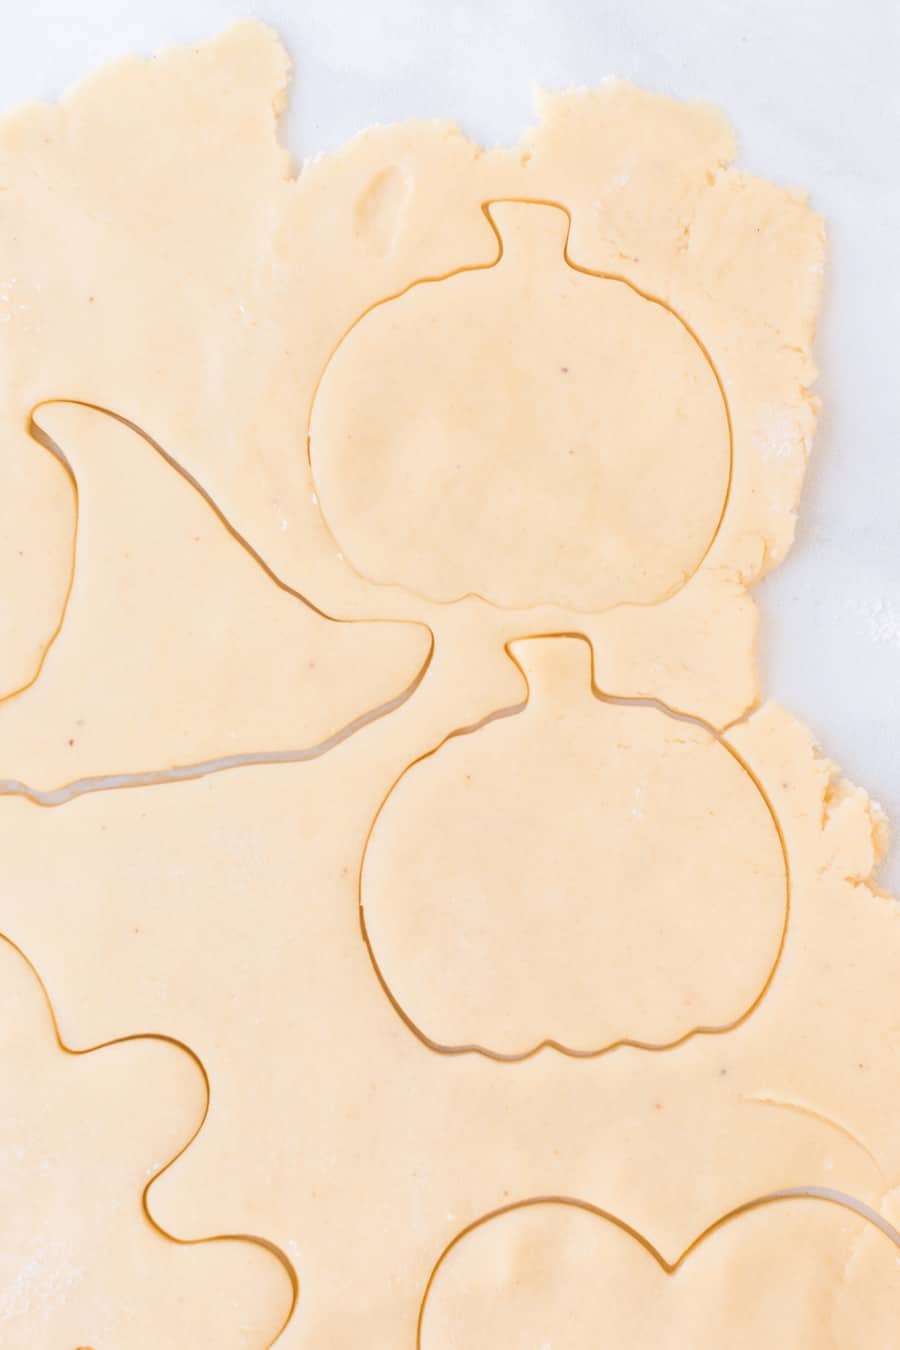
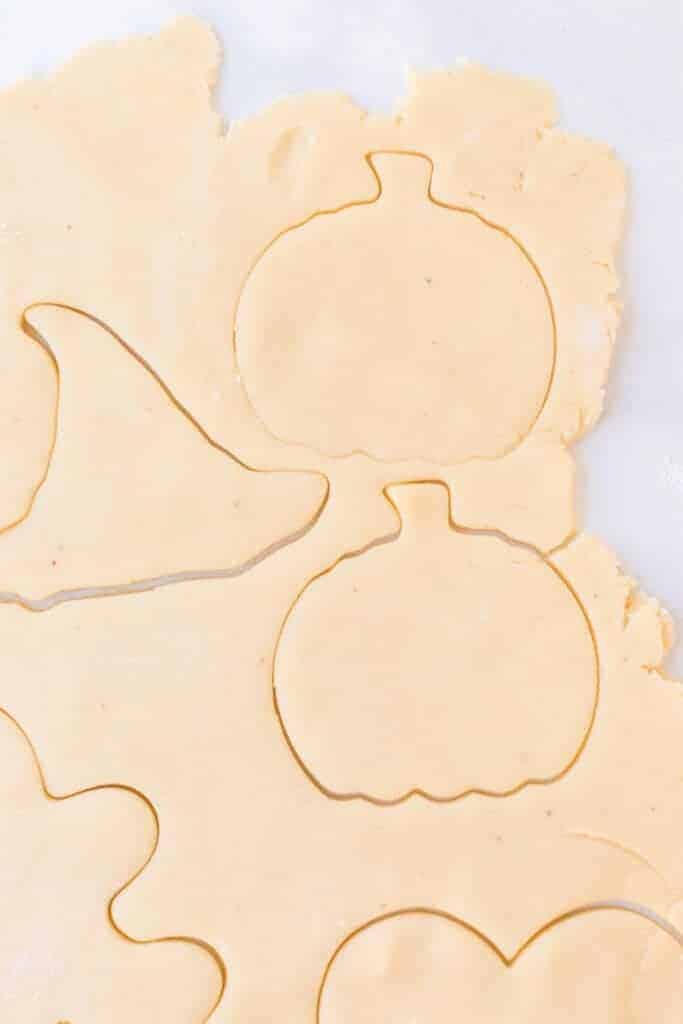
- Roll out and cut your cookies, then bake until golden brown on the bottom.
Recipe FAQs
There are so many reasons why cookies lose their shape, but that doesn’t mean you can’t have amazing cookies. The most important things to remember are measuring properly, chilling the dough, and not placing the cookie shapes on a warm or hot cookie sheet.
Also, some sugar cookie recipes call for butter instead of shortening (which is what I use), and I’ve found that butter doesn’t keep shapes as well as shortening.
A chalky, floury-tasting sugar cookie is the result of— you guessed it!— too much flour! Be sparing with the flour used to roll out the dough to make sure the dough isn’t dry or crumbly.
If you’ve added too much flour and your sugar cookie dough is dry, add a half teaspoon of cooking oil (something light like canola oil). Mix it into the dough to incorporate it. Continue adding half teaspoons until you reach the desired consistency.
Expert Tips
- I’m not a big shortening fan, but I do use it in this recipe because it helps the cookies keep their shape and moisture so much better than butter does.
- Store decorated cookies in an airtight container in the fridge for up to a week.
- I don’t recommend storing decorated cookies in the freezer because the frosting may dry out or crack as they thaw.
- These cookies are customizable for the holiday or season with an easy and delicious frosting for sugar cookies.

More Cut-Out Cookie Recipes to Consider
Simple Gingerbread Recipes
The Perfect Icing for Gingerbread Cookies
Cut Out Cookies
Sugar Cookie Icing Recipe for Perfect Holiday Decorating
From Scratch Recipes
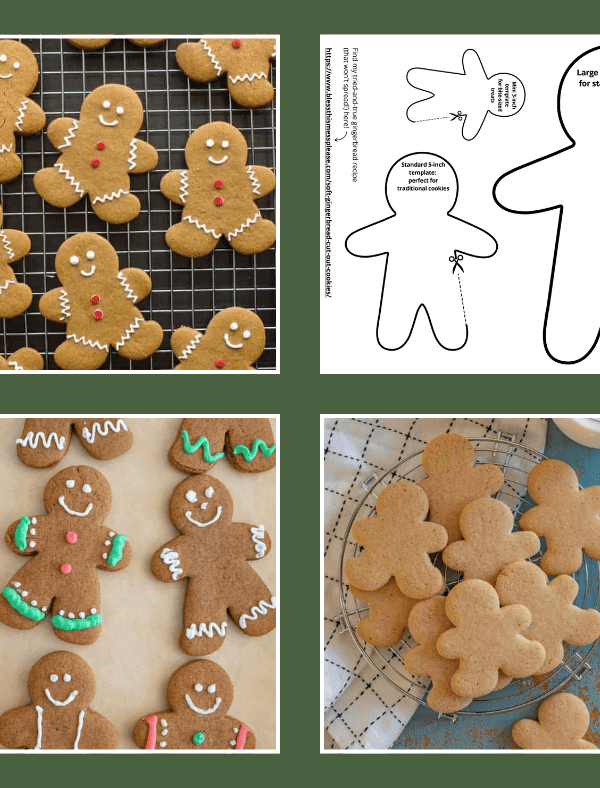
Free Printable Gingerbread Man Cookie Templates for Holiday Baking
Cookies
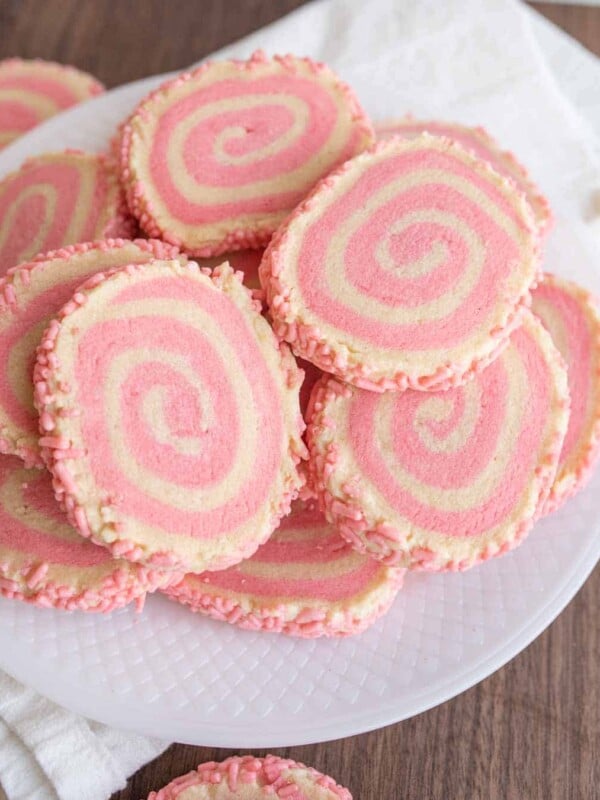
Pinwheel Cookies
Did you make this recipe? Leave a ⭐️ review and share it on Instagram, Facebook, or Pinterest!

Halloween Sugar Cookies
Ingredients
- 1 cup butter-flavored shortening
- 2 cups granulated sugar
- 2 eggs
- 1 cup sour cream
- 2 teaspoons vanilla
- 1/2 teaspoon baking soda
- 4 teaspoons baking powder
- 4 1/2 cups flour
- 1/2 teaspoon salt
- Dash of nutmeg
- Additional flour as needed and more for rolling out the cookies
Instructions
- Cream shortening and sugar together in a large bowl until light and fluffy, about 3 minutes.
- Add one egg at a time, beating to combine after each addition.
- Add the sour cream and vanilla, and beat to combine.
- Next, add dry ingredients, and mix all together. Dough should be tacky without being sticky (you might need to add a little more flour as needed).
- Refrigerate dough for at least 30 minutes or up to overnight.
- When you are ready to roll and cut your cookies, divide the dough into 2 pieces.
- Working with 1 piece of dough at a time, roll it out to 1/2-inch thick on a lightly floured surface.
- Cut out your cookies and move them to an un-greased cookie sheet. Gather any dough scraps and repeat. Repeat with remaining dough.
- Bake cookies at 350 degrees F. for 7 to 10 minutes. The cookies will still be very light on top and just a little golden-brown on the bottom. Let them cool 5 minutes on the tray before moving to a wire rack to finish cooling.
- Decorate with your favorite butter cream frosting.
- Store extras in an airtight container or unfrosted cookies in the freezer for much longer.
Notes
- I don’t use shortening often (this recipe and pie crust are just about it), but it helps the cookies to keep their shape. Butter cookies tend to either be a bit crunchy (like a shortbread) or spread when baked.
- I don’t recommend storing decorated cookies in the freezer because the frosting may dry out or crack as they thaw.
- Both baked cookies and unbaked dough can be frozen.
- If you’ve added too much flour and your sugar cookie dough is dry then mix a half teaspoon of cooking oil into the dough until you get the right consistency.







My daughter Victoria and I will be making these cookies. Thanks!
Happy baking Amy, I love when the kitchen brings people together!
The monster ones are so cute!
Thank you! Kinda fun huh AND easy!