This post may contain affiliate links. Please read our disclosure policy.
These Garlic Knots are such a treat! If you’re wondering what to serve alongside your turkey this Thanksgiving, these homemade garlic knots are the answer. Or, if you’re just looking for a buttery side dish, you could make them today!
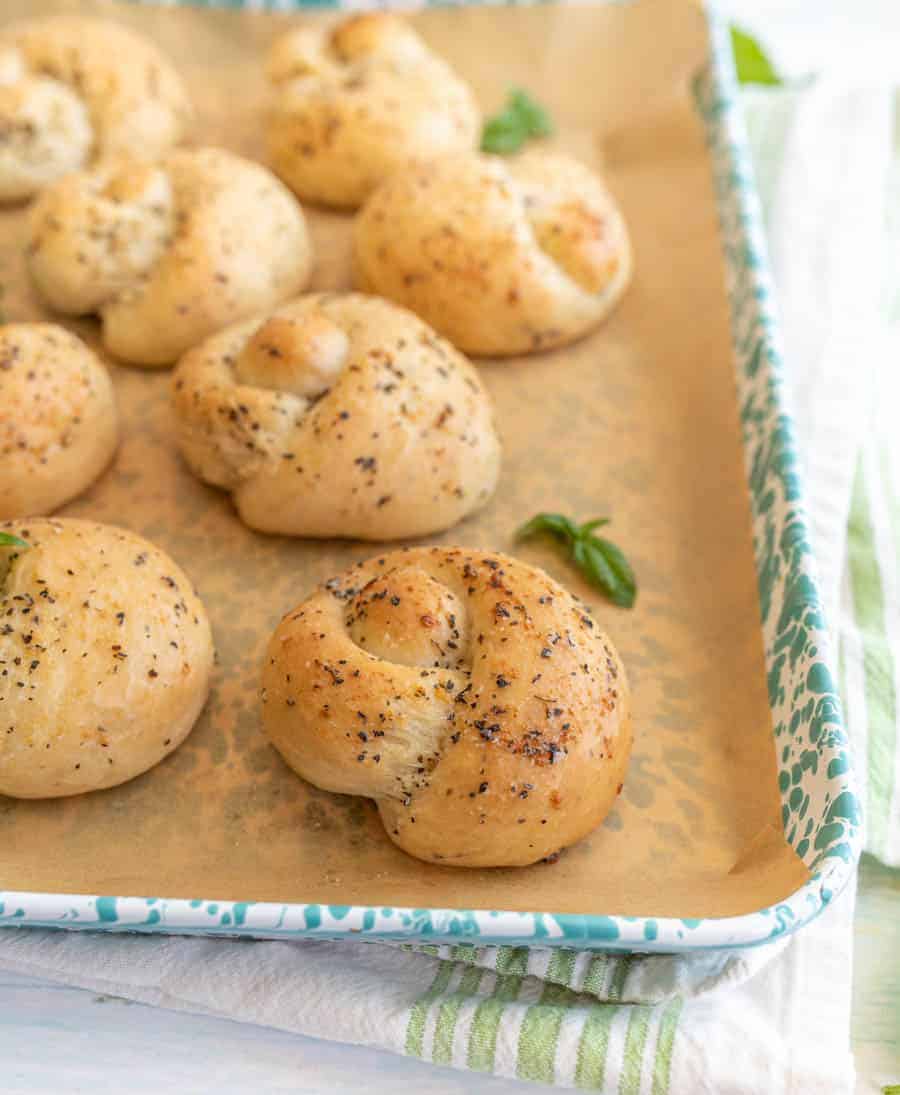
Oh, garlic knots, why are you so fun and so tasty? My family loves when I make garlic knots; they’re like the fancy version of a traditional dinner roll, and they totally love them. These garlic knots are made with a simple yeast dough that has garlic powder, onion powder, and dried basil added to the dough.
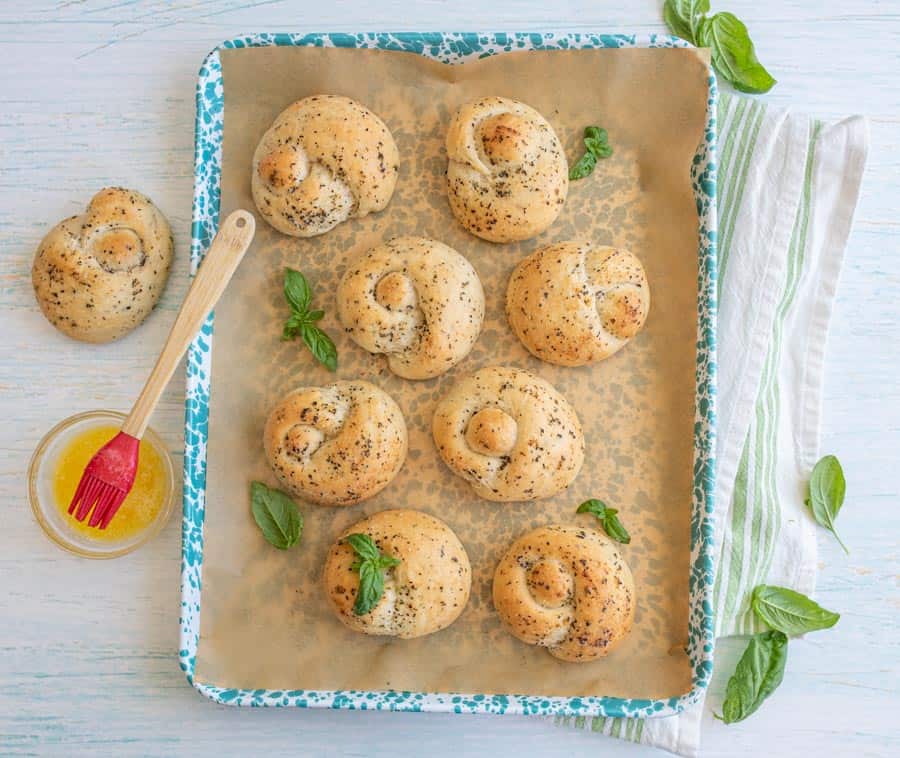
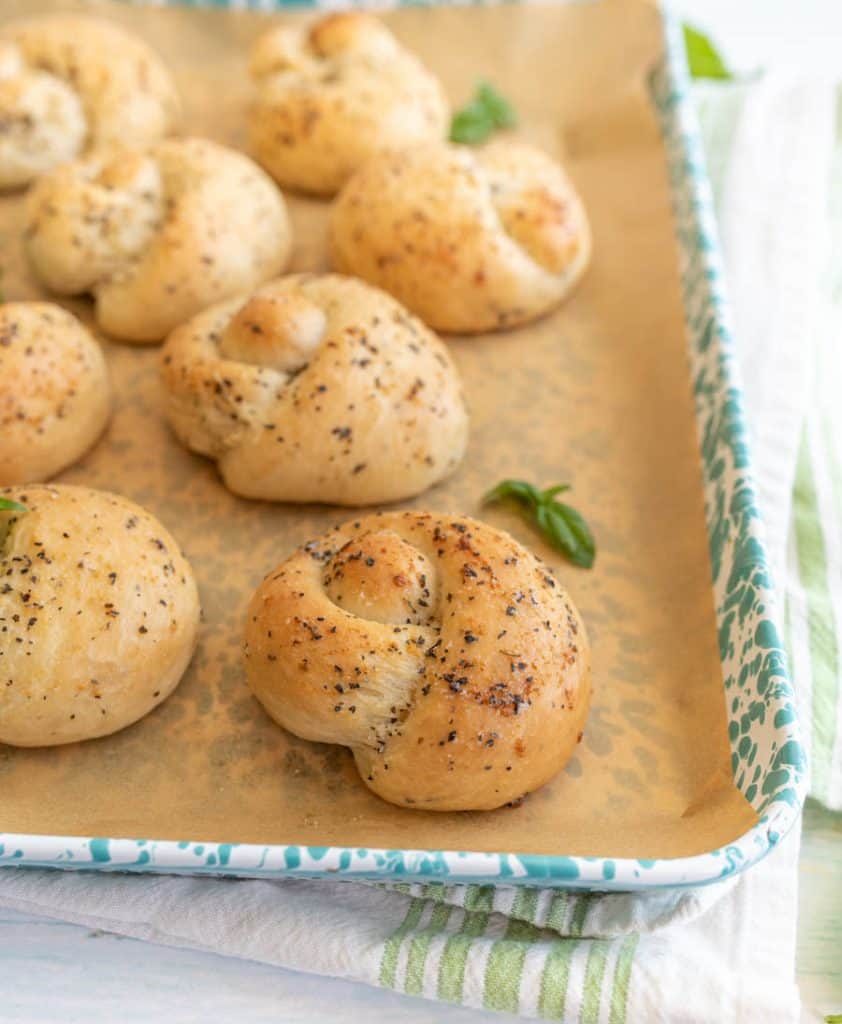
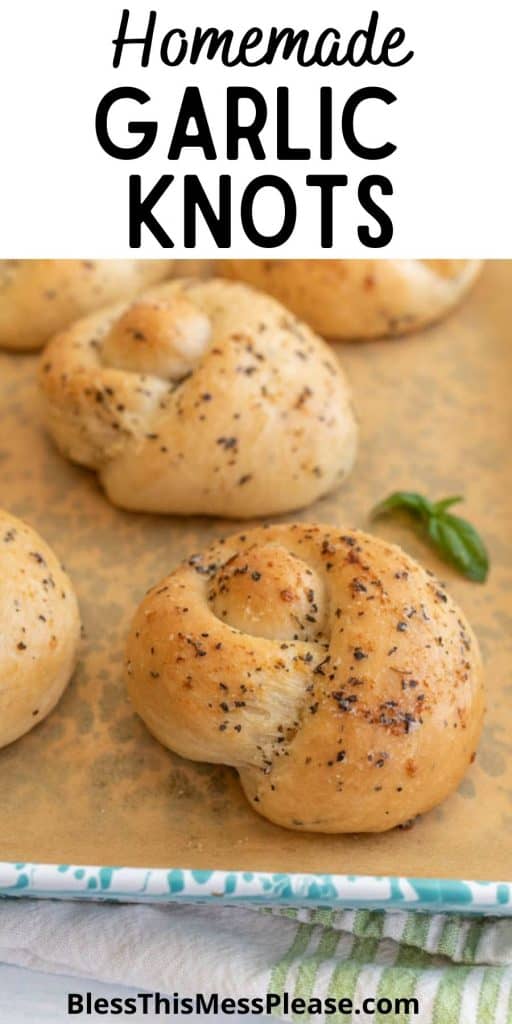
You cut the dough into pieces, roll out the pieces like you are making a dough snack, and then tie that snake in a knot! That’s how they get their name. Before you put them in the oven you brush them with a garlic butter mixture and you brush that on them as soon as they come out of the oven too. It’s makes the outsides buttery and rich and full of garlic flavor.
Table of Contents
Why You’ll Love This Recipe
- This recipe combines basic pantry staples that you will likely already have.
- With only a few steps required to prepare and knead the dough, this recipe is accessible even for beginners.
- Shaping the dough into knots not only makes for an attractive presentation but is a fun way to get creative in the kitchen, making it a great activity to do with kids or friends.
- The final touch garlic butter of elevates the flavor, ensures each bite is bursting with rich, buttery, and herb-infused goodness, making these knots irresistible!
Recipe Ingredients
- Yeast
- Honey – Can be subbed with sugar
- Olive oil
- Flour – All-purpose flour, or half all-purpose and half whole wheat
- Spices – Salt, garlic powder, onion powder, and dried basil
- Butter – We like to use salted butter, but can be subbed for unsalted
See the recipe card below for full information on ingredients and quantities
How to Make Garlic Knots
Step 1. Mix warm water, yeast, and honey. Rest for 5 minutes. Add oil, salt, spices, and flour. Knead for 3-4 minutes.
Step 2. Cover the dough and let it rise for 30-40 minutes.
Step 3. Divide dough into 12 pieces, roll into ropes, and tie into knots. Let rise for 40-60 minutes.
Step 4. Preheat oven to 350°F. Brush knots with butter and spices. Bake for 15-20 minutes. Brush with more butter and serve hot.
Recipe FAQs
The key is to work with a long piece of dough so that you have something to tie. Roll your dough into a long rope (about 12 inches long). Loop one side through a hole made by the other end (like you are tying your shoe laces together). One end will poke out the top a little and tuck the other end under the rest of the knot. Aren’t they pretty!
Yes, you can use instant yeast. You can mix it directly with the dry ingredients without dissolving it in water first. The rise time may be slightly shorter.
Yes, you can prepare the dough and let it rise, then refrigerate it overnight. Bring it to room temperature before shaping the knots and letting them rise again.
You can substitute with other dried herbs like oregano, thyme, or Italian seasoning for a similar flavor.
Expert Tips
- Ensure the water is warm (about 110°F/45°C) when mixing with yeast and honey or sugar. If the water is too hot, it can kill the yeast, and if it’s too cold, the yeast won’t activate properly. Allow the mixture to rest until it becomes frothy, indicating the yeast is active.
- When kneading the dough, add flour gradually until the dough is smooth and elastic but not sticky. Too much flour can make the dough tough, while too little can result in a sticky mess.
- If your kitchen is too cold to let your dough rise, you can create a warm environment by preheating the oven to its lowest setting for a few minutes, then turning it off and placing the covered dough inside.
- For evenly baked knots, make sure to space them out on the baking sheet so they don’t touch each other. Rotating the baking sheet halfway through the baking time can also help ensure even browning on all sides.
How to Serve and Store Garlic Knots
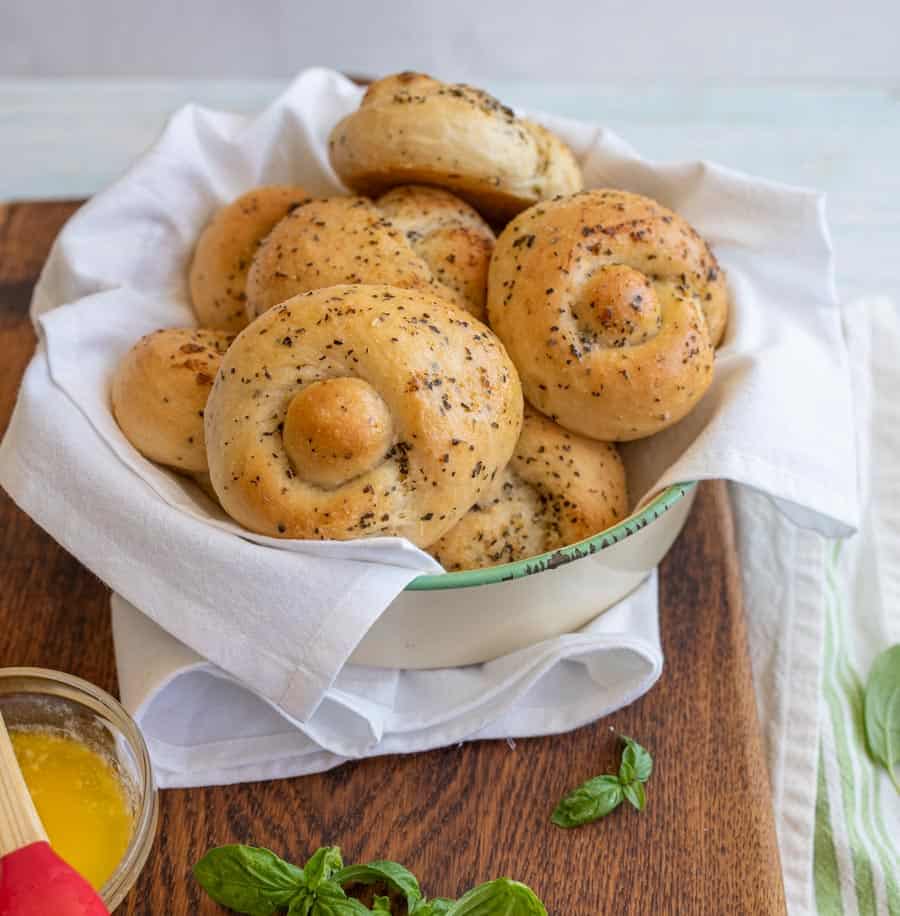
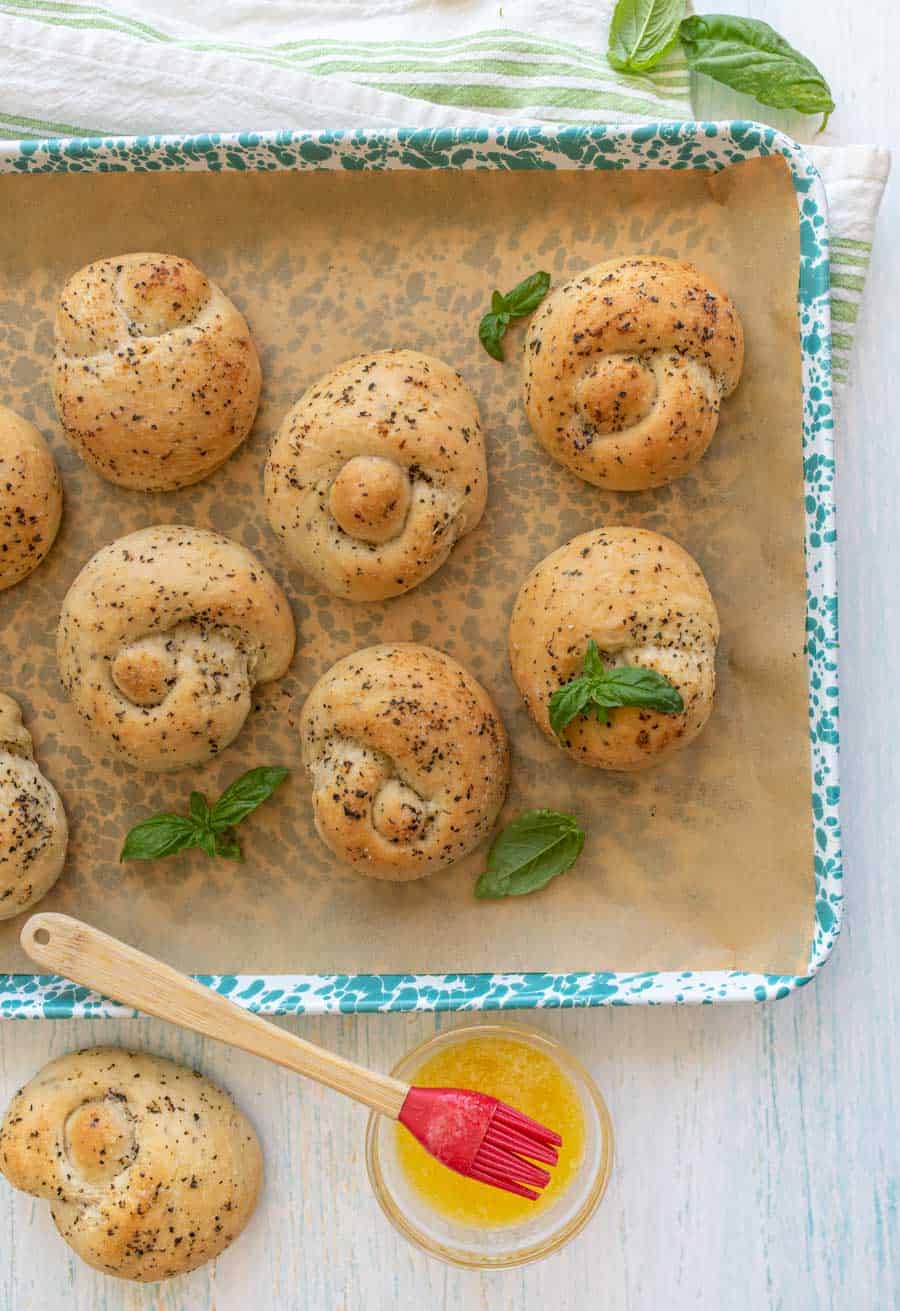
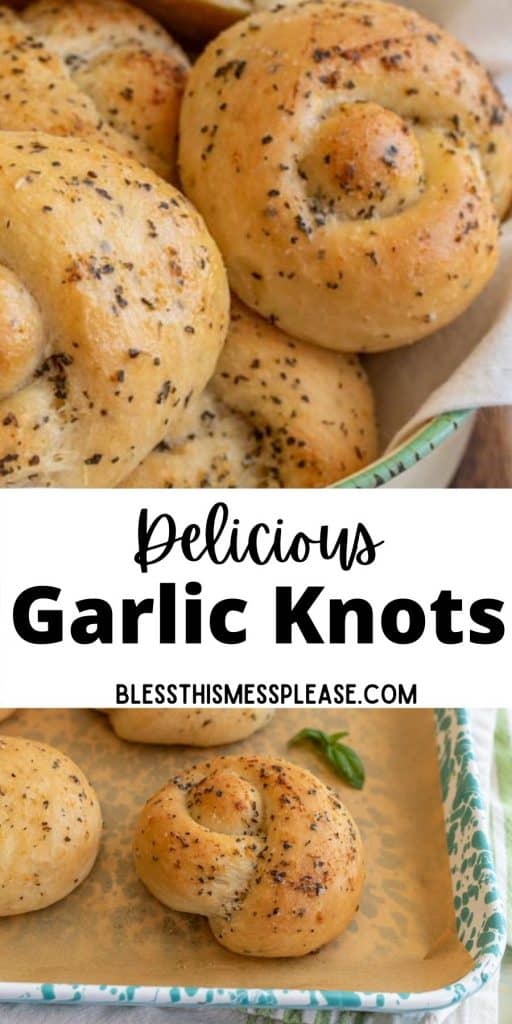
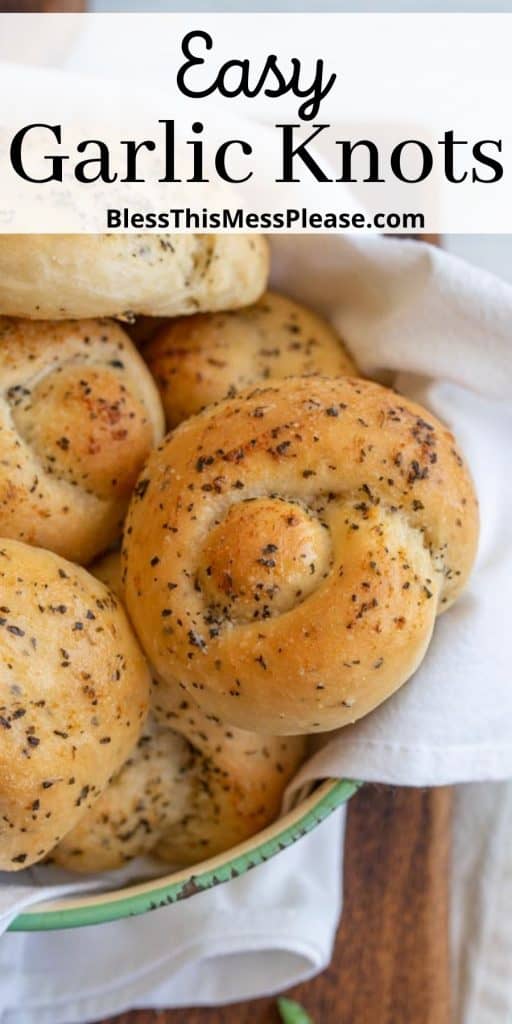
Serve the garlic knots hot, straight from the oven for the best flavor and texture. To keep them warm, line a bread basket with a cloth napkin and wrap it around the knots.
You can dip them in an Arrabbiata tomato sauce, garlic butter, or a creamy Alfredo sauce for a delightful appetizer or side dish. These knots make an excellent accompaniment to pizza, lasagna, pasta dishes such as steak and mushroom marinara, primavera, and pesto, soups, and salads.
You may store any leftover knots in an airtight container at room temperature for up to 2 days. Reheat in the oven or microwave before serving to refresh their texture. For longer storage, They freeze great. Bake and cool, store in an air-tight container in the freezer. To reheat, thaw at room temperature, and warm in a 350°F oven for about 10 minutes.
More Bread Recipes to Consider
Sourdough Recipes
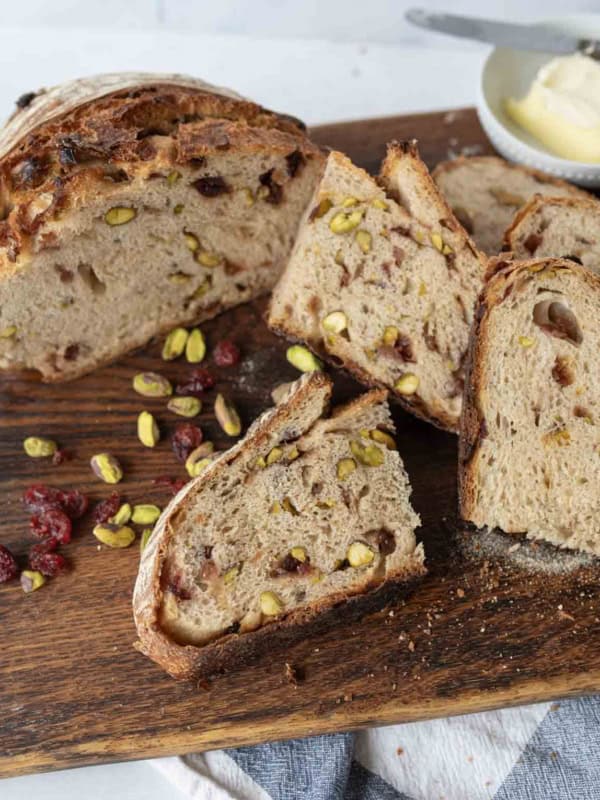
Orange Cranberry Sourdough Bread with Pistachios
Cornbread Recipes
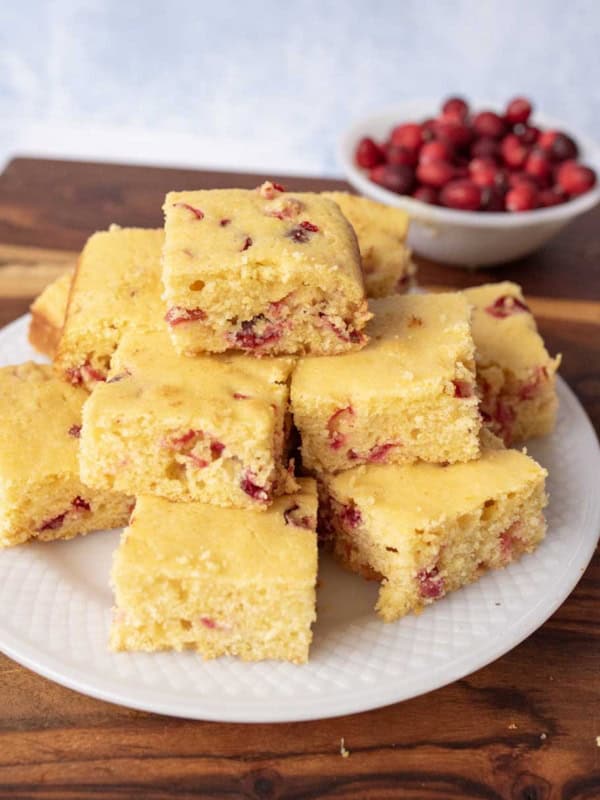
Sweet & Tangy Cranberry Cornbread
French Toast Recipes
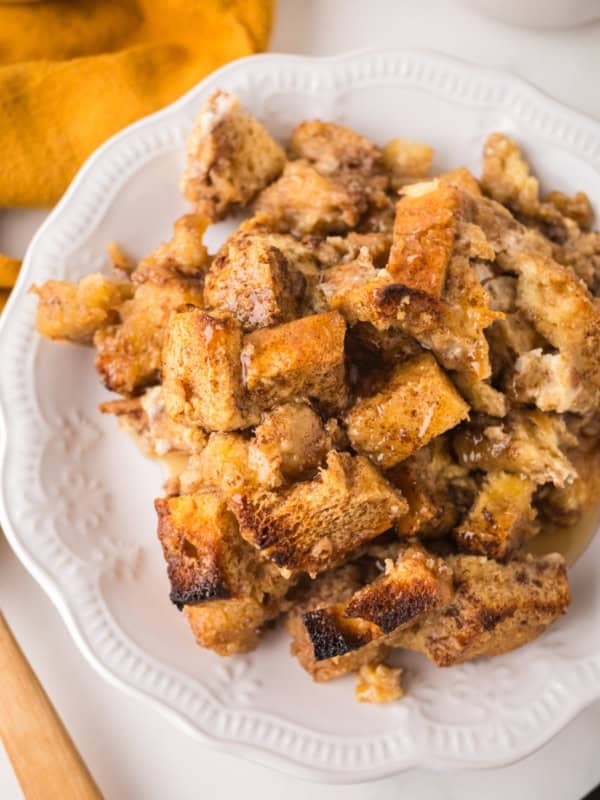
Sourdough French Toast Casserole
From Scratch Recipes
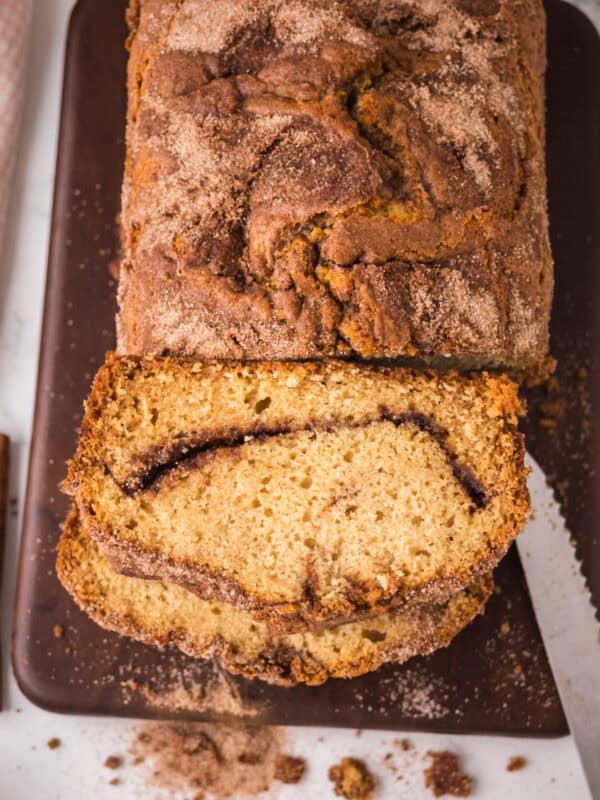
Cinnamon Bread: Easy Cinnamon Sugar Quick Bread
Did you make this recipe? Leave a ⭐️ review and share it on Instagram, Facebook, or Pinterest!


Garlic Knots
Ingredients
- 1 cup warm water
- 1 teaspoon yeast
- 1 tablespoon honey or sugar
- 1/3 cup olive oil
- 1 teaspoon salt
- 1/2 teaspoon garlic powder
- 1/2 teaspoon onion powder
- 1 teaspoon dried basil
- 3 to 3 1/2 cups all-purpose flour, or half all-purpose and half whole wheat
To brush on top:
- 4 tablespoons butter, melted
- 1/2 teaspoon each salt, garlic powder, onion powder
- 1/2 teaspoon dried basil
Instructions
- In a large bowl add the warm water, yeast and sugar or honey. Stir to combine and let the mixture rest for 5 minutes.
- Add the oil, salt, spices, and 1 cup of flour. Stir until well combined.
- Add 2 more cups of flour and stir until combined and the dough starts to pull away from the edge.
- Dump the dough out onto a lightly floured surface and knead until smooth and elastic, adding additional flour as needed. Knead for 3 or 4 minutes.
- Place the dough back in the bowl, cover it, and let it rise for 30 to 40 minutes.
- After the dough as risen remove it from the bowl and divide it into 12 equal parts. Roll each piece of dough into an 8 to 12 inch long rope and then tie the dough into a simple knot (make a circle with the dough and stick one end through).
- Place the dough knot on a parchment or baking mat lined baking sheet. Repeat with remaining dough. Cover the dough knots and allow to rise for 40 minutes to 1 hour.
- Preheat the oven to 350 degrees F. Brush the top of the dough knots with the butter and spice mixture and bake for 15 to 20 minutes until the tops are golden brown.
- Remove from the oven and brush the tops with the butter mixture again. Serve hot.
Notes
- I make this recipe using butter, but margarine also works great
- If I’m not serving the rolls right away, I like to remove them from the pan to cool about 15 minutes after they come out of the oven so that the bottoms don’t get steamy and soggy.
- You can sprinkle grated Parmesan or mozzarella cheese on top before baking for a cheesy twist
- Ensure your yeast is fresh and the water is the right temperature (warm but not hot). Let the dough rise in a warm, draft-free place. If it still doesn’t rise, you may need to start over with new yeast.




Can you prepare and refrigerate the dough the day before?
I don’t have great luck with getting yeast dough to last well in the fridge before baking, if you play with it, will you let me know what you find out?
Mr. Picky gave me an A+ on these tonight! I am sharing the grade with you! Now what can we make for dessert? Hmmmmm
Wow, these sound great! I’m a huge huge huge fan of eating bread, but am nervous to try my hand at making it! This sounds easy enough, so maybe I won’t mess it up 🙂
I’m making these today, for Thanksgiving tomorrow. And if they turn out as good as I think they will, I’ll make two fresh batches in the morning. My family Thanksgiving includes 31 people when everyone can make it. We will have 29 there this year so I’ll have to just about quadruple this recipe to feed them all, but a good knot recipe is worth it!!!! 🙂 thanks for sharing your great recipes!
Yum! Did they work out?!
Yes! They were awesome and everyone raved about them. I made four batches and there weren’t any leftover. 🙂 Thanks for another great recipe!!!!
Yes, they were delicious and my family had them gone in under 5 minutes! Thanks for sharing the recipe.
Yes! They were gone in the first 5 minutes. Everyone loved them! Thanks for the recipe.
These garlic knots sound so delicious, I can’t wait to try them!