This post may contain affiliate links. Please read our disclosure policy.
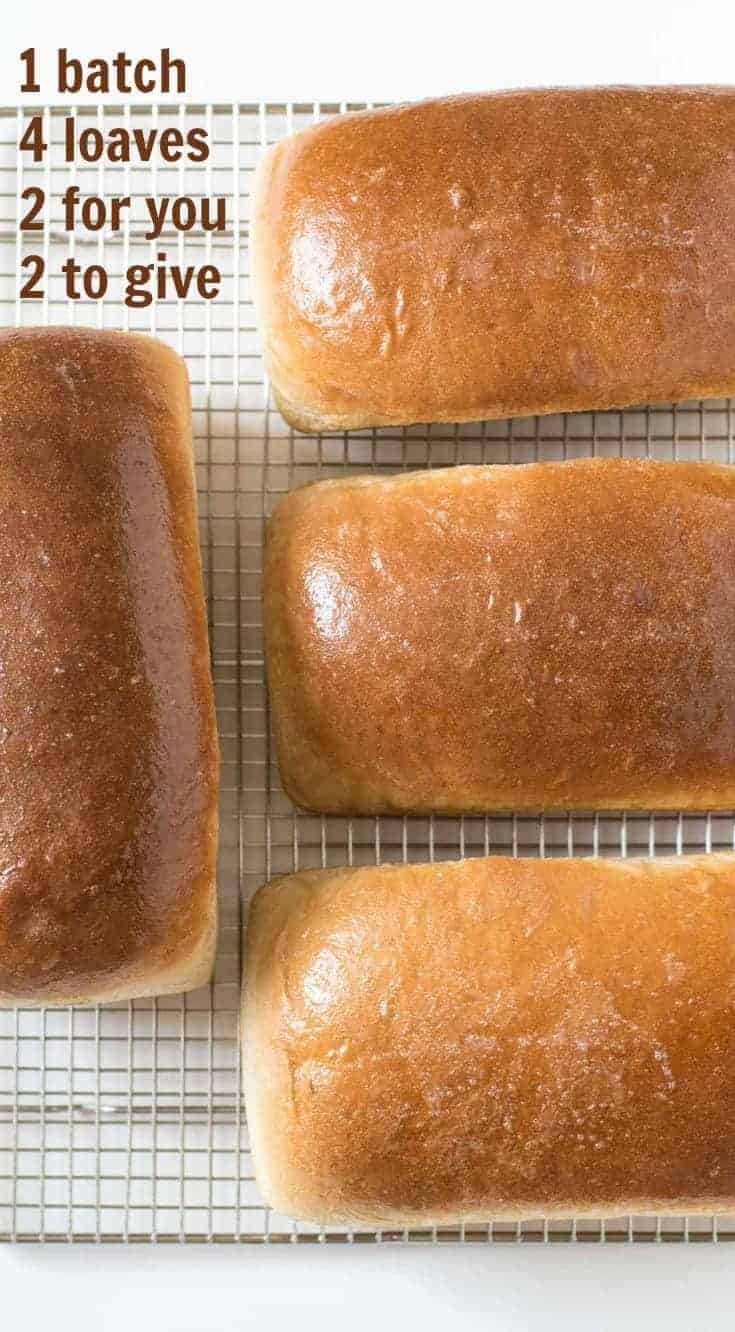
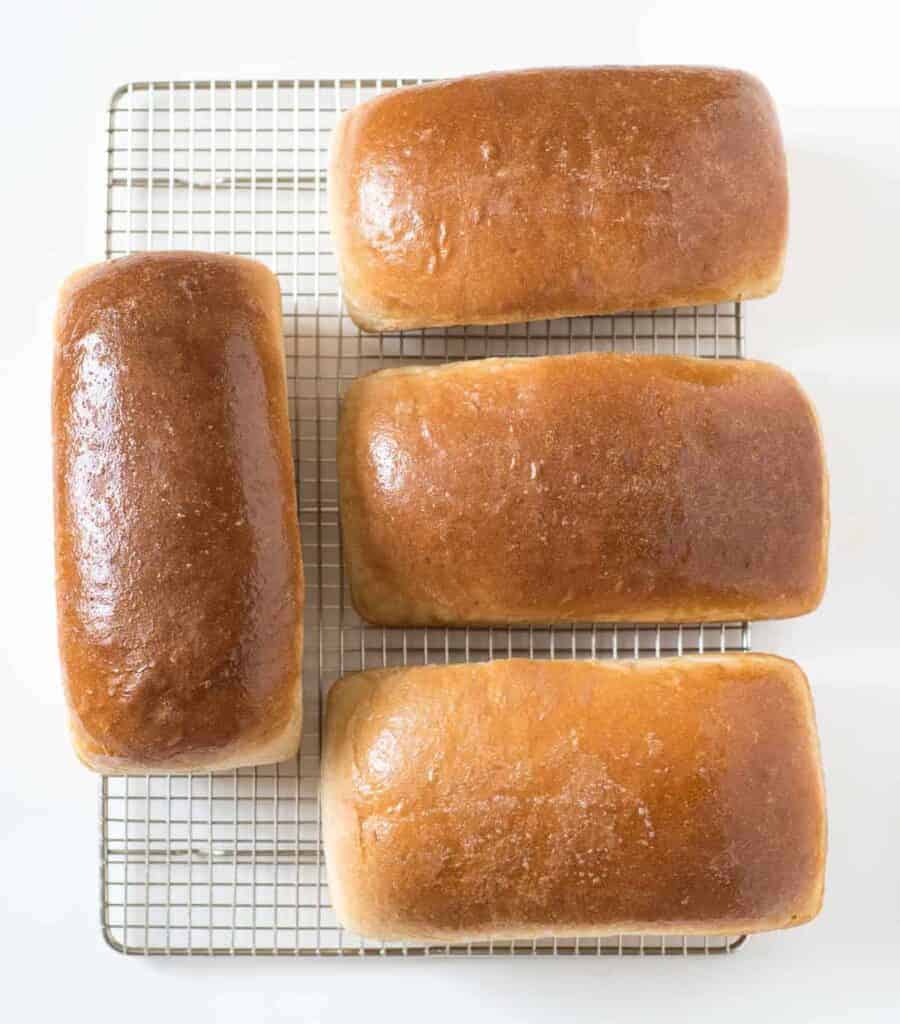
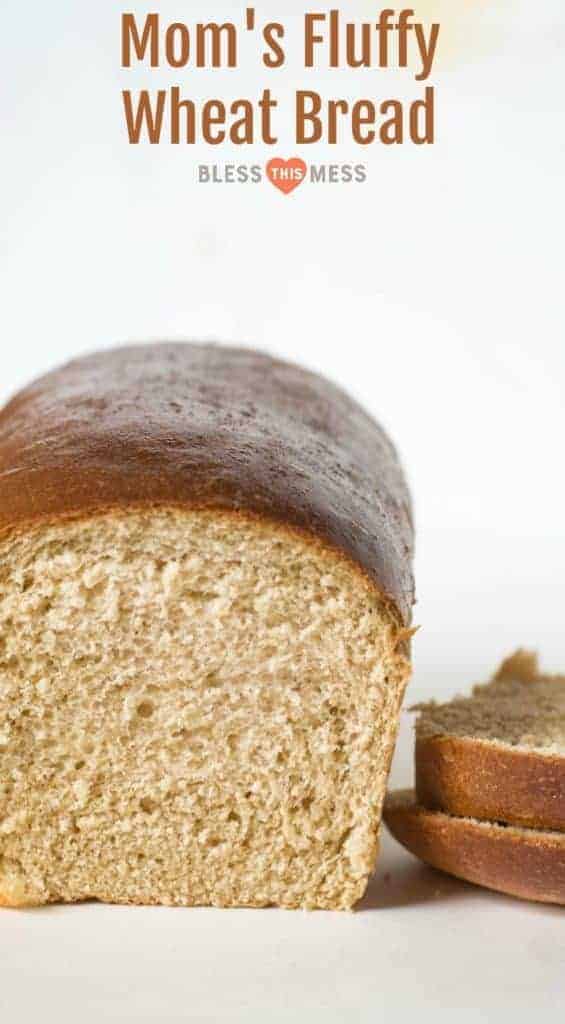
A simple and fool-proof Wheat Bread Recipe that makes four loaves of bread in one batch. This recipe comes from my mom, and it’s certainly a keeper!
Mom’s 4 Loaf Wheat Bread Recipe
I have so many recipes that I make often that I haven’t shared on the blog. This year, I’ve made the goal to get more of my favorite go-to recipes out of my family cookbook and onto the blog so that you can enjoy them as much as I do. This recipe is one of those tried-and-true recipes that I’ve been making twice a month since my daughter was a baby. Now here we are, 10 years later, and I’m just now telling you about it.
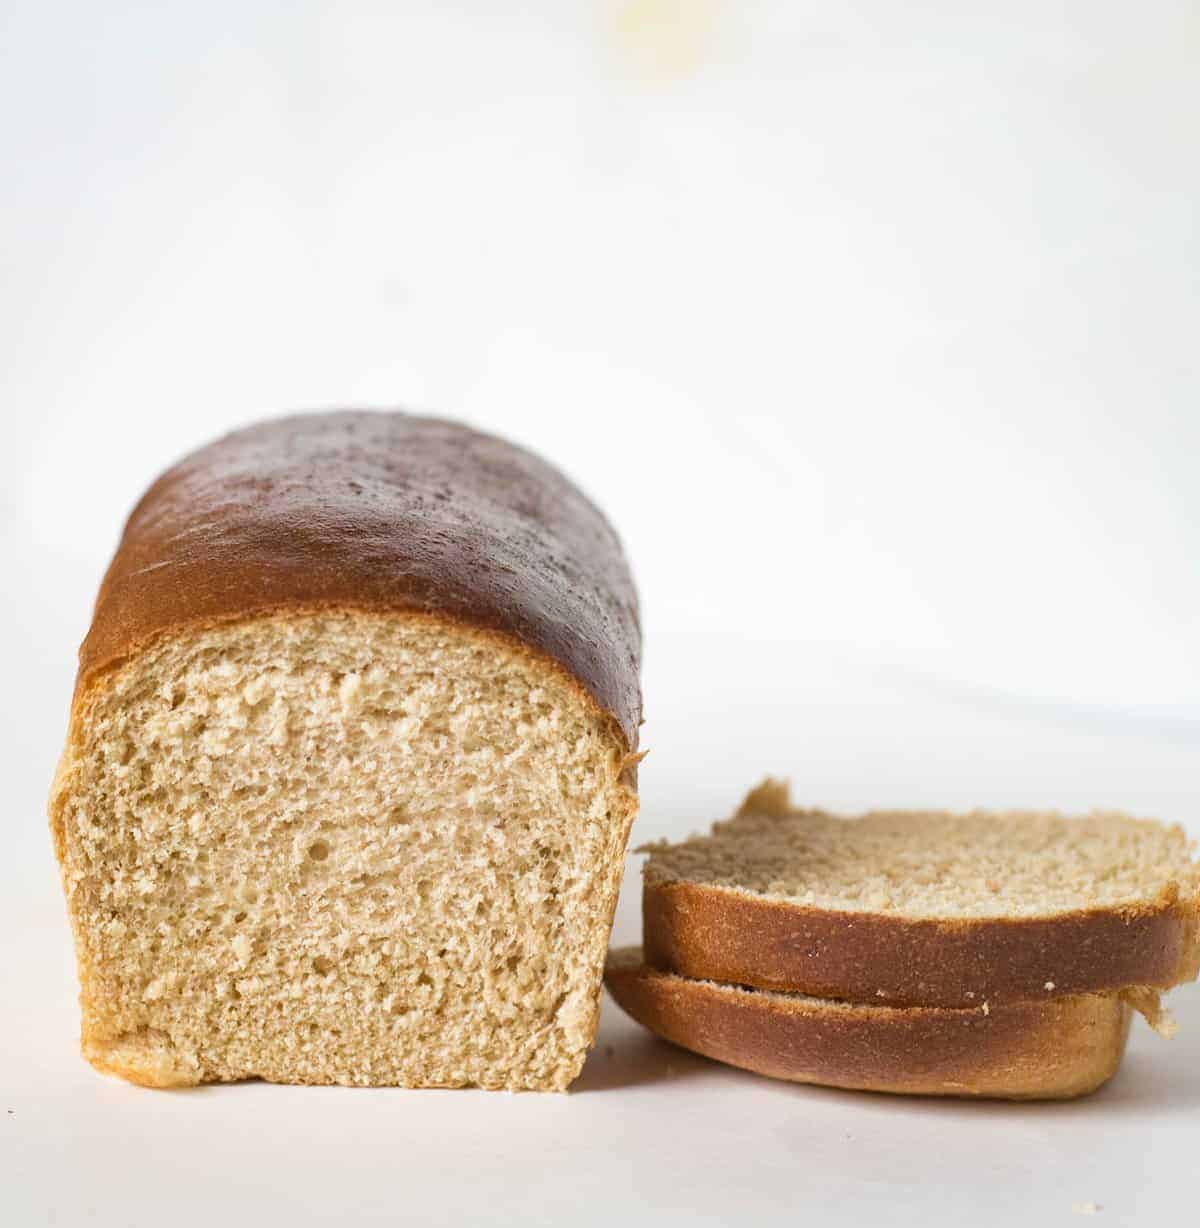
This is my mom’s wheat bread recipe. It’s not a whole wheat bread, but a mix of white and wheat, which makes for a light and fluffy loaf of bread that is still brown and hearty. It’s a great middle for anyone who doesn’t eat whole wheat all the time! My mom has been making this recipe for as long as I can remember. It’s made with simple ingredients that I always have on hand and it just turns out well each time.
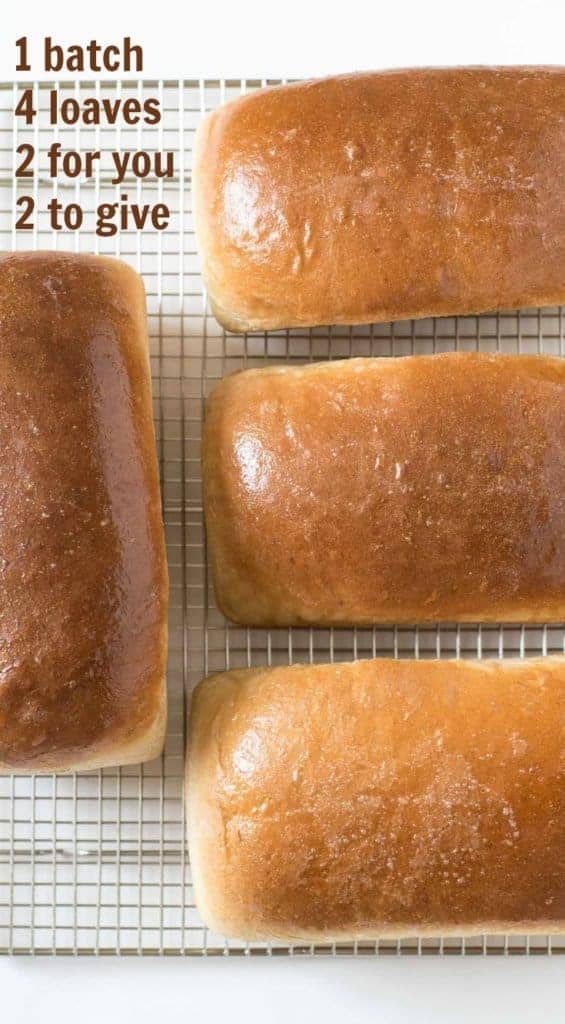
What’s unique about this wheat bread recipe is that it makes four loaves of bread in one batch instead of the traditional two loaves. I know that might sound like a whole lot of bread, but that’s my favorite part of this recipe. When I make it, I always think of the saying, “one for you, one for me.” I make this recipe with the intention of making warm comforting food for my family and also sharing that gift with others. This wheat bread recipes is meant to be shared with your friends and neighbors.
Tips and Tricks for making Homemade Wheat Bread
- This recipe is meant to be made with a mix of white and whole wheat flour (it’s not a 100% whole wheat flour recipe; I do have a great one of those coming soon). The ratio of white to wheat flour is up to you, but 50/50 is always a good place to start.
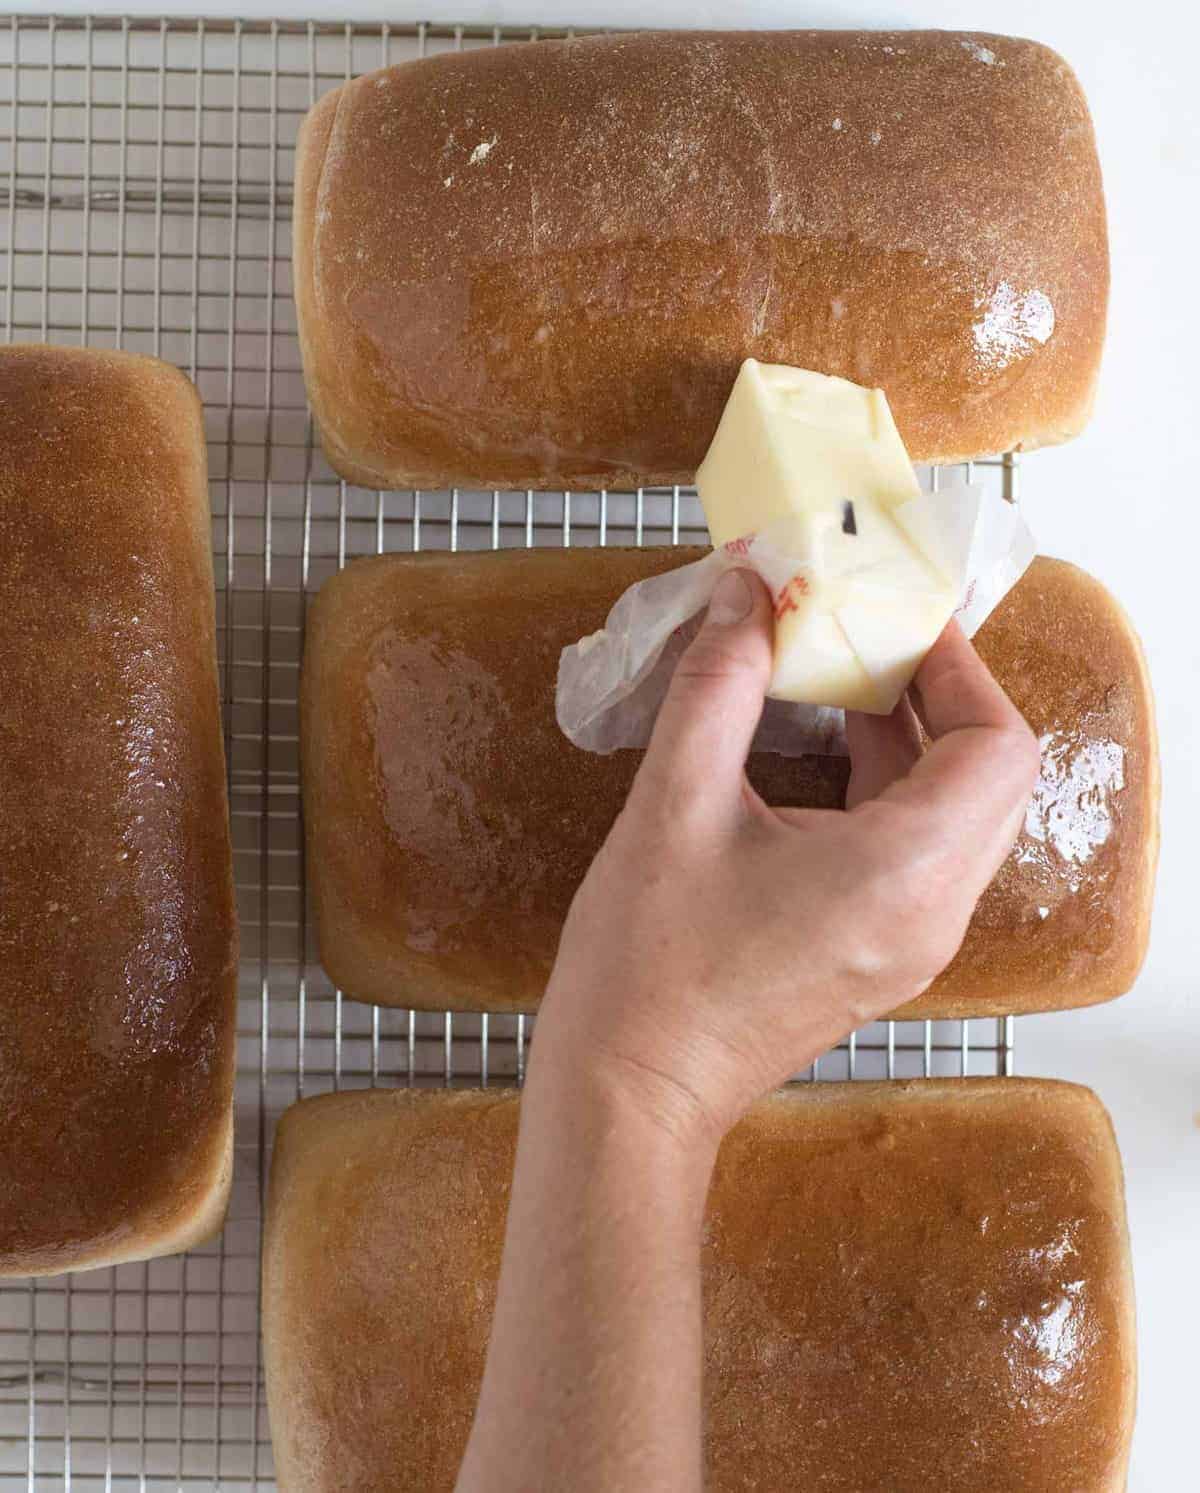
- Don’t skip the buttering of the top, this helps to make the crust soft and it also creates a bit of a “seal” on the crust that helps prevent the inside of the bread from drying out. That being said, out of butter, you can totally skip it 🙂
- I feel like you have some flexibility when it comes the loaf pans that you use (these enamel ones are fun). I have a few sizes, and though the shape of the loaf might be slightly different dependent on the size, the rising and cook time remain the same. Loaf pans that are 8-9 inches long generally work the best.
- This bread is great by itself with butter or jam on it, it makes great french toast, and it can go on the side of your favorite soup (like Instant Pot Broccoli and Cheese). There’s no wrong way to eat this. Plus, it makes a great gift! Who doesn’t love fresh baked bread?
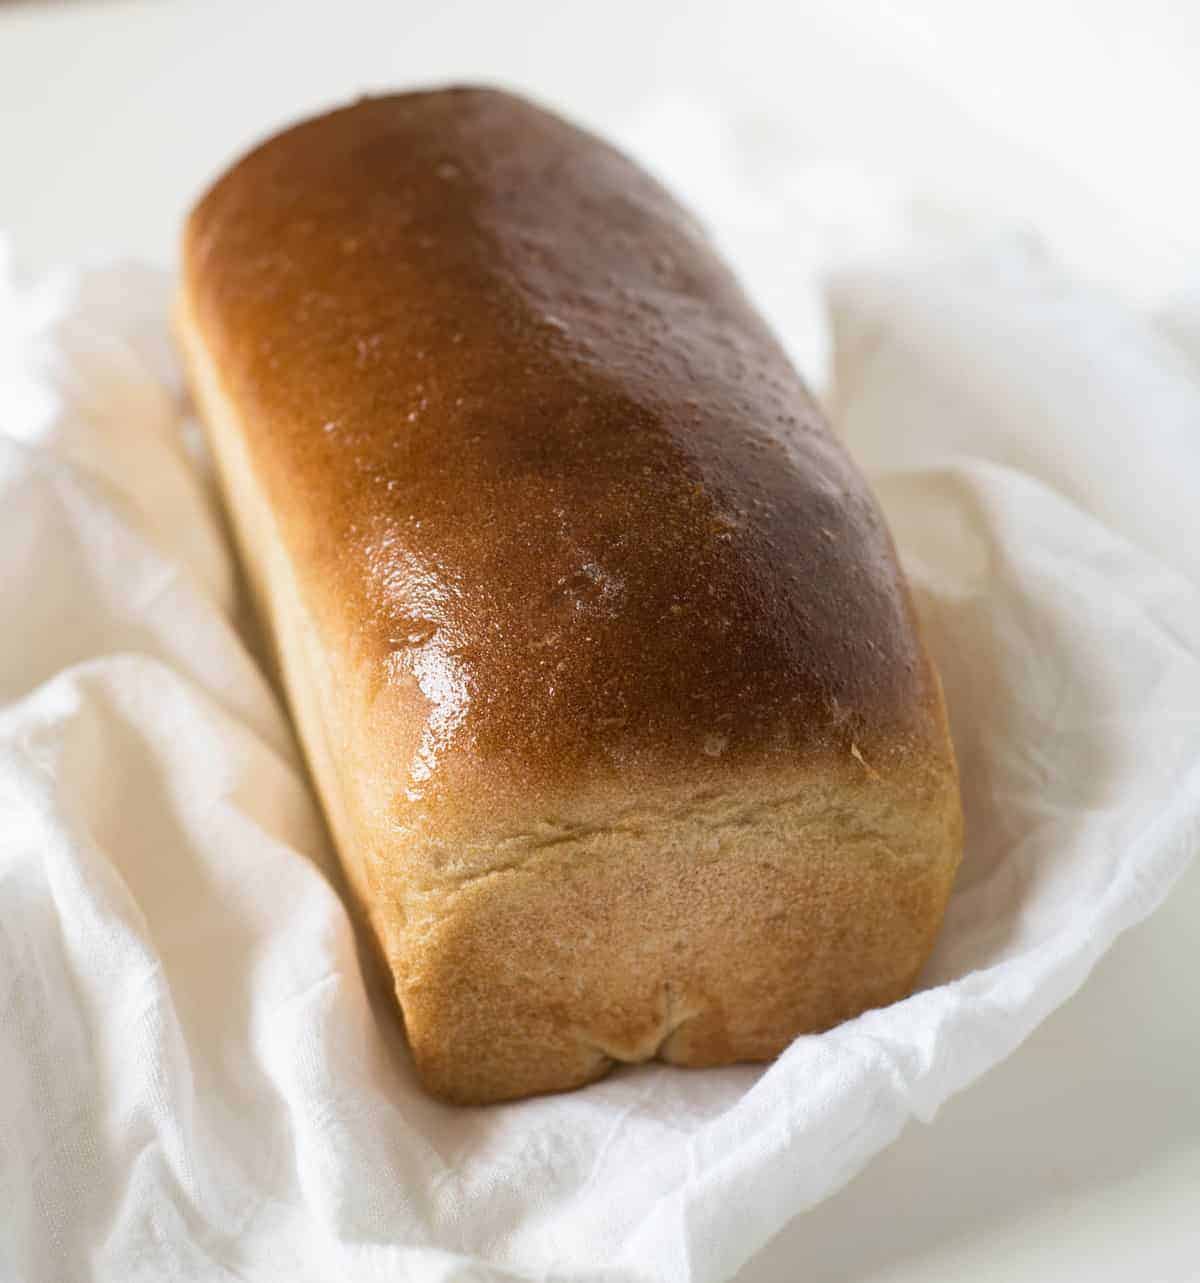
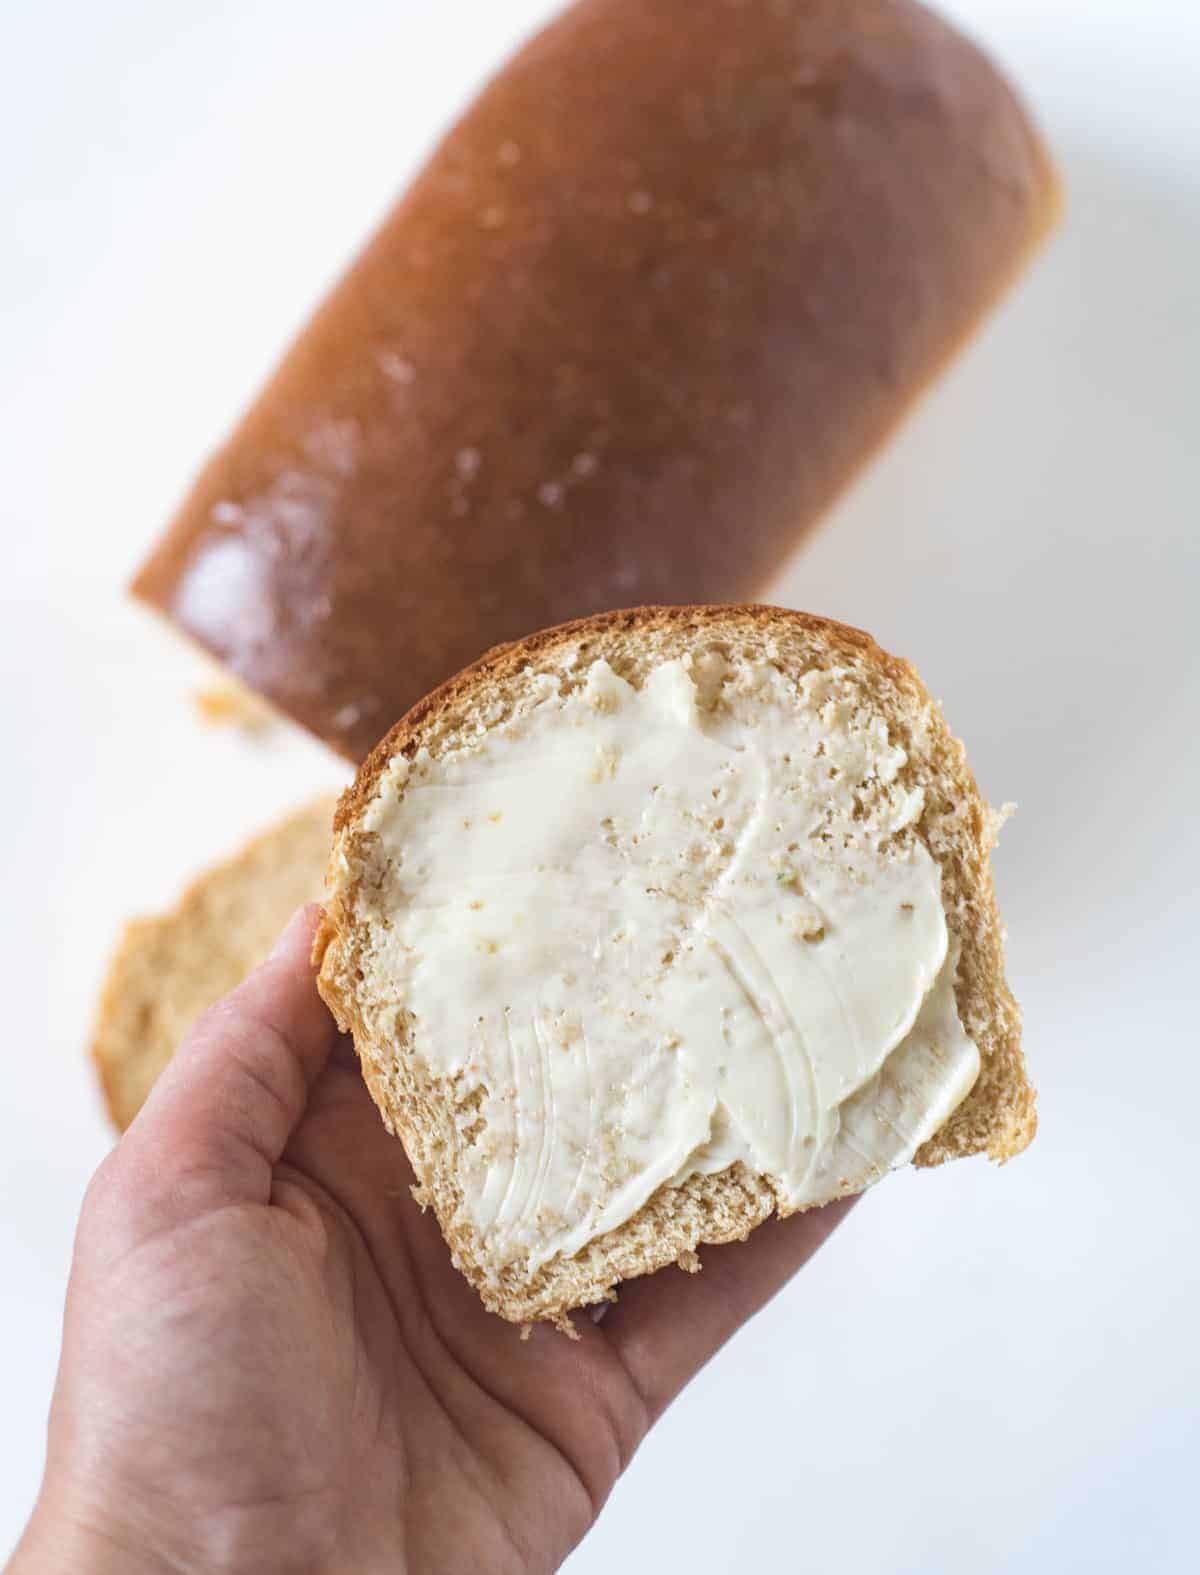
Now all you need is a thick warm slice with a layer of good salted butter on top. That’s the stuff after school memories are made of.
Need help getting excited about making this recipe? I taught it in a free cooking class! You can find the video here:
Mom’s 4 Loaf Wheat Bread Recipe
Ingredients
- 4 cups warm water
- 2 tablespoons instant yeast
- 1/2 cup honey or 3/4 cup white sugar
- 1/2 cup oil
- 1 1/2 tablespoons salt
- 11 cups flour, a mix of 1/2 whole wheat flour and 1/2 all-purpose is best
Instructions
- Dissolve the yeast and honey in the warm water. Add the oil and salt and stir to combine.
- Add 5 cups of the whole wheat flour to the bowl and stir to combine. Stir for 3 to 5 minutes.
- Stir in the white flour, a cup at a time, until a smooth dough starts to form. You can use a stand mixer or your hands.
- Knead the dough on a well-floured surface until the dough becomes soft and elastic and doesn’t stick to your hands. I like to knead this for 6-8 minutes by hand, it helps the end texture a lot to work the dough well!
- Let the dough rise in the bowl until doubled, covered with a heavy towel or plastic wrap.
- Once the dough has risen, divide it into four pieces. Shape the dough into loaves and place them in 4 greased loaf pans.
- Let the dough rise in the pans until it is an inch above the rim.
- Bake the bread at 350 degrees for 35 minutes. The crust will be golden brown and you’ll hear a hollow sound when you tap the bread with your fingernail.
- Remove the bread from the oven, then remove the bread from the pans and place the hot loaves on wire racks to cool. Rub a stick of butter on the top of the hot loaves.
- Allow the loaves to cool slightly or to room temperature before slicing and serving. Store cooled loaves in an air-tight container and use within 5 days.
Notes
- So flexible! You can use all whole wheat flour (thought it won’t rise as much), half all-purpose and half whole wheat, all all-purpose, and even bread flour! I like to use 1/3 whole wheat and 2/3 all-purpose flour, but really, you can play with the ratios and use what you have on hand.
- You can use just about any oil or even melted butter or shortening for this recipe.
- Feel free to half this recipe to make 2 loaves instead of 4, it’ll work great.
- To freeze extra loaves simply let the bread cool completely. Store it in an old bread bag or wrapped well in plastic wrap and freeze. Let it thaw a few hours at room temperature when you’d like to use it. You can also slice it before you put it in the freezer to make thawing a little faster.
- No need to proof the yeast, it doesn’t need it.
Nutrition
Other great simple recipes you might love:
- Mom’s Jumbo Dinner Rolls
- Super Simple No-Knead Bread
- Easy Homemade Pizza Dough Recipe
- The Best Homemade Cornbread Recipe
And there you have it. One of my all-time favorite recipes from childhood comes the blog!



The water amount is not right
As in too much or not enough? I’ve made this love lots and lots of times and it works great so I assume it’s a measuring issue on your end.
Sorry, not sure how to reply. But my yeast has only been open for 2 months. So it isn’t old. I’ve been baking a lot so I’ve went through it quickly. I’m going to be opening another jar soon. Do you have to work it out on the counter, that may be where I went wrong. I was just kneading in my mixer. I love the flavor of this bread and I want to to be my go to so I want to get all the kinks worked out. Will kneading it on the counter make it fluffier? Is there a reason that it doesn’t want to rise an inch above rim on second rise, and if I go too long I get bubbles, which I don’t want. I still love my bread but wish it was taller. I do half wheat, half AP.
Hey! How warm was your water going in (if it is too warm it’ll kill your yeast) and how cool is your house? If the yeast is good but your house it chilly it will just take it more time to rise.
I had the same problem but I really love this recipe. What works for me is making three loaves instead of four.
I want to tell you what we add to our whole wheat bread. All milk, except 1/2 cup water for yeast. Butter instead of oil, although oil keeps it softer. We add crushed Graham crackers, Oatmeal, raw or cooked. Cooked oatmeal makes a softer bread. Cracked wheat or 7 grain cereal. And yes, wheat and white flour. It just adds texture and more yummyness to it. I have made yours, but it sounds good. I’d use milk though. Lol. I’m not putting down your recipe at all. Fresh bread is so good, and the smell…!!!
How do you add the cooked oat meal and how much that sounds really good !
bread, buns, added cheese, rye flour instead of W.W.!!!!!!!! It’s just got to be the best ever recipe. Sooooo quick and easy even for a non-baker as I!!!!! Thank you so much from Osoyoos BC Canada.
Made a half recipe. I had to add just over 1/4 cup flour to make it kneadable. But otherwise it’s an excellent recipe. My 3.5 year old helped with the kneading. Can’t wait to bake and eat.
Super delicious bread. Making my second batch of half the recipe. This time I’m using half milk half water and butter instead of oil.
Great bread Use it for bread crumbs.
I am so grateful for your postReally thank you! Great
Hi Melissa,
It’s a new package of yeast, do you think maybe it’s the quick change from counter to the hot oven?
Normally if it’s falling like that it’s because it got over proofed but I feel like if you had done this before (and I have too, I make it all the time) it seems like it would be yeast that wasn’t strong enough, maybe cut down on your rising time a little since its warmer weather?
The best bread ever makes it all the time
I have made this recipe before with great success, however; the last couple of times, when my bread has risen for the second time, at the moment to transfer to the hot oven, it deflates. What am I doing wrong? Please advise.
Could your yeast we getting old?
I’m having the same issue. First time I made it (last week) it went great. I did want it to rise higher but it was fine. I tried today, I did let it rise a little longer because I wanted to get to that inch or more past top of pan. It fell when I put it in the oven. My yeast isn’t old. I’m not sure what happened. Is there a way to get a taller rise without this happening. I felt like it would be more fluffy if it rose taller.
Do you know how old your yeast is? Commercial yeast has a set amount of time that it’s active for and if you go past that, it starts to deflate. Are you using a larger pan than me or is your yeast getting old?
Made half a batch this morning, so very good! Thanx for sharing. The video was excellent also, very helpful for newbie bread makers!