Crock Pot or Slow Cooker Yogurt
on Sep 17, 2017, Updated Apr 17, 2025
This post may contain affiliate links. Please read our disclosure policy.
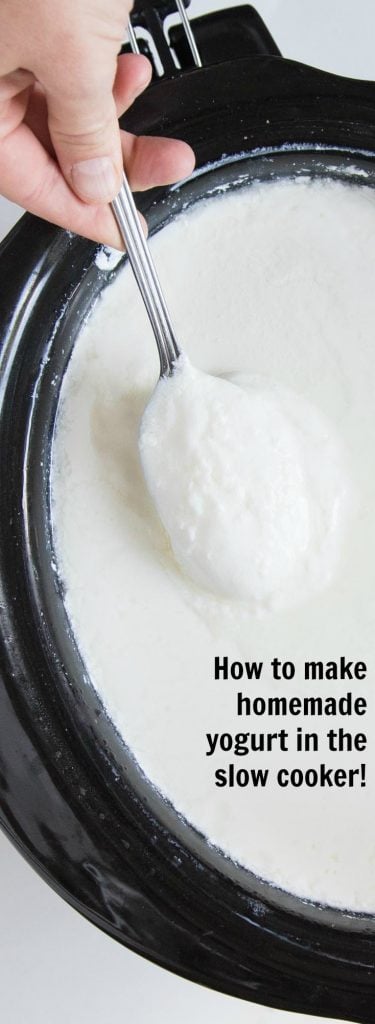
It’s so easy to make silky smooth Slow Cooker Yogurt at home with just two ingredients and prep time of only 5 minutes! This simple recipe saves money, reduces waste, and delivers fresh yogurt without any additives or preservatives.
🥛Just 5 minutes of prep, and then slow cooker does the rest while you sleep. Such an easy way to get another option for homemade breakfast or snacks into your meal rotation!
My 2 Best Tips For Making Slow Cooker Yogurt
- Temperature Matters: The first time you make this recipe, use a thermometer to verify your slow cooker’s heating pattern. The ideal temperature for yogurt cultures is 110-115°F (43-46°C). Too hot and you’ll kill the cultures; too cool and they won’t activate properly.
- Quality Starters Make Quality Yogurt: Choose a high-quality plain yogurt with live active cultures for your beginning starter. Brands like Mountain High, Fage, or Chobani work well. Then you can start saving your own starter from each of your homemade batches. After a few batches, you may notice your yogurt becoming less thick—this is the time to introduce a fresh commercial starter.
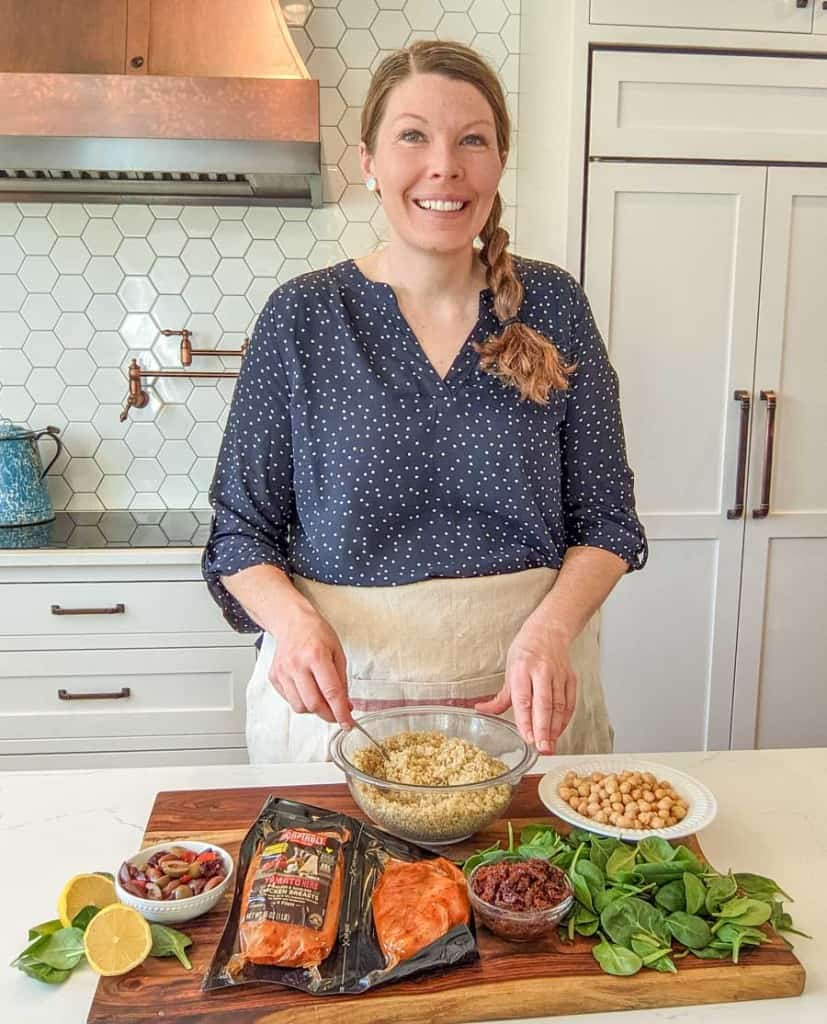
🩷 Melissa
I like to start this in the afternoon so that it’s ready to sit for its long 8-12 hour warm resting period overnight. We then wake up to fresh yogurt, and I’ll serve it with fresh fruit and some homemade granola.
This is a great way to to get organic yogurt on the cheap. You can buy a carton of organic milk and turn it into yogurt for about half the price of organic yogurt.
It is plain yogurt, but you can add honey, jams, fresh fruit, and just about anything else you like. I also use it in place of sour cream in most recipes.
Slow Cooker Yogurt
Ingredients
- 1/2 gallon (8 cups) whole milk (you'll get a thinner product with a lower fat content milk)
- 1/2 cup commercial plain yogurt that says “Live and Active Cultures” on the tub, I have great success with Mountain High yogurt for my culture.
Instructions
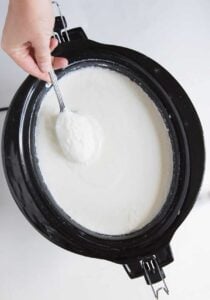
- In a large crock pot, add the milk. Add the lid. Turn it on low for around 2 ½ hours.
- After that time has passed, unplug the crock pot and let it sit for 3 hours. I always set a timer for these or I don’t remember.
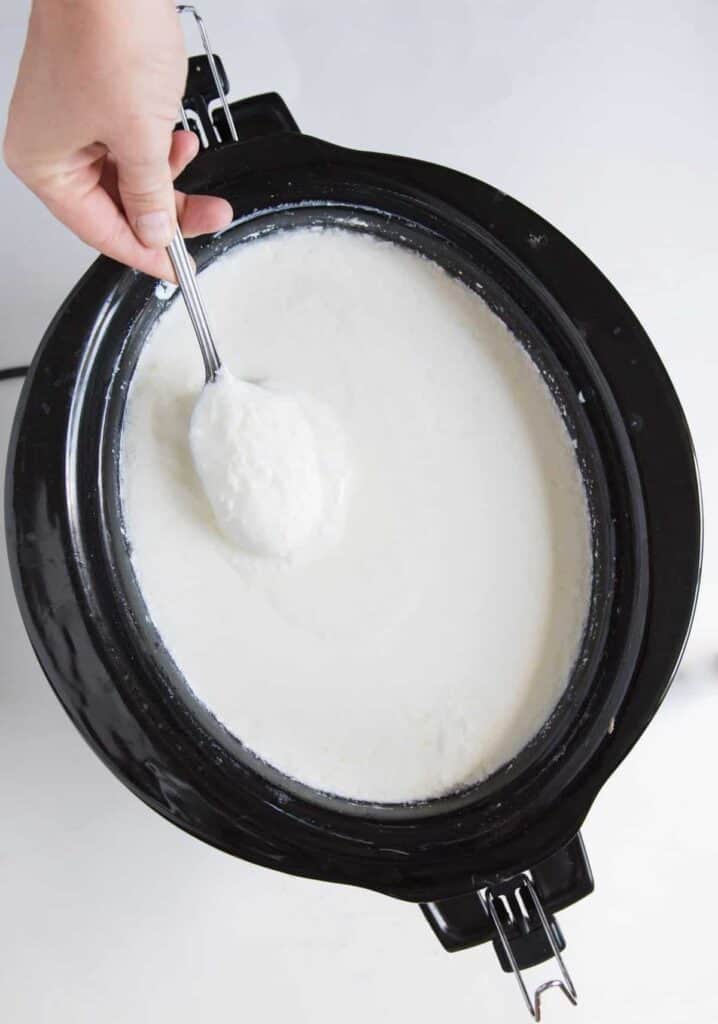
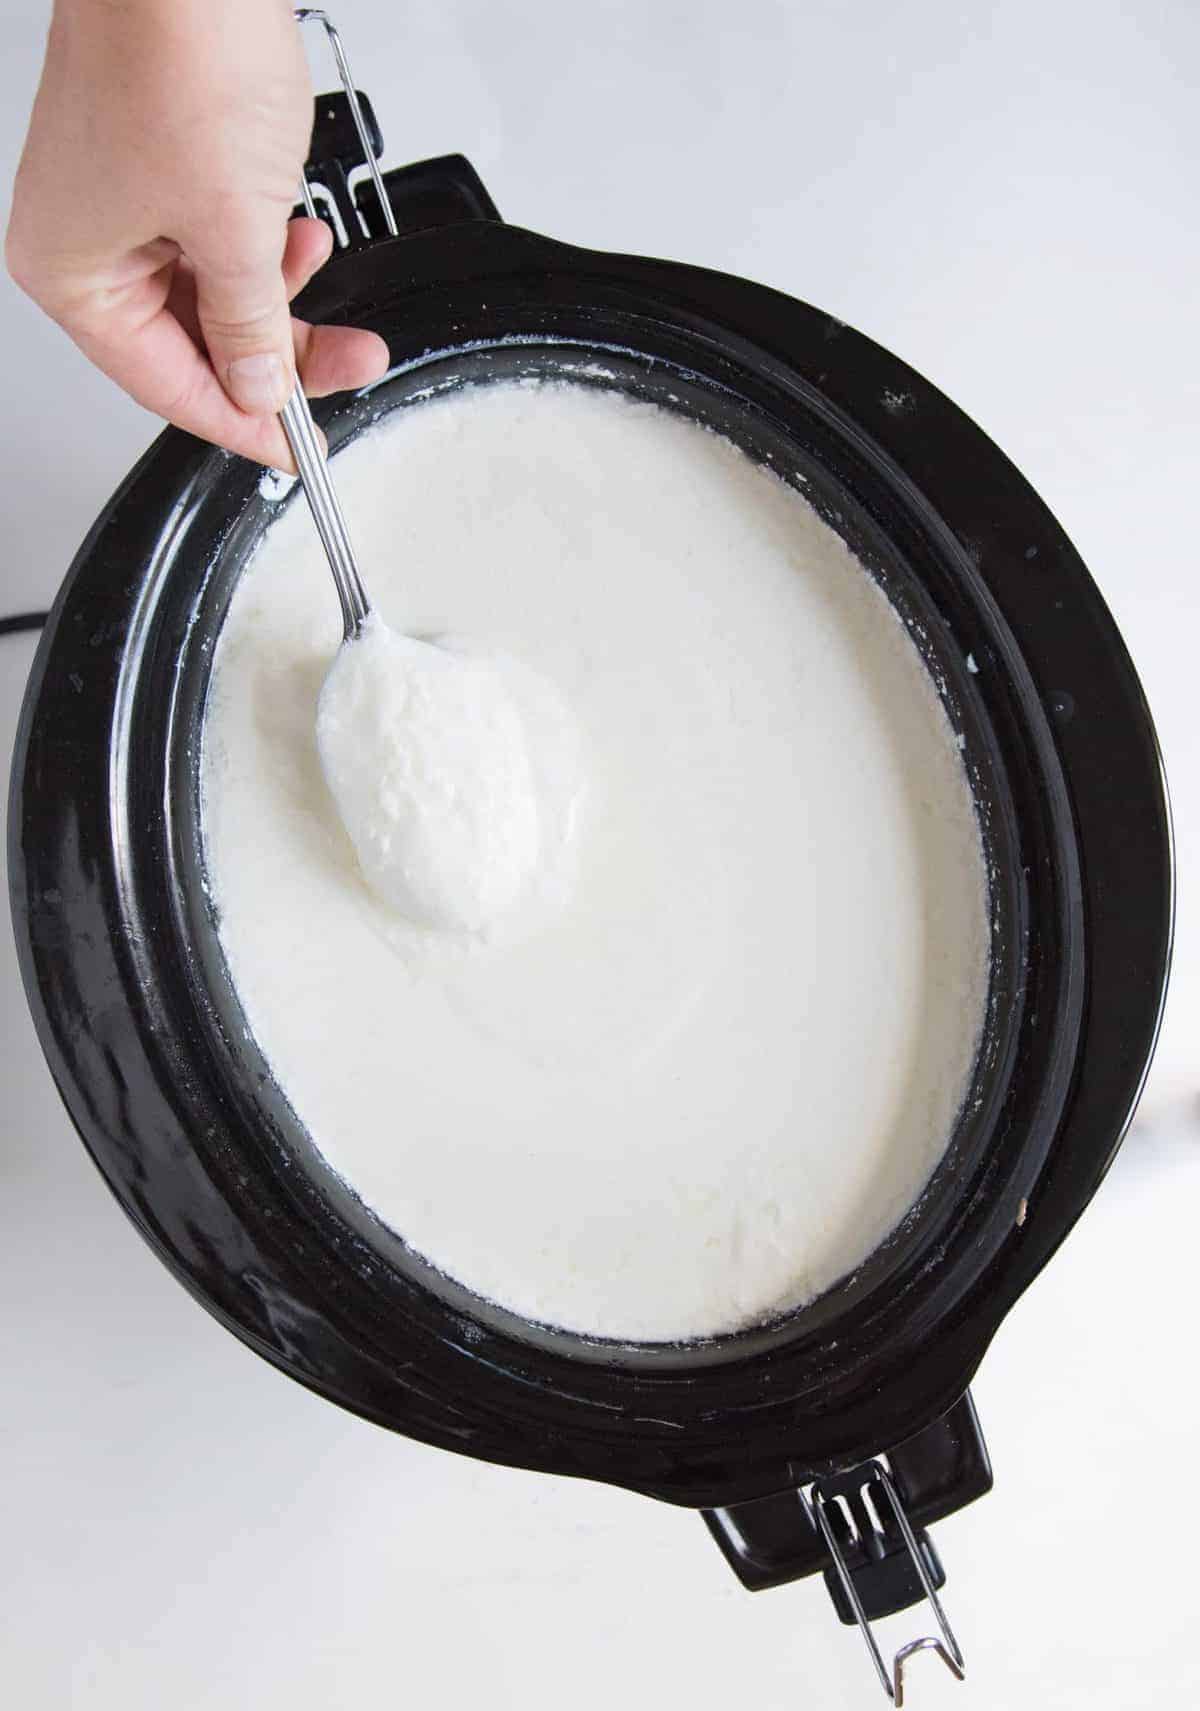
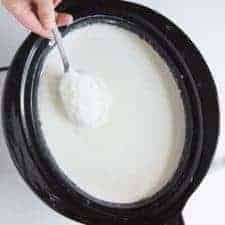
- After the 3 hours has passed, stir in the ½ cup of yogurt. Replace the lid of the crock pot and cover with two big towels or a blanket. Let rest for 8 to 12 hours (overnight works well). In the morning you'll have yogurt!

- Place it in a half-gallon mason jar and refrigerate for a few hours before serving. It will thicken up in the fridge. Keep a ½ cup of this yogurt for your next batch and say goodbye to buying yogurt!
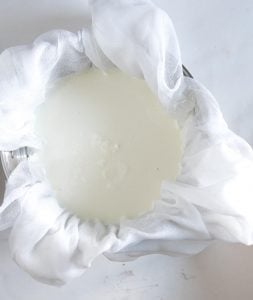
- You can also let the yogurt strain in cheese cloth in the fridge for a few hours and you'll get a thicker Greek yogurt.

Video
Notes
- I highly recommend getting a little instant-read thermometer to make homemade yogurt since it’s all about the temperature.
- The goal is to scald the milk which takes place around 180°F. Check it with a thermometer the first time to see if the “warm” setting is warm enough or if maybe an hour and 45 minutes would work on low. Once you figure it out, I don’t think you would have to use the thermometer every time.
- After the milk is scalded, the waiting time is meant to bring the milk down to around 110-115°F so it’s still warm but won’t kill your yogurt culture.
- Serve with fresh fruit and granola
- Make yogurt bowls: 5 Easy Healthy Yogurt Bowl Ideas
- Homemade Fruit on the Bottom Yogurt Cups
- 4 Ingredient Healthy Strawberry Frozen Yogurt (5 minute recipe!)
- It also goes great in smoothies like my Key Lime Pie Smoothie, Strawberry Kiwi Smoothie, or Avocado Smoothie.
- Or try it in these amazing Soft and Puffy Greek Yogurt Sugar Cookies!
Nutrition
Recipe FAQs
Homemade yogurt typically stays fresh in the refrigerator for 1-2 weeks when stored in an airtight container. The flavor may become more tart over time as the cultures continue to slowly develop.
Several factors can affect thickness: using ultra-pasteurized milk, milk with lower fat content, culture that wasn’t active enough, or temperature issues during incubation. For thicker yogurt, try using whole milk, ensuring proper temperatures are maintained, or strain the finished yogurt through cheesecloth.
After your yogurt is made, simply line a fine-mesh strainer with cheesecloth, place it over a bowl, and pour in your finished yogurt. Allow it to drain in the refrigerator for 2-4 hours for a thicker Greek-style yogurt. The longer it strains, the thicker it becomes.
More Healthy Snack Recipes to Consider
Healthy Snacks
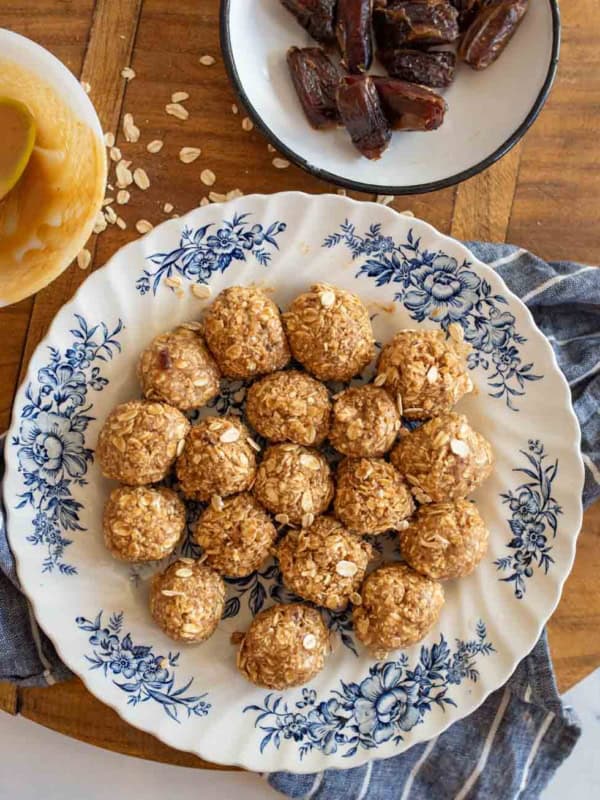
Medjool Date Protein Bites: No-Bake Sweet Treat
Healthy Snacks
Chocolate Peanut Butter Protein Balls
Healthy Snacks
Almond Butter Protein Balls
Healthy Snacks
No-Bake Coconut Protein Balls
Did you make this recipe? Leave a ⭐️ review and share it on Instagram, Facebook, or Pinterest!


Thank you for this simple and delicious recipe! This was my first attempt at making yogurt and it was perfect!
I’ve tried numerous recipes for making Greek yogurt and this is one of the easiest and best tasting recipe one I’ve come across. I followed the instructions based on time estimation-did not use a thermometer just a timer. I also liked that this recipe was for 1/2 gallon. Thank you!
Hi Melissa! I made my first batch of yogurt this week and it turned out amazing!! Shared some with friends and they loved it.
I saved 1/2 cup for making a batch later… but I’m wondering if there is a specified time frame I have to use it within? Is it the same as the 2 weeks for eating purposes? Thank you!!
It’ll start to mold just like anything else after 10-14 days or so. I just freeze what I save in ice cube trays and then pop them out and store them in a freezer container. The frozen culture works great and then I know I have some ready when I need it!
Just a note, deticated should be spelled dedicated.
Don’t be that person.
Will this recipe work is you use a flavored Greek yogurt as the starter? (I.e. Chobani vanilla) Thanks!
I was just out and used some vanilla yesterday! As long as it has live and active cultures it should be ok!
Would this recipe work making it with soy milk?
What happens if your yogurt as is it cooling after scalding gets colder than the 115-110 range? Would you suggest I bring the temperature back up? I guess my house is cold and it cooled down quickly or maybe I was supposed to leave the lid on the crockpot? Help hoping I haven’t ruined this first batch.
How much lower did it get? You do want it to be a little warm so that the cultures have some warmth to inoculate in but it should be fine!
I cut the recipe in half, using only 4 cups of whole milk whole milk. Got confused with cooking and cooling times on my first attempt and it came out very runny—like thick kefir with chunks. On my second attempt, I made adjustments based on previous mistakes and it came out perfect! I still only made a quart but my crockpot took 3 hours to heat the milk to 180F and 2 hours and 15 minutes to cool to 112F.
Some tips I can impart especially for first timers, aside from obviously paying attention to quantity vis-a-vis cooking/cooling times:
1) Do not uncover the crock pot multiple times especially during heating. It will affect the temperature. If you absolutely must, put a thick towel over the cover while you check the temperature to let as little heat as possible to escape. This will take some maneuvering magic on your part.
2) Get a quick read thermometer.
3) Know your crock pot. I thought less milk would cook faster, but it ended up needing an hour more.
4) Keep crockpot in a warm-pleasantly warm environment. For reference, the house never went below 71F when I left the yogurt overnight.
Ive just started making this… im dairy free though so im using a mix of coconut and almond milk and then some left over store bought coconut yoghurt… im a little worried it wont work out but i really hope it does! Coconut yoghurt is very expensive and im hoping to save some money!
How do you calculate the nutritional facts based off the yogurt you start off with plus the milk brand/percentage? I will be starting with store bought greek yogurt (Fage 2% plain greek yogurt) with 2% milk (don’t know brand yet) but want to know how you determined the macros of your homemade yogurt!
I feel like I have this recipe down (almost) to a science now. The purchase of a thermometer was the key. Today I am eating the tartest and most delicious non-fat Greek yogurt I’ve ever eaten in my life because I use non-fat dry milk as the base ingredient and I double the dry milk to water ratio. I don’t know if the culture you start with has an impact on flavor but this time I had just enough Chobani non-fat plain greek yogurt left over to start this one. I actually like mine more than their’s because it is so thick.
so I followed the instructions other than I didn’t let it sit for the total 3hrs after it hit 180. The milk’s temperature was 110 at about 2 hrs. I added the started, wrapped it in a blanket. The next morning the yogurt had not set. I think my house was too cold. I put it in the oven wrapped in the blanket, turned the light on, warmed up the oven to 170 then turned it off. I let the yogurt sit for about 8 hrs and voila I had beautiful yogurt with 2% milk.