Ham and Cheese Waffles | Savory Waffle Recipe
on Aug 06, 2019, Updated Apr 01, 2025
This post may contain affiliate links. Please read our disclosure policy.


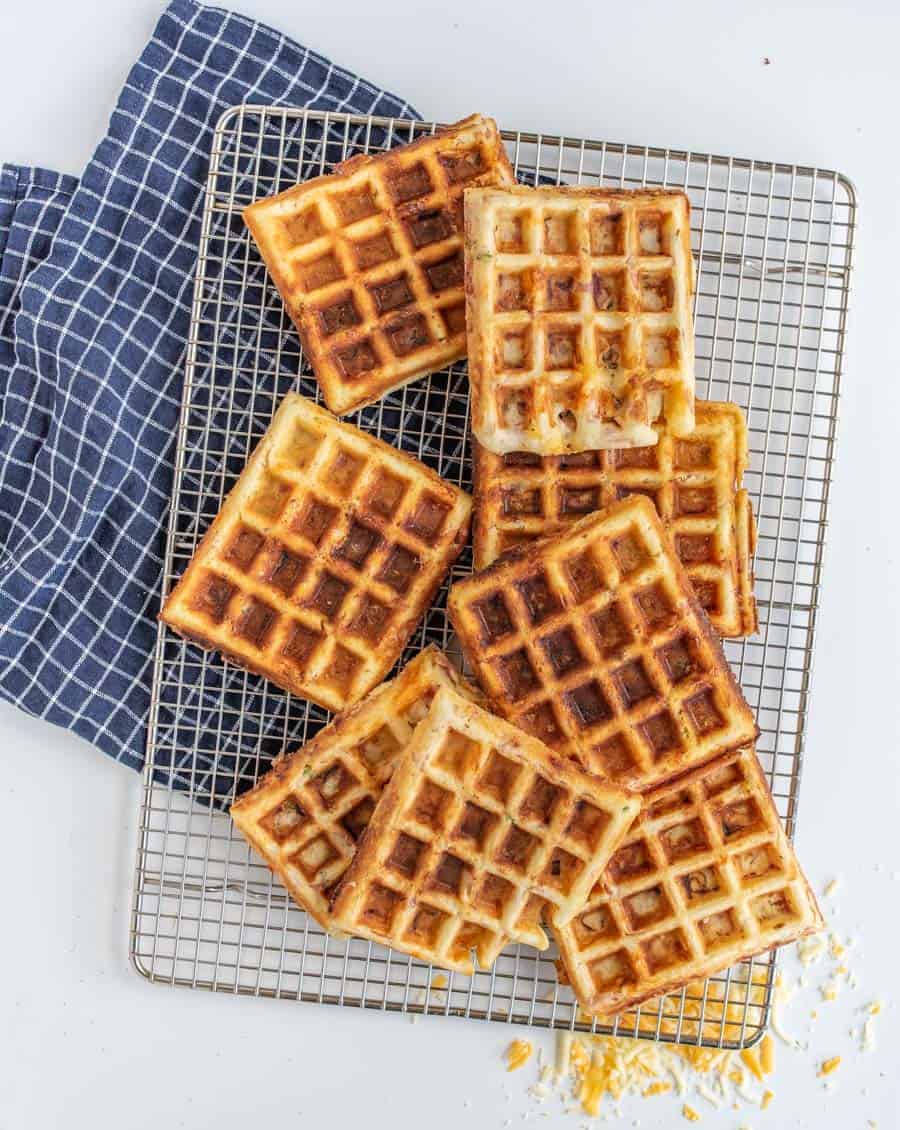
These ham and cheese waffles turn a breakfast classic into an irresistible savory treat. Golden and crispy on the outside with pockets of melted cheese and smoky ham throughout, they’re everything you could dream of in savory waffles, and then some.

There are a handful of classic culinary combinations you just can’t beat: peanut butter and jelly, macaroni and cheese, meatballs and spaghetti, and let’s not forget the motherlode… ham and cheese. It’s a tried-and-true combination of a sharp bite of cheese with the salty slice of rich ham, and I can never get enough. Enter: these insane crispy ham and cheese waffles!
The cheese forms a melty interior but cooks into a satisfactory crunch on the outside. Just be sure to cook them a little longer to really get a nice bite! I like to cook mine for 1.5 cycles, and then we treat them like a savory biscuit and serve them with eggs or on the side of a big bowl of tomato soup. You’ll be oh-so glad you made these!
If traditional waffles are more your style, check out this Classic Fluffy Buttermilk Waffle Recipe and these Extra Light and Fluffy Homemade Waffles for your next family breakfast.
Table of Contents
Why You’ll Love This Ham and Cheese Waffles Recipe
- Quick and Easy: They are such an easy addition to any meal and take way less time than other “bread” recipes. Such a quick way to add to a meal to round it out!
- Kid Friendly: Little ones can help mix the batter and will be excited to watch the waffle iron transform their creation into a golden masterpiece. It’s also a clever way to sneak in protein and keep little ones excited about their meal. Plus, they’re easy to eat with hands, making them a hit for picky eaters.
- Crispy Texture: The combination of the crispy exterior and the chewiness from the cheese is hard to beat. It’s so satisfying.
- Versatile Base: Once you master this recipe, you can experiment with different cheeses and meats, or add herbs and spices to create your own signature version.
🧇 Nothing beats comfort food, and that’s the perfect time to enjoy fried chicken & waffles — crispy, golden chicken and fluffy waffles topped with syrup make for the ultimate homemade treat!
Recipe Ingredients
- All-Purpose Flour
- Baking Powder
- Salt
- Sugar
- Garlic Powder
- Onion Powder
- Eggs
- Light oil — something with a neutral taste such as canola, vegetable, or avocado oil
- Milk
- Ham Lunch Meat — You can substitute a different style of ham if that is what you have on hand; the important thing is that it is in very small pieces so that it fits in the spaces in the waffle iron.
- Shredded Cheese — such as sharp cheddar or Swiss
- Green Onions — optional
See the recipe card below for full information on ingredients and quantities

Popular Substitutions and Variations
Meat Swaps: Replace ham with another cooked meat, such as crumbled bacon, diced turkey, or chicken sausage for a different savory twist. The bacon version is especially popular at weekend brunches and adds an irresistible smoky crunch to every bite.
Cheese Options: Switch up the cheese with sharp cheddar, smoked gouda, or pepper jack to create new flavor profiles. Sharp cheddar is particularly amazing in this recipe as it creates those coveted crispy cheese edges on the waffle.
Veggie Add-ins: Fold in diced bell peppers, green onions, or spinach for added nutrition and color. The green onions add a subtle bite that complements the ham and cheese perfectly.
How to Make Crispy Ham and Cheese Waffles
Step 1: Mix the dry waffle ingredients together in a medium bowl.
Step 2: Make a well in the dry ingredients, add the wet waffle ingredients, and stir well to combine. Fold in the ham, cheese, and green onions, if using.
Step 3: Cook the waffles in your waffle iron according to manufacturer’s instructions. I have found that cooking them through one full cycle in my waffle maker and then repeating it for half of the cycle again cooks my waffles up perfectly. Repeat until all batter is gone.
Step 4: Serve waffles hot.
Recipe FAQs
Have FUN with these guys and dress them up however you’d like! We like to put an egg on top, sort of like a savory biscuit or piece of toast. You could also treat them like a grilled ham and cheese sandwich and pair them up next to some tomato or chicken noodle soup. Or, just keep them plain! They’re so filling and flavorful that it’s totally up to you.
I love all types of waffles irons! This heart-shaped one is a steal (and adorable, too), while this classic Belgian waffle maker has impeccable reviews.
Waffle batter should be runnier than it is thick, but not so runny that it’s a water-like consistency (this will make a mess if you put it in a waffle maker). It should also be lumpy because lumps lend to a fluffier, more tender waffle — and because of all the additions in this recipe, it’ll be thicker and lumpier than a normal batter, which is just fine!
If your cheese is oozing out, you’re likely using too much or placing it too close to the edges. Stick to about ¼ cup per waffle and keep the cheese towards the center of the batter for perfect pockets of melty goodness.

Expert Tips
- Patience is Key: Make sure your waffle iron is really hot before adding the batter for each waffle. The crispiness and beautiful brown color is worth the extra time it might take.
- Prevent Sticking: Grease your waffle iron with a little oil or nonstick spray in between each waffle. It helps them with the crispiness but also keeps you from waffles pulling apart when you open the waffle iron.
- Shred Your Own: Pre-shredded cheese often contains anti-caking agents that can affect melting. For the best gooey, melty texture, shred your cheese from a block.
- Season to Taste: Since these are savory, you might need to tinker with adding a little salt and pepper or even add some herbs and spices.
- Let the Waffles Rest on a Rack: After cooking, place the waffles on a wire rack instead of a plate. This prevents steam from building up underneath, keeping them crispy instead of soggy.
How To Store And Reheat Leftovers
For busy mornings and meal prep, these waffles store beautifully. Let them cool completely, then place in an airtight container with parchment paper between layers to prevent sticking. They’ll keep in the fridge for up to 3 days or in the freezer for up to 2 months.
To reheat and maintain that irresistible crunch, pop them in the toaster on medium-low or in a 350°F oven for 5-7 minutes until heated through and crispy. If frozen, no need to thaw first – just add an extra minute to the heating time.

More Waffle Recipes to Consider


Did you make this recipe? Leave a ⭐️ review and share it on Instagram, Facebook, or Pinterest!

Ham and Cheese Waffles | Savory Waffle Recipe
Ingredients
- 1 3/4 cups flour
- 1 tablespoon baking powder
- 1/4 teaspoon salt
- 1 tablespoon granulated sugar
- 1/4 teaspoon garlic powder
- 1/4 teaspoon onion powder
- 2 large eggs
- 1/2 cup light oil, such as canola, vegetable, or avocado oil
- 1 3/4 cups milk
- 1 cup finely chopped ham lunch meat
- 1 cup shredded cheese, such as sharp cheddar or swiss
- 2 green onions, finely chopped, optional
Instructions
- In a medium mixing bowl, combine the flour, baking powder, salt, sugar, garlic powder, and onion powder, and stir to combine.
- Make a well in the center of the dry ingredients, and add the eggs, oil, and milk.
- Whisk all ingredients together until a thin and slightly lumpy batter forms.
- Fold in the ham, cheese, and green onion if using.
- Pour the batter into your waffle iron according to manufacturers directions.
- When the waffle is done cooking, carefully place it on a wire rack to cool, taking care not to stack the waffles on top of each other. Repeat with remaining batter.
- Serve waffles hot.
Notes
- I like to cook these longer than other waffles so that they crisp up and the cheese doesn’t stick. I normally do a cycle and a half, or turn my waffle iron up to a “darker” setting.
- We love to eat these like a savory biscuit with a fried egg on top, and they are also great like a sandwich next to a bowl of tomato soup.
- For extra crispiness, add 1-2 tablespoons of cornstarch to the dry ingredients. This helps create a golden, crunchy crust that holds up well to the ham and cheese.
- Make sure the ham is cut into tiny pieces so that it fits in all the waffle iron’s nooks and crannies.


These were interesting! I shouldn’t have diced my leftover ham up so small (1/8″ squares). I loved dunking it into my tomato soup. Next time, I will leave the ham bigger, add more cheese because you can never have too much and some black pepper…with an egg on top! Now my brain is thinking….hmmm….tomato, parmesan and Italian seasonings to serve with spaghetti over spaghetti squash….Thanks!!!!!
And can we just take a minute to oogle over that waffle iron…