Cornbread Muffins
on Jan 14, 2012, Updated Apr 02, 2025
This post may contain affiliate links. Please read our disclosure policy.
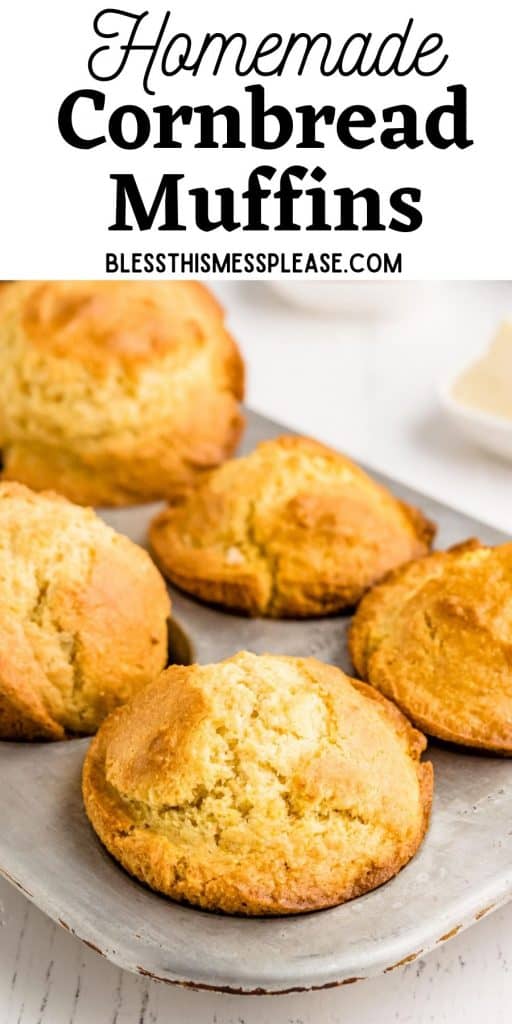
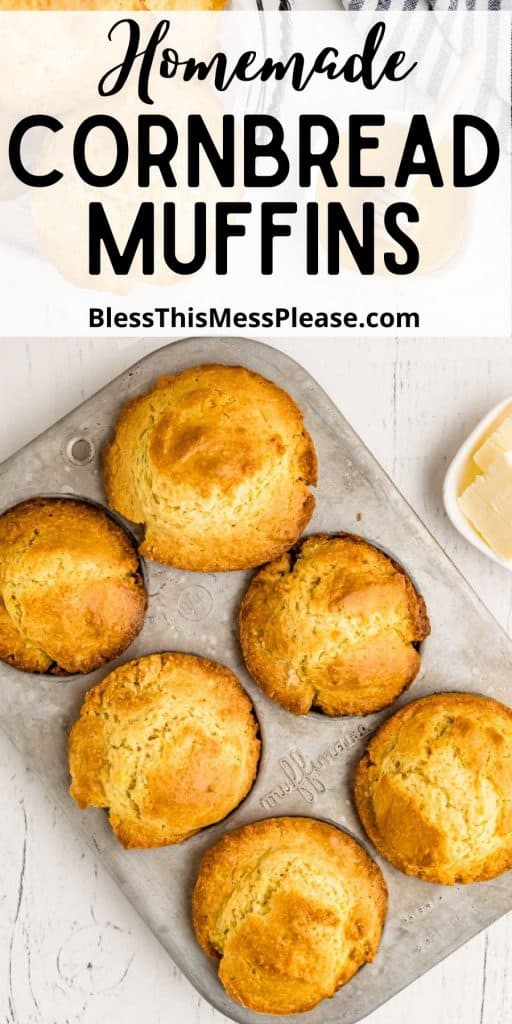
These Homemade Cornbread Muffins are rich, buttery and perfectly delicious! They’re wonderful for breakfast, lunch and dinner. We especially love eating them as a side dish with a big bowl of chili.
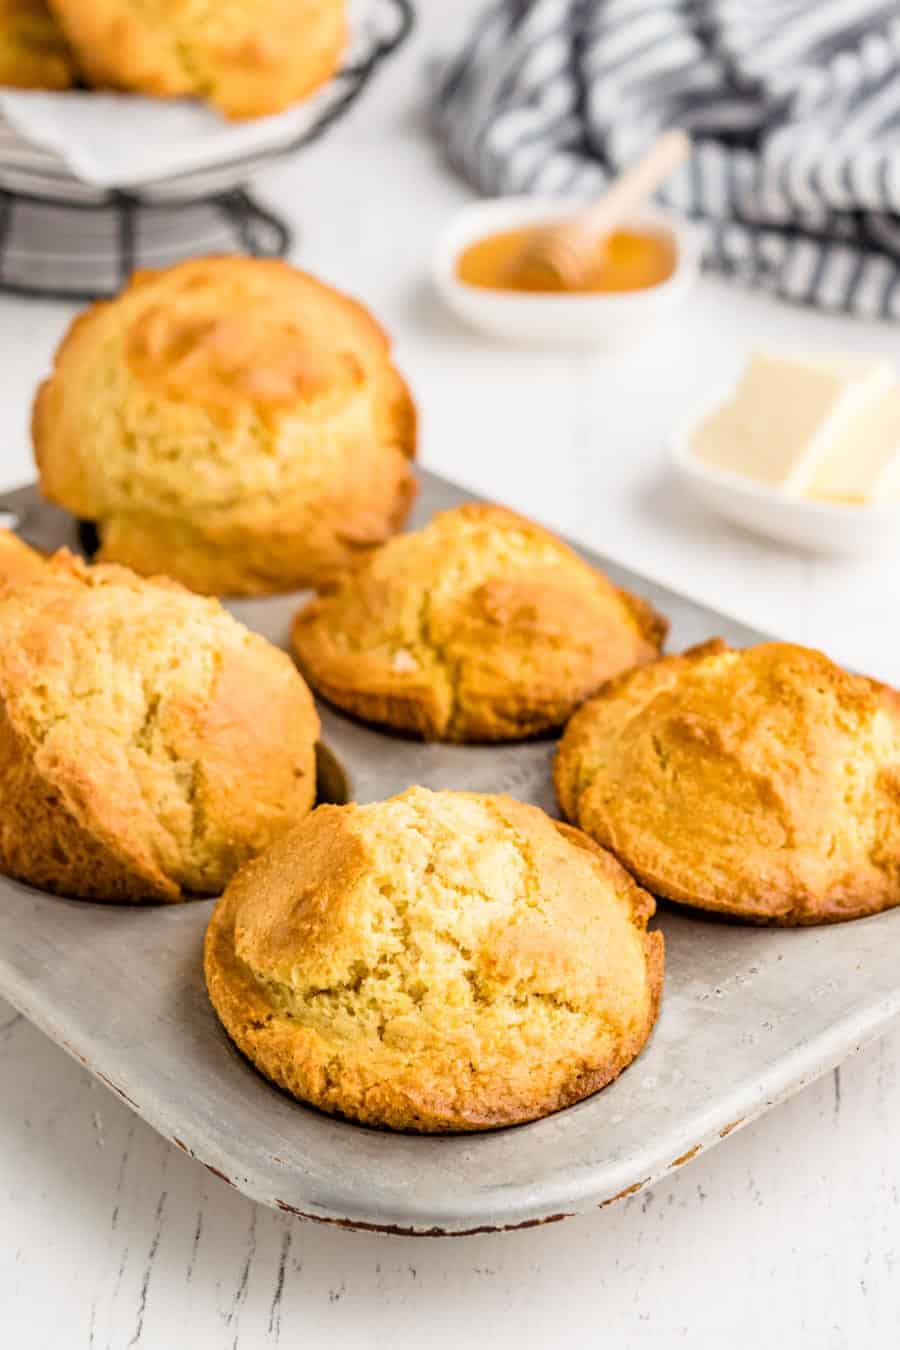
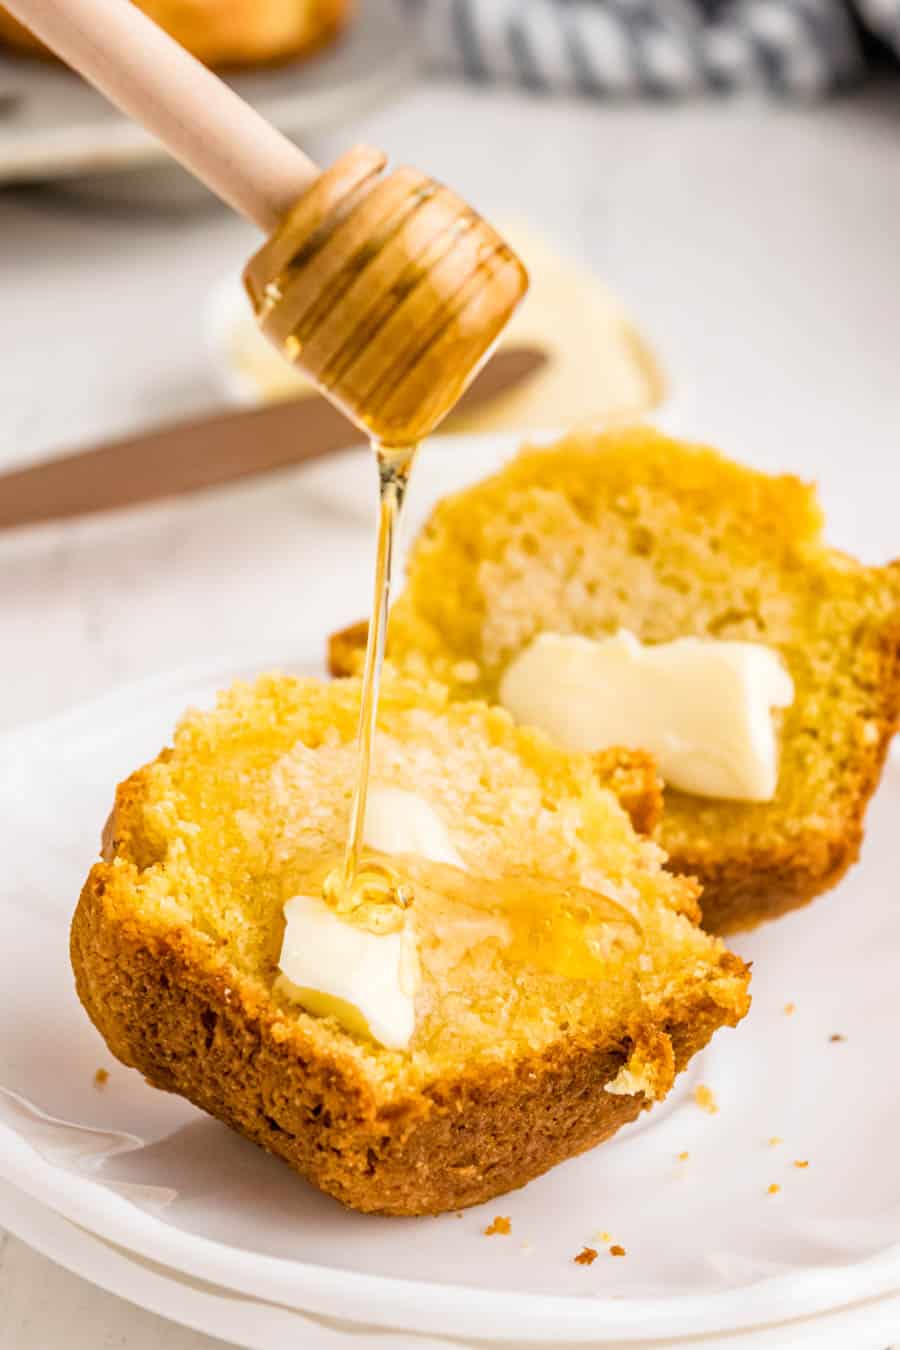
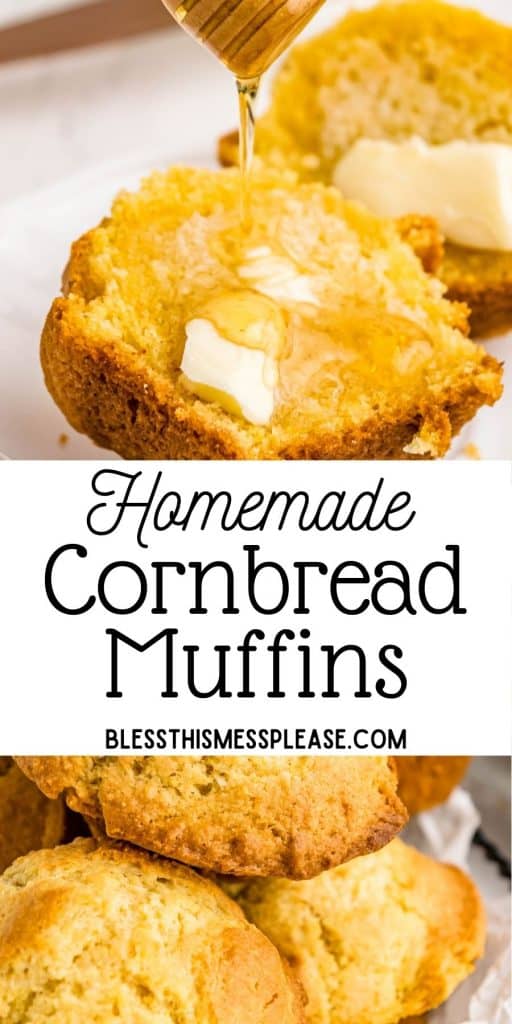
These are great soakers of the last few drops of a bowl of chili, ideal bites on the side of a big barbecue meal, and the savory heroes placed upon many a brunch plate. While you might think cornbread is best with only certain types of dishes, I promise these go swimmingly alongside a versatile range of meals. Truly! And they are ultra heavenly with a generous swipe of honey butter. Give it a try!
Looking for a traditional cornbread recipe? Hundreds of readers love this easy homemade cornbread recipe! I bet you will too!
Table of Contents
17 Best Cornbread Recipes Ever!
Why You’ll Love This Recipe
- Individual muffins are perfect for an on-the-go snack
- Takes less than 30 minutes start to finish
- Lighter and sweeter than traditional cornbread
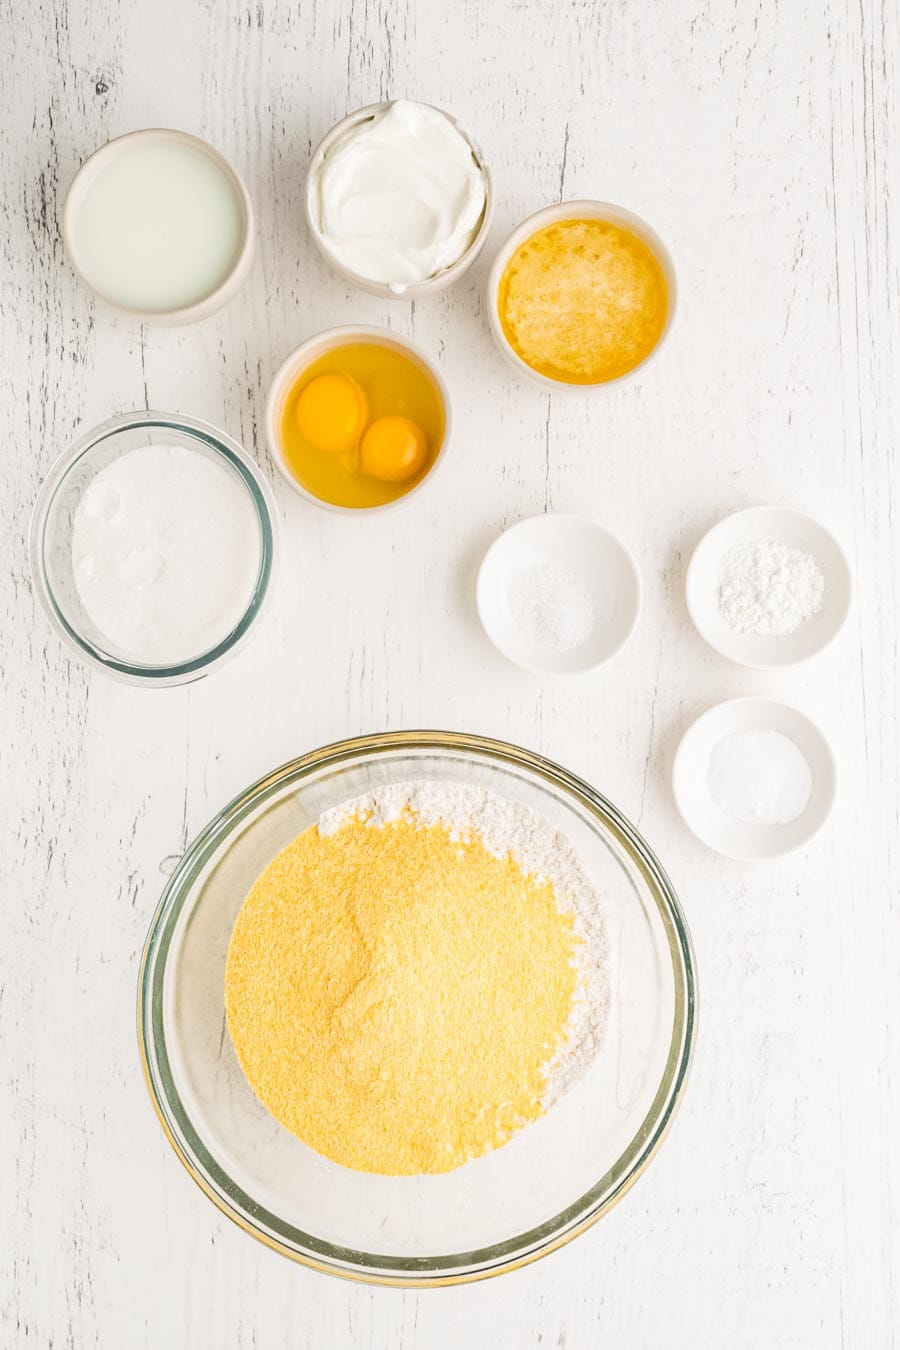
Recipe Ingredients
- Flour: All-purpose
- Yellow cornmeal
- Sour cream – Gives them a tender, fluffy, thick, and creamy consistency that is to die for!
- Baking soda, baking powder and salt – Allows the muffins to rise and puff up, and balances the flavors.
- Eggs
- Sugar – Gives a touch of sweetness so they don’t taste bland.
- Butter – Makes them rich and moist.
- Milk – Or your favorite dairy-free alternative.
See the recipe card below for full information on ingredients and quantities
How to Make Cornbread Muffins
Step 1. Whisk the cornmeal, flour, baking soda, baking powder, and salt together in a large bowl.
Step 2. Whisk the eggs and sugar together. Whisk in the melted butter, sour cream, and milk until smooth.
Step 3. Gently fold the wet ingredients mixture into the dry ingredients. Do not over-mix.
Step 4. Spoon the batter using a large ice cream scoop or a measuring cup to divide the dough evenly among the muffin cups.
Recipe FAQs
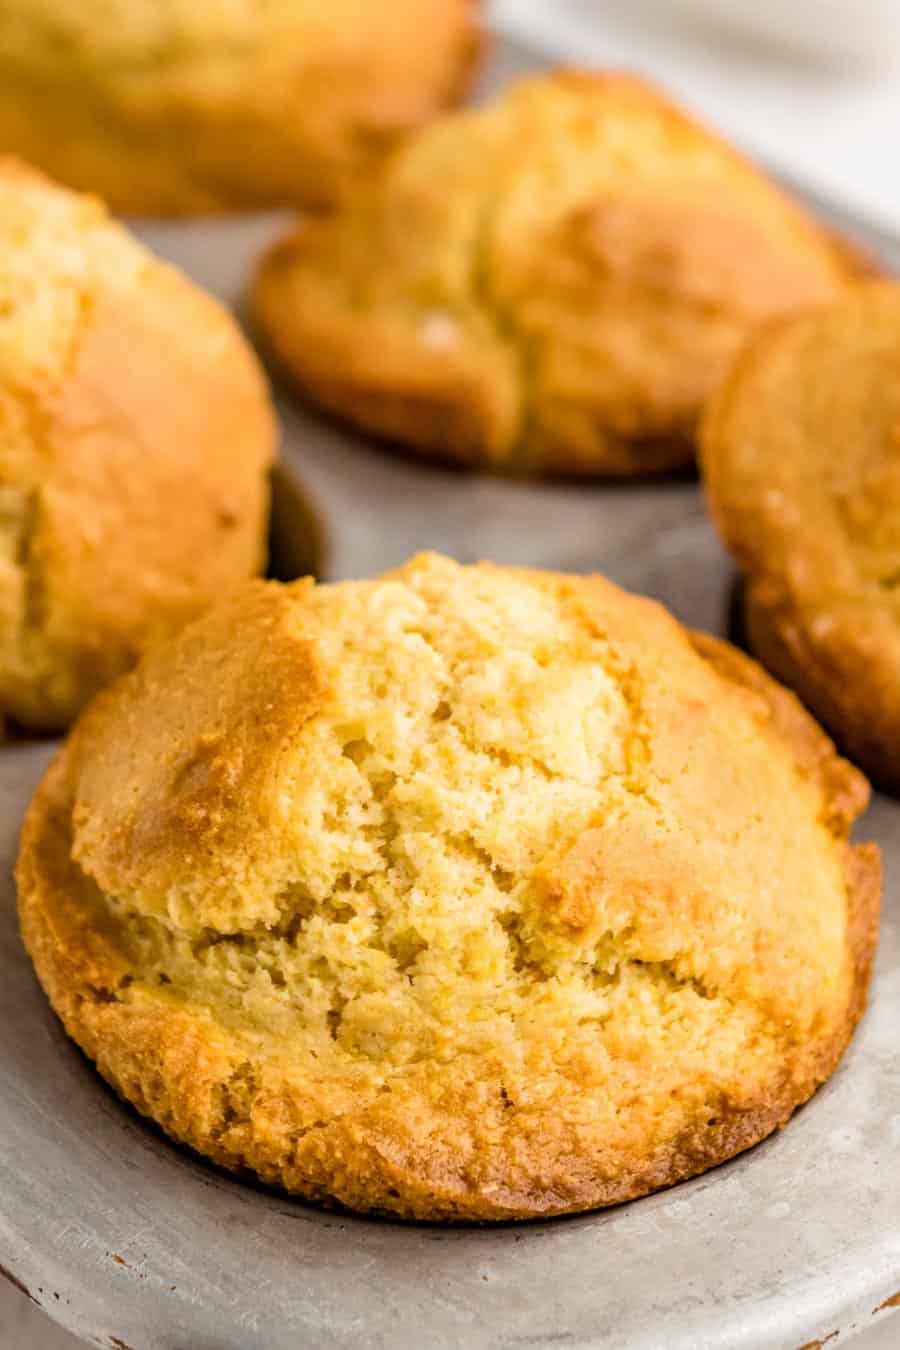
You’ll definitely want to spray your muffin tin with nonstick cooking spray really generously for this recipe. If you don’t, or even if you use liners, you’ll risk them sticking to the pan or liners because this is a bit denser, grainier muffin than others.
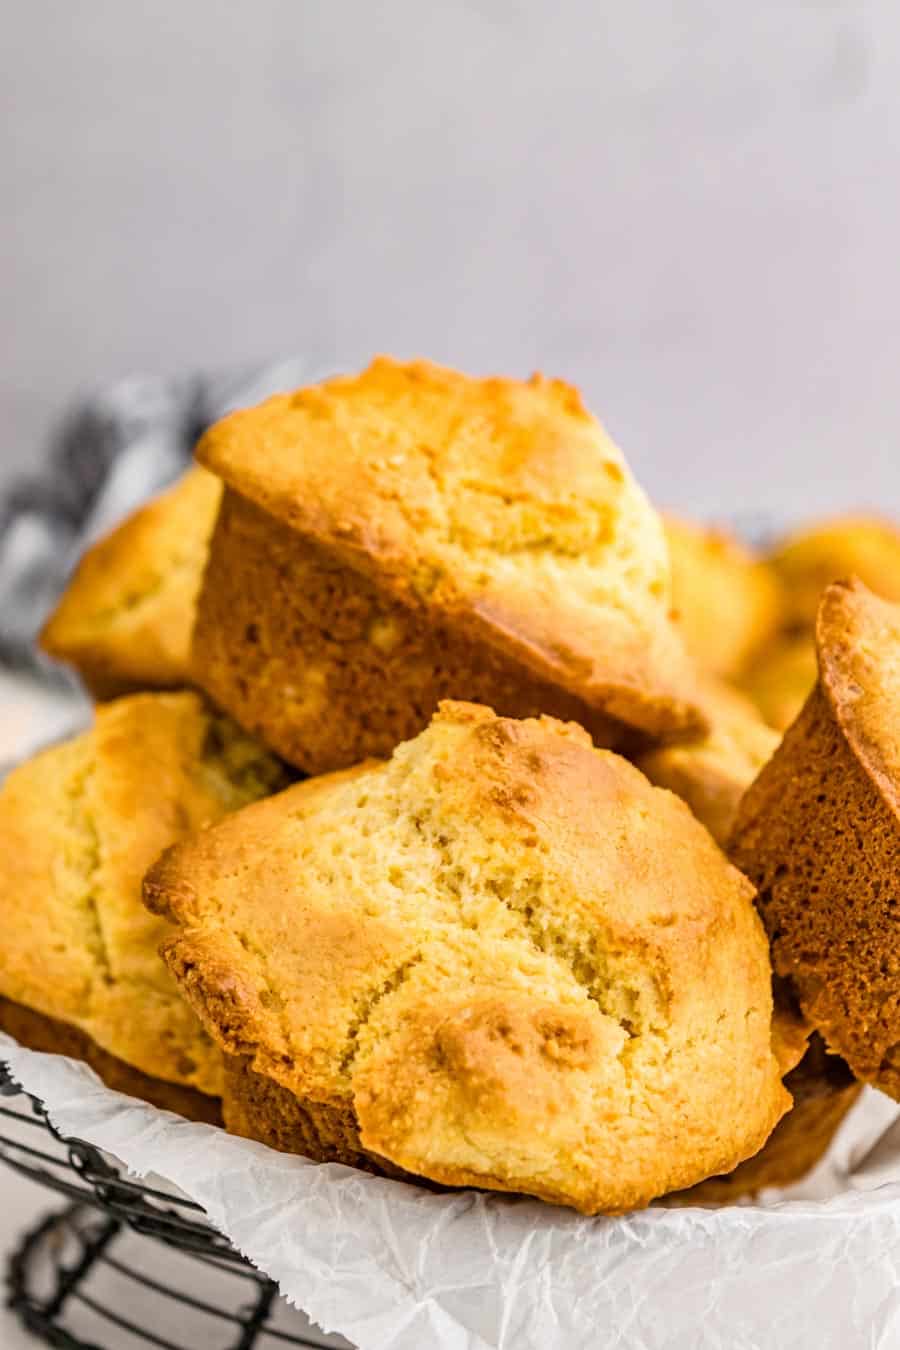
When serving cornbread muffins warm, you can place them in a shallow basket or bowl lined with a cloth napkin or tea towel. Cover the top of the basket with the napkin until it’s time to eat so the heat stays locked in for longer.
There’s actually a slight difference! Corn muffins are typically a little bit lighter and sweeter than traditional cornbread (which was a Southern soul food originally). Sometimes, corn muffins might also have real bits of corn in them, depending on the recipe. Looking for a more classic cornbread? This cornbread recipe is my all time favorite.
You can certainly freeze these muffins! For storage before that, wrap them in plastic wrap or aluminum foil and leave them at room temperature for up to 2 days, or in the fridge for up to a week. Place the remaining wrapped muffins in a sealable bag to freeze, and store them in the freezer for up to two months.
Expert Tips
- To prevent sticking generously spray your muffin tin with nonstick cooking spray. Liners may not work well with this denser batter.
- Avoid over-mixing by gently fold the wet ingredients into the dry until just combined to keep the muffins tender and fluffy.
- Use a large ice cream scoop or measuring cup to evenly divide the batter among the muffin cups for uniform muffins.
- Keep your muffins warm by place baked muffins in a basket lined with a cloth napkin and cover with another napkin to maintain warmth.
How to serve and store Cornbread Muffins
Cornbread muffins pair perfectly with a wide array of dishes. They go great dipped in chili or roasted butternut squash soup, or accompanying BBQ pulled pork, or beef short ribs. These muffins are best served wrapped in a bowl lined and covered with a cloth napkin to keep them moist and warm.
Wrap your cornbread muffins in plastic wrap or aluminum foil and leave them at room temperature for up to 2 days, or in the fridge for up to a week. Place the remaining wrapped muffins in a sealable bag to freeze, and store them in the freezer for up to two months.
Did you make this recipe? Leave a ⭐️ review and share it on Instagram, Facebook, or Pinterest!
Corn Muffins
Ingredients
- 2 cups flour
- 1 cup yellow cornmeal
- 1 1/2 tsp. baking powder
- 1 tsp. baking soda
- 1/2 tsp. salt
- 2 large eggs
- 3/4 cup sugar
- 1/2 cup butter, melted and cooled
- 3/4 cup sour cream
- 1/2 cup milk
Instructions
- Preheat the oven to 400 degrees. Generously coat a 12-cup muffin tin with cooking spray.
- Whisk the cornmeal, flour, baking soda, baking powder, and salt together in a large bowl.
- Whisk the eggs and sugar together in a medium bowl until combined. Whisk in the melted butter, sour cream, and milk until smooth.
- Gently fold the egg mixture into the flour mixture with a rubber spatula, until just combined. Do not over-mix.
- Use a large ice cream scoop or a measuring cup to divide the dough evenly among the muffin cups.
- Do not level or flatten the surface of the mounds.
- Bake until light golden-brown and a toothpick inserted in the middle comes out with just a few crumbs attached, about 18 minutes.
- Let the muffins cool in the pan for 5 minutes, and then flip out onto a wire wrack to let cool for 10 minutes before serving.
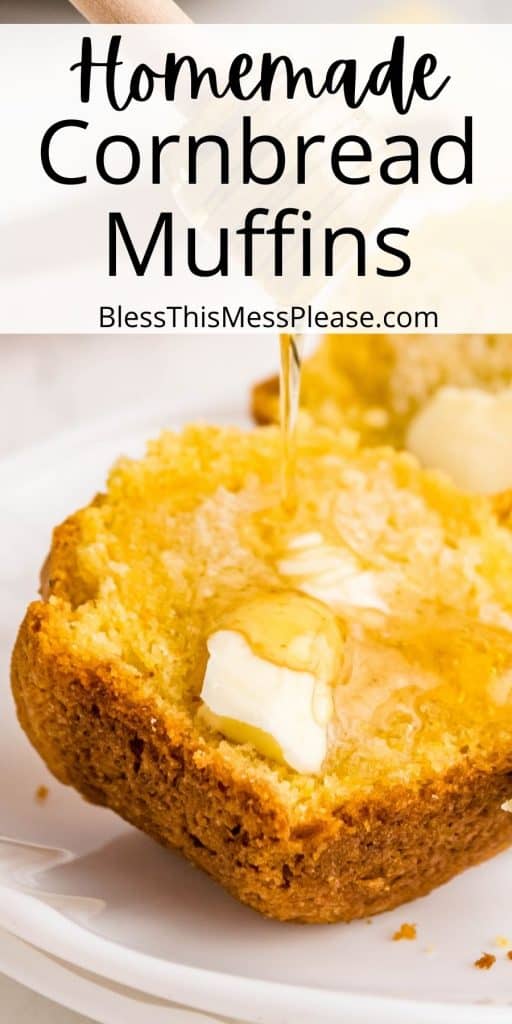
- Serve with butter, honey, or honey butter!



I did follow this recipe but I did some tweaking, less sugar, added minced jalapeños, and used buttermilk instead of regular milk.
I gotta say they were delicious, will definitely make more,
18 minutes was a little to long but 15 minutes did the trick.
Thanks for your recipe
Just made them, turned out good only thing is the first batch was at 18 min I think was overdone. The 2nd batch was 15 min much better. Thinking maybe 12 for my next batch
I would recommend this recipe.
DiAnne
Tried this recipe last night because I didn’t have a box mix in the house. I will never use packaged corn bread mix again! Thank you for a recipe that is both easy and tasty!