Chocolate Peanut Butter Cake
on Nov 12, 2022, Updated Jun 28, 2024
This post may contain affiliate links. Please read our disclosure policy.
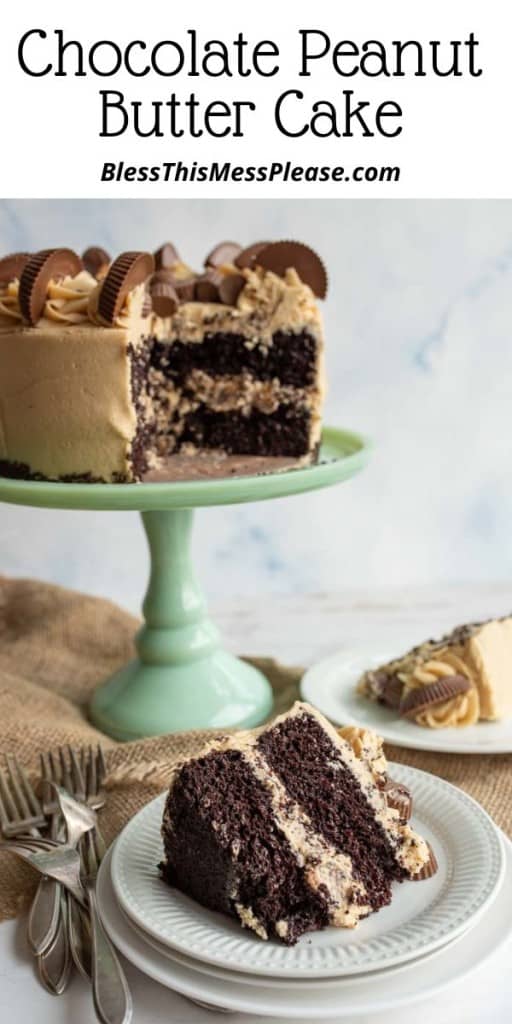
Chocolate Peanut Butter Cake that is moist, beautiful and easy to decorate. This is such a fun cake to make for your next celebration.
I will defend this to my dying day that there is no better combination than chocolate and peanut butter. This recipe is made with an easy homemade chocolate cake and frosted with a peanut butter cream frosting. What’s not to love?! The finishing touch of Reeses cups on top of the cake just make this cute so fun and yummy.
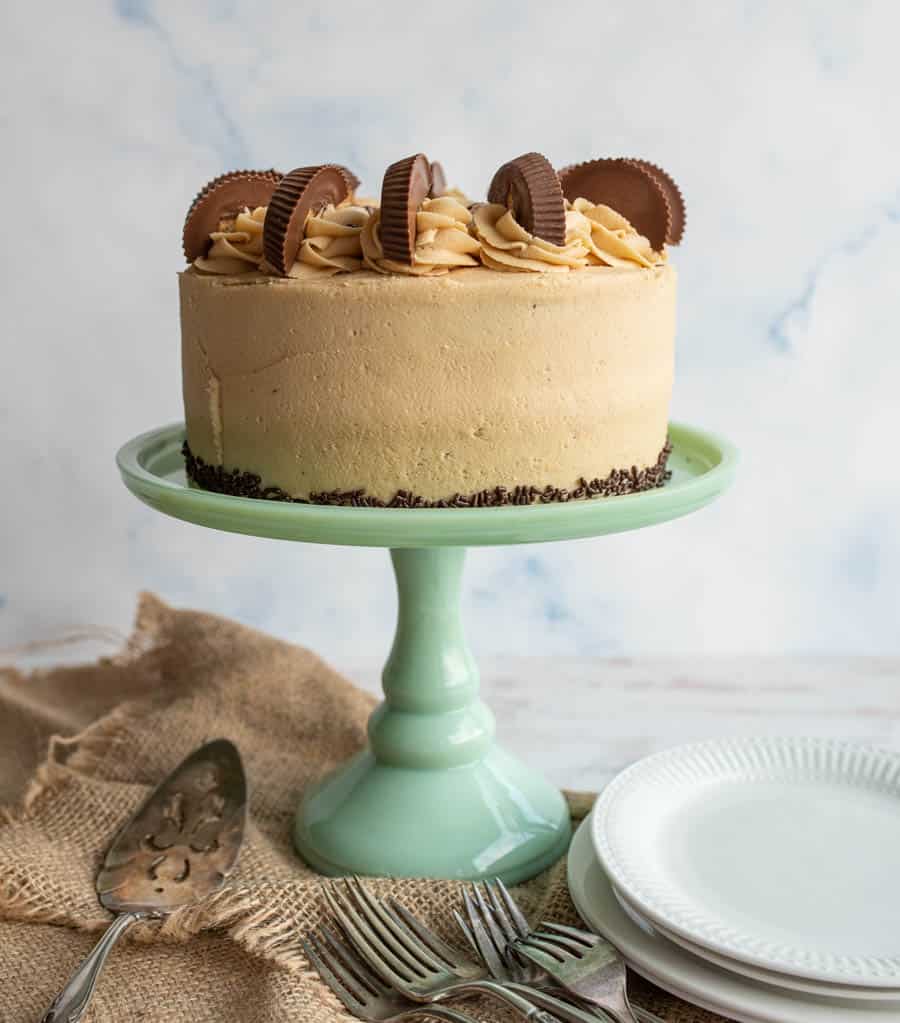
Chocolate Peanut Butter Cake
This chocolate peanut butter cake is really a great dessert idea for so many occasions. It would be fun to serve for a birthday, holiday, retirement party, shower or just on a plain ol’ Tuesday. It’s that good.
A lot of people shy away from making their own cakes at home. It can look intimidating and trust me-some cakes are but this one is super easy and turns out an awesome cake. If you have never made a homemade cake it is worth it! They last moist, fresh and are way more budget friendly than buying a fancy cake at a bakery.
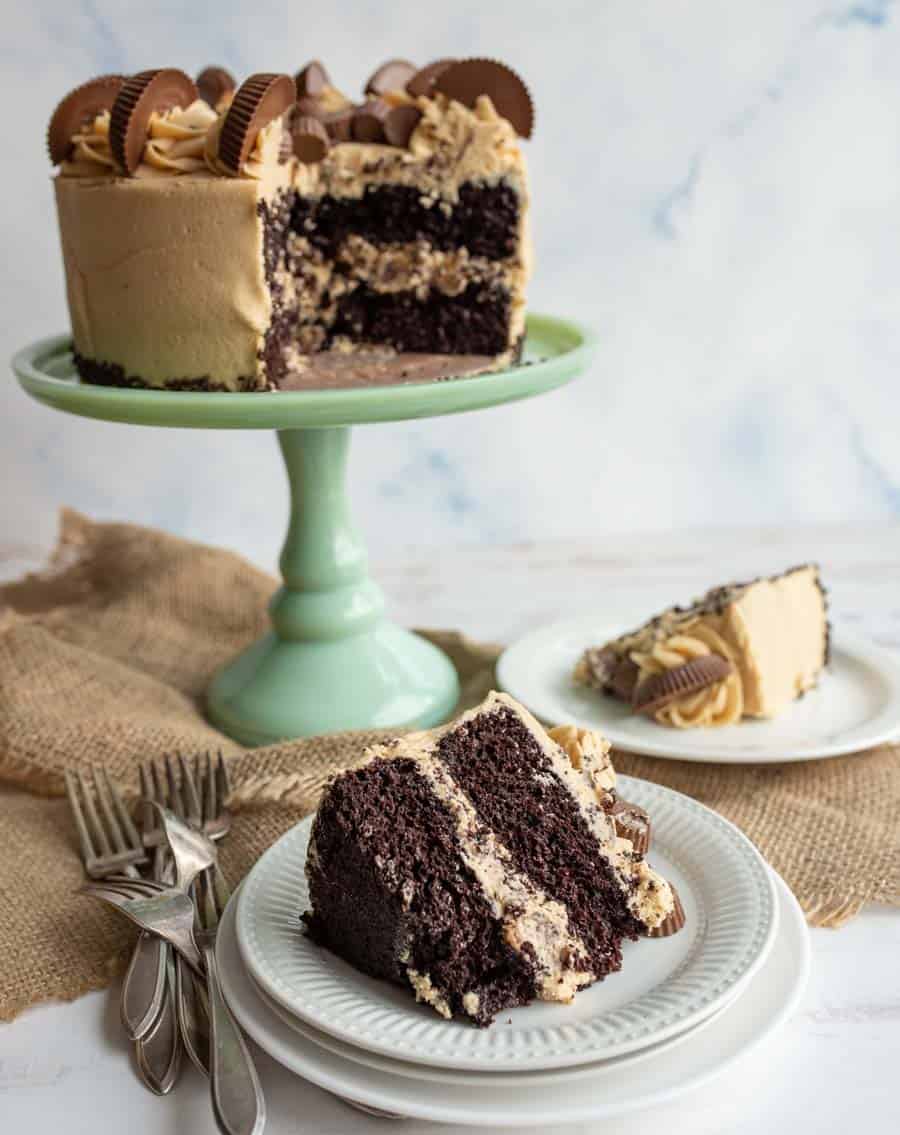
Ingredients
- Flour: this is what makes the cake come together, we are just using normal all-purpose flour here, no need to get cake flour
- Cocoa: this adds that chocolate flavor to the cake and it actually acts as part of the dry ingredients like flour and helps to thicken it
- Sugar: just normal granulated sugar here for the purpose of making the cake sweet
- Buttermilk: this is a great ingredient in cake making, it helps add a little acid to the cake which helps the baking soda and baking powder react well, making a light and fluffy cake. Here’s an article on how to make your own buttermilk and buttermilk substitutes if you don’t have any on hand.
- Oil: part of the liquid of the cake and the fat helps the cake to not be too crumbly, instead having a soft and tender texture
- Eggs: more fat and liquid for improve texture, consistency, and rise
Recipe Instruction
- This cake couldn’t be easier! You mix up your dry and wet ingredients in separate large bowls and then you mix them together.
- Add to your cake pans and bake.
- The icing is so easy too, just whip it all together until smooth.
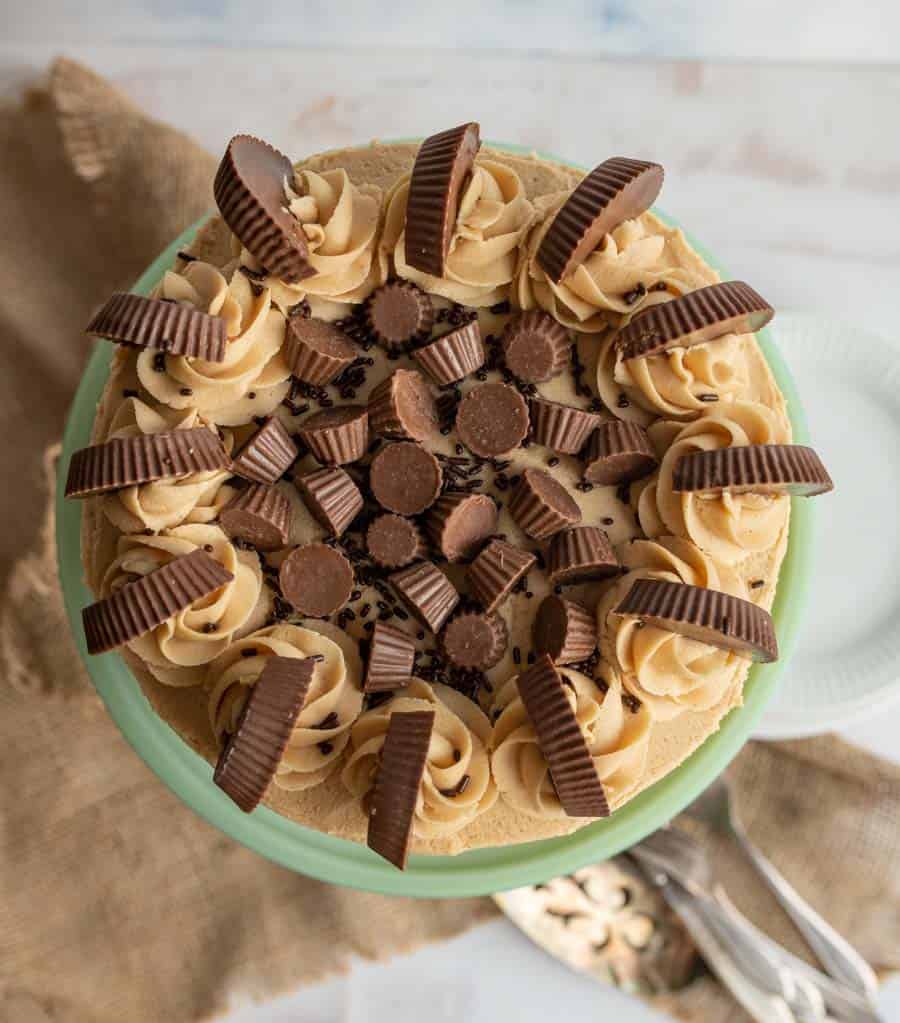
- You can decorate this cake as fancy or as simple as you’d like to, mini Reese’s cups and normal Reese’s cups sure make the top look extra fancy without much added effort. This is going to be a go-to cake recipe at your house in no time.
Frequently Asked Questions
You must spraying you cake pan before putting the batter in them AND add a parchment paper round to the bottom of the pan. This ensure that the cake will fully release from the pan. You don’t want the bottom of the cake to be a sticky mess.
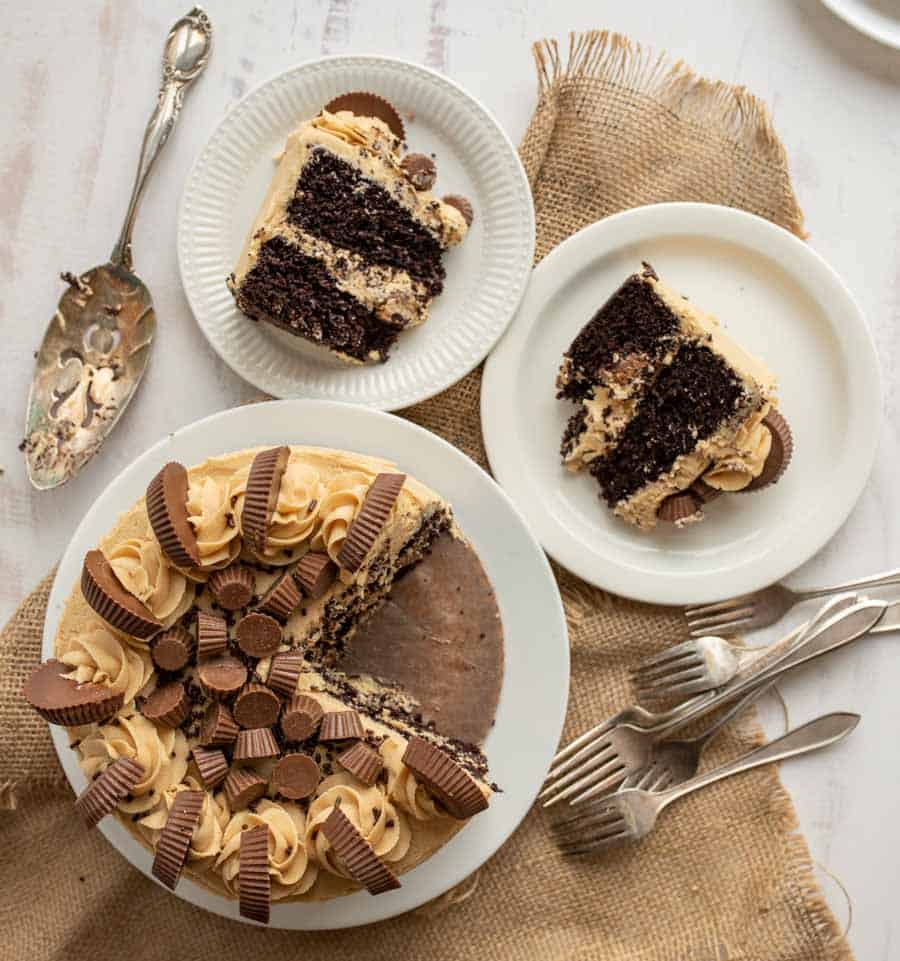
While this cake will stay good at room temperature for a day or so, I prefer keeping the finished cake in the refrigerator for optimum freshness.
I would go with a peanut butter that is no-stir. Something like Skippy or Jif. Steer clear from natural peanut butter because it will alter the consistency of the frosting.
More Recipes
- Pumpkin Sheet Cake with Caramel Frosting
- Chocolate Molten Lava Cakes
- Rich Peanut Butter Brownies
- Chocolate Candy Cake
If you’ve tried this Chocolate Peanut Butter Cake recipe or any other recipe on Bless this Mess, then don’t forget to rate the recipe and leave me a comment below! I would love to hear about your experience making it. And if you snapped some pictures of it, share it with me on Instagram so I can repost on my stories.
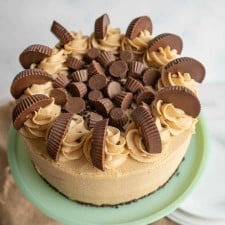
Chocolate Peanut Butter Cake
Ingredients
For the Chocolate Cake:
- 1 ½ cup flour
- ¾ cup cocoa
- 1 ½ cup sugar
- 1 ¼ teaspoon baking soda
- ¾ teaspoon baking powder
- ¾ teaspoon salt
- ¾ cup buttermilk
- ½ cup water
- ¼ cup oil
- 2 eggs
- 1 teaspoon vanilla
For the Peanut Butter Frosting:
- 1 cup unsalted butter, at room temperature
- 1 cup creamy peanut butter, (not natural peanut butter)
- 3 cups powdered sugar
- 1 teaspoon vanilla
- ½ teaspoon salt
- 2 tablespoons milk
- Optional mini and regular Reese’s cups for decorating
Instructions
- Line the bottom of 2, 9-inch round baking pans with parchment paper and spray with baking spray (I like to trace the size of the pan on the paper first and then cut it out.)
- Preheat the oven to 325 degrees F.
- In a large mixing bowl, whisk together flour, cocoa, sugar, baking soda, baking powder and salt.
- In a separate bowl whisk together buttermilk, water, oil, eggs and vanilla.
- Add wet mixture to the dry mixture and stir together until a smooth batter forms.
- Divide the batter evenly between the 2 prepared pans.
- Bake 25 minutes until toothpick inserted into the center comes out clean (I also like to check the cake by gently pressing on the top. If the indent left by my finger pops back up, they are don. If the indent remains, the cakes need a few more minutes to bake.)
- Let cool for 5 minutes then remove from pans onto a cooling rack. Let the cakes cook completely before frosting them.
- To make the frosting, in large mixing bowl cream together butter and peanut butter until like and fluffy (I find it best to use a stand mixer or an electric hand mixer for this job).
- Add powdered sugar and mix until smooth.
- Add the vanilla, salt, and milk and beat to combine. Mix an additional 1-2 minutes until the mixture is very smooth. You can add a teaspoon of milk at a time if the frosting feels to thick.
- Place one layer of the cooled cake on your serving dish and place about 3/4 of a cup of frosting on top of it and spread it around. Add another layer of cake and the frost the top and sides of the cake.
- If you’d to make the big swirls of frosting on the top of the cake you are going to need to make a batch and a half of the icing, you won’t have quiet enough with just one batch. Sometimes I like to mix in those tiny mini Reese’s cups (the ones that aren’t wrapped and come in a bag, about the size of a big chocolate chip) into the icing that I put in the center of the cake. You can decorate the top as shown with mini and regular Reese’s cups if you’d like too for a little more peanut butter chocolate fun.
Notes
- It is important to use unsalted butter. This is one of the few places where this matters and it will takes too salty if you don’t.
- Use normal sticky peanut butter and not the runny natural kind that you have to stir. The more traditional commercial peanut butter works best for this recipe.
Nutrition
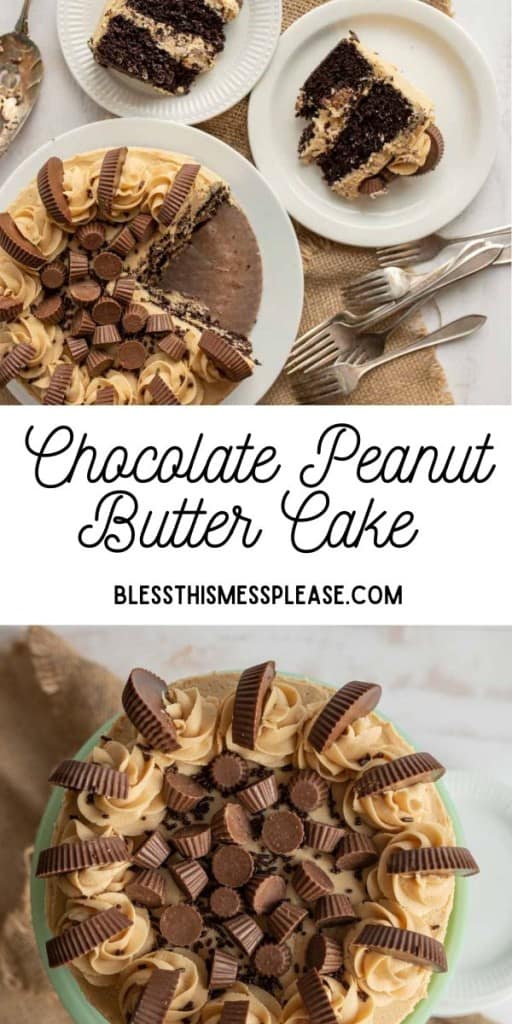
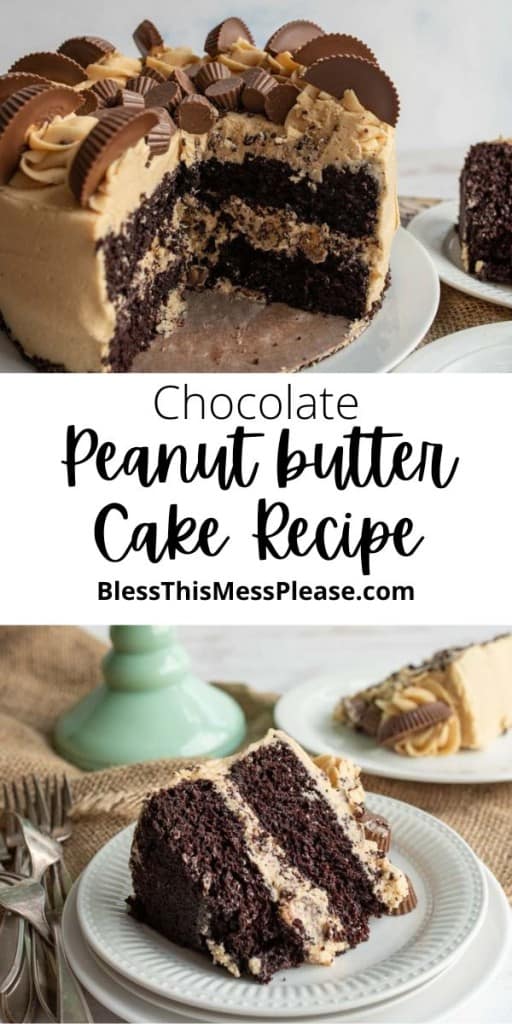
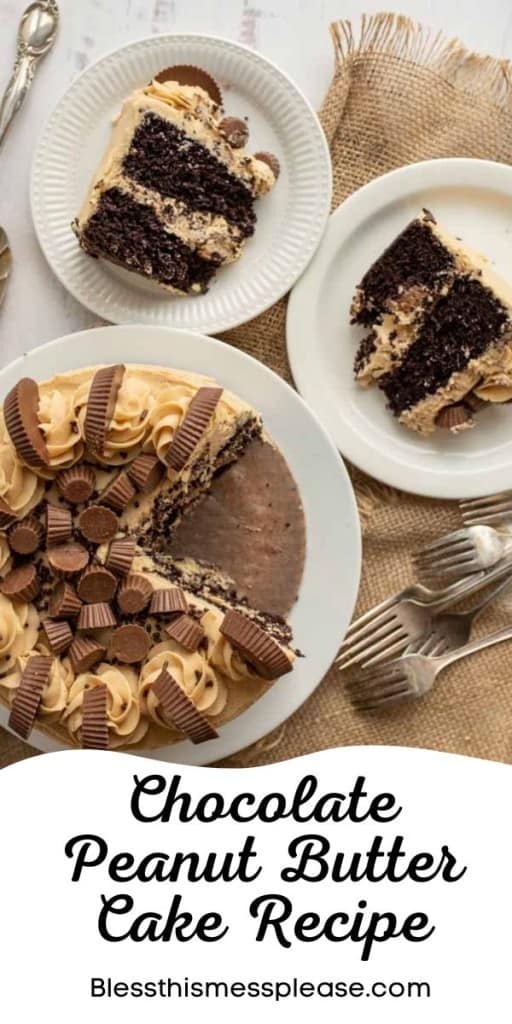
Peanut Butter Chocolate Cake is rich, moist and oh so tasty. It not only tastes fabulous but looks so fun and decorative too.



Has any one tried this with crushed peanut butter cookies on top? Either this flavor icing or another of Melissa’s?
Ok that sounds amazing Heather, I think you should go for it!
So good! I’ll make this again and again.
I made this cake and it was delicious !! The icing was perfect and the cake was a hit.
The grandkids loved it as well
Thank-you
Came out great! We have a peanut butter allergy in our home, so I used cashew butter. The recipe mentioned the frosting works best if you use the standard creamy kind of peanut butter and not the kind that needs stirring. However, cashew butter falls under the “needs stirring” catagory. It still came out delicious! It did make the frosting a little tricky to work with and not as smooth looking, but thats okay. I topped it with Justin’s brand cashew butter cups.
I am looking forward to seeing how my Oreos turn out