Chocolate Molten Lava Cakes
on Feb 12, 2017, Updated Sep 04, 2024
This post may contain affiliate links. Please read our disclosure policy.
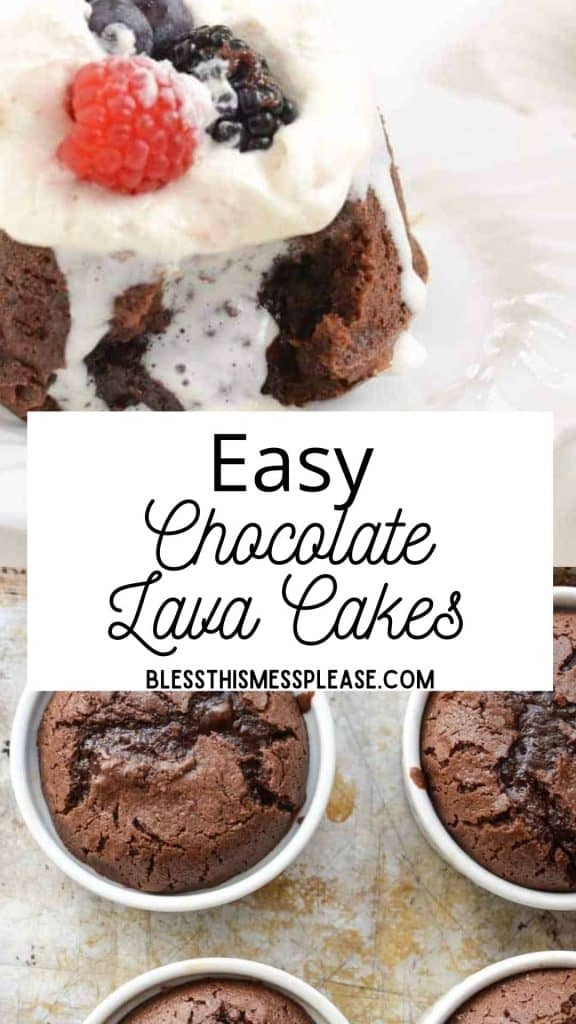
Chocolate Lava Cakes are one of my very favorite dessert recipes – and they only take a total of 20 minutes from start to eating!
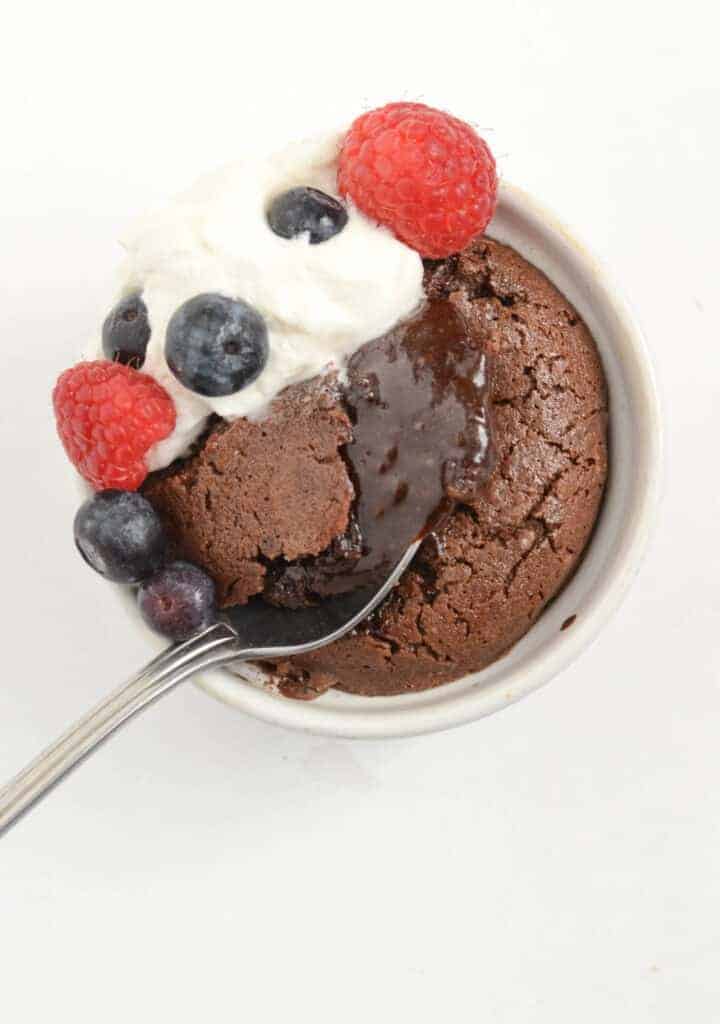
There are few desserts that I love more than those that combine chocolate plus carbs. I love chocolate cake, chocolate chip cookies, and all things chocolate + butter + sugar + salt. It’s a glorious combination that I adore. This Chocolate Molten Lava Cake recipe is one of my very very favorite dessert recipes, and I can’t believe I haven’t shared it with you before.
I have made this recipe lots and lots of times when we have had overnight guests over. It only makes four little lava cakes and having a hot little cake with some ice cream on top is just the kind of things that turns staying up talking into a treat. This would also be perfect for you to have on hand for Valentine’s day as well!
Table of Contents
Why You’ll Love This Recipe
- This is my go-to company is coming treat because I always have what I need on hand.
- They only take me a total of 20 minutes from start to eating.
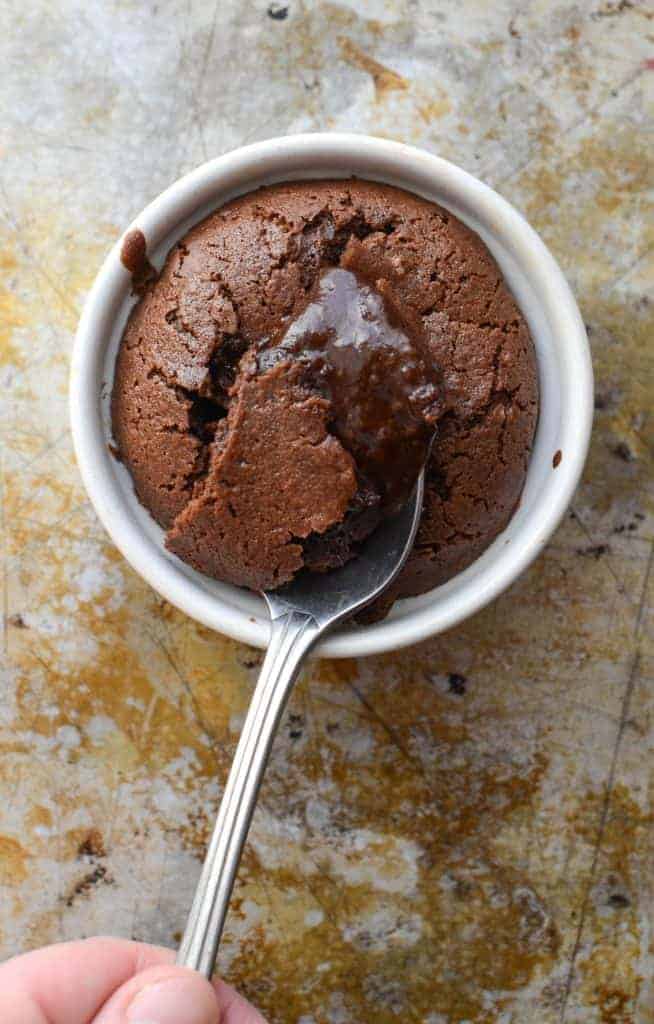
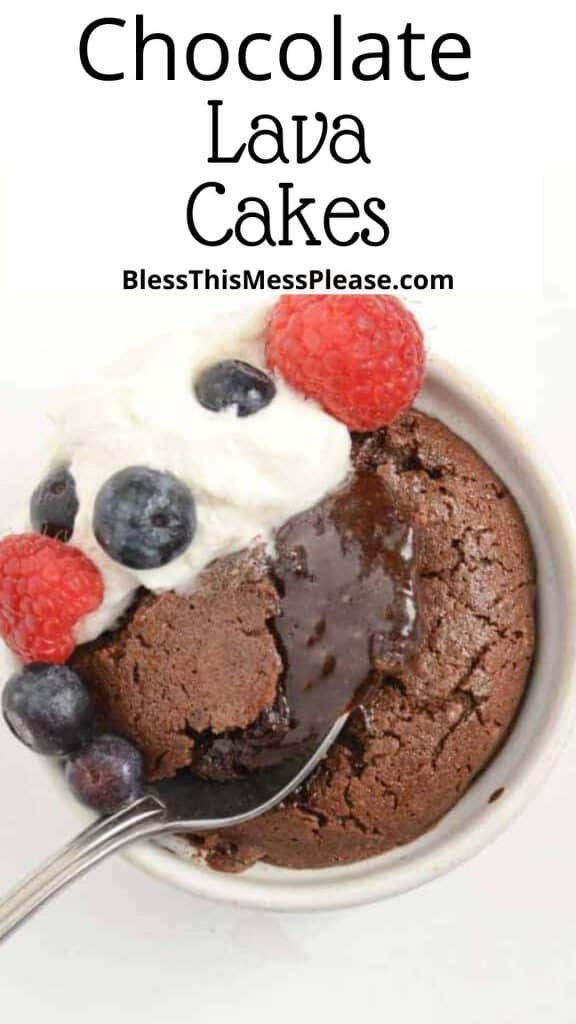
- The molten center gives you a luscious, gooey chocolate experience.
- You can use semi-sweet, dark, or milk chocolate based on your preference.
Recipe Ingredients
- Butter – Salted
- Semi-sweet baking chocolate – Squares or a very full 1/2 cup of chocolate chips
- Powdered sugar
- Eggs – You will need whole eggs and a few more yolks
- Flour- All-purpose or gluten-free baking blend
See the recipe card below for full information on ingredients and quantities
How to Make Chocolate Molten Lava Cakes
Step #1. Preheat oven to 425°F and grease four ramekins with butter.
Step #2. Microwave chocolate and butter until melted, then stir in powdered sugar.
Step #3. Add eggs, egg yolks, and flour to form a thick batter. Pour into ramekins.
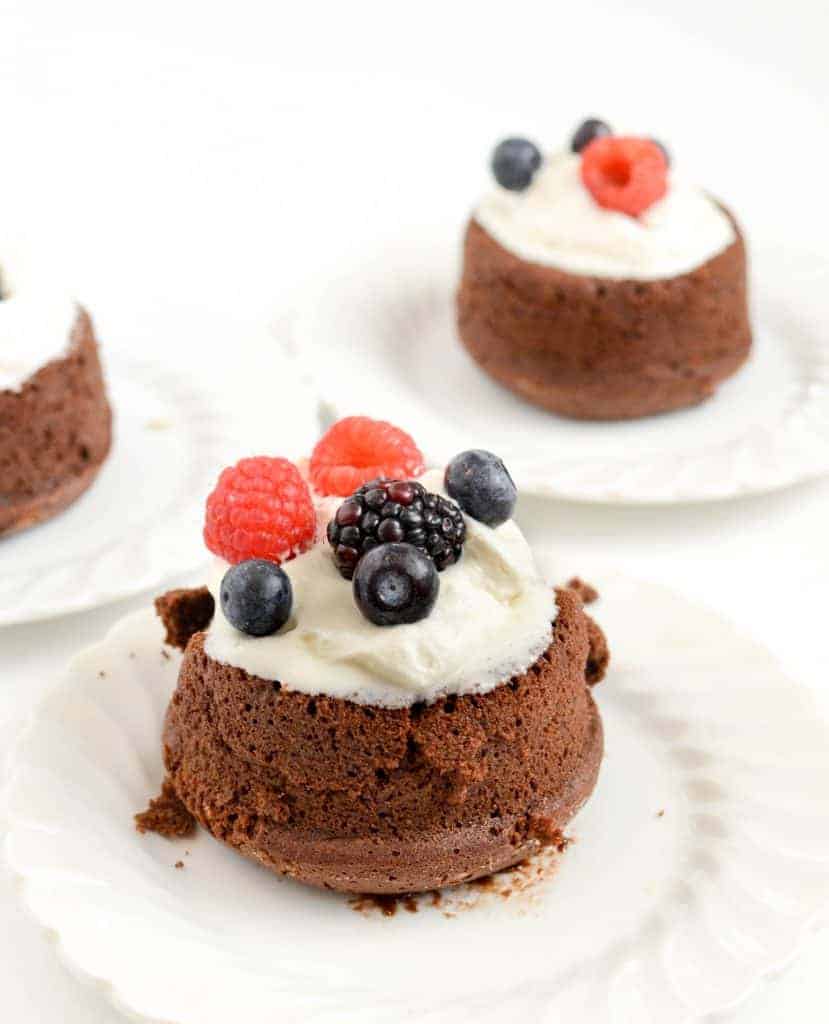
Step #4. Bake for 12-13 minutes. Let cool briefly, then invert onto plates. Serve immediately with whipped cream or ice cream.
Recipe FAQs
We like them with vanilla ice cream or freshly whipped cream and a few berries. Both ways are delicious, but I think I like the ice cream option best. There’s something magical about warm desserts and cold ice cream.
I prefer to use ramekins but they are the perfect size for this dessert and they look classy too BUT if you don’t have access to them you can use a muffin tin. Make sure to grease each muffin cup thoroughly to prevent sticking. If you use a muffin tin they will be a little bit smaller so you will yield a couple more lava cakes.
Souffles and lava cakes are similar in many ways but they vary greatly in texture. Chocolate lava cakes have a runny and chocolatey center whereas souffles are completely cooked on the inside.
I have heard rumblings about chocolate lave cakes not being safe to eat because they aren’t cooked all the way through. Even though the center of the cake is still liquid, the internal temperature reaches 160 degrees making it totally safe to consume and delicious too!
Expert Tips
- A 4 cup glass Pyrex measuring cup is the perfect size to make the batter in and then you have a nice little lip to pour from too.
- If you don’t have semi-sweet baking chocolate you can substitute good quality chocolate chips (it’ll be just over ½ cup of chocolate chips). I like the Guittard brand of semi-sweet and extra dark chocolate chips for this recipe. If you like a lighter chocolate flavor you can also use milk chocolate chips.
- You may need to run a thin knife around the edge of the cake (between the cake and the ramekin) before you invert them on a serving plate.
- Salted butter adds a nice contrast to the sweetness, but unsalted works fine too.
History of Molten Lava Cake
In France, the molten lava cake is known as chocolate moelleux which means soft in French. I bring up the French name because there seems to be a bit of controversy when it comes to where the molten lava cake originated from. A chef living in New York claimed to invent this lava cake in 1981. However, another French chef said he discovered this dessert after he took a chocolate sponge cake out of the oven and it was runny on the inside. We aren’t sure exactly who has the claim to fame but this chocolate dessert is a regular item on menus now. The Chili’s molten lava cake at the popular chain restaurant is credited for bring this dessert to mainstream America.
How to Serve and Store Chocolate Molten Lava Cakes
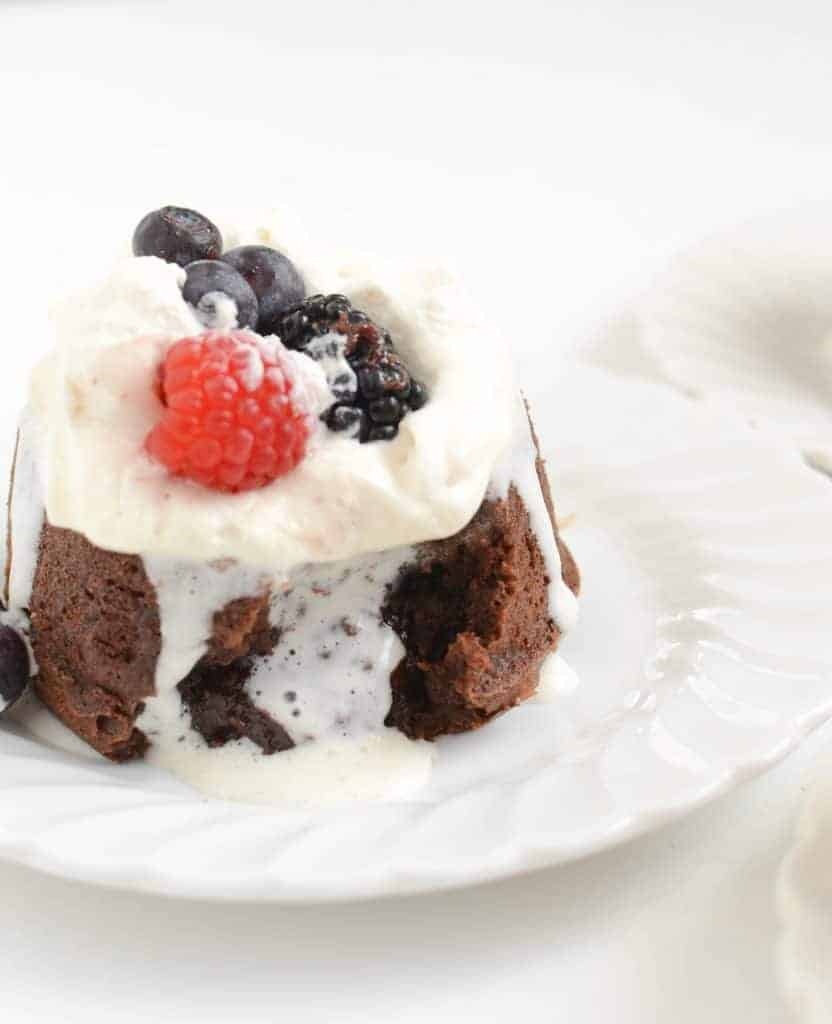
You can serve these right in the little dish you baked them in or you can carefully run a butter knife along the outside and turn them onto a plate so that they come out of the dish. I love to serve it with vanilla ice cream or whipped cream on top. You can also add to the indulgence by topping them with hot fudge sauce or caramel sauce.
These cakes are best eaten fresh, but you can store leftovers in the fridge for up to 2 days. Reheat in the microwave for 10-15 seconds to restore the gooey center. You can freeze the batter in the ramekins before baking. When ready to bake, add an extra minute or two to the baking time directly from the freezer. If reheating cooked cakes, be careful not to overheat, as the center may firm up.
Video on How to Make Chocolate Molten Lava Cakes
More Cake Recipes to Consider
Did you make this recipe? Leave a ⭐️ review and share it on Instagram, Facebook, or Pinterest!
Chocolate Molten Lava Cakes
Ingredients
- 1/2 cup butter
- 4 squares semi-sweet baking chocolate, (4 ounces) or a very full 1/2 cup of chocolate chips
- 1 cup powdered sugar
- 2 whole eggs
- 2 egg yolks
- 6 Tablespoons all-purpose flour or gluten-free baking blend
Instructions
- Preheat the oven to 425 degrees. Grease 4 six-ounce ramekins with butter and set aside.
- In a microwave-safe bowl add the butter and chocolate. Microwave on high until the butter melts and the chocolate starts to soften, about 1 minute.
- Mix the chocolate and butter together until no lumps remain. If you need to microwave it a bit longer you can.
- Add powdered sugar and stir to combine.
- Add the eggs and egg yolks and stir to combine.
- Add the flour and stir to make a thick batter.
- Place the batter in the prepared ramekins. Place the ramekins on a baking sheet to easily move them in and out of the oven.
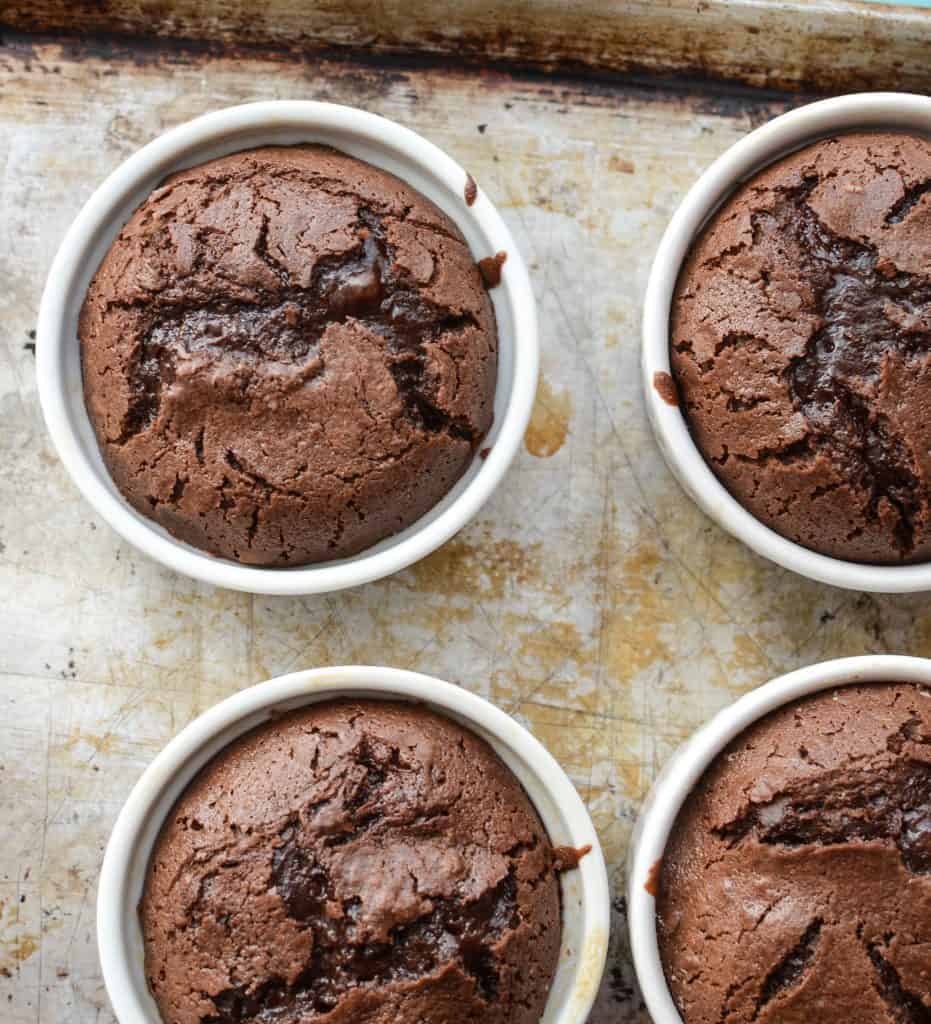
- Place the baking sheet and ramekins in the oven. Bake for 12-13 minutes until the edges are set and the center is soft (but it won’t be glossy or super jiggly).
- Let the cakes rest for 2 minutes and then invert them onto a serving plate.
- Serve right away with freshly whipped cream and berries or vanilla ice cream.
Video
Notes
- A 4 cup glass Pyrex measuring cup is the perfect size to make the batter in and then you have a nice little lip to pour from too.
- You can use dark, semi-sweet or milk chocolate chips for this recipe depending on your preferences.
- You make need to run a thin knife around the edge of the cake (between the cake and the ramekin) before you invert them on a serving plate.
- If you have a hard time getting the cakes out of the ramekins you can always serve them in them. They taste the same 🙂
- I generally use salted butter for this recipe, you can use what you have on hand.



These came together so easily and were the perfect after-dinner treat!
SO good and SO easy! I tried it for the first time yesterday, my husband and neighbors loved it! I baked it for 12 minutes and it was a slightly too runny inside for my liking, so I will trying baking for 13-14 minutes next time. We ate it as it this time, and will definitely add vanilla ice cream next time for the hot and cold mix!
They’re a super fun treat to keep in your back pocket for friends! Have fun playing with them.
If you don’t have powdered sugar can you use regular sugar?
You know, I haven’t tried it. If you do, will you let us know? And fun fact, did you know you can blend up granulated sugar in a blender and make powdered sugar!
I made this tonight for my son’s birthday and got rave reviews. My son said it was exactly what he wanted and gave me a big hug. I buttered and coated the ramekins with cocoa before filling them. The best way to get the lava cake out of the ramekin is to first use a sharp knife to go lightly around the edge then put the dessert plate over top and flip it over. Carefully lift off the ramekin and you’re done. My lava cakes started to leak out of one side which made it look so scrumptious. Thanks for the recipe.
Ohhh thank you for the tips! The cocoa dusting is a fabulous idea!
can you use cupcake holders as a ramekin?
Hmmm, I think that might work great actually.
How do you reheat these? I’d like to make them ahead for a larger dinner party.
They don’t reheat very well since the point at where they are cooked is kind of the perfect middle, I would just premake the batter, stick them in the cups you’ll cook them in, store in the fridge for up to a day, then pull them out an hour before baking and bake to when you are ready for them so they’re hot out of the oven. I’m just not sure reheating would work very well.
These were DELICIOUS!!! Thank you for sharimg!!
Made these tonight! They were a good treat for Sunday supper.
I’m so glad you like them!
So what would you do if you don’t have ramekins?
Do you have any small glass bowls like ice cream bowls?? That would work too. As long as it is oven safe.
Melissa, you have my mouth watering…This recipe really does look simple enough to try. And if it flops, it’s still chocolate, right? 🙂
Exactly. Cook it too long and it’s cake, cook it too little and it’s warm chocolate sauce for your ice cream. My husband actually doesn’t love the molten middle so I’ll leave his in an extra two minutes and it’s warm chocolate cake.