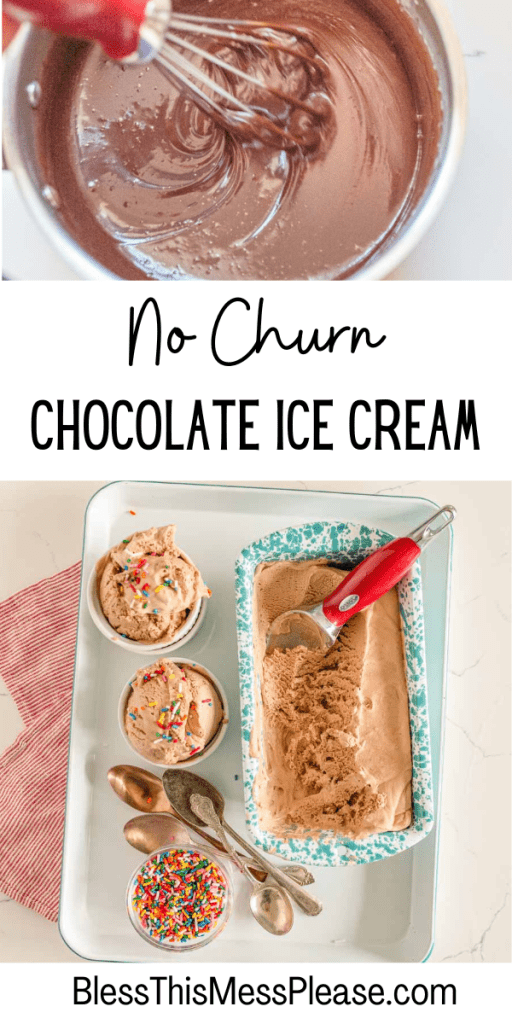
Chocolate Ice Cream
on Jun 05, 2023, Updated Jun 28, 2024
This post may contain affiliate links. Please read our disclosure policy.
What could be better than a scoop of rich, velvety chocolate ice cream on a hot summer day? The answer is simple: homemade, No-churn Chocolate Ice Cream! With just a few simple ingredients and a little bit of patience, you can create a decadent frozen treat that will rival any store-bought brand.
People love this ice cream. It offers an incredibly smooth and creamy texture that rivals traditional churned ice cream. The convenience of making it without an ice cream maker is also a significant draw. The deep, indulgent flavor of chocolate appeals to a wide range of palates, making it a crowd-pleaser for both kids and adults alike.

Chocolate Ice Cream
Having the knowledge and skill to make no-churn chocolate ice cream opens up a world of possibilities. It allows you to experiment with different flavors, mix-ins, and variations, giving you the freedom to customize your frozen desserts to suit your preferences.
Making your own ice cream allows you to control the quality of ingredients, ensuring a higher level of freshness and avoiding any unwanted additives or preservatives found in store-bought options. Plus, it’s a delightful activity that can be enjoyed with friends and family, creating lasting memories and bringing joy to all.
Ingredients
- Sweetened condensed milk
- Chocolate chips
- Heavy whipping cream
- Vanilla extract
- Almond extract
Keep scrolling to find a full, printable recipe with a detailed ingredient list.
Recipe Instructions
- In a large bowl, pour heavy whipping cream. Then add vanilla extract, almond extract, and salt.
- Use an electric mixer or whisk to beat the mixture until it becomes light and fluffy. This should take around 3 minutes.
- Transfer the mixture to an airtight container.
- Freeze the container for several hours until the ice cream becomes firm enough to scoop.
- Before serving, let it sit at room temperature for 5-10 minutes to soften slightly.
- Scoop and enjoy your homemade, no-churn chocolate ice cream!
Frequently Asked Questions
Feel free to experiment with milk, semi-sweet, or dark chocolate chips to achieve the desired level of richness and sweetness.
Sweetened condensed milk plays a crucial role in this recipe, providing both sweetness and creaminess. It’s best to use it for the best results.
When stored properly in an airtight container, homemade no-churn chocolate ice cream can be kept in the freezer for up to two weeks. However, it’s so delicious that it’s unlikely to last that long!
More Recipes
If you’ve tried this easy Chocolate Ice Cream recipe or any other recipe on Bless This Mess, then don’t forget to rate the recipe and leave me a comment below! I would love to hear about your experience making it. And if you snapped some pictures of it, share it with me on Instagram so I can repost on my stories.

Chocolate Ice Cream Recipe (No machine needed!)
Ingredients
- 1 14- ounce can sweetened condensed milk
- 1 cup milk chocolate chips
- 2 cups heavy whipping cream, (1 pint)
- 1 teaspoon vanilla extract
- 1/4 teaspoon almond extract
- 1/4 teaspoon salt
Instructions
- Add the sweetened condensed milk to a medium saucepan. Over medium heat, stirring constantly, heat the sweetened condensed milk until it is hot and steamy. Don’t let it bubble and boil though, hot is all you need.
- Remove from the heat, and add the chocolate chips. Stir until the chocolate chips are fully melted.
- Place the pan in the fridge, and let the mixture cool for 1 hour.
- In a large bowl or the bowl of a stand mixer, add the heavy whipping cream and chocolate mixture. Mix on low for 30 seconds to combine well.
- Increase the speed to high, and beat until the cream whips and the mixture becomes light and fluffy, about 3 minutes.
- Add the vanilla extract, almond extract, and salt. Stir to combine.
- To freeze, transfer the chocolate mixture into an airtight container. Press plastic wrap onto the surface, then seal with a lid. Freeze several hours, until firm enough to scoop (this should only take about 4 hours, but you can freeze it up to 3 days before serving).
- Remove from the freezer 5 to 10 minutes before scooping.
- Serve and enjoy.
Notes
If your chocolate cools too long, you may need to warm it up just a bit (or let it rest at room temperature) so that you can incorporate it into the whipped cream.
The almond extract is optional. If you don’t have it, no big deal. BONUS: sub the almond extract for mint to make a mint chocolate ice cream!
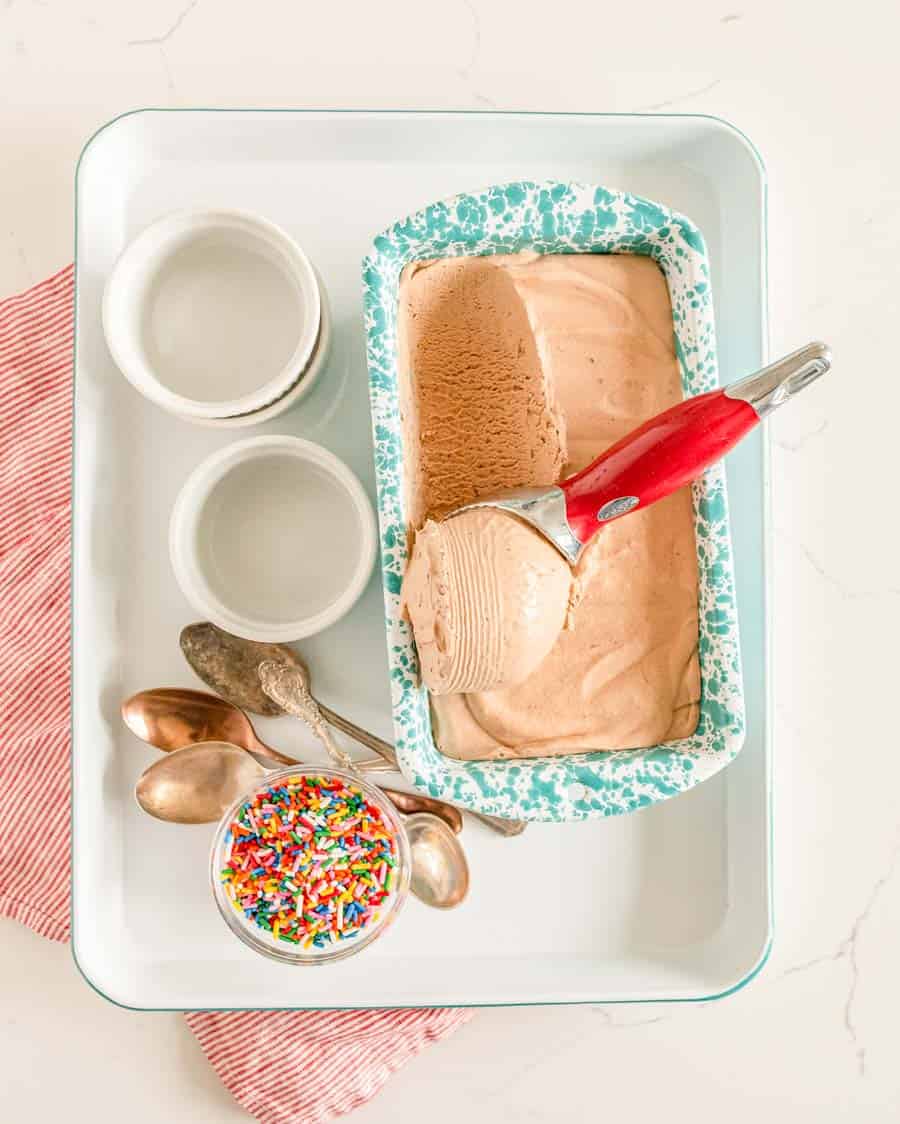
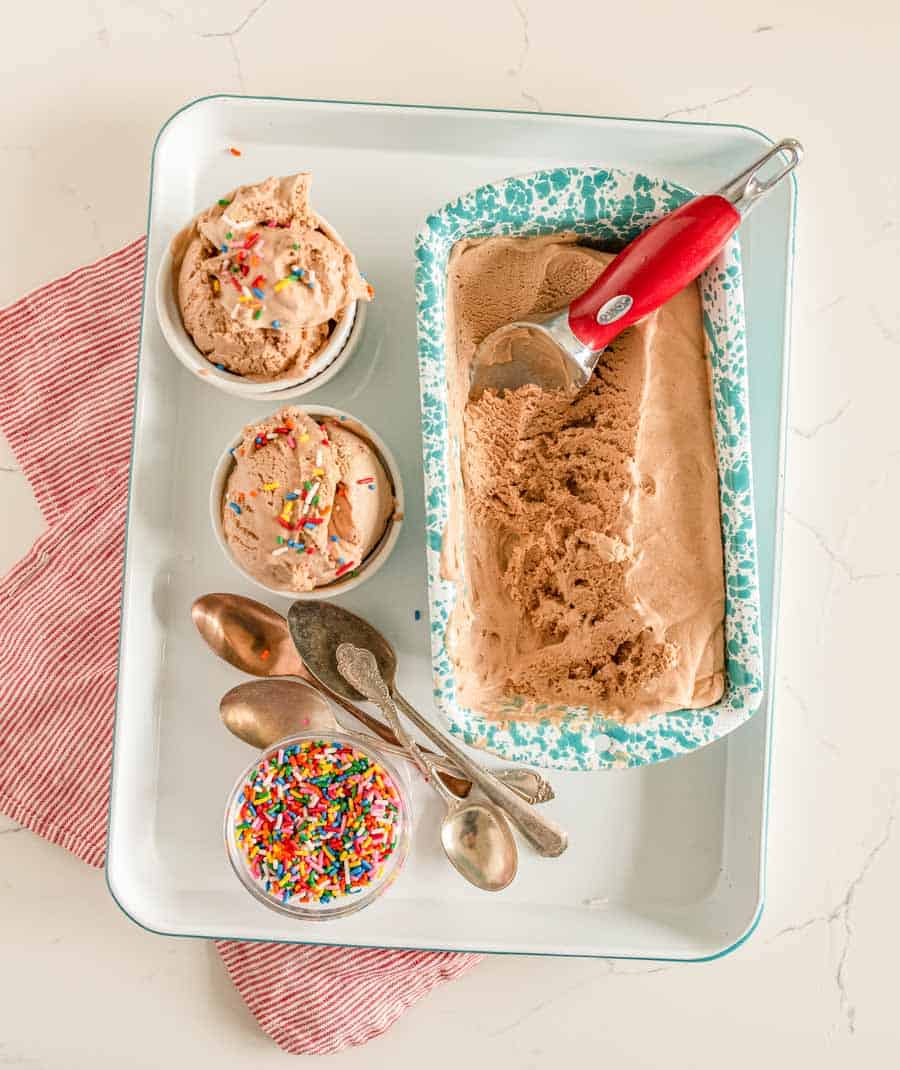
You can also pour this into a pretty loaf pan to freeze, covering the top with 2 tight layers of plastic wrap. The loaf pan is pretty to serve the frozen ice cream out of, and easy to scoop!
Nutrition
No-churn chocolate ice cream is a delightful and easy-to-make frozen treat that will satisfy any chocolate lover’s cravings. Plus, it is really fun to make.


