Chocolate Cheesecake
on Sep 13, 2023, Updated Jun 28, 2024
This post may contain affiliate links. Please read our disclosure policy.
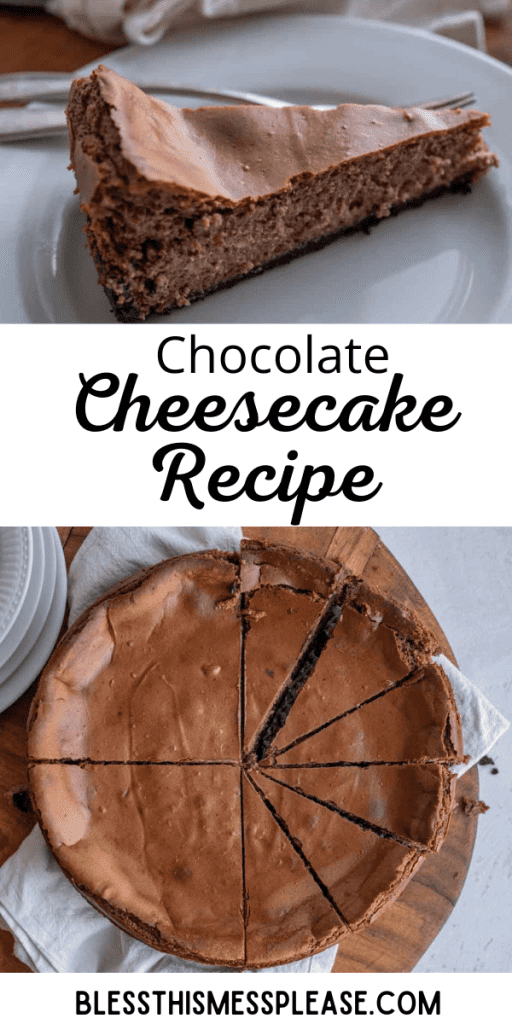
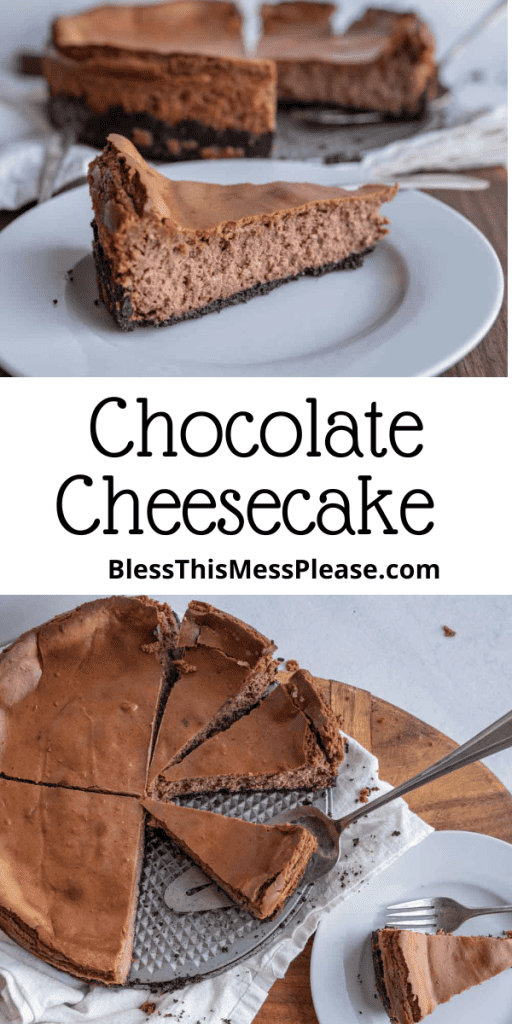
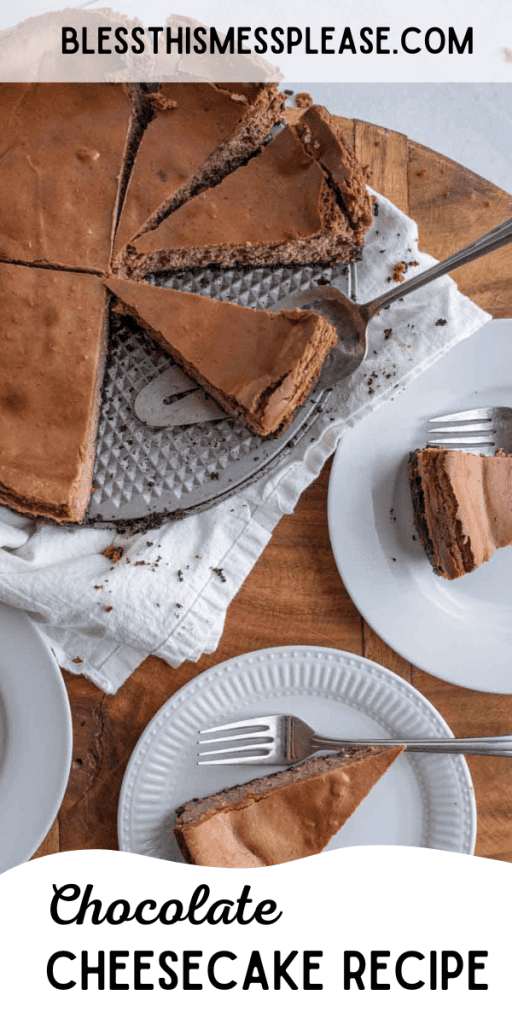
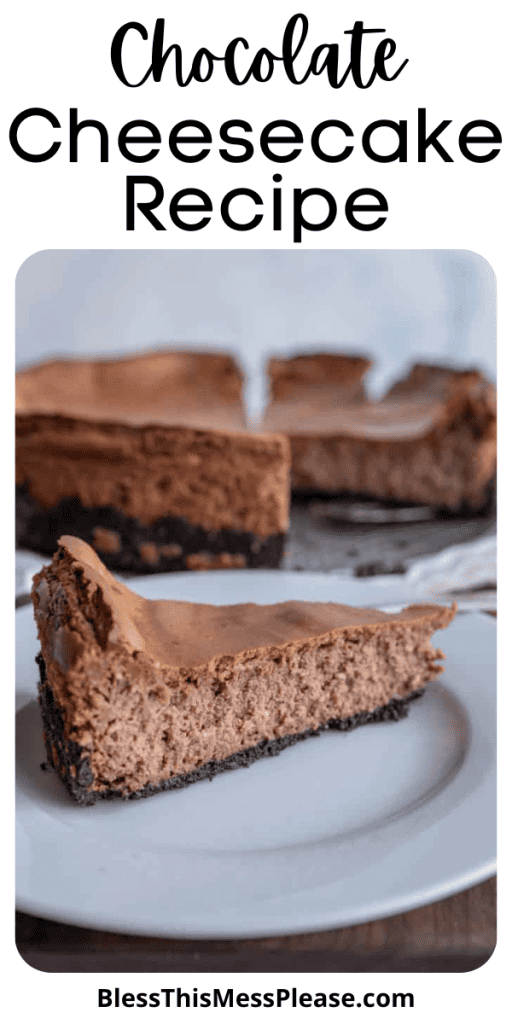
If you’ve got a sweet tooth and a love for all things chocolatey, this dessert is sure to become your new favorite. With its velvety smooth texture and rich, indulgent flavor, chocolate cheesecake is a treat that’s perfect for any occasion.
Chocolate cheesecake is the ultimate fusion of two beloved flavors – chocolate and cheesecake. The creamy, tangy cheesecake base pairs beautifully with the rich, decadent cocoa notes of chocolate, creating a flavor profile that’s simply irresistible.
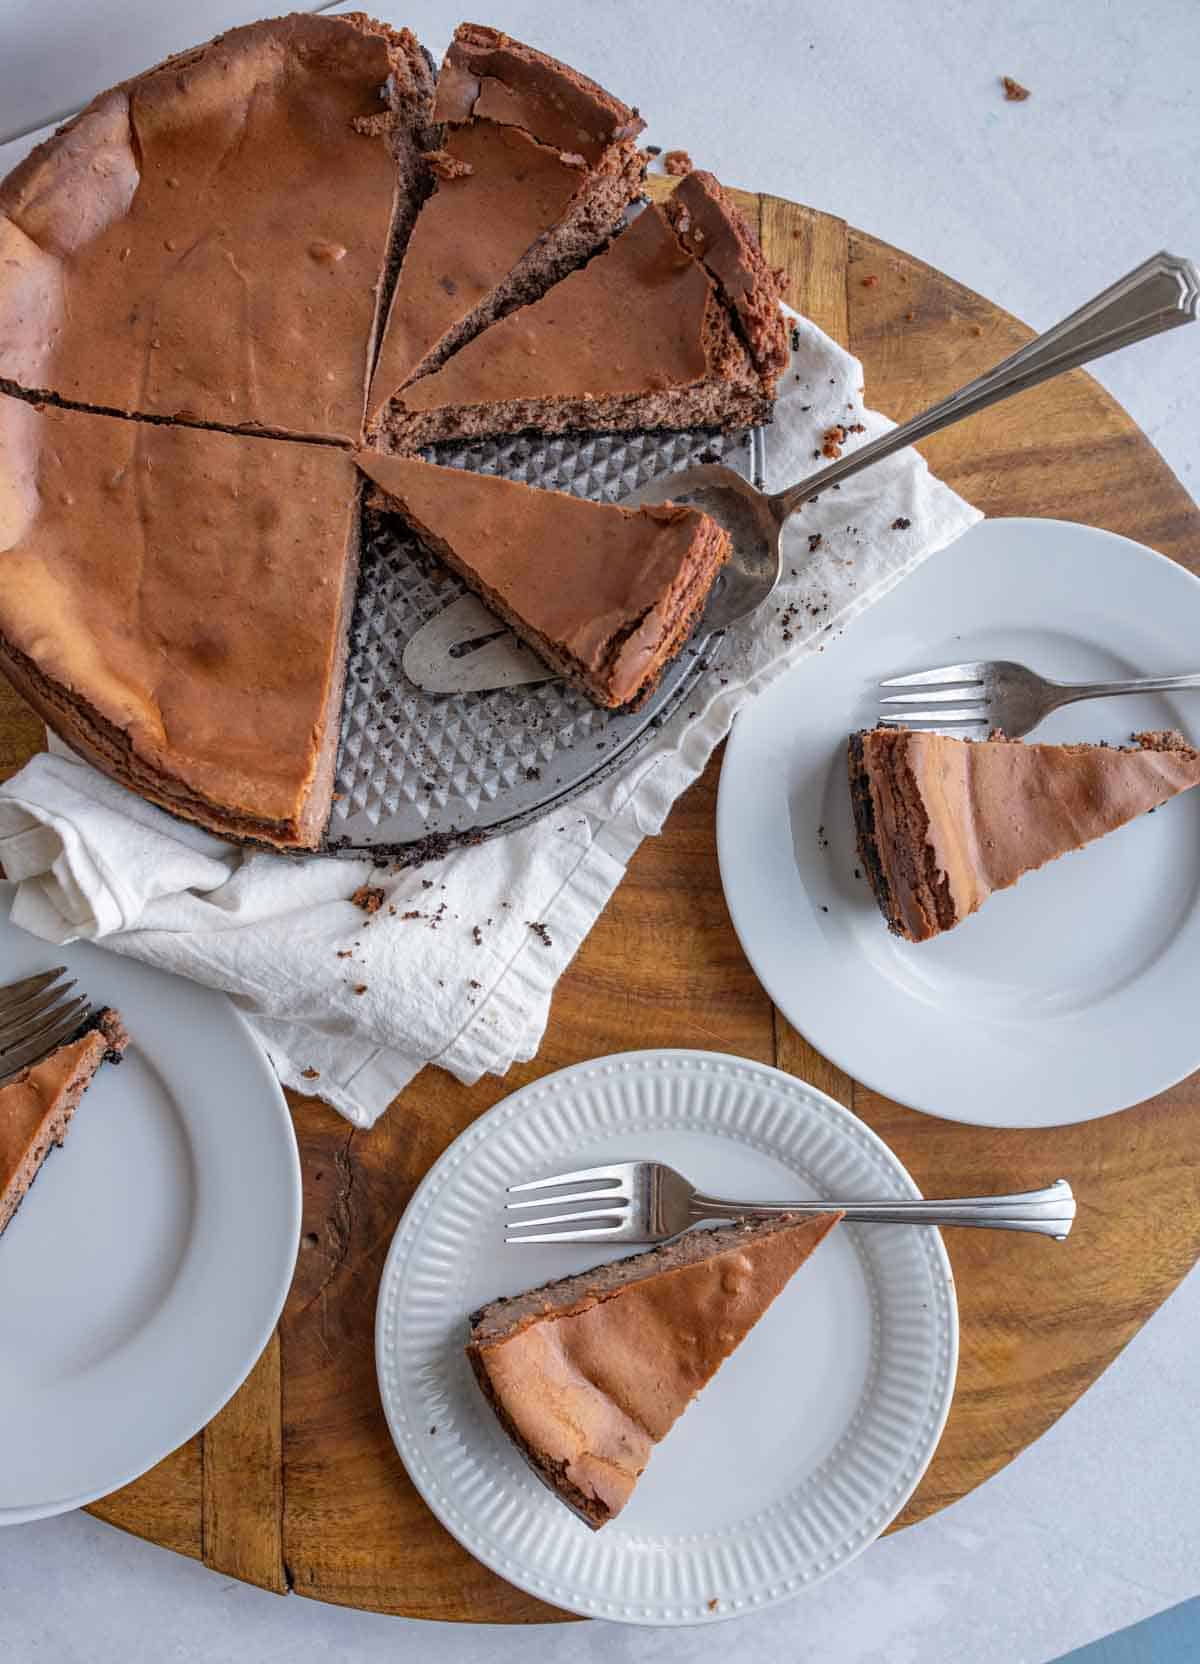
Chocolate cheesecake is a staple at celebrations and special occasions. Its luxurious appearance and mouthwatering taste make it the centerpiece of birthday parties, anniversaries, and holiday gatherings.
While chocolate cheesecake might not be the quickest dessert to prepare, it’s certainly achievable for most home bakers, even those with limited experience. If you’re a beginner, consider starting with a basic cheesecake recipe and then progressing to chocolate cheesecake once you’re more confident in your baking skills. Remember to follow the recipe closely, be patient, and don’t be discouraged by minor imperfections—it’s all part of the learning process, and the delicious end result is well worth the effort.
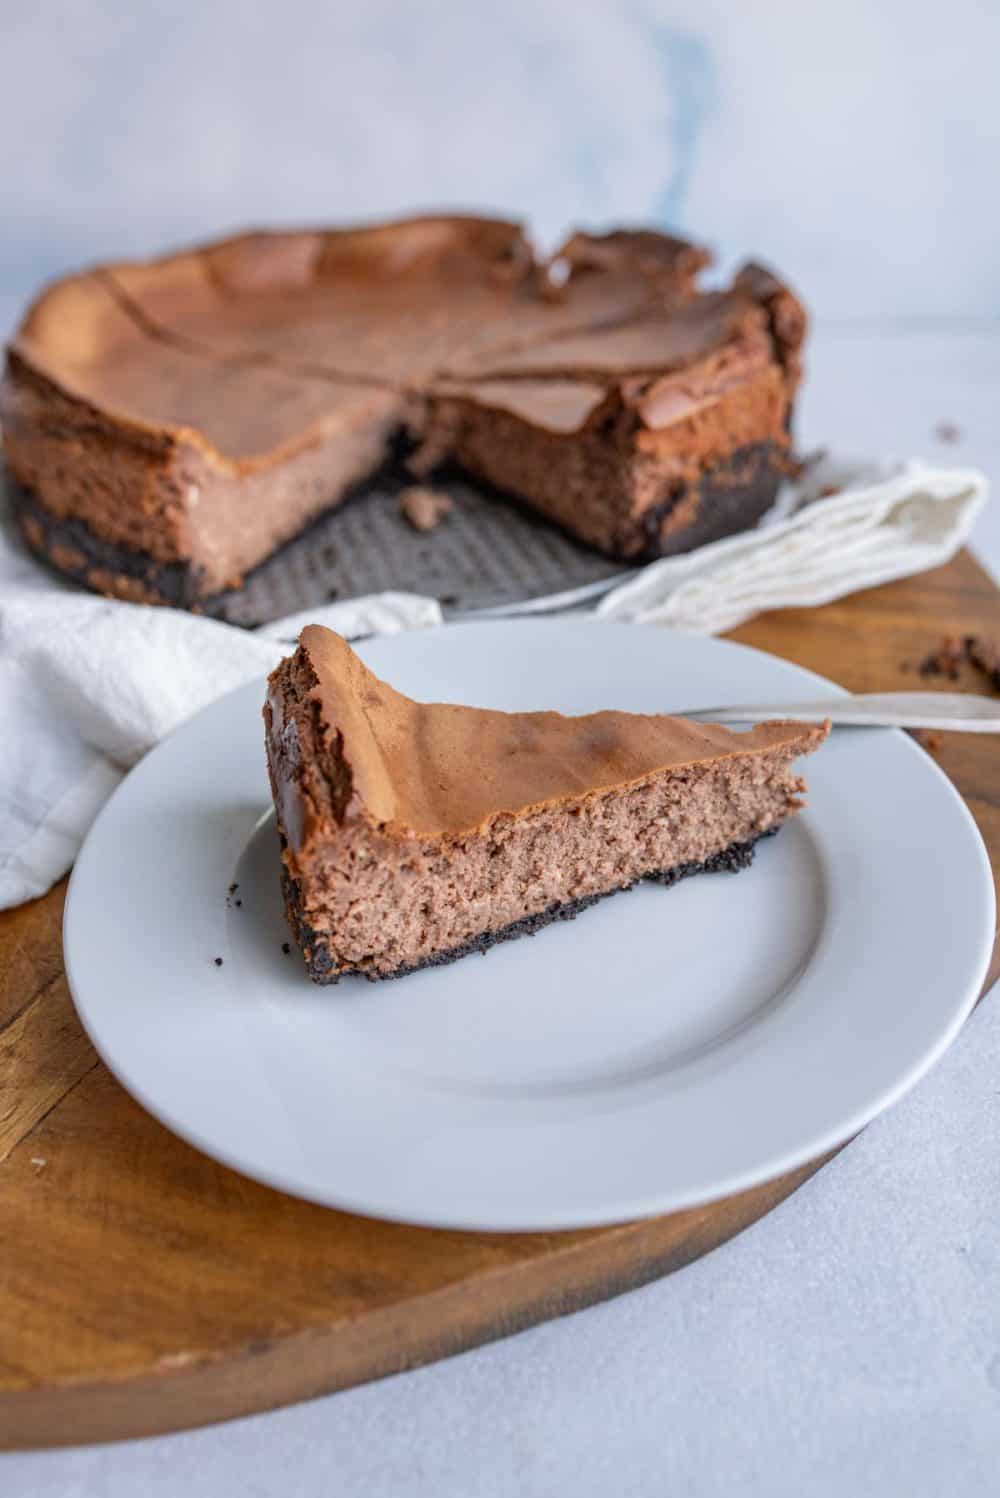
The sour cream in this recipe adds a delightful creaminess to the cheesecake filling. Its tangy flavor and smooth texture complement the richness of the cream cheese and chocolate, resulting in a well-balanced and velvety filling.
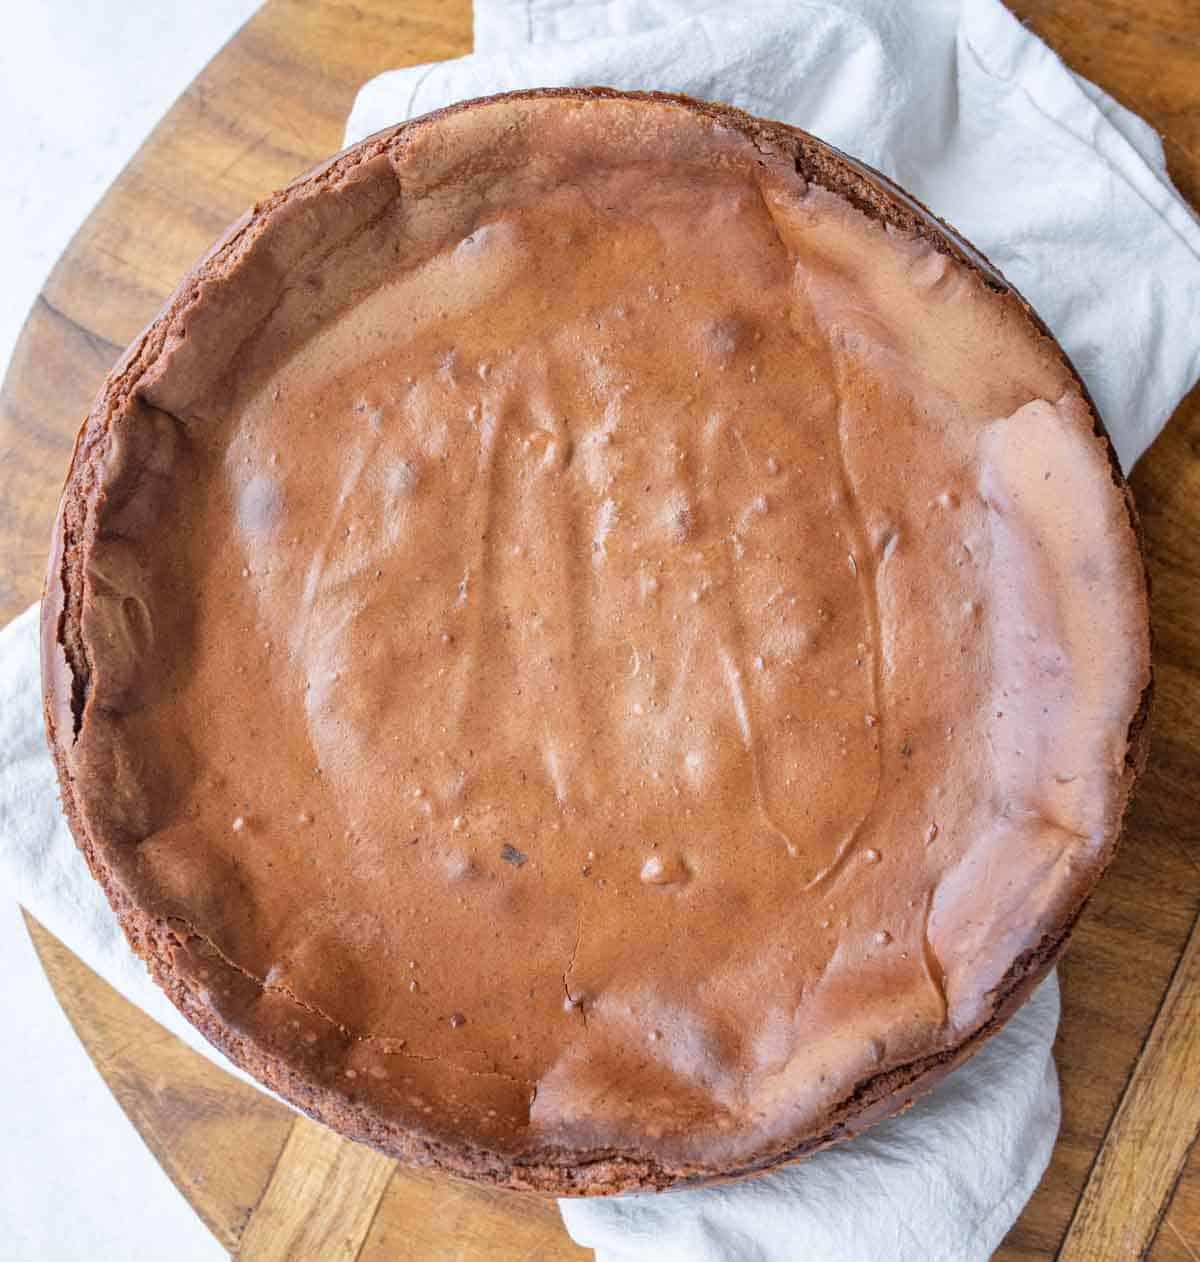
Ingredients
- Oreo cookies
- Butter
- Cream cheese
- Sugar
- Eggs
- Chocolate chips
- Vanilla
- Sour cream
Keep scrolling to find a full, printable recipe with a detailed ingredient list.
Recipe Instructions
- Preheat oven to 350°F and grease a 10-inch springform pan.
- Mix Oreo crumbs and melted butter. Press into pan.
- Beat cream cheese until smooth. Add sugar, eggs (one at a time), melted chocolate, vanilla extract, and sour cream. Mix well.
- Pour the filling over the crust.
- Bake for 1 hour 15 minutes to 1 hour 25 minutes. Edges should be set, center slightly jiggly.
- Turn off the oven, crack the door open, and let it cool for 1 hour.
- Cool to room temperature, then refrigerate for at least 4 hours or overnight.
- Remove from the pan using a knife dipped in hot water.
- Serve chilled. Enjoy your chocolate cheesecake!
Frequently Asked Questions
Yes, you can use different crusts, such as graham cracker, chocolate cookie, or even a nut-based crust, depending on your preference.
To prevent cracking, avoid overmixing the filling, and don’t overbake the cheesecake. Additionally, using a water bath (placing the pan in a larger pan with hot water) can help maintain a moist environment and reduce cracking.
You can top chocolate cheesecake with whipped cream, chocolate ganache, fresh berries, caramel sauce, or even chopped nuts, depending on your taste.
Yes, you can use a hand mixer or even mix the filling by hand, though it may require more effort to achieve a perfectly smooth consistency.
More Recipes
If you’ve tried this Chocolate Cheesecake recipe or any other recipe on Bless This Mess, then don’t forget to rate the recipe and leave me a comment below! I would love to hear about your experience making it. And if you snapped some pictures of it, share it with me on Instagram so I can repost on my stories.
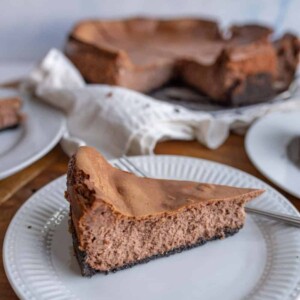
Chocolate Cheesecake
Ingredients
- 1 ½ cups Oreo crumbs, from about 24 cookies
- ¼ cup butter, melted
- 32 ounces cream cheese, at room temperature, this is four 8 ounce packages
- 2 cups sugar, granulated
- 4 eggs, large
- 10 ounces chocolate chips
- 1 teaspoon vanilla extract
- 16 ounces sour cream
Instructions
- Preheat your oven to 350°F (175°C).
- Lightly grease a 10-inch springform pan with butter or non-stick cooking spray.
For the Crust:
- In a medium-sized mixing bowl, combine the Oreo crumbs and the melted butter until the crumbs are evenly moistened.
- Transfer the mixture to the prepared springform pan. Using your fingers or the bottom of a glass, press the mixture firmly into the bottom of the pan and about halfway up the sides. Set aside.
For the Filling:
- In the bowl of a stand mixer fitted with the paddle attachment, beat the cream cheese on medium-high speed until it is smooth and free of lumps. This might take 3-5 minutes.
- Gradually add the sugar to the cream cheese, continuing to beat until fully incorporated and smooth.
- Add the eggs, one at a time, beating well after each addition. Make sure to scrape the sides of the bowl to ensure even mixing.
- In a microwave-safe bowl, melt the chocolate chips in 20-second intervals, stirring after each interval until completely melted and smooth.
- Add the melted chocolate, vanilla extract, and sour cream to the cream cheese mixture. Beat until all ingredients are well combined and the mixture is smooth.
Assembling and Baking:
- Pour the filling mixture over the prepared crust in the springform pan.
- Tap the pan lightly on the counter to remove any air bubbles.
- Place the pan in the preheated oven and bake for 1 hour 15 minutes to 1 hour 25 minutes, or until the edges are set but the center is still slightly jiggly.
- Turn off the oven and slightly crack the oven door open, allowing the cheesecake to cool slowly for about 1 hour.
- Remove from the oven and let it cool completely at room temperature. Once cooled, refrigerate for at least 4 hours, preferably overnight.
- Once chilled, remove the cheesecake from the springform pan. Use a knife dipped in hot water to slice for cleaner cuts.
- Serve chilled and enjoy!
Notes
- Chocolate: Opt for high-quality chocolate chips for a richer taste.
- Oreo Crumbs:You can make crumbs using a food processor or by placing Oreos in a Ziplock bag and crushing them with a rolling pin.
- Cooling: Gradual cooling helps prevent the cheesecake from cracking.
- Storage: Keep the cheesecake stored in the refrigerator in an airtight container for up to 5 days.
- Freezing: If desired, this cheesecake can be frozen. Wrap tightly in plastic wrap and then in aluminum foil. Freeze for up to 1 month. Thaw in the refrigerator before serving.

