Beth’s Cheesecake
on Mar 05, 2012, Updated Aug 22, 2024
This post may contain affiliate links. Please read our disclosure policy.
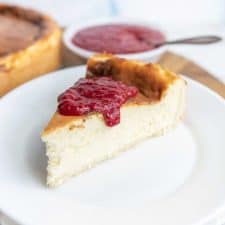
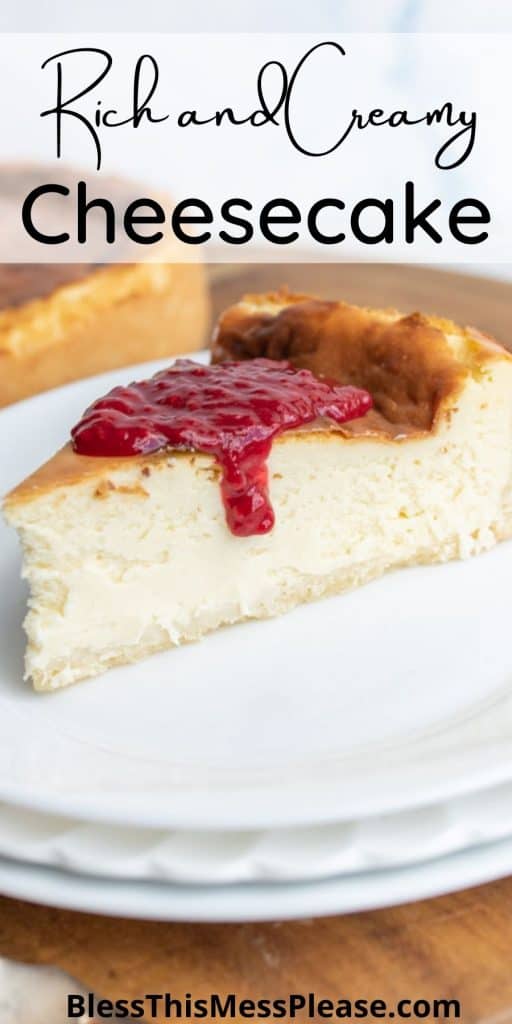
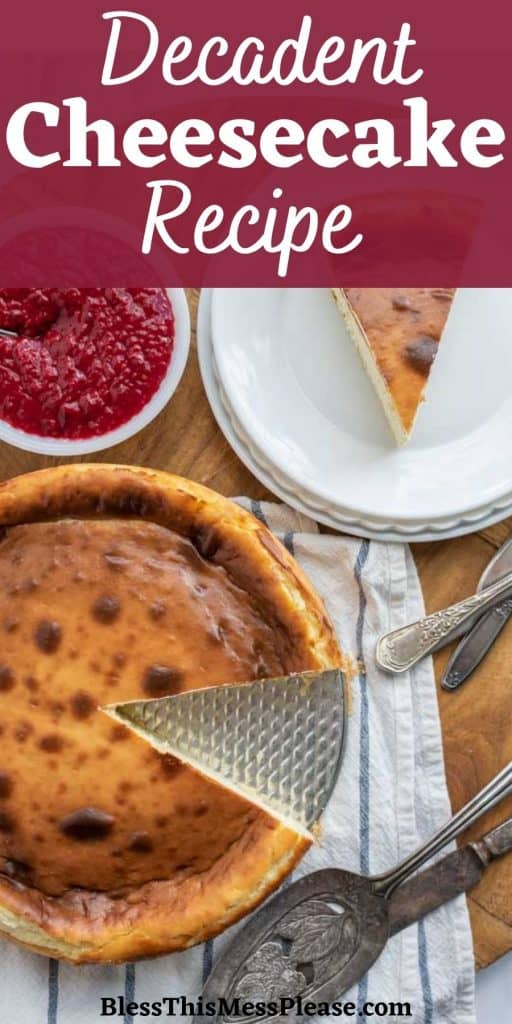
This classic cheesecake recipe has everything you want in a cheesecake. It’s smooth, silky, delicious, and a total hit!
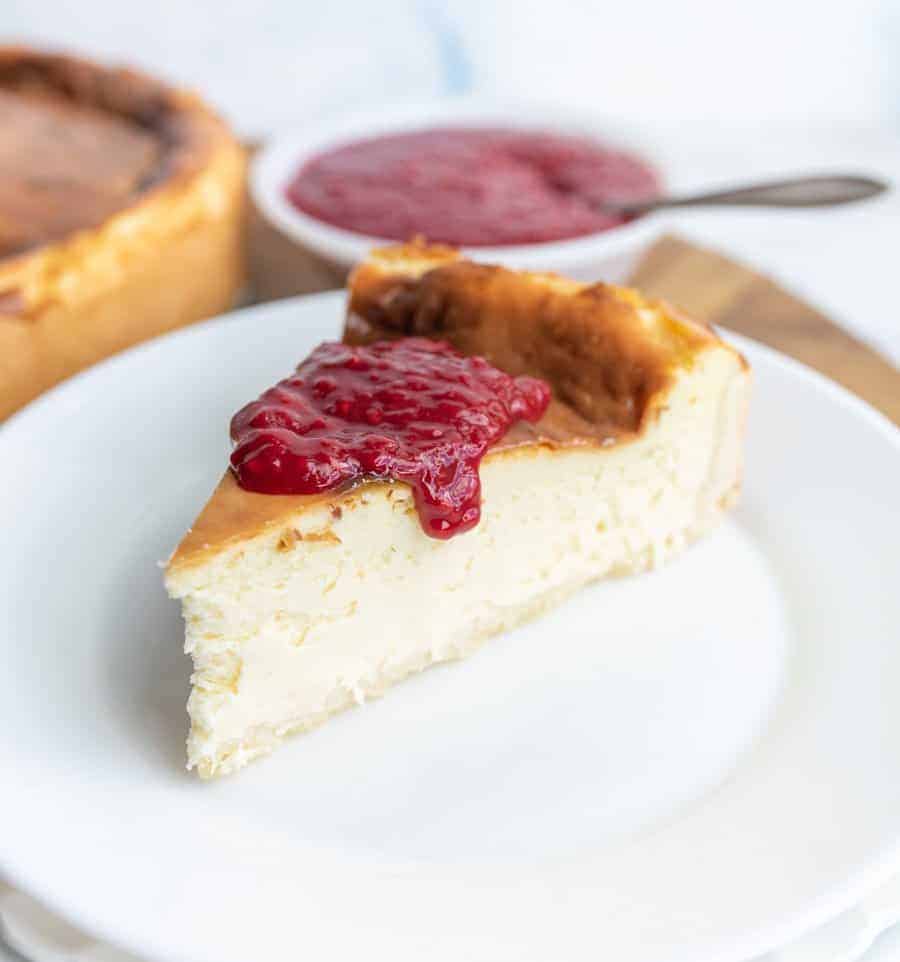
I know that some of you might be intimidated by cheesecake. Sure, it takes a little bit of effort-but it isn’t difficult to create. The steps are really simple to follow. You will start by making the sugar cookie crust, it’s not hard and it makes this cheesecake AMAZING. Then, you’ll make the filling and finish with baking your cheesecake in the oven NO water bath needed!
My sister-in-law, Beth, is responsible for this amazing cheesecake. There are so many renditions of cheesecakes out there, but everyone needs to have a classic recipe up their sleeve. It is your standard creamy and rich cheesecake with the yummiest sugar cookie crust. I also have recipes for a no-bake cheesecake, chocolate cheesecake, or blueberry cheesecake.
Table of Contents
Why You’ll Love This Recipe
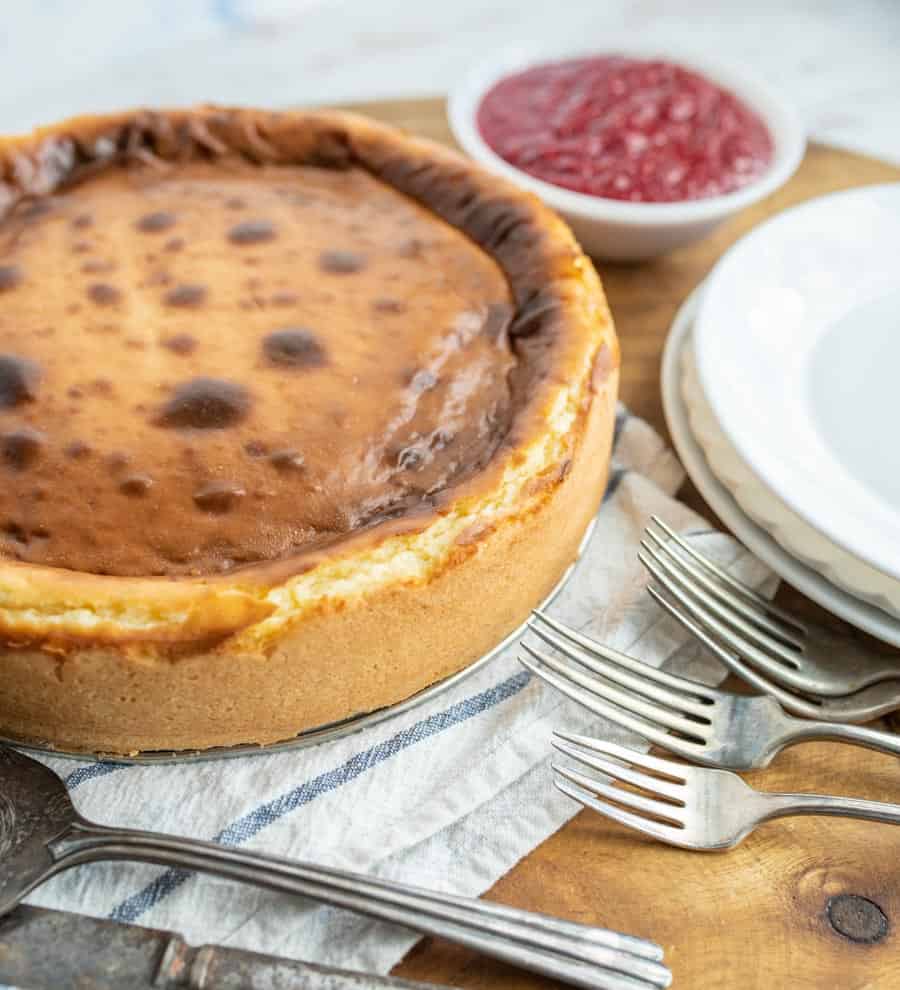
- Skip the fuss of a water bath while still achieving a thick and creamy cheesecake.
- The combination of a sugar cookie crust and rich cheesecake filling makes for an indulgent treat.
- Despite its luxurious taste, this recipe is straightforward and simpler than you might think.
- Personalize your cheesecake with a variety of toppings like fresh berries, chocolate sauce, or fruit fillings for added flavor.
Recipe Ingredients
- Butter
- Sugar – Granulated
- Vanilla
- Eggs
- Flour – All-purpose
- Cream Cheese
- Lemon Juice
- Sour cream
- Salt
See the recipe card below for full information on ingredients and quantities
How to Make Beth’s Cheesecake
Step 1. Mix butter, sugar, vanilla, salt, egg, and flour. Press half into the bottom of a springform pan, bake at 375°F for 5-7 minutes, cool, then press the rest around the edges. Step 2. Beat cream cheese until smooth. Mix in sugar, vanilla, lemon juice, sour cream, and flour. Add eggs one at a time until combined.
Step 3. Pour the filling into the crust. Bake at 500°F for 10 minutes, then reduce to 350°F and bake for 30-35 minutes.
Step 4. Turn off the oven, crack the door, and let the cheesecake cool for 1 ½ hours. Then cool completely on a rack and chill in the fridge until ready to serve.
Recipe FAQs
I’m not saying you can’t, but full-fat cream cheese sort of makes the cheesecake. There are plenty of other opportunities to cut out fat in your diet but cheesecake just isn’t one of them in my opinion.
Cheesecake is commonly baked using the water bath method to avoid the cheesecake from drying out and cracking. It also helps the cheesecake to bake evenly.
You prepare a water bath by wrapping the springform pan with foil on the bottom and the sides. Then, you will place that cheesecake pan in a large roasting pan filled with 1 inch of hot water. Next, you will add the filling and bake in the oven. Using a water bath provides a humid environment that the cheesecake loves.
BUT YOU DON’T NEED A WATER BATH! That’s one of my favorite parts about this recipe, no water to mess with!
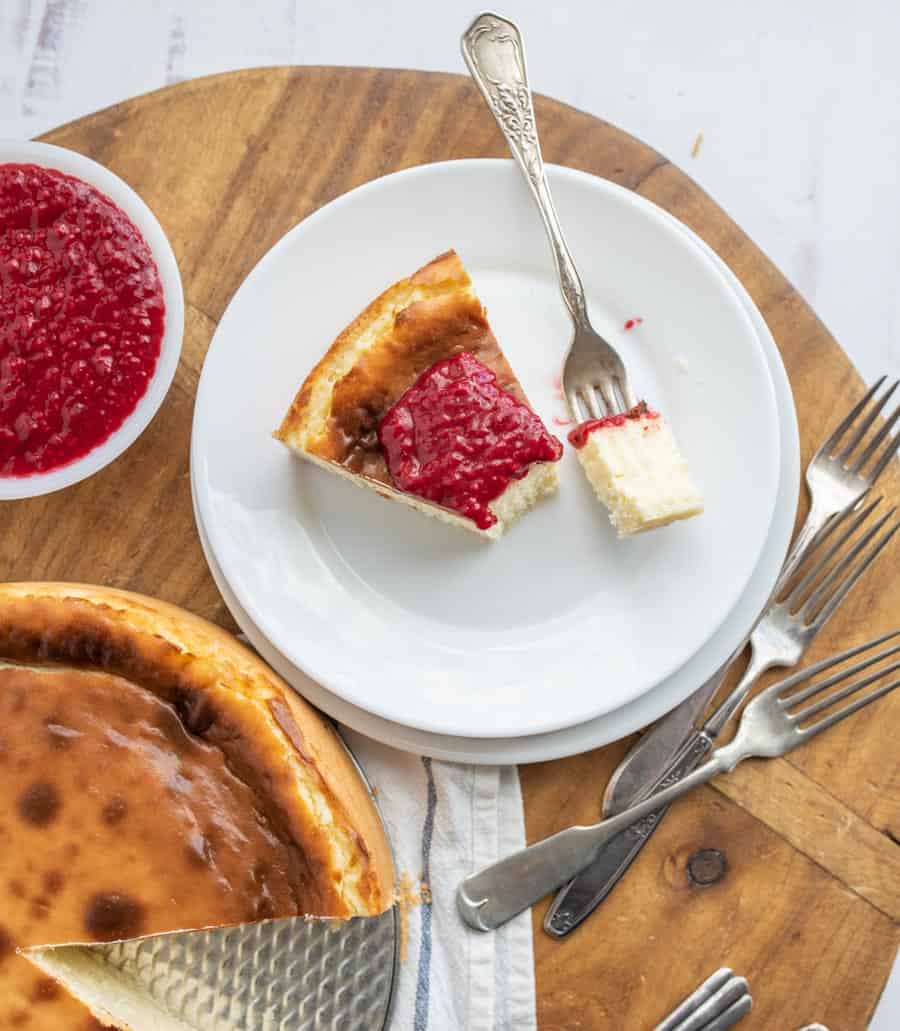
Cheesecake is done baking when the edges are set and the center has a subtle jiggle to it. If there are ripples in the center, it is not done baking yet. I like to tap a wooden spoon lightly on the side of the pan and look for a jiggle or a ripple.
Cheesecake should be stored in the refrigerator. Don’t leave it sitting out at room temperature for more than a couple of hours.
Expert Tips
- Ensure all dairy ingredients like cream cheese, eggs, and sour cream are at room temperature before mixing. This helps achieve a smoother batter.
- Mix the cream cheese until completely smooth before adding other ingredients. Scrape down the sides of the bowl to ensure even mixing.
- Avoid over-mixing, once the eggs are added, mix just until combined. Overmixing can lead to a dense cheesecake instead of a light and creamy texture.
- After baking, let the cheesecake cool gradually in the oven with the door cracked open before transferring to a cooling rack. This helps prevent cracks as it cools.
How to Serve and Store Beth’s Cheesecake
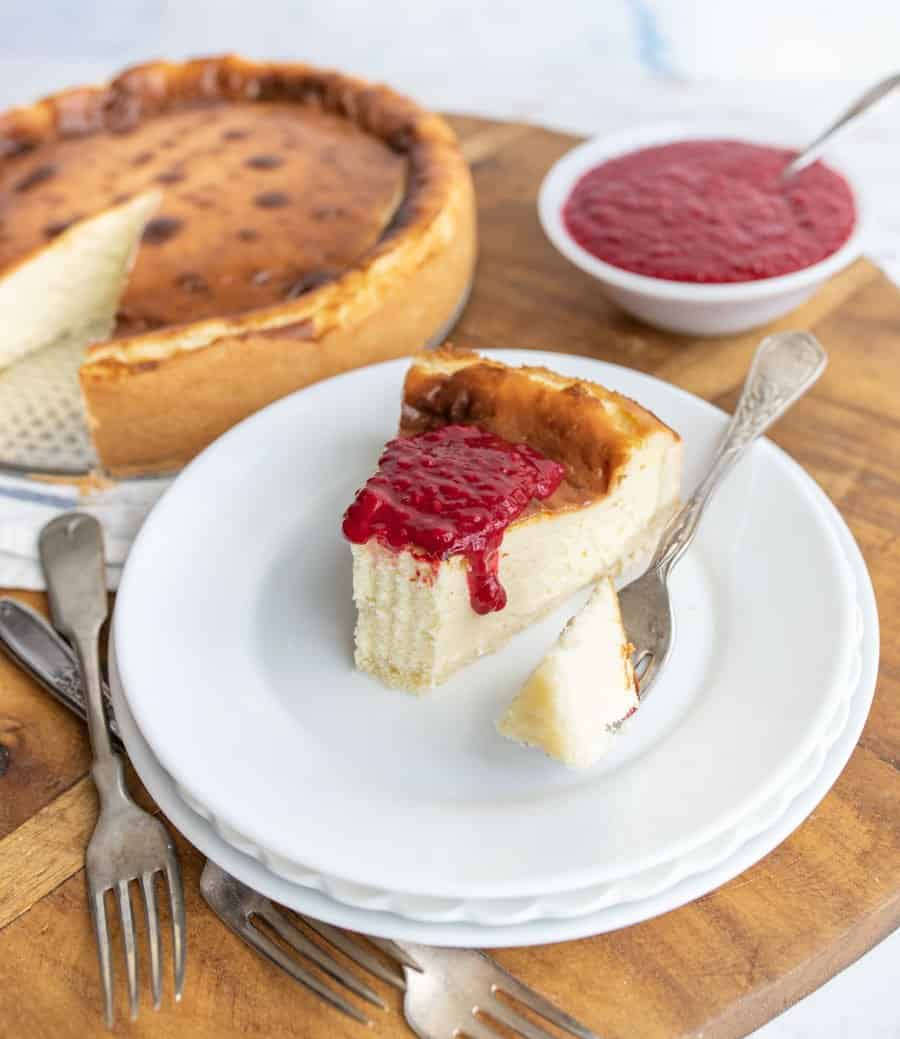
Serve the cheesecake plain or with toppings like fresh berries, chocolate sauce, caramel sauce, or fruit compote. Whipped cream or a dusting of powdered sugar also make great additions. Try my other cheesecake themed recipes such as cheesecake ice cream, raspberry cheesecake dip, brownie cheesecake bars.
Store leftover cheesecake in the refrigerator, covered with plastic wrap or in an airtight container, for up to 5 days. Don’t leave it sitting out at room temperature for more than a couple of hours. To freeze, wrap the cheesecake (whole or in slices) tightly in plastic wrap and then aluminum foil. It can be frozen for up to 2-3 months. Thaw in the refrigerator overnight before serving.
More Dessert Recipes to Consider
Healthy Snacks
Almond Butter Protein Balls
Healthy Snacks
No-Bake Coconut Protein Balls
Pancake Recipes
Gingerbread Pancakes
Simple Gingerbread Recipes
Cozy Gingerbread Scones: Perfect for Holiday Mornings
Did you make this recipe? Leave a ⭐️ review and share it on Instagram, Facebook, or Pinterest!
Beth’s Cheesecake
Ingredients
Cookie crust
- ½ cup room temperature butter
- ¼ cup granulated sugar
- ½ teaspoon vanilla
- ⅛ teaspoon salt
- 1 egg
- 1 ½ cup flour
Cheesecake Filling
- 5 8 ounce packages cream cheese, at room temperature
- 1 ⅓ cup sugar
- 2 teaspoons vanilla
- 2 teaspoons lemon juice
- ⅓ cup sour cream
- 2 tablespoons flour
- 3 eggs
Instructions
- Preheat oven to 375 degrees F.
- To make the crust, cream together butter, sugar, vanilla and salt.
- Add eggs and mix well to combine.
- Add flour and stir until completely combined.
- Divide dough into two even pieces. Press half the dough into the bottom of a 10 inch springform pan
- Bake for 5-7 min until the edge of the dough turns light brown.
- Remove from the oven and allow to cool for 20 minutes.
- Once cool, press remaining dough around the edges of the pan. Do not go all the way to the top of the pan, just 2/3’s of up the sides or so.
- Turn oven up to 500 degrees F.
- Place cream cheese in bowl of an electric mixer.
- Beat cream cheese at medium speed for 5 min or until completely smooth, scrapping down the sides of the bowl with rubber spatula several times.
- Once the cream cheese is smooth add sugar, vanilla and lemon juice. Mix well until fully combined.
- Add sour cream and flour. Mix well.
- Add eggs one at a time on low speed. Mix until completely combined.
- Pour the prepared cheesecake batter into the crust.
- Bake at 500 for 10 minutes.
- After the 10 minute bake time, reduce the temperature to 350 degrees F. and bake for additional 30-35 min. Until center giggles slightly when you shake it.
- Once done leave in the oven. Turn off the oven and open oven door a few inches (leave the door cracked open).
- After 1 ½ hours place on cooling rack on the counter until completely cool.
- Chill in the refrigerator until ready to serve.
Notes
- You can top this cheesecake with anything you’d like. Raspberries, strawberries, chocolate sauce, cherry pie filling, or anything else you like is delicious.
- Ensure all dairy ingredients like cream cheese, eggs, and sour cream are at room temperature before mixing. This helps achieve a smoother batter.
- Avoid over-mixing, once the eggs are added, mix just until combined. Overmixing can lead to a dense cheesecake instead of a light and creamy texture.
- Mix the cream cheese until completely smooth before adding other ingredients. Scrape down the sides of the bowl to ensure even mixing.





Holy delicious! And those are my plates!
K, small world! Emily is the sister to a gal that I worked for YEARS with at the BYU ID Center (and is amazing and beautiful and has a bunch of sisters just like her), and Melissa grew up with my husband in Indiana (and is about the nicest, coolest, homemaking-est, natural birthing-est lady I know). 🙂 So glad you two found each other, and I love both your blogs!
Well, as truth will have it, I found her blog via YOUR blog! So thank you Jasmyn… I really owe today to you!
Oh, really? That’s awesome! Hope you’re doing great, Melissa – I love the fancy blog and read it while nursing in the middle of the night! 🙂