
This post may contain affiliate links. Please read our disclosure policy.


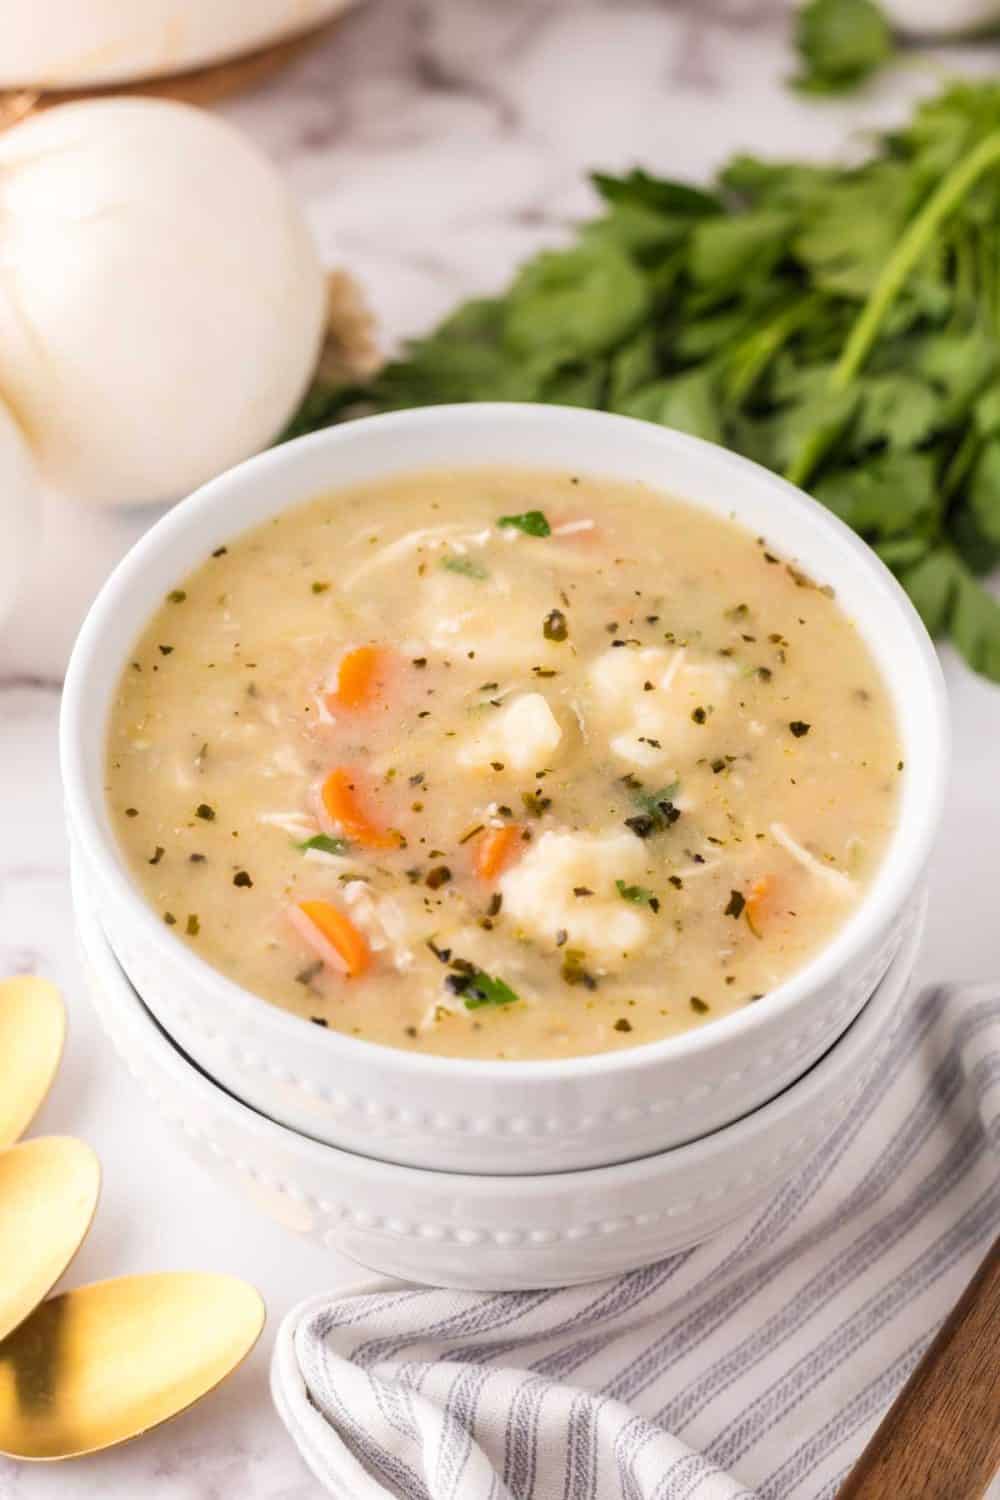
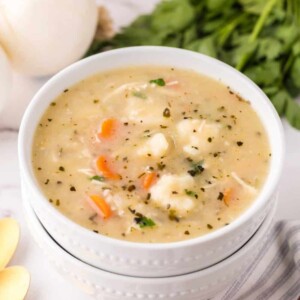
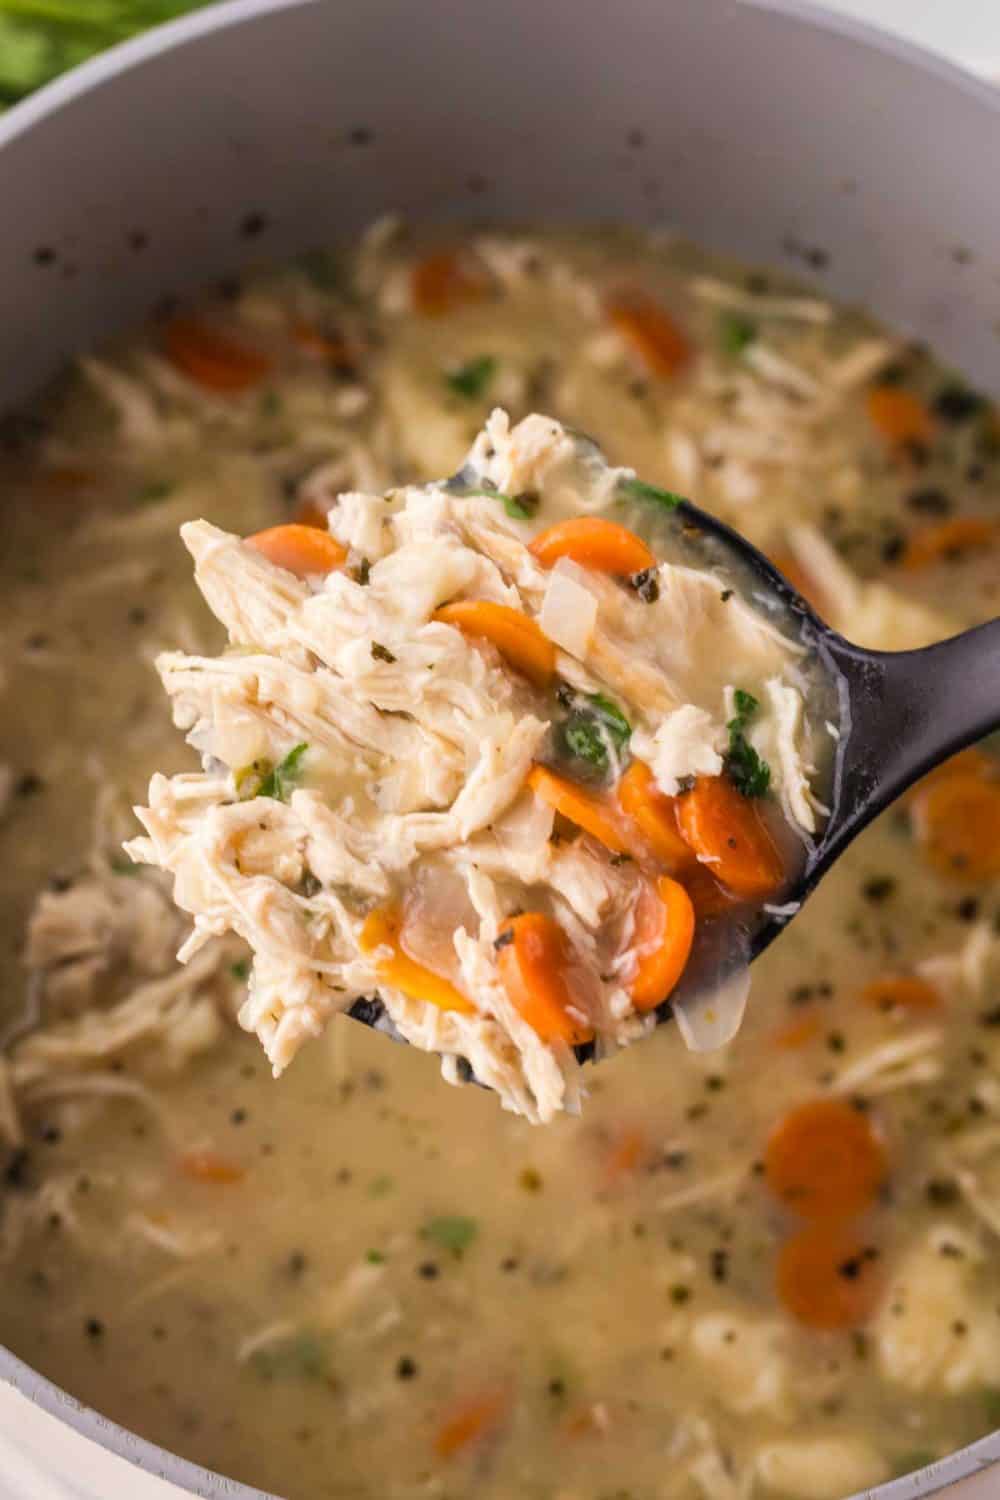
This fluffy Bisquick Dumplings recipe turns simple ingredients into the ultimate comfort food. Perfect for chicken soup, stew, and weeknight dinners!
Quick Recipe Overview
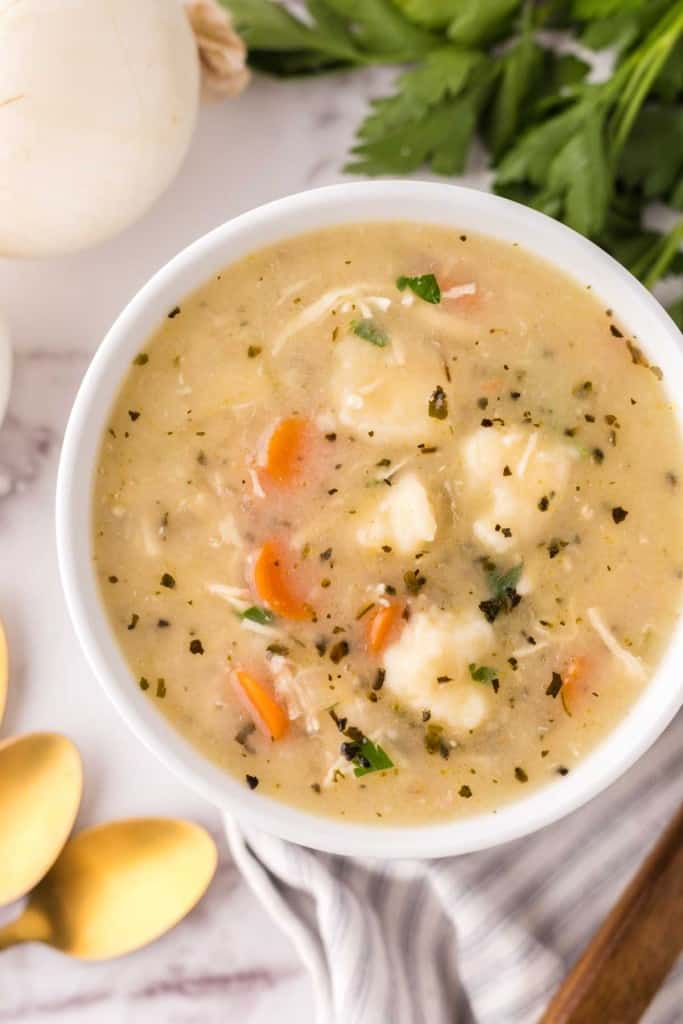
WHAT: Tender homemade dumplings made with Bisquick mix, cooked in savory chicken broth with vegetables and shredded chicken.
WHY: One-pot comfort food with minimal prep and incredible homestyle flavor everyone loves.
HOW: Sauté vegetables, mix dumpling dough, boil broth, add dumplings, and simmer until fluffy and cooked through.
Table of Contents
- Quick Recipe Overview
- Why I Love Making Bisquick Dumplings
- Ingredient Notes
- Featured Review
- Bisquick Dumplings Recipe Recipe
- How to Make Bisquick Dumplings
- Substitutions & Variations
- FAQs for Recipe for Bisquick Dumplings
- My Best Tips for Making Bisquick Dumplings
- What to Serve With Bisquick Dumplings
- Storage & Reheating Tips
- Similar Recipes to Try
- More Delicious Chicken Recipes To Consider
Why I Love Making Bisquick Dumplings
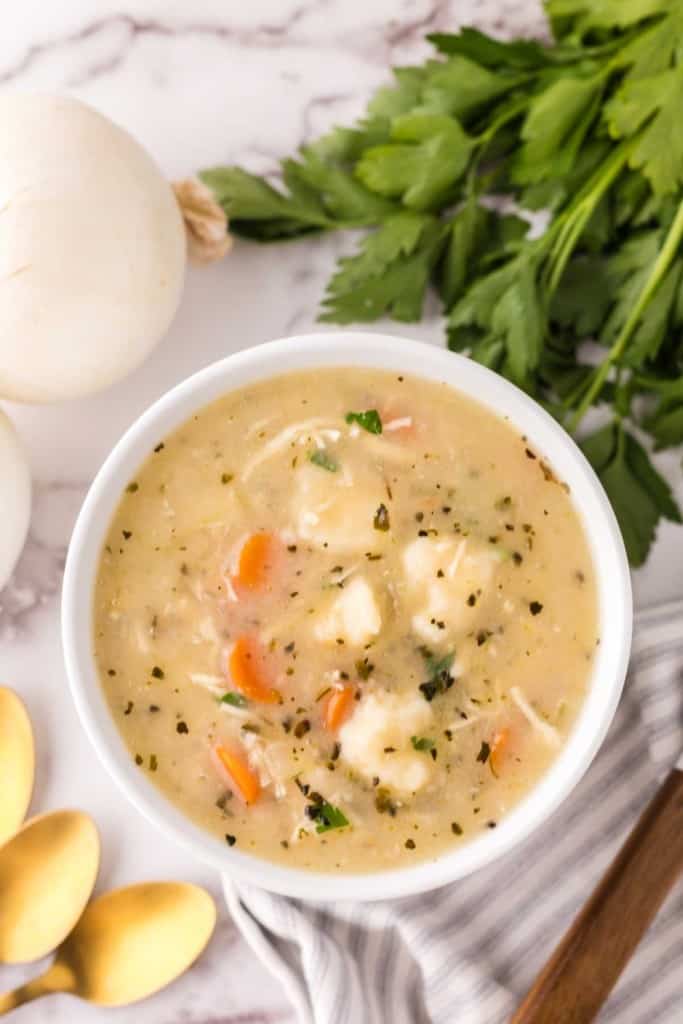
There’s nothing quite like the comfort of tender, pillowy dumplings floating in a warm pot of savory broth. This Bisquick dumplings recipe has become a family favorite in our house because it delivers all that cozy goodness without the fuss of traditional from-scratch dumplings.
The dumplings cook right in the broth, soaking up all those wonderful flavors while staying wonderfully light and fluffy. I’ve made these countless times for my family, and they never fail to bring everyone to the dinner table with genuine excitement.
The beauty of using Bisquick for your easy dumplings recipe is that you’re working with a reliable foundation that takes the guesswork out of the process. You get consistent, delicious results every time, and the whole dish comes together in about 30 minutes from start to finish. It’s the kind of recipe that makes home cooks feel confident and capable in the kitchen.
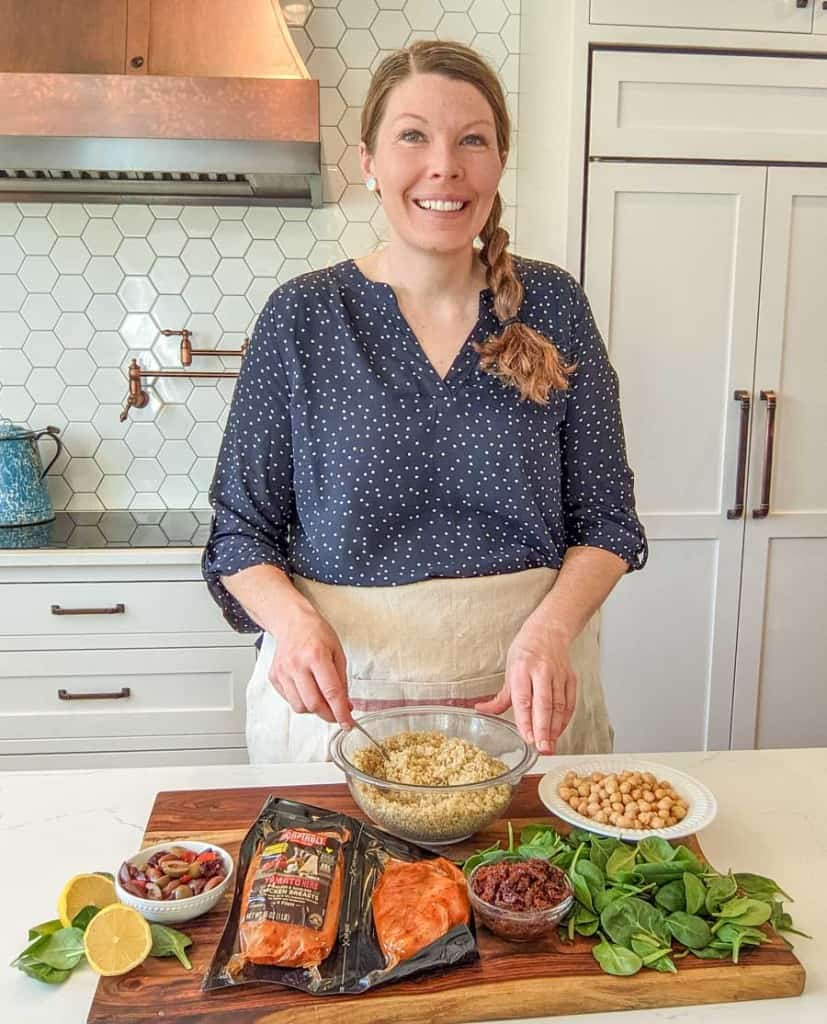
🩷 Melissa
I swear by my pizza cutter for slicing dumpling dough—it glides right through without sticking and creates perfect strips in seconds.
Once those dumplings hit the pot, that lid stays on for the full 10 minutes, no peeking allowed!
Every time you lift it, steam escapes and you risk dense, flat dumplings. Trust me, the wait is worth it for those fluffy, pillowy results.
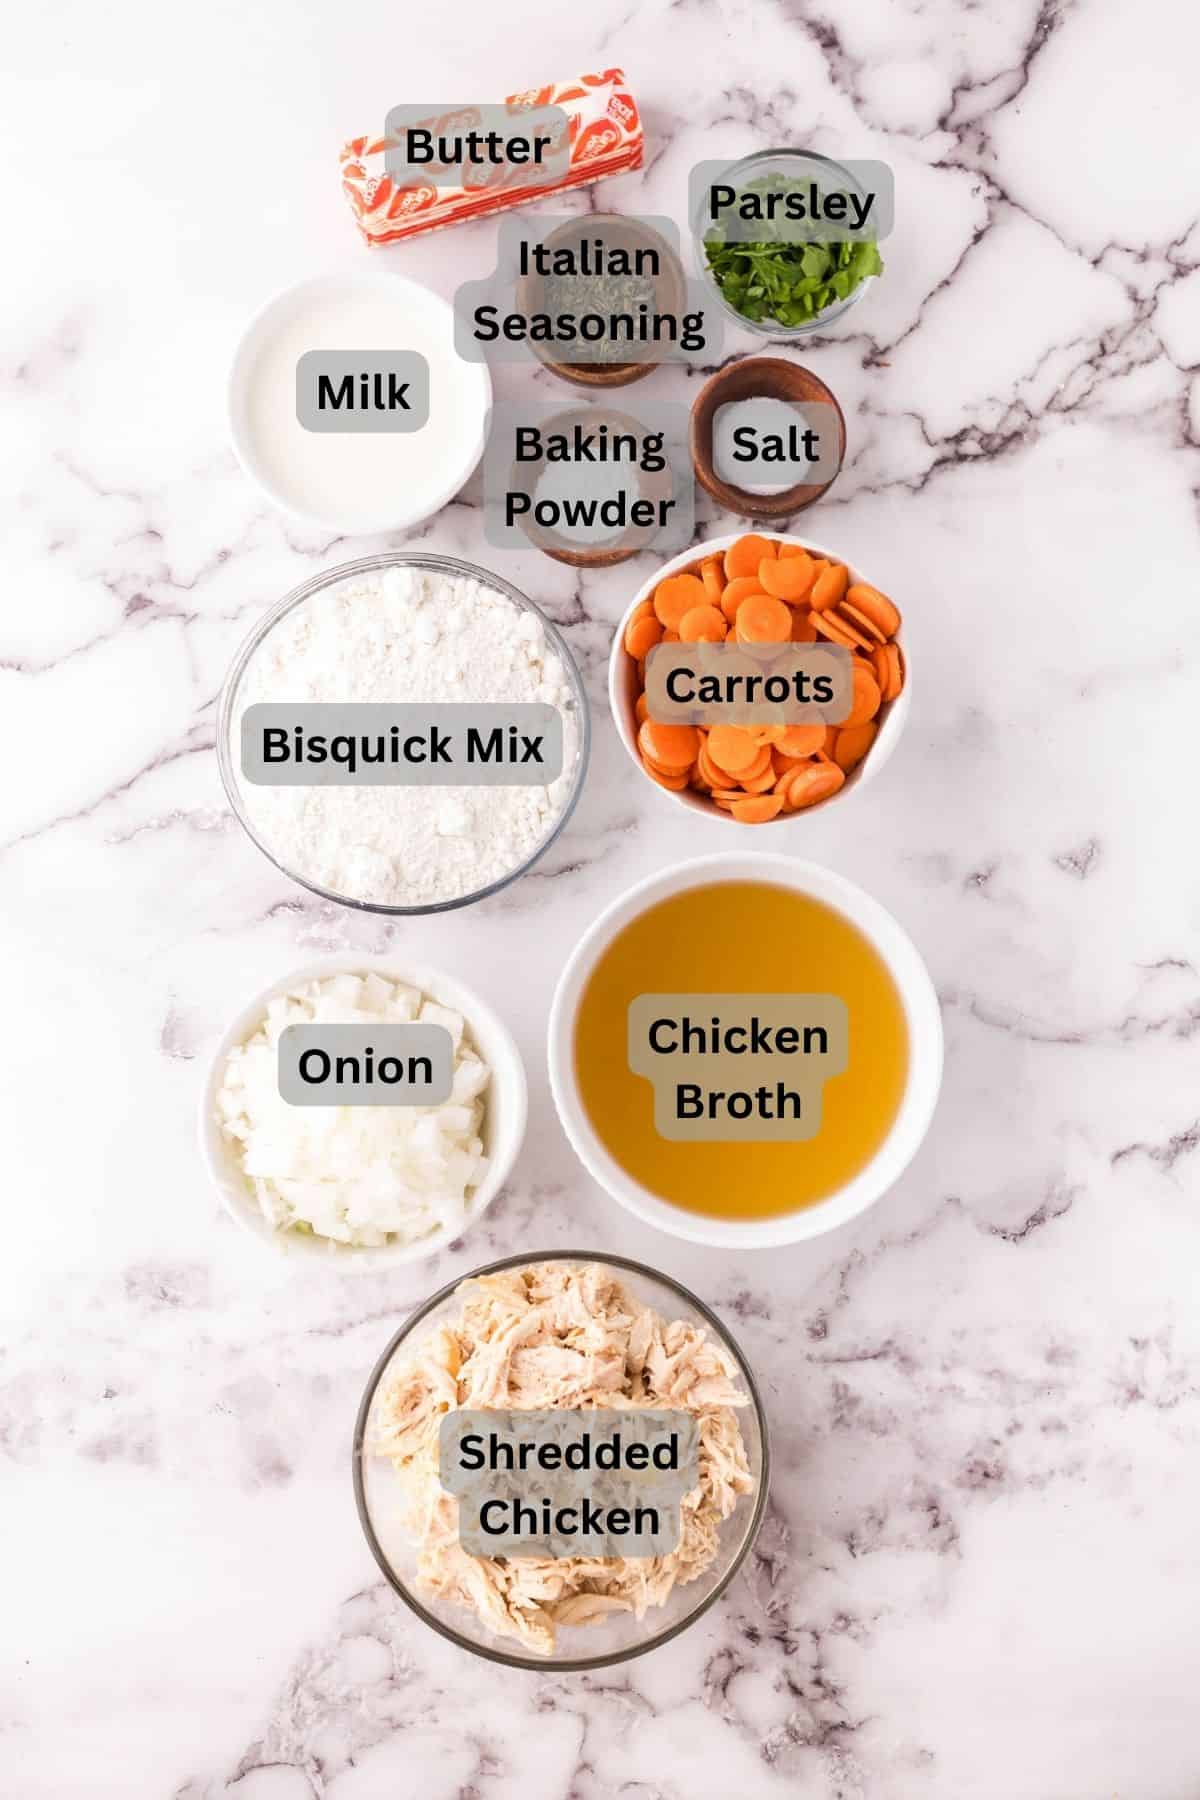
Ingredient Notes
Bisquick Mix: This is the star ingredient that makes these dumplings so easy. The mix already contains flour, leavening, and fat, which creates that perfect fluffy texture.
Italian Seasoning: Feel free to make your own blend using equal parts dried basil, oregano, thyme, garlic powder, and onion powder for maximum freshness.
Baking Powder: This extra leavening gives the dumplings an even lighter, airier texture beyond what’s already in the Bisquick.
Whole Milk: The fat content in whole milk contributes to tender dumplings. I don’t recommend using skim milk as it won’t provide the same rich results.
See the recipe card below for full information on ingredients and quantities.
Featured Review
Cynthia Welch ⭐️⭐️⭐️⭐️⭐️
February 1, 2025
Love this recipe.
Bisquick Dumplings Recipe
Ingredients
- 1 tablespoon Italian seasoning
- 1 cup diced carrots, about 1 ½ large carrots
- 1 cup diced white onion, about ½ large white onion
- ½ cup salted butter
- 2 cups bisquick mix
- 1 teaspoon baking powder
- 1 teaspoon salt
- ½ cup whole milk
- 3 cups shredded chicken
- 4 cups chicken broth
- ¼ cup freshly chopped parsley
Instructions
- Melt the butter in a large pot. Once the butter is completely melted, add the diced onion, carrots, and Italian seasoning and cook over medium heat for about 7 minutes, or until the veggies are tender.1 cup diced carrots, 1 cup diced white onion, ½ cup salted butter, 1 tablespoon Italian seasoning
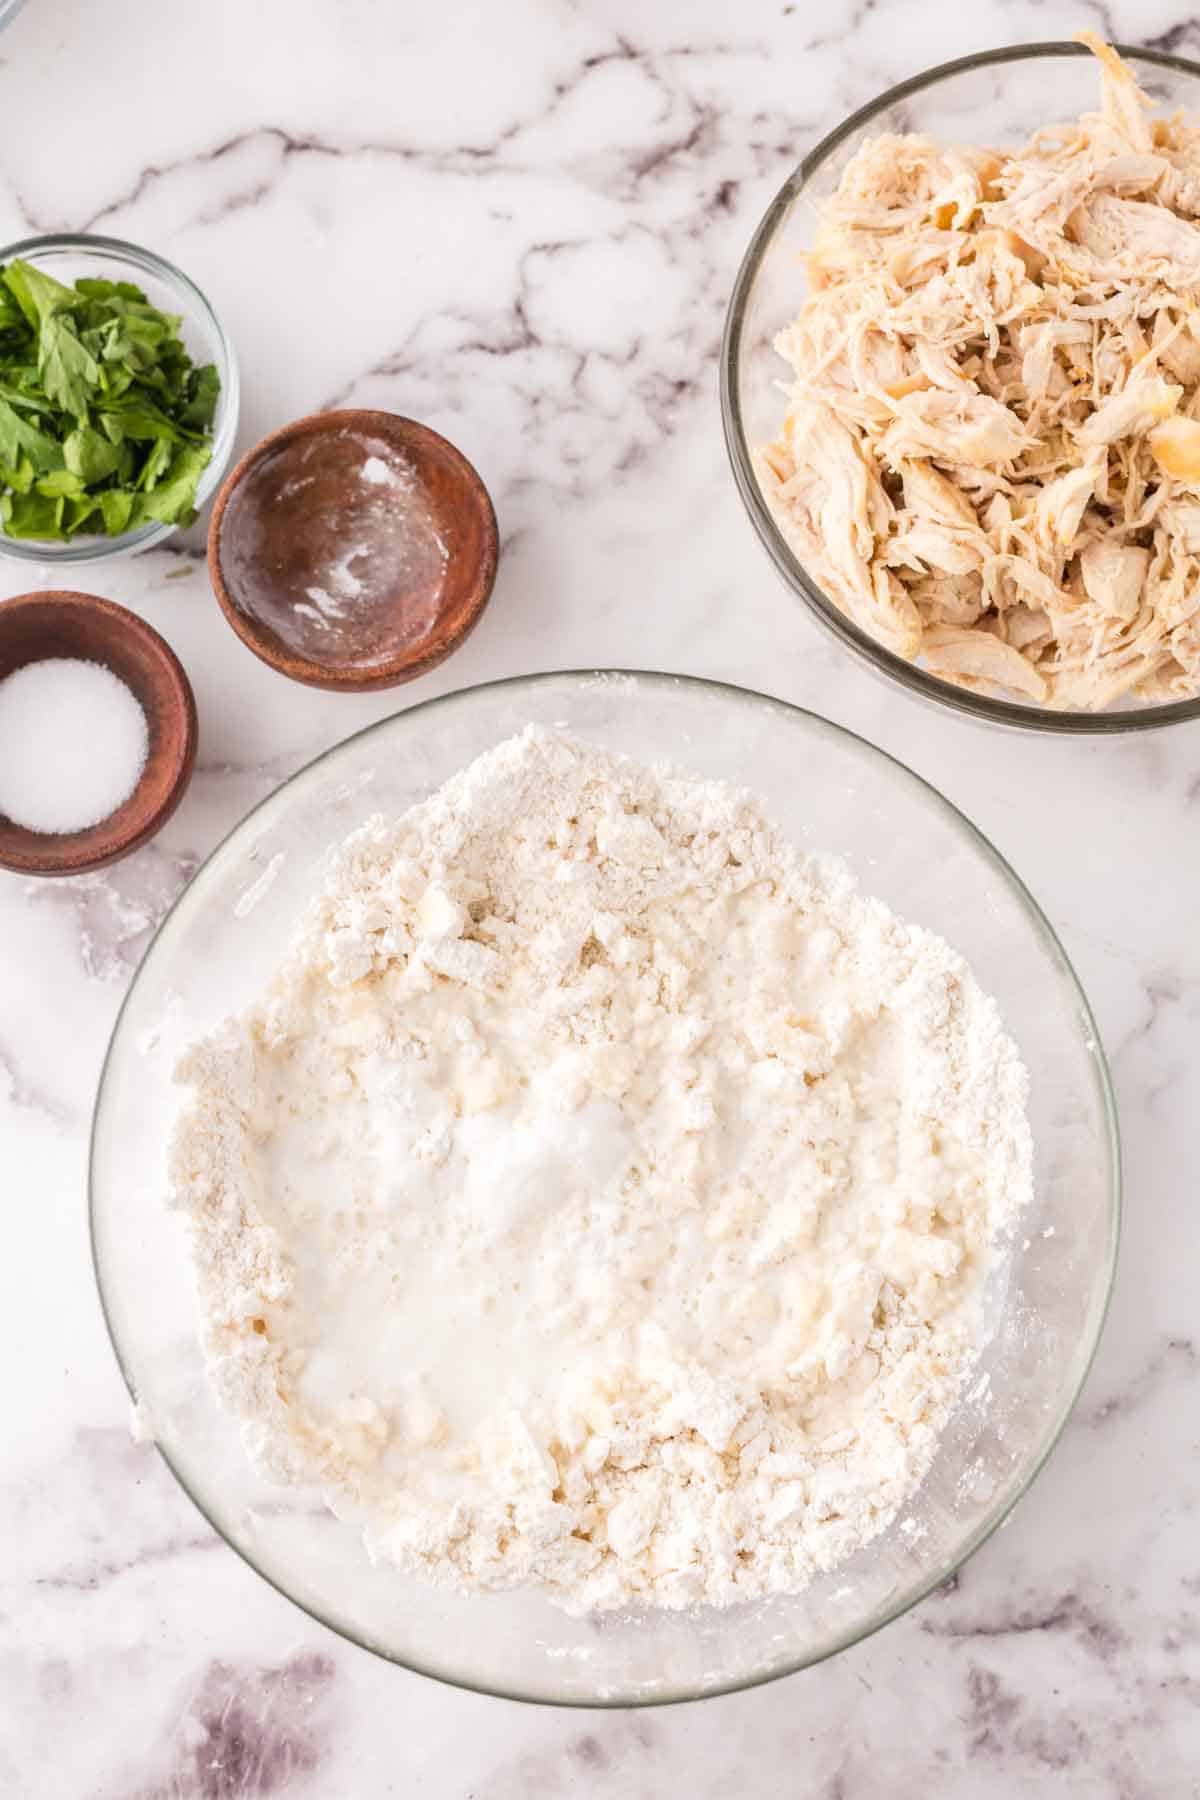
- While the veggies are cooking, combine the bisquick mix, salt, baking powder, and milk in a mixing bowl to create your dumpling dough. Spread the dough out into a sheet and cut it into strips about 2-3 inches long.2 cups bisquick mix, 1 teaspoon baking powder, 1 teaspoon salt, ½ cup whole milk
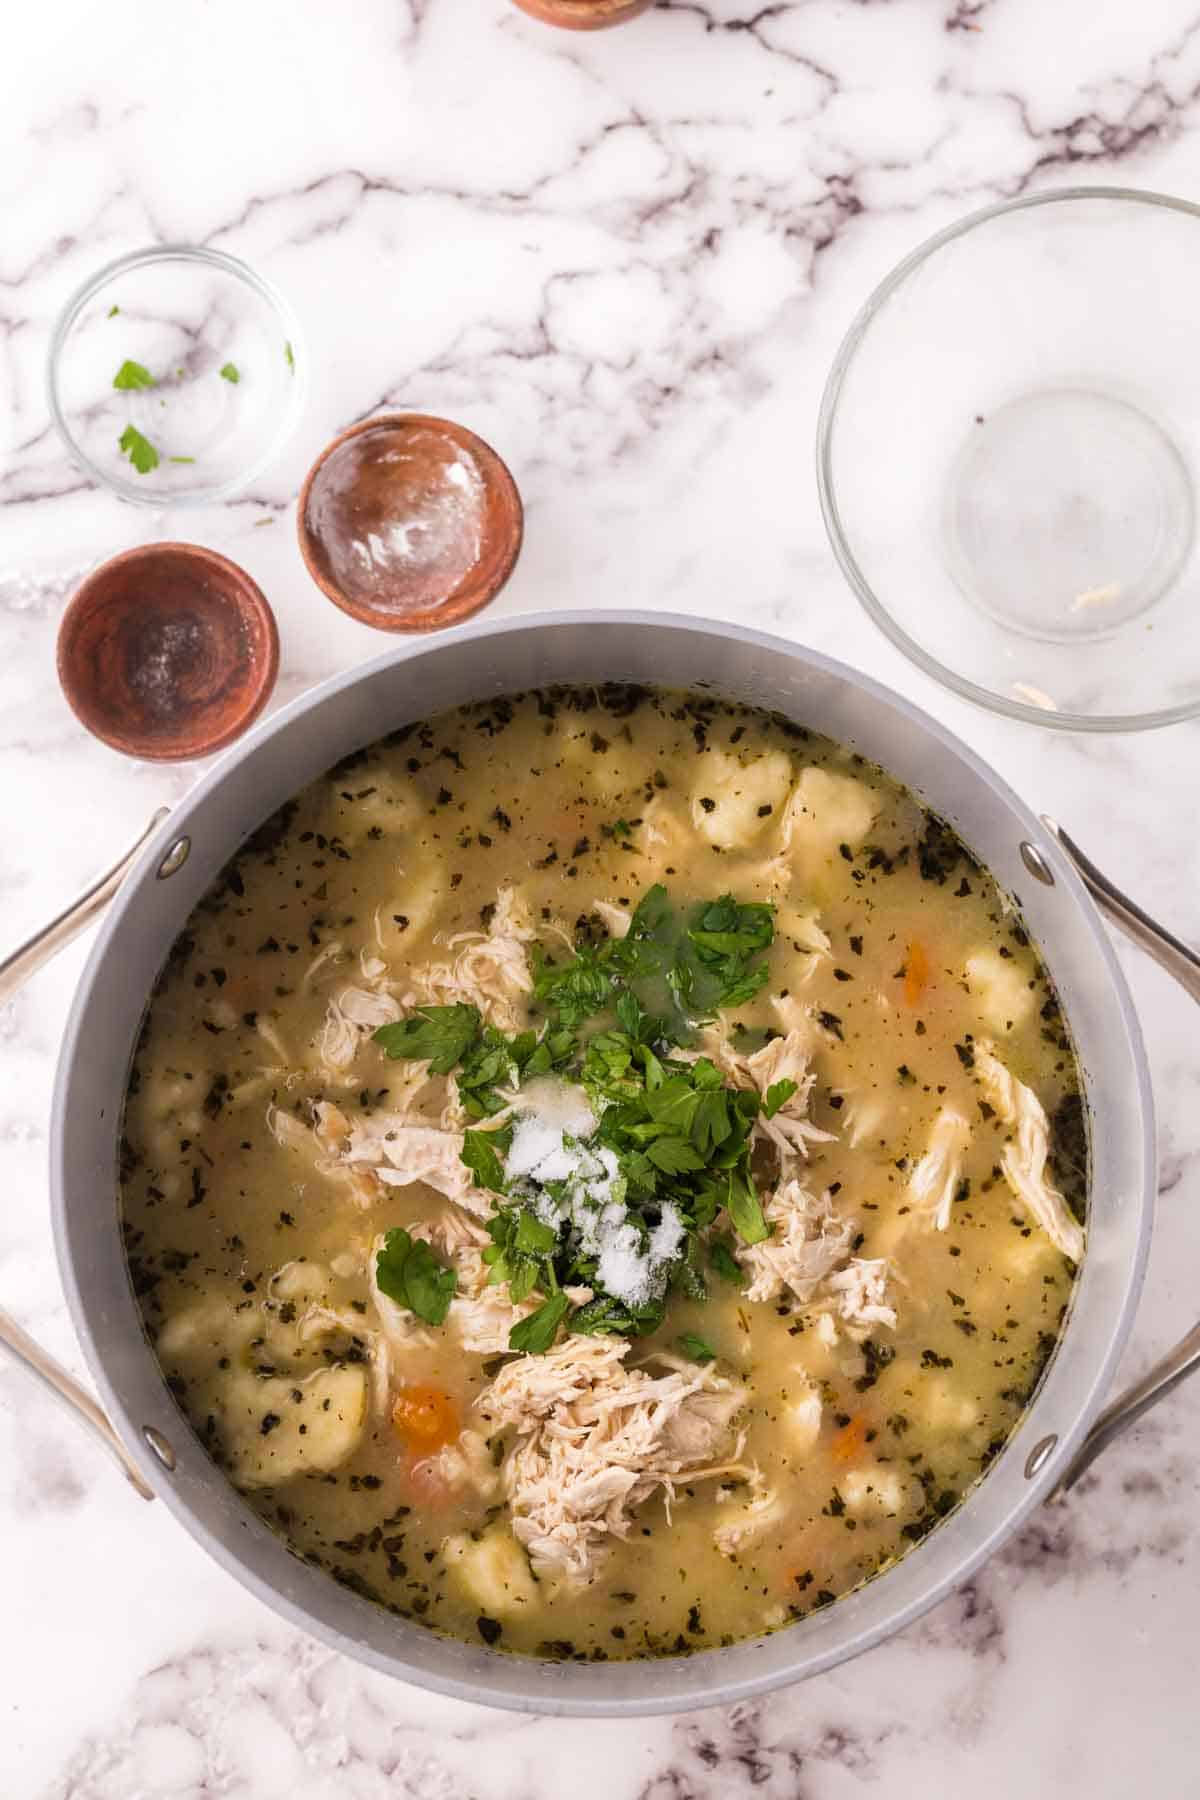
- Add the chicken broth and shredded chicken to the pot and bring the broth to a boil.4 cups chicken broth, 3 cups shredded chicken
- Once the chicken broth is boiling add the dumplings and cook for 10 minutes. Stir in your chopped parsley once the dumplings are finished cooking.¼ cup freshly chopped parsley
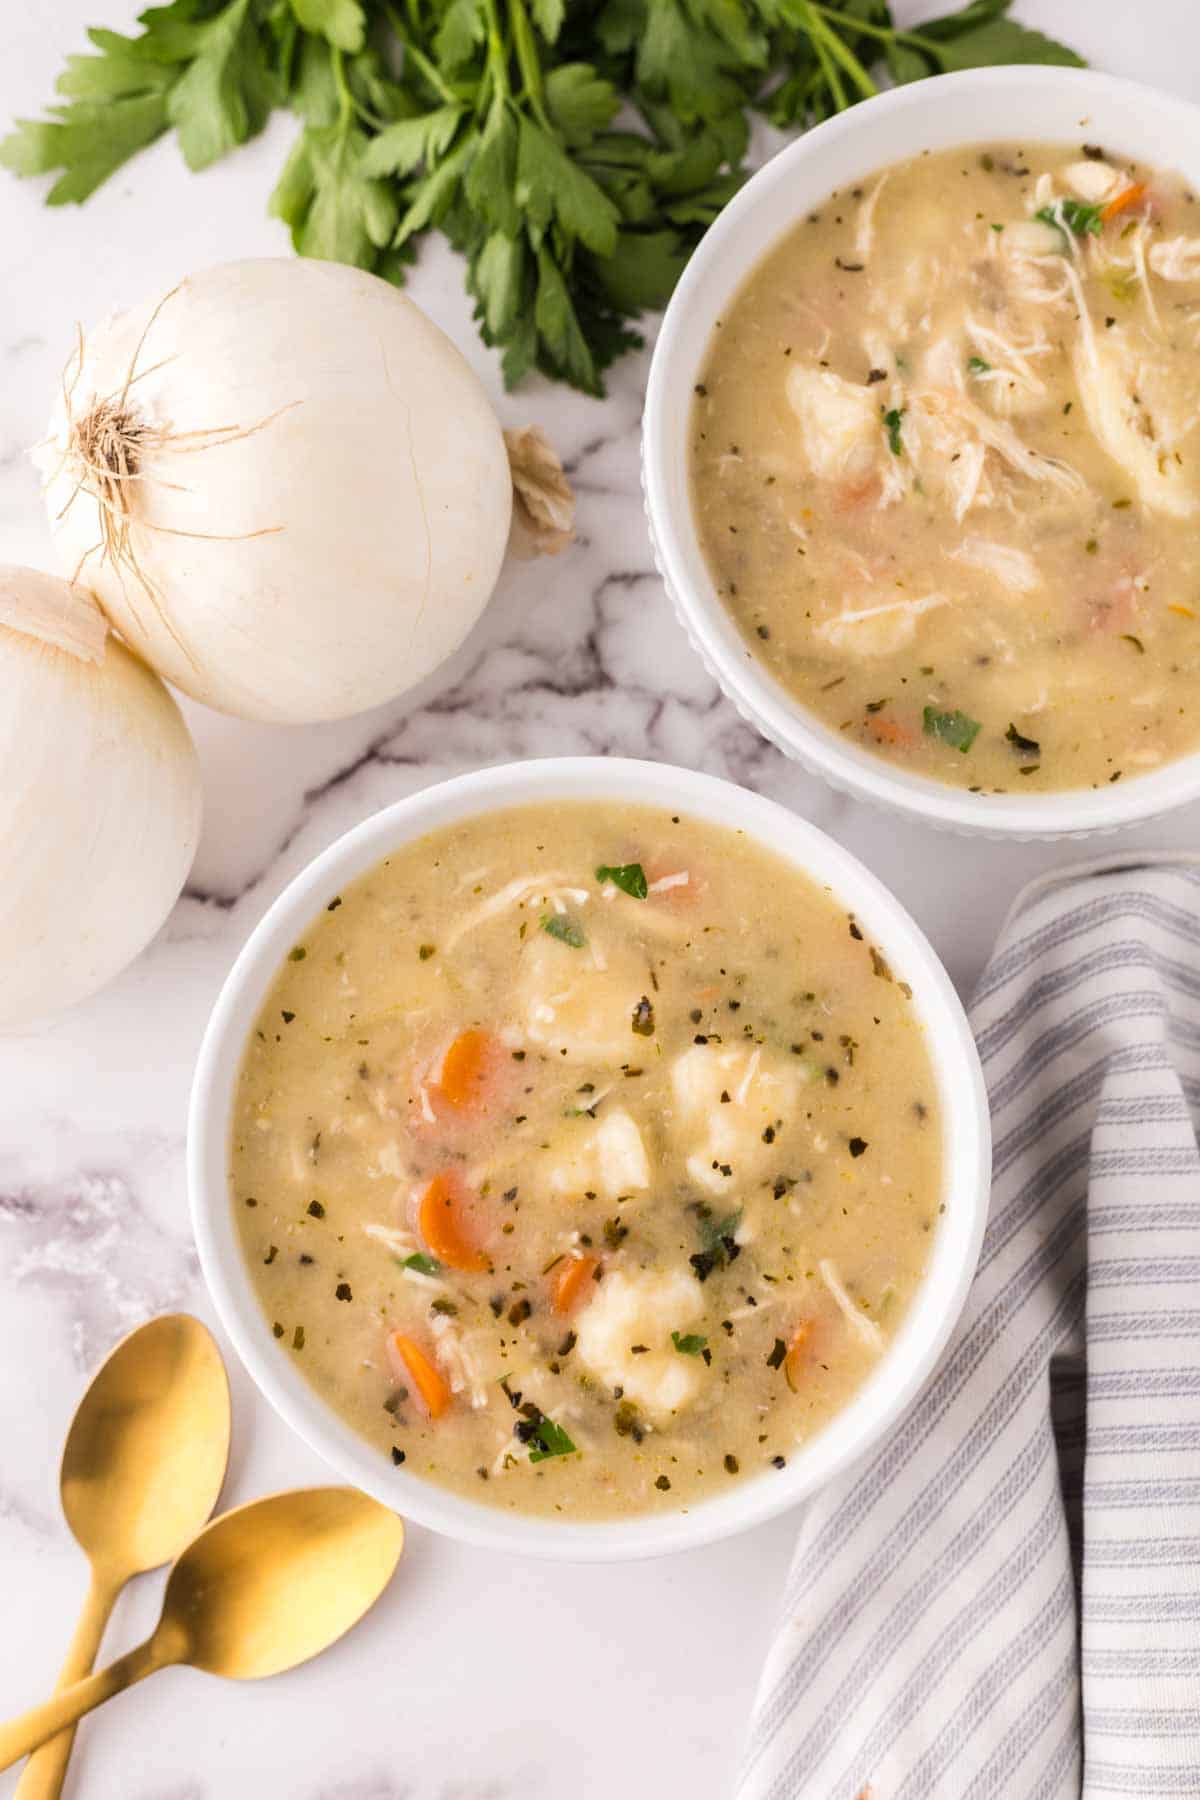
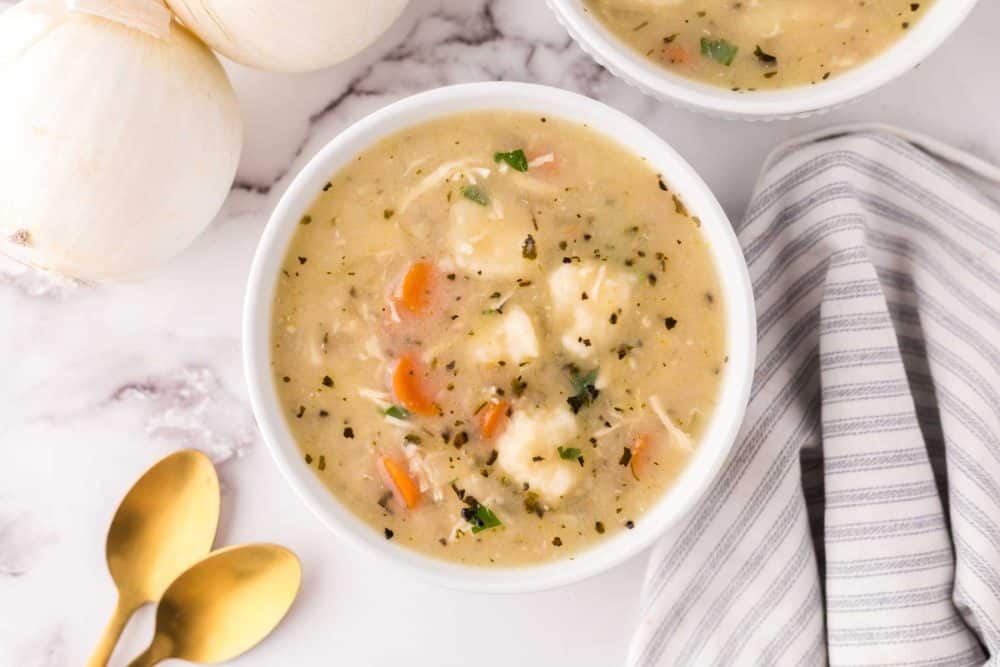
- Serve and enjoy!
Notes
Nutrition
How to Make Bisquick Dumplings
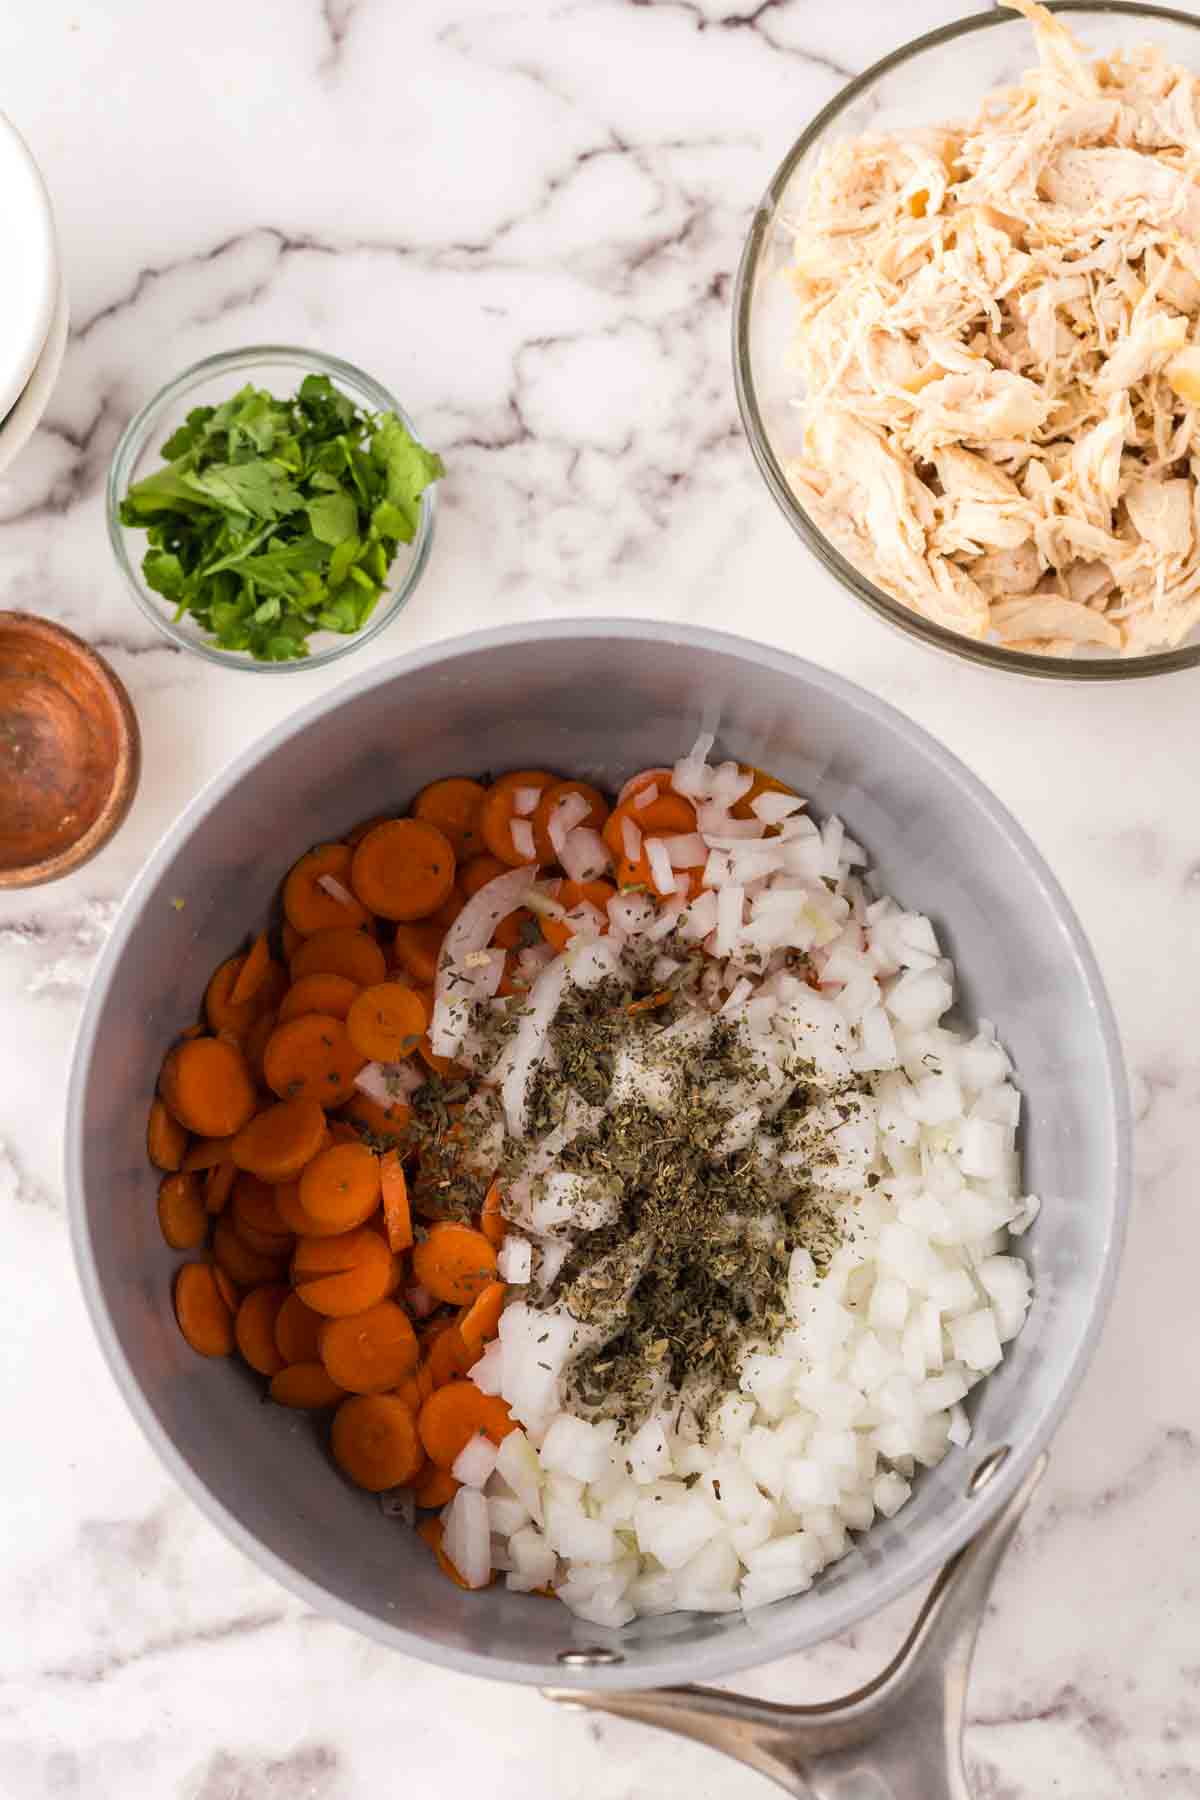
Step 1: In a large soup pot, sauté together the butter, diced onion, carrots, and Italian seasoning until the vegetables are soft.
Step 2: While the vegetables are cooking, create the dumplings by mixing the Bisquick mix, salt, baking powder, and whole milk until a sticky dough forms.
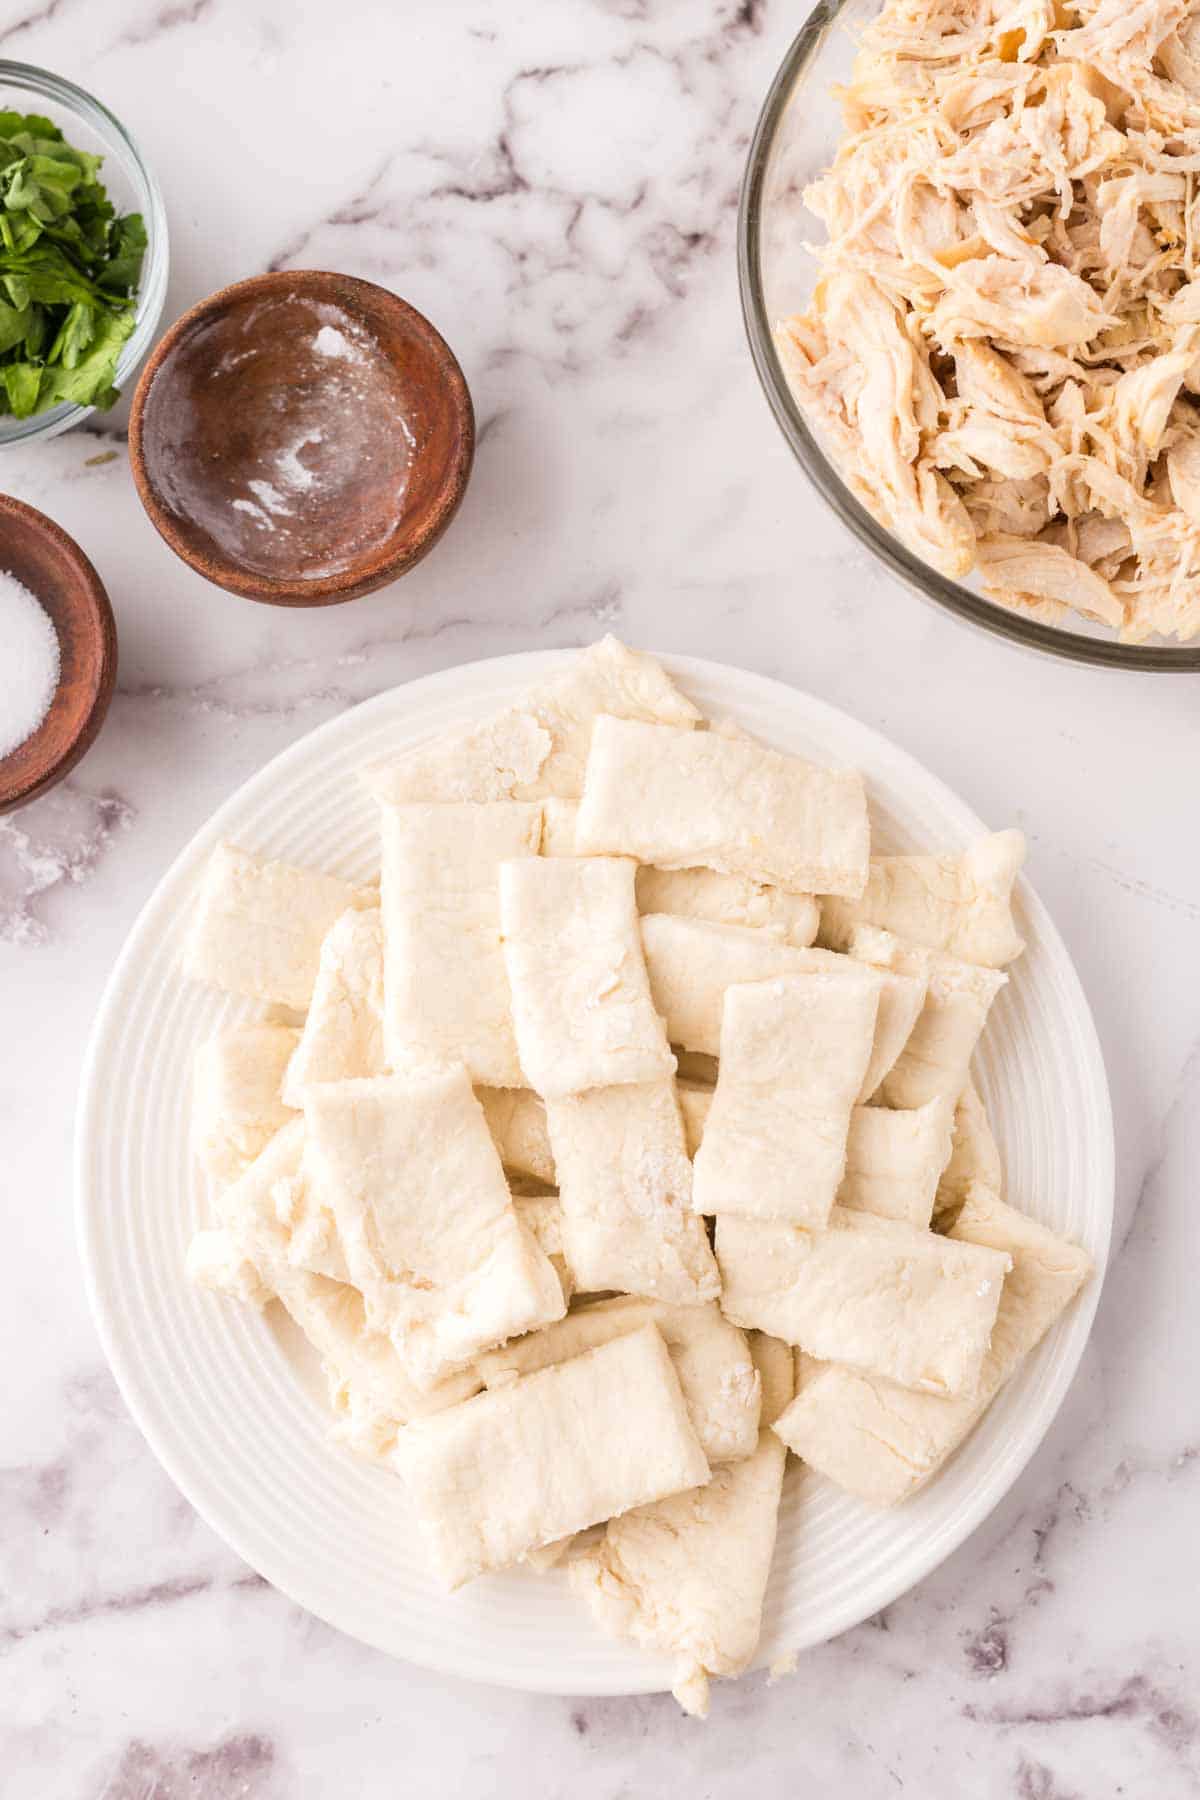
Step 3: Spread the dough into a thick sheet and use a knife or pizza cutter to slice it into strips. Set aside.
Step 4: Add the chicken broth and shredded chicken to the softened vegetables and bring to a boil. Add the Bisquick dumplings and cook until done. Stir in fresh parsley before serving. Enjoy!
Substitutions & Variations
Dairy-Free Option
Replace the butter with an equal amount of dairy-free margarine or vegetable oil. Use unsweetened almond milk or oat milk instead of whole milk. The dumplings will be slightly less rich but still delicious.
Herb Variations
Swap Italian seasoning for poultry seasoning for a more traditional chicken and dumplings flavor. Fresh herbs work beautifully too – use 3 tablespoons of chopped fresh herbs in place of 1 tablespoon dried.
Vegetable Mix
Feel free to customize the vegetables based on what you have on hand. Celery, peas, corn, or green beans all make excellent additions. Just keep the total vegetable amount around 2 cups.
Beef Stew Dumplings
Replace chicken broth with beef broth and swap shredded chicken for chunks of cooked beef. Add a splash of Worcestershire sauce for extra depth.
Cheesy Dumplings
Stir 1/2 cup of shredded sharp cheddar cheese into your dumpling dough for a rich, savory twist.
Gluten-Free Version
Use a gluten-free baking mix in place of Bisquick. Make sure all other ingredients are certified gluten-free as well.
FAQs for Recipe for Bisquick Dumplings
Because these bisquick dumplings are boiled instead of baked, they will be chewier and moister than your typical bisquick-based product. This being said, homemade dumplings should never be gummy all the way through. If your dumplings are still gummy and almost raw in the middle, this means either that you didn’t cook them long enough or you didn’t cut them small enough. Your dumplings should be fairly thin and should only be about 2-3 inches in length.
Most people don’t realize that bisquick dumplings are actually quite delicate! The best dumpling dough is sticky, so avoid adding too much flour or overworking your dough as it can lead to dense dumplings. The more you work the dough and the more flour you add, the more gluten will form. The more gluten there is, the less tender your finished bisquick dumplings will be.
Dumplings are ready when they’ve doubled in size, float to the top, and are no longer doughy in the center. This typically takes about 10 minutes of simmering.
Yes! These dumplings are incredibly versatile and work beautifully with beef stew, turkey soup, or any savory broth-based dish. The cooking method remains the same – just make sure your stew or broth is at a full boil before adding the dumplings.
My Best Tips for Making Bisquick Dumplings
☞Don’t Skip the Boil: Make sure your broth reaches a rolling boil before adding dumplings. This creates steam that helps them puff up and stay light.
☞Adjust Consistency: If your dumpling dough feels too wet, add bisquick mix one tablespoon at a time. If it’s too dry, add milk by the teaspoon.
☞Fresh is Best: While leftovers are delicious, dumplings are at their absolute best when freshly cooked. They tend to absorb liquid as they sit, so you may need to add extra broth when reheating.
Get Creative with Shapes: While traditional strips are classic, you can also drop spoonfuls of dough into the broth for a more rustic, biscuit-style dumpling. Both methods work perfectly – it’s just a matter of presentation preference.
What to Serve With Bisquick Dumplings
This dish is hearty enough to stand alone, but these sides complement it beautifully:
- Simple Green Salad: A crisp salad with vinaigrette cuts through the richness
- Crusty Bread: Perfect for soaking up that delicious broth
- Roasted Green Beans: Adds a nice textural contrast
- Buttermilk Biscuits: For those who can never have enough carbs
- Cranberry Sauce: A touch of sweetness balances the savory flavors
- Cornbread: Southern-style comfort food pairing
Storage & Reheating Tips
Room Temperature
Don’t leave at room temperature for more than 2 hours due to the chicken and dairy.
Refrigerator Storage
Store in an airtight container for up to 5 days. Note that dumplings will absorb liquid as they sit, so you may need to add extra broth when reheating.
Freezer Storage
I don’t recommend freezing this dish as the dumplings become mushy when thawed. If you want to prep ahead, freeze the broth mixture separately and make fresh dumplings when ready to serve.
Reheating
Microwave individual portions for 60-90 seconds, stirring halfway through. For larger amounts, reheat gently on the stovetop over medium-low heat, adding a splash of chicken broth to loosen if needed.
Make-Ahead
You can prep the vegetables and shred the chicken up to 2 days ahead. Mix the dumpling dough and cook everything fresh for best results.
Best Served Fresh
For optimal texture and flavor, enjoy this dish the day it’s made. The dumplings are at their absolute best when freshly cooked and fluffy.
Similar Recipes to Try
More Delicious Chicken Recipes To Consider
Chicken Recipes
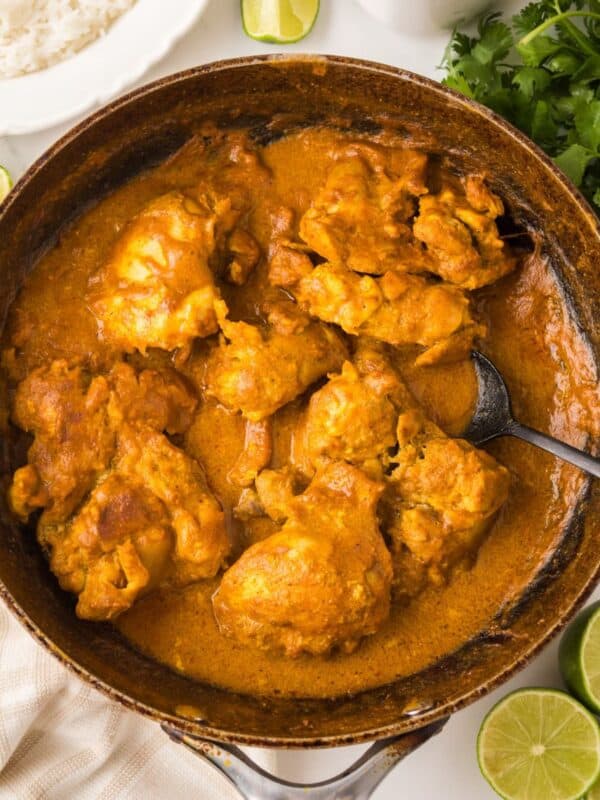
How to Make Simple Chicken Curry with Chicken Thighs
Chicken Recipes
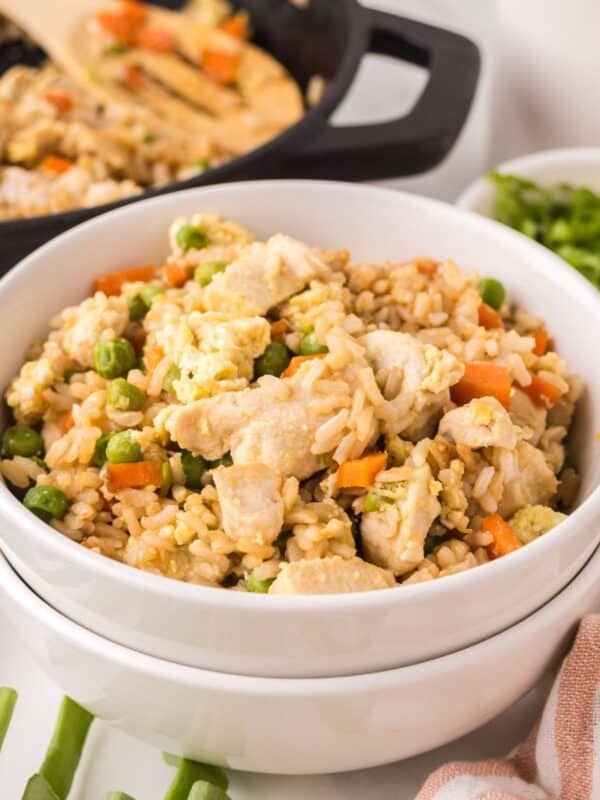
Making Chicken Fried Rice

Chicken Recipes
Sheet Pan Lemon and Herb Chicken
Chicken Recipes
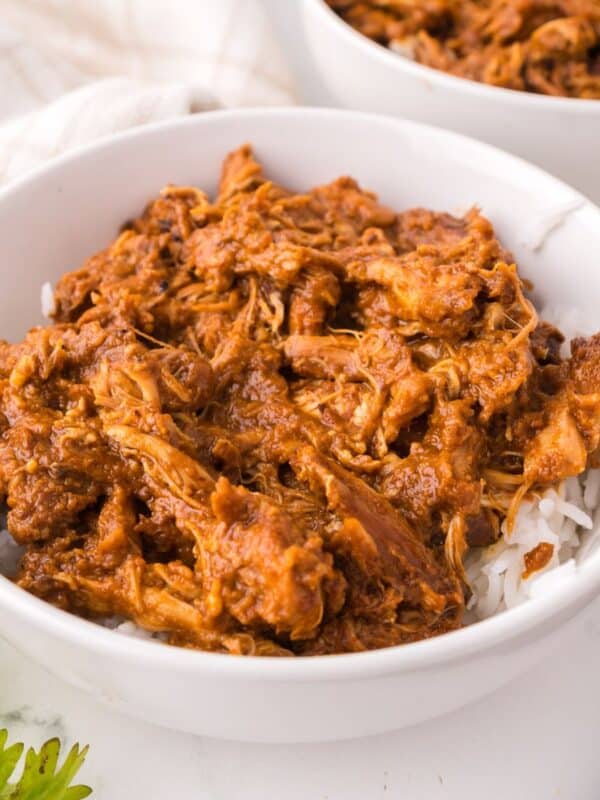
Slow Cooker Thai Chicken Satay Recipe
Did you make this recipe? Leave a ⭐️ review and share it on Instagram, Facebook, or Pinterest!


Love this recipe.