The 4 Best Ways to Cook a Chicken Breast that Everyone Should Know
on Mar 30, 2016, Updated Aug 22, 2024
This post may contain affiliate links. Please read our disclosure policy.
Revealing the secret steps to the 4 Best Ways to Cook a Chicken Breast. A few simple prep steps and 4 different cooking methods means you will know how to cook chicken breast so they are moist, flavorful, and perfect every time!

4 Best Ways to Cook a Chicken Breast
Chicken breast are one of our country’s most popular meats but so often they are dry, tasteless, hunks of protein that just aren’t worth eating! I’m here to solve the problem of the dry chicken breast forever. Everyone needs to know the best way to cook chicken breast and I’m here to let you in on the secret.
This post is going to change the way that you cook chicken breast.
There’s one simple method to prepping the chicken and then I’m going to tell you four (yes, four!) different ways to cook that chicken breast. This is going to change your dinner time. This is also awesome if you are into meal prepping because you are going to actually enjoy eating your chicken throughout the week.
Be excited, very very excited.
Here are the secret steps to making the most delicious chicken breasts known to your kitchen.
Step 1: Brine
I know this sounds like a lot of work but it is worth it!!! People are all into brining whole turkeys on Thanksgiving, but we don’t add this important step to our weeknight meals. Just. Do. It. A simple brine can be made by adding 1 tablespoon of salt per cup of water. I wanted to make 4 large chicken breasts one day so I mixed together 4 cups of water, 4 tablespoons of salt, stirred until the salt was dissolved, and then poured my brine over my chicken in a bowl. I popped on the lid and let it sit on my counter for about 30 minutes. 30 minutes is ideal. You can get away with brining for as little as 15 minutes or as long as an hour, but any more or less than that isn’t worth the time or will make the chicken too salty. Brining will make your chicken moist, more flavorful, and also helps to bring the chicken to room temperature which is helpful for cooking it. It’s easiest to have the chicken brine in a bowl or a baking dish instead of a plastic bag.
Step 2: Beat it
Chicken breast are thicker on one end than the other, that’s just how they come. If you want them to cook evenly then you’ll want to use a meat cleaver (or a rolling pin) to flatten the thickest part of the chicken so that it’s a similar thickens all over. I put my chicken is a thin plastic bag before whacking it on one end to keep the juices from getting everywhere.
Step 3: Pat dry
Removing any extra moisture from the outside helps the chicken to crisp up nicely when cooked. Just use a few paper towels or napkins to pat both sides dry.
Step 4: Add butter/oil
By adding a little bit of melted butter or oil to your chicken breast you are adding flavor, something to help the outside cook nicely without drying out, and it gives the seasoning something to adhere to. I love to use melted butter because it adds the most flavor. You could also use an olive oil. Plan on about one teaspoon of melted butter or oil per chicken breast. Be sure to coat both sides of the chicken.
Step 5: Season
This is the time to make this meat shine! You can go as simple as salt and pepper, or you can make your own seasoning blend. I love 1 tablespoon of salt, 1 teaspoon of pepper, 1 teaspoon of paprika (smoked is awesome), and 1 teaspoon of garlic powder. This is enough for 4 large chicken breast or 6 smaller. I like to mix this together in a bowl and then sprinkle it on to both sides of my chicken breast. If you have a favorite seasoning blend (I love Montreal Steak Seasoning on everything) this would be a great time to use it.
Step 6: Cook
Here’s where things get fun! The first 5 steps are the same and then you can decide how you want to cook the chicken breast and this will add variety to the dinner table. When I’m prepping a lot of meat for the week I’ll do steps 1 through 5 for a big batch of chicken (around 4 pounds) and then I’ll bake some, grill a few, and pan sear a few others. I think the cooking method makes them taste different and I use them in different things.
I highly recommend buying an instant-read meat thermometer. I bought this simple one for around $10 on Amazon and I’ve been using it for 3 year (and I changed the battery for the first time just last month). It’s a life saver! No more guessing if your chicken is done or not, and no more over cooking “just to be on the safe side”.
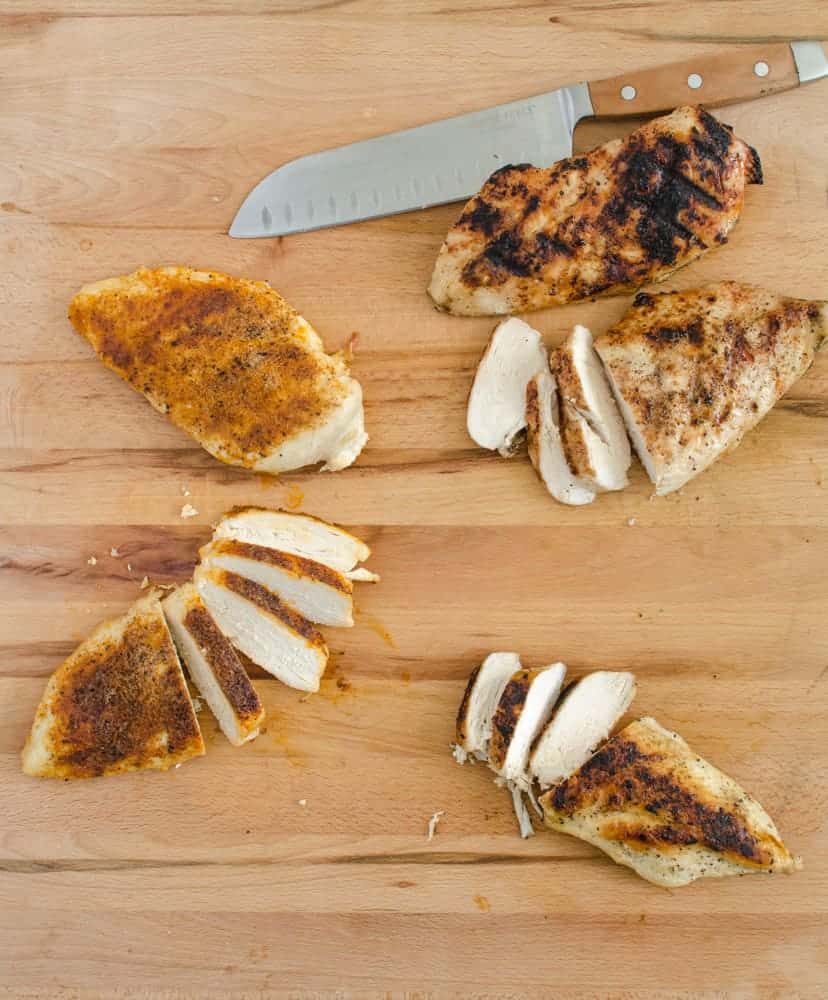
4 Different ways to cook chicken breast
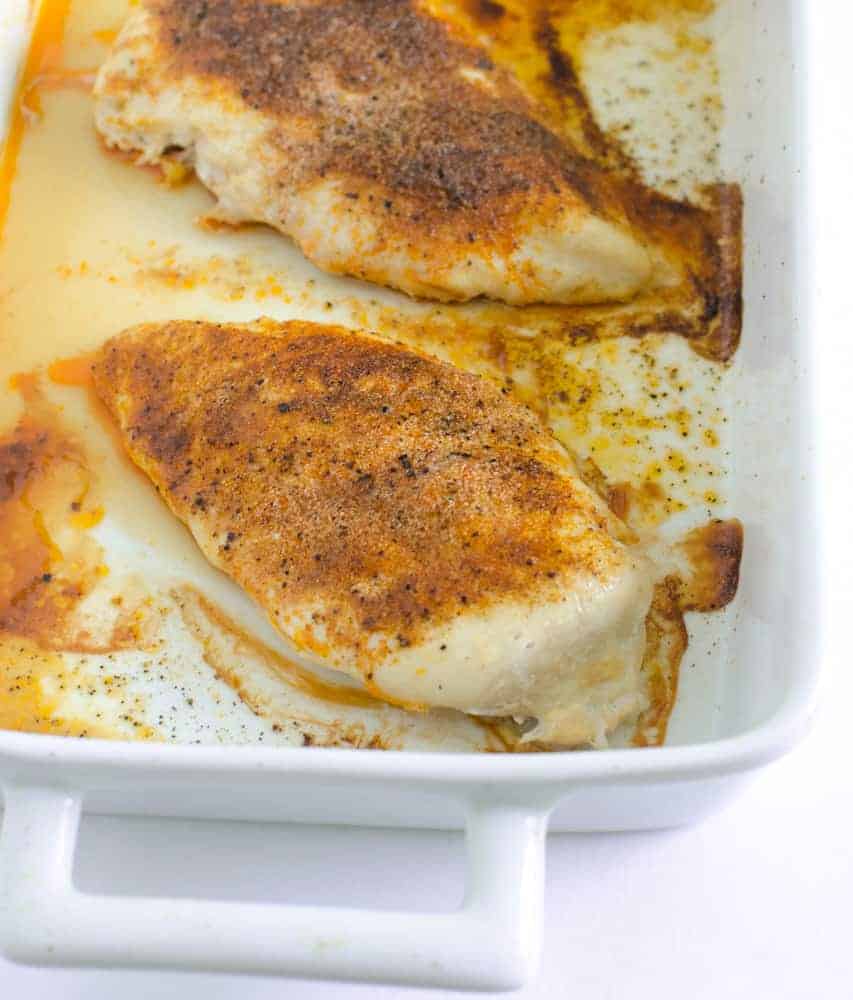
To bake:
Place prepared chicken breast in a baking dish. Bake in a hot (450 degree) oven for 15-20 minutes. Use a cooking thermometer to measure the temperature at the thickest part of the breast, it should be between 160-170 degrees F. (The FDA recommends 170 degrees F.) Once the chicken is cooked, remove the pan from the oven and loosely cover the pan with aluminum foil. Let the chicken rest for at least 5-10 minutes. Then serve immediately.
This baked chicken is fool-proof! Make sure that the chicken is cooked through and then let it rest. If your chicken is a little thick it might take a few minutes longer to cook then my suggested times. This will produce a moist and perfect chicken breast that you literally can’t screw up. This is a simple way to prep a lot of chicken too. Bake a pan full, store the rest in an airtight container in the fridge, and then use it all week long. It’s really easy to chop or shred this chicken too for other recipes. It reheats really well too.
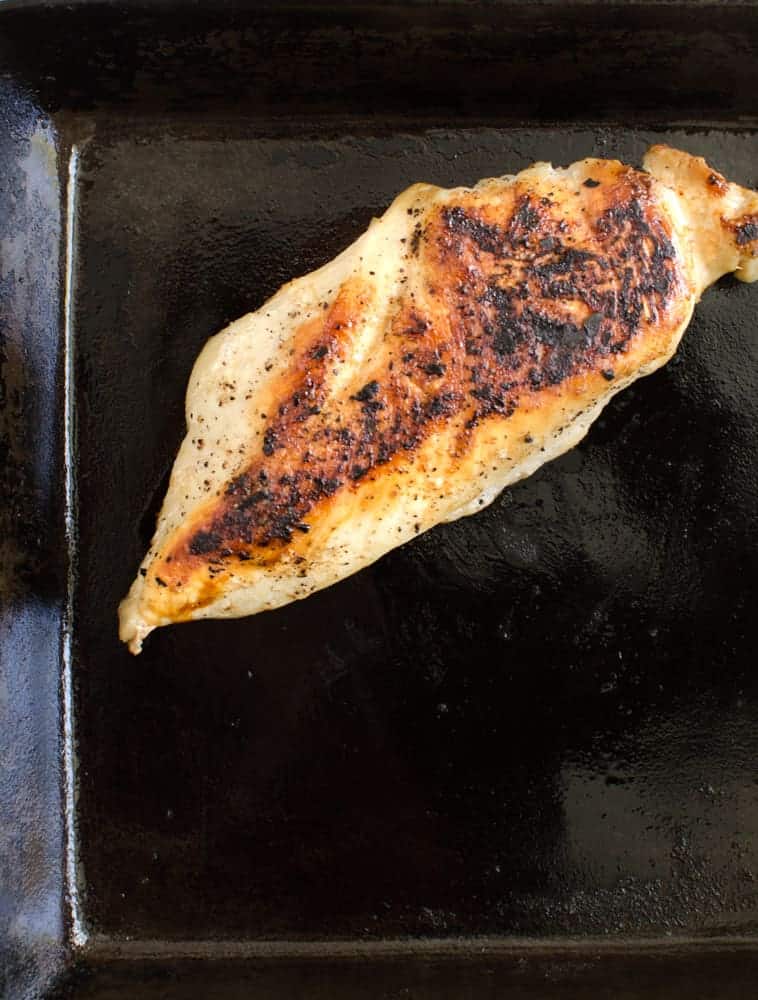
To pan-sear:
Heat a large skillet over medium-high heat (cast iron skillets are perfect for this!). Add 1 tablespoon oil; swirl to coat. Add chicken to pan and cook chicken breast for 5 minutes. Turn the chicken over, reduce heat to medium, and cook 5 minutes or until done. Remove chicken from pan; Let the chicken rest for at least 5-10 minutes (I like to but it on a plate and cover it with foil). Then serve immediately.
This is a simple way to get a nice “grilled” taste without firing up the grill. Pan seared chicken looks great on the plate, has a nice little crust on the outside, and the meat in the middle is still super moist and very tender.
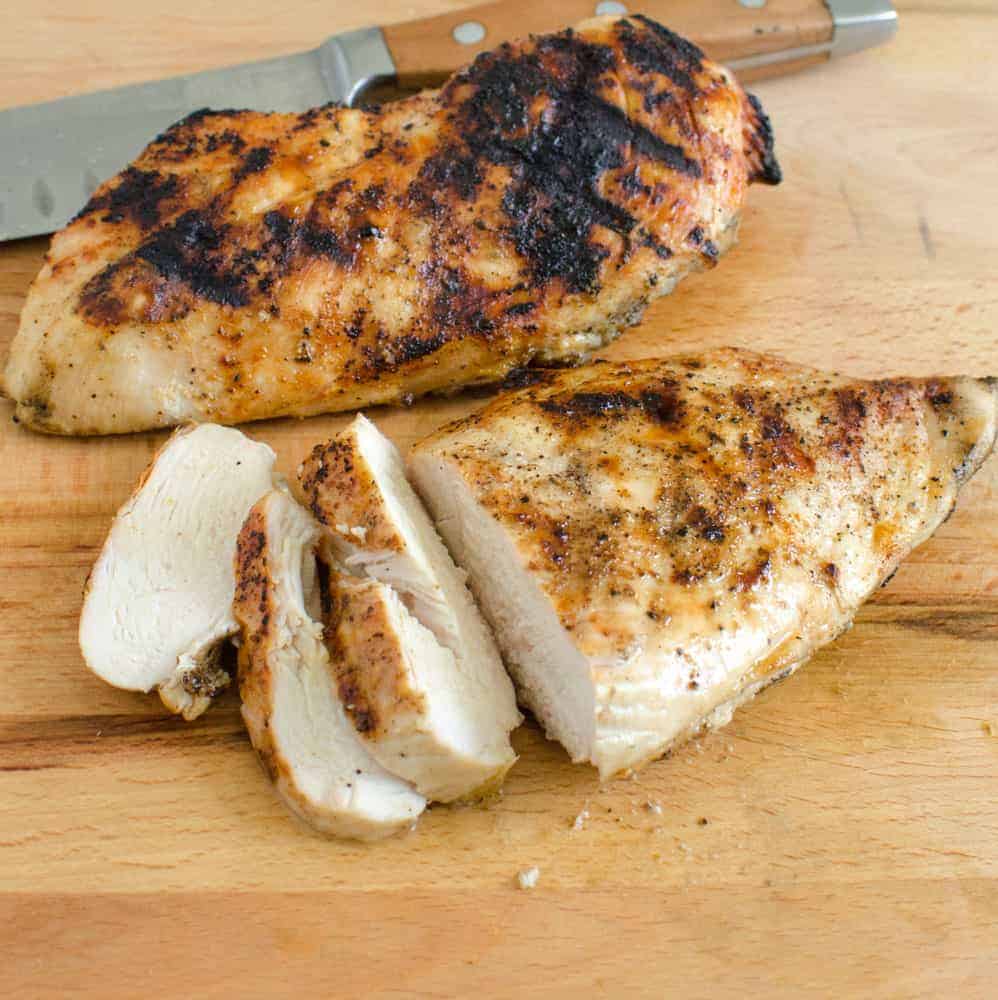
To grill:
Preheat your grill to medium-high heat. Place the chicken on the grill and cook for 5 minutes. Turn the chicken over, reduce the heat to medium, and cook an additional 5 minutes or until the chicken is cooked through. Remove the chicken from the pan and let it rest for at least 5-10 minutes (I like to let it rest on a plate covered with foil to retain the heat). Serve.
There’s something magical about grilled meat! I’d recommend making enough chicken to enjoy the day you are cooking and then some extra for later in the week. This grilled chicken is awesome sliced up on a salad, in fajitas, or even thinly sliced on a sandwich.
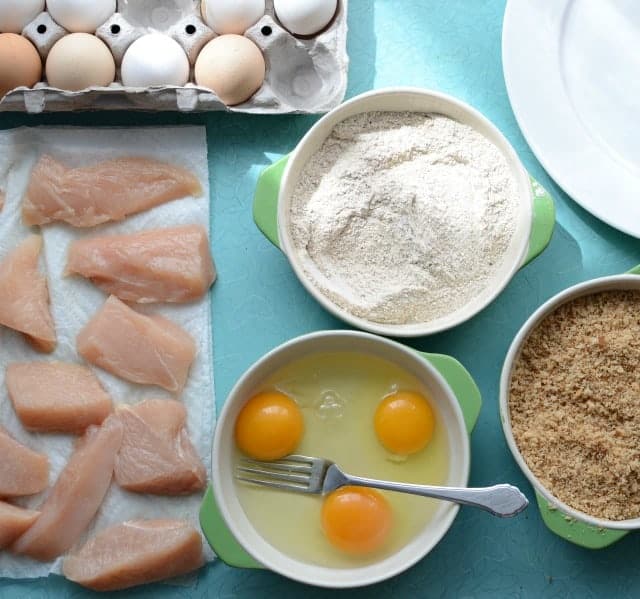
To pan fry (homemade breaded chicken nuggets):

Freezer Friendly Homemade Chicken Nuggets
Ingredients
- salt and pepper
- 2 tablespoons Worcestershire sauce
- 1 1/2 pounds boneless, skinless chicken , (Cut into strips that are 3/4 inch wide)
- 1/2 cup all-purpose flour
- 1 tablespoon onion powder
- 1 teaspoon granulated garlic
- 3 large eggs
- 2 cups bread crumbs, (store bought, homemade, or Panko)
- 3/4 cup vegetable oil
Instructions
To Prep:
- Add 2 cups of cold water to a large bowl. Add 1 tablespoon of salt and Worcestershire and stir to dissolve. Submerge chicken in brine, cover, and refrigerate for 30 minutes.
- Remove the chicken from the brine and pat dry with paper towels.
- Combine the flour, onion powder, granulated garlic, 1/4 teaspoon salt, and 3/4 teaspoon pepper in a shallow dish.
- Beat the eggs in a second shallow dish.
- Add the bread crumbs to a third shallow dish.
- Working with a piece at a time, toss the chicken in the flour, then dip it in the eggs, then coat with the bread crumbs. Transfer to a large plate.
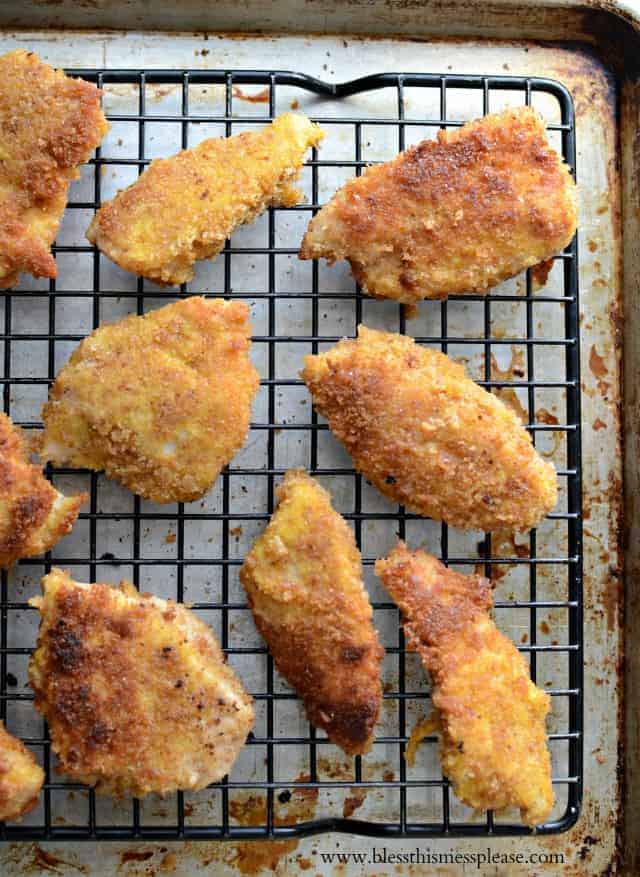
- Heat 1/4 cup of oil in a 12-inch skillet (cast iron works great here) and heat over medium-high heat until the oil is shimmering. Cook one third of the coated chicken in the skillet until golden brown on each side (about 3 minutes per side) until the chicken is cooked through.
- Remove the chicken from the pan and place it on a wire rack sitting inside a baking sheet to cool. Wipe out the pan and repeat with the remaining chicken, 1/3 at a time (so you’ll cook a total of 3 batch of chicken nuggets).
- Serve right away or you can make these ahead of time in large batches and keep them in the freezer so you always have frozen chicken nuggets on hand!
To Freeze and reheat:
- Let the chicken cool to room temperature, about 30 minutes.
- Transfer the cooled chicken nuggets to a freezer zipper-lock bag and seal. Freeze up to 1 month. Do no thaw before reheating.
To Finish and Serve:
- Preheat the oven to 350 degree. Bake nuggets on a wire rack, set on a rimmed baking sheet until crisp and heated through, about 30 minutes. Flip the chicken half way through cooking time. Serve hot.
Notes
- America’s Test Kitchen’s original recipe called for all-purpose flour (I used whole wheat), and Panko bread crumbs (I used homemade whole wheat), so use what you think is best. I rarely substitute things in their recipes, but did this time because that is what I had on hand.
- Don’t brine for over 30 minutes, or your chicken will be too salty.
- I’m calling this recipe healthy because it is SO MUCH BETTER for you than traditional store-bought chicken nuggets. Frying isn’t bad, it’s a very traditional cooking method. If vegetable oil isn’t your thing, cook them in avocado oil.
- Homemade Whole Wheat Bread Crumbs: Dry 6-8 pieces of your favorite homemade wheat bread in a 350-degree oven for about 10 minutes, until the bread feels dry. Tear the bread into large pieces and process in a blender or food processor until you have bread crumbs. Easy!
Nutrition
If you read through the whole recipe you’ll see what you can freeze these chicken nuggets and reheat them when needed. Chicken nuggets are delicious and homemade chicken nuggets are amazing. Having them in the freezer makes this an awesome make-ahead meal option. I love prepping a double batch of these. Cook once and eat twice is always a win in my book.
Step 7: Rest
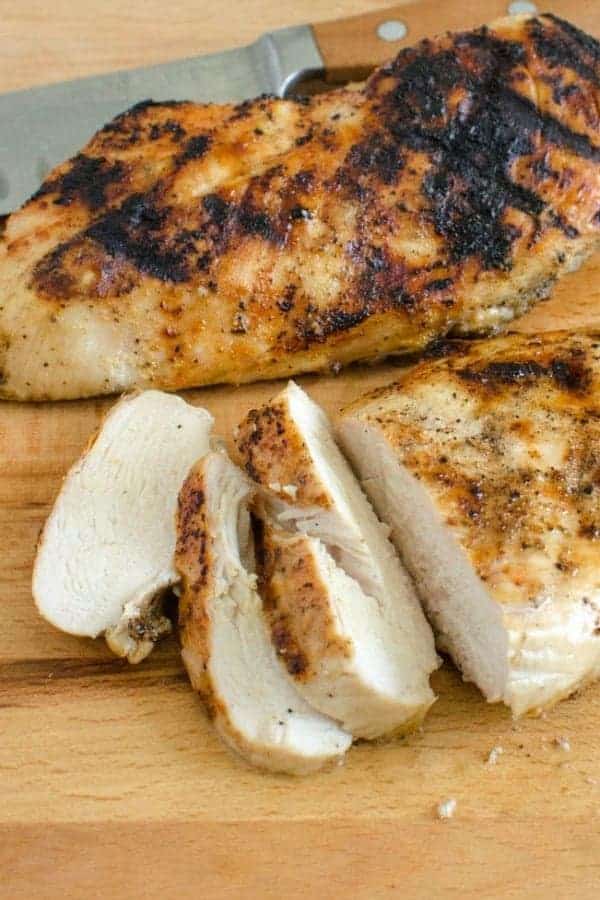
I put this step in each of the cooking instructions but it’s important enough to say again. Make sure when the chicken is done cooking that you wait 5-10 minutes before cutting into it. This give the juices inside the chicken time to redistribute into the meat. If you cut it too quickly all that goodness will end up on your cutting board and you’ll end with with a drier chicken breast than if you would have waited. Good things really do come to those who wait.
Step 8: Eat up!
There you have 4 different ways to cook chicken breast that has been prepared the same way. A few little tricks like brining, pounding the meat to a more uniform thickness, using a thermometer to determine if the meat is cooked through, and letting the meat rest after cooking will really change your chicken game!
Some of my best Chicken recipes you should try:
- Sweet and Spicy Baked Chicken Legs
- How to Make Homemade Chicken Strips in the Air Fryer
- Crispy Sheet Pan Baked Chicken Taco Meat
- Crunchy Baked Chicken Tacos
- Orange Chicken with Stir-Fry Veggies
- 4-Ingredient Honey Mustard Baked Chicken Legs
- Cheesy Chicken Tetrazzini with Mushrooms
- Garlic and Herb Whole Chicken in the Crock Pot
- Crispy Panko-Crusted Baked Chicken Legs
- Lemon Garlic Baked Chicken Legs
- Quick, Easy, and Healthy White Chicken Enchilada Soup
I can’t wait for you to try this method. Say goodbye to dry chicken breast forever with the Best 4 Ways to Cook a Chicken Breast. Hope this makes your cooking a little more delicious and a little easier.



Wow…chicken hanging out in brine becomes something magical!! So moist and tender! Made the chicken nuggets tonight……I also have a batch in the freezer for a quickie meal next week. How did I ever cook decent without your blog? Thanks for another winner!!
I love this! Thank you for sharing your thoughts with everyone else 🙂 I love those chicken recipes too! Make them all the time!
My daughter swears by brining her chicken and has made a believer out of me – I used to hate white meat because it was always dry, but the brining (and minimal cooking time) gives magical results!
Thank you for this blog. Never thought to brine my chicken breasts. Will certainly try this. Bit apprehensive about being able to use the baked chicken all week though. I would never use cooked chicken after 2 days unless it’s been frozen after cooking.
Love this! Cooking chicken breasts can be really difficult to get right. Thanks!
this is awesome! thanks for putting this together, hooray for prepping chicken for a whole week!