The Perfect Icing for Gingerbread Cookies
on Dec 19, 2024
This post may contain affiliate links. Please read our disclosure policy.
If you make a lot of gingerbread cookies during the holidays like I do, then you definitely need this icing for gingerbread cookies! This recipe is an absolute game-changer that’ll transform your holiday baking from simple to spectacular, and it’s so simple you’ll want to decorate cookies all season.
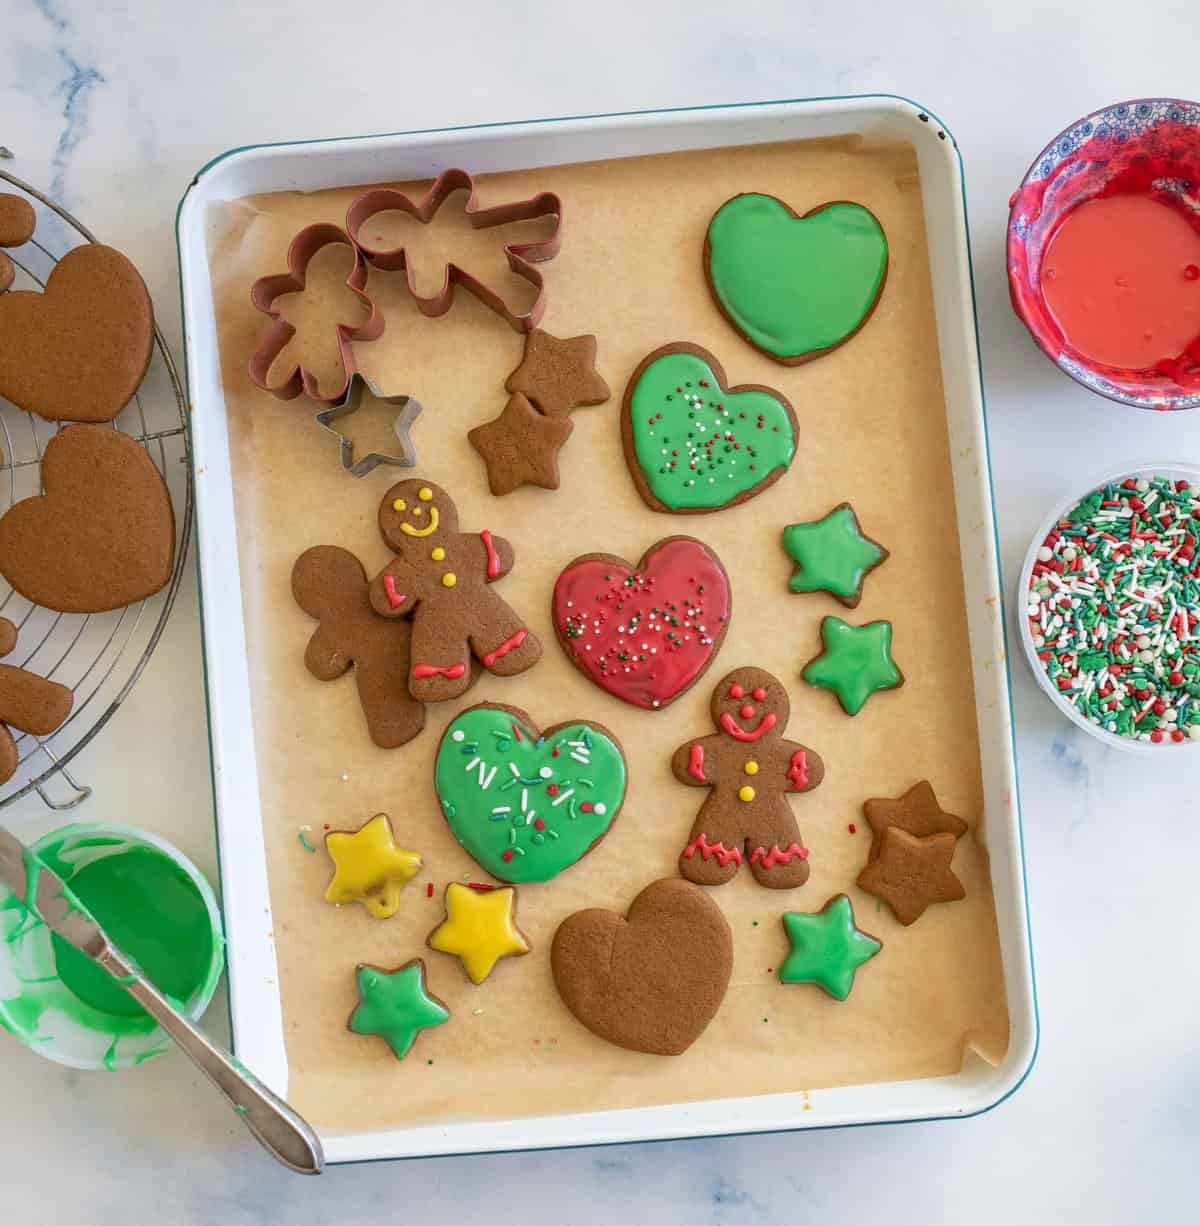
After countless hours of decorating cookies with my kids and perfecting this recipe for holiday cookie exchanges, I’ve created an icing that’s not only beautiful but practically foolproof.
There’s something magical about watching this icing transform from a simple mixture into a glossy, perfect finish that makes every cookie look professionally decorated. The secret lies in the corn syrup — it gives the icing that coveted sheen while keeping it stable enough for stacking and gifting.
I love how this recipe lets you control the consistency, whether you’re creating delicate snowflake patterns or giving your gingerbread friends their signature buttons and smiles!
My favorite part about this recipe is its versatility with flavors. While vanilla extract is classic, try almond extract for a nutty sophistication or peppermint for that quintessential holiday taste. Last Christmas, I surprised everyone with coconut-flavored icing on my gingerbread cookies, and it became an instant family favorite that everyone requested again!
Table of Contents

Why You’ll Love This Icing for Gingerbread Cookies
- Pipe or Spread: This icing is the perfect consistency that’s easy to work with, whether you’re piping intricate designs or doing simple spreads with the kids.
- Sets Well: The corn syrup secret ingredient helps this icing to set beautifully firm, which makes it a good choice for cookies that need to be stacked for transporting or gifting. Don’t worry, it still a lovely texture when eating!
- Thick or Thin: The thickness is super easy to customize — just thin with more milk if you want a flooding consistency or use less milk for a thicker piping consistency.
- Pretty Sheen: I love how shiny this icing dries! It’s just a gorgeous professional sheen that makes your cookies look bakery-worthy.
🎄 My kids have caught my gingerbread spirit and enjoy cutting out and decorating gingerbread cookies as much as I do! These really do make amazing gifts and are a super fun holiday tradition.
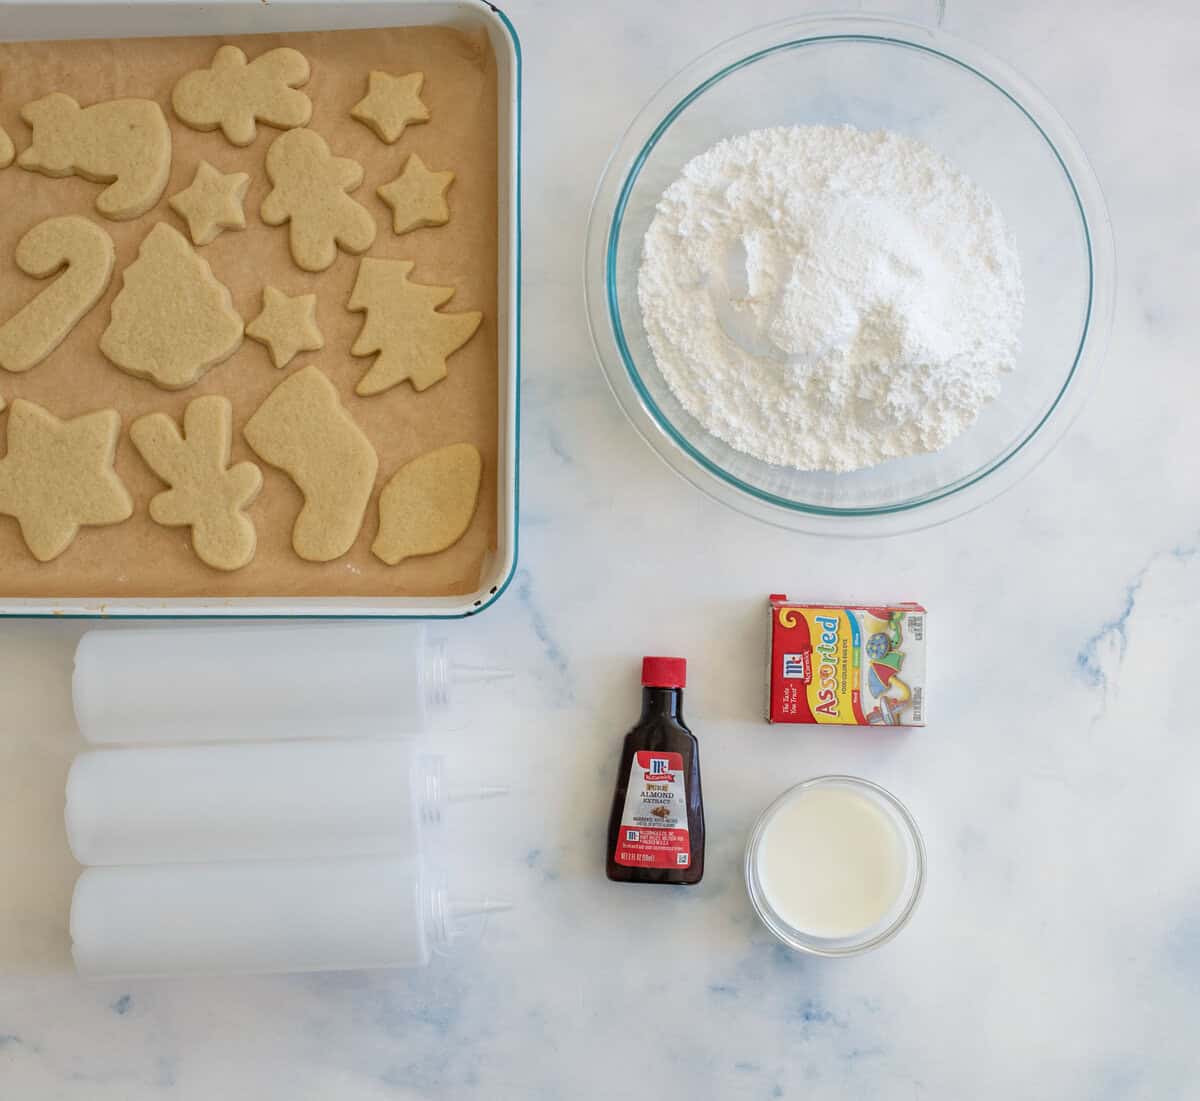
Recipe Ingredients
- Powdered sugar
- Milk
- Light corn syrup
- Extract — vanilla, almond, peppermint, or coconut
- Food coloring — optional
See the recipe card below for full information on ingredients and quantities.
How to Make Icing for Gingerbread Cookies
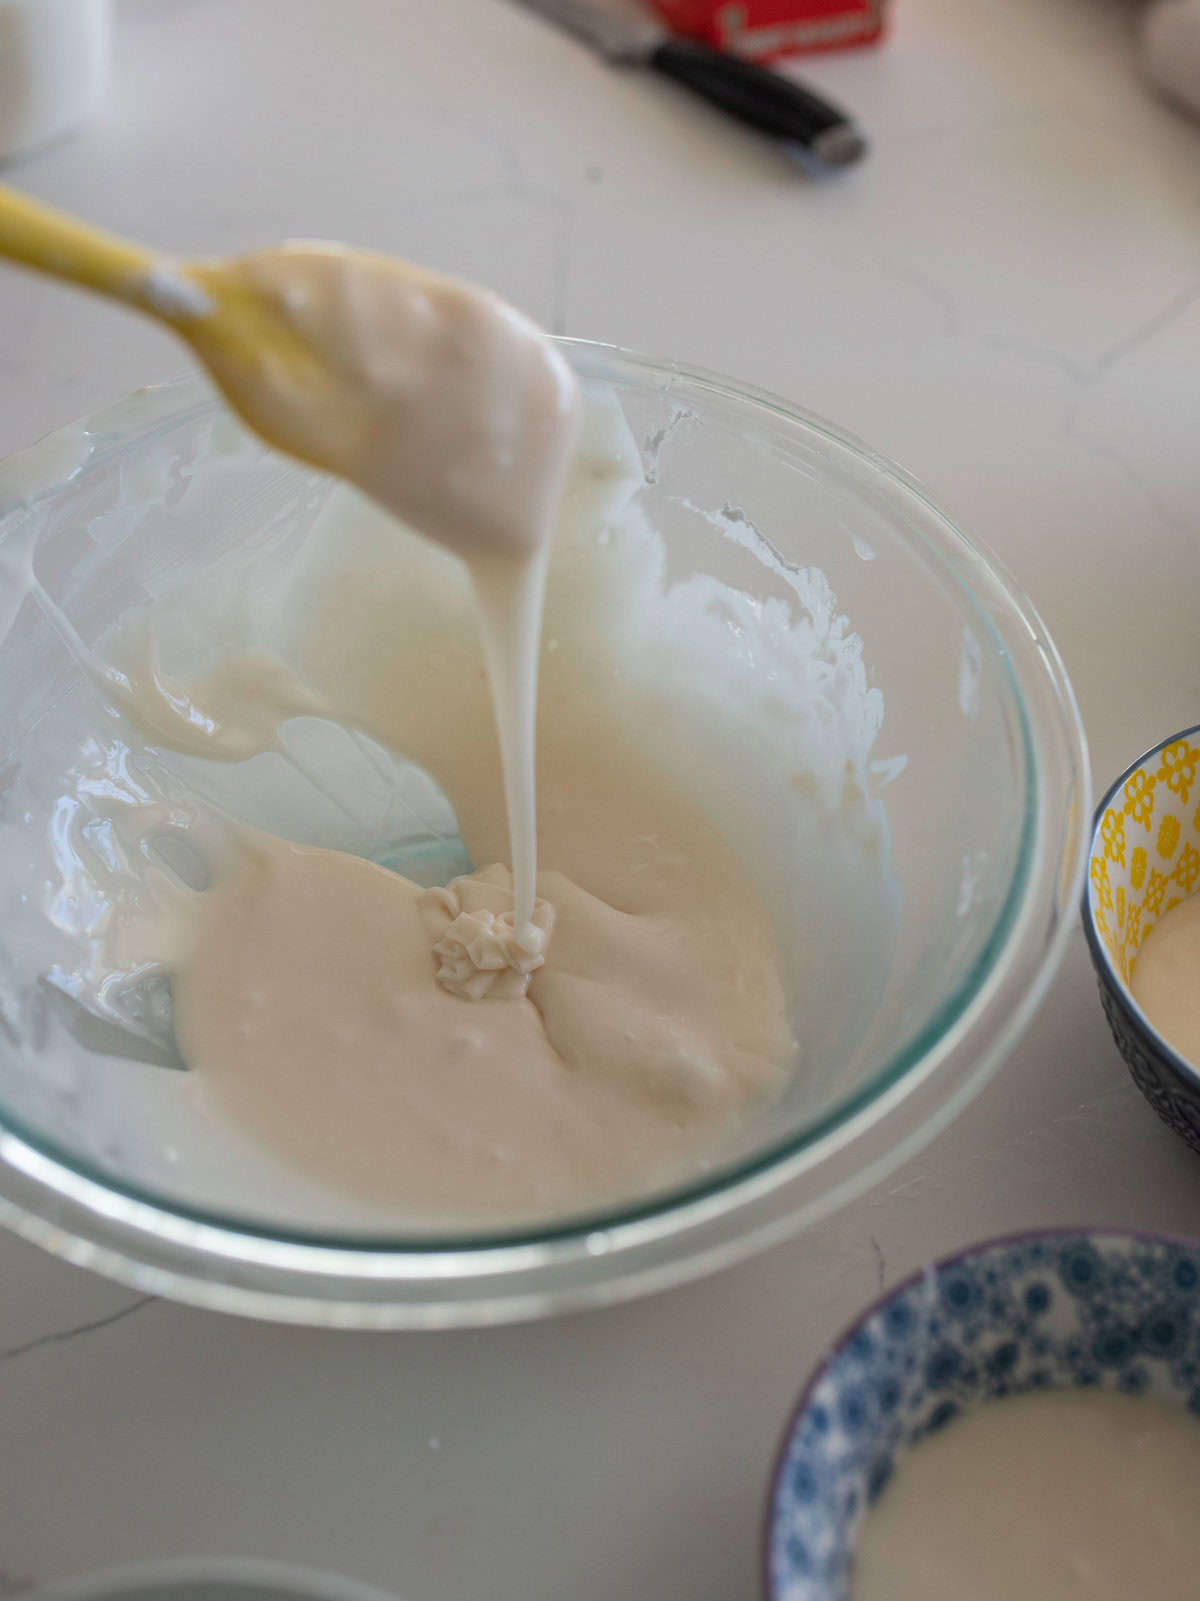
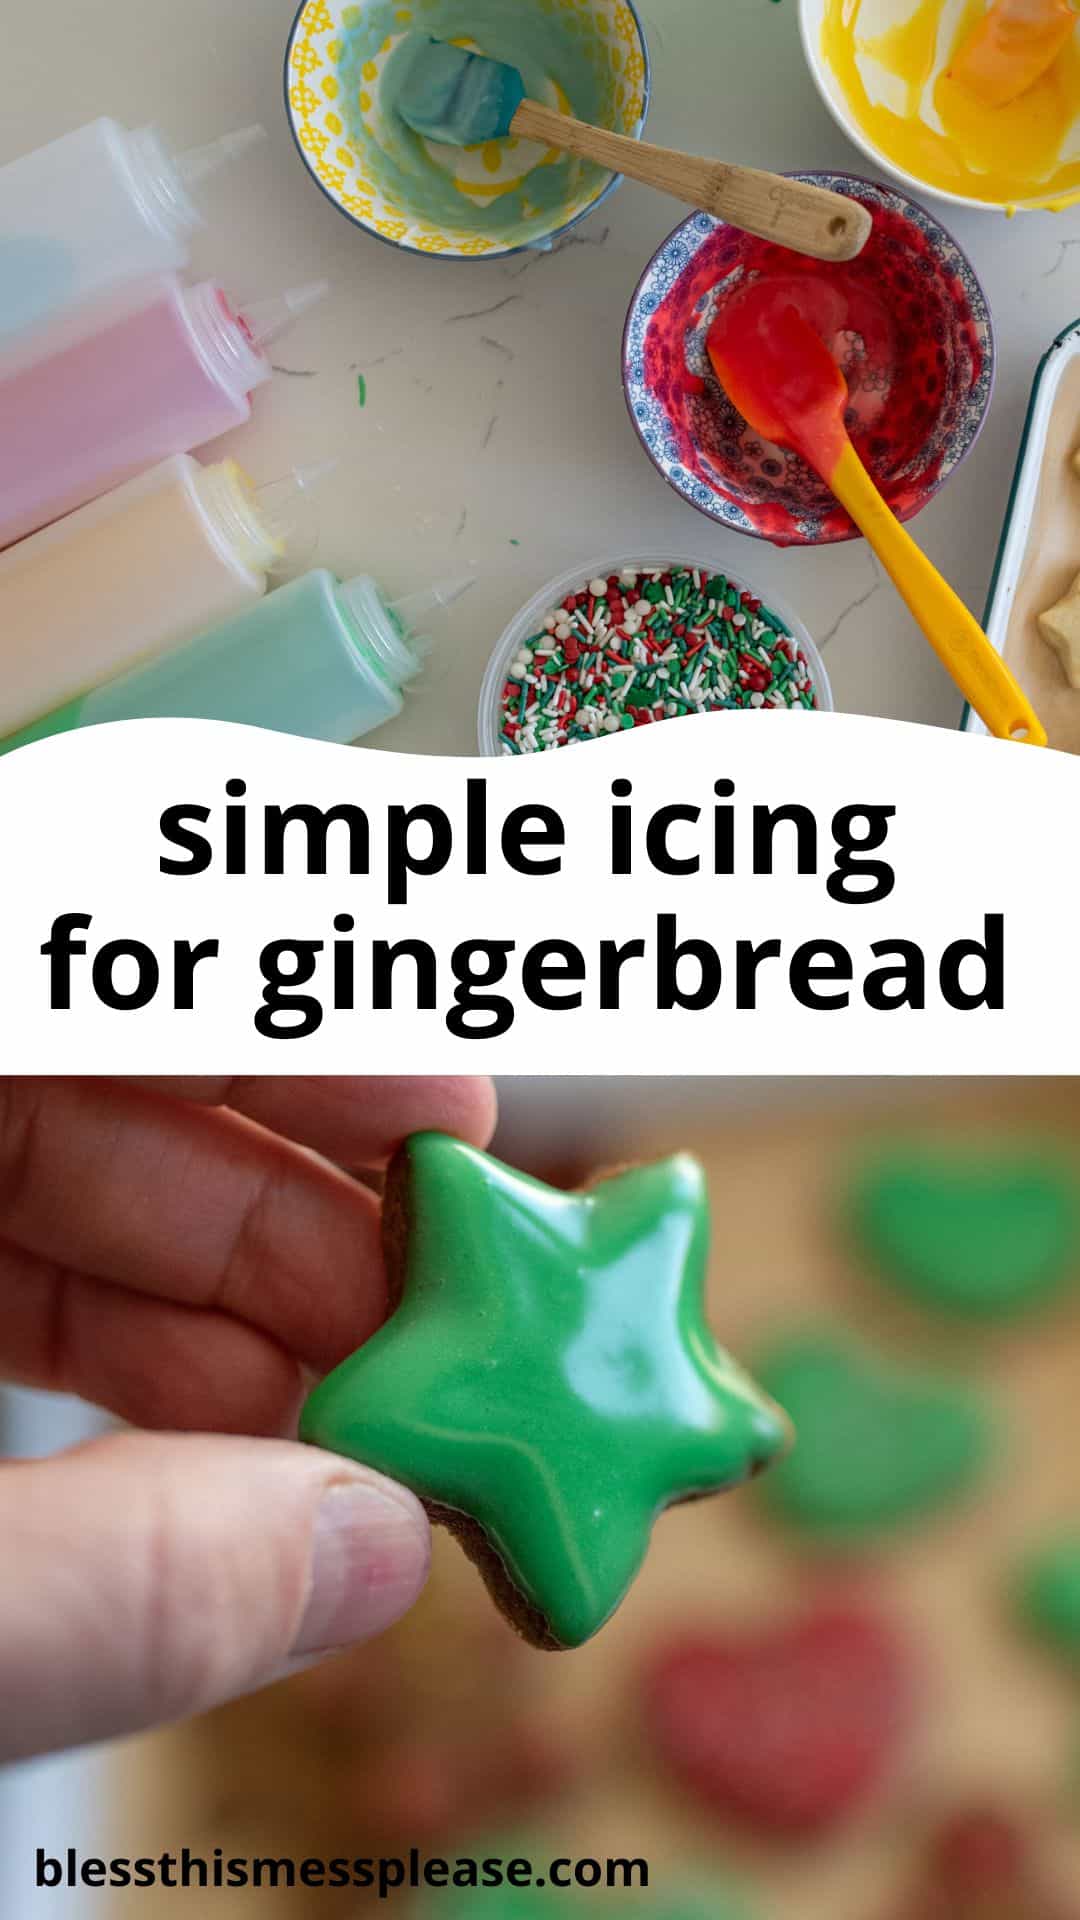
Step 1: In a bowl, whisk together the ingredients. Gradually add more milk, a little at a time, until the icing reaches the right consistency.
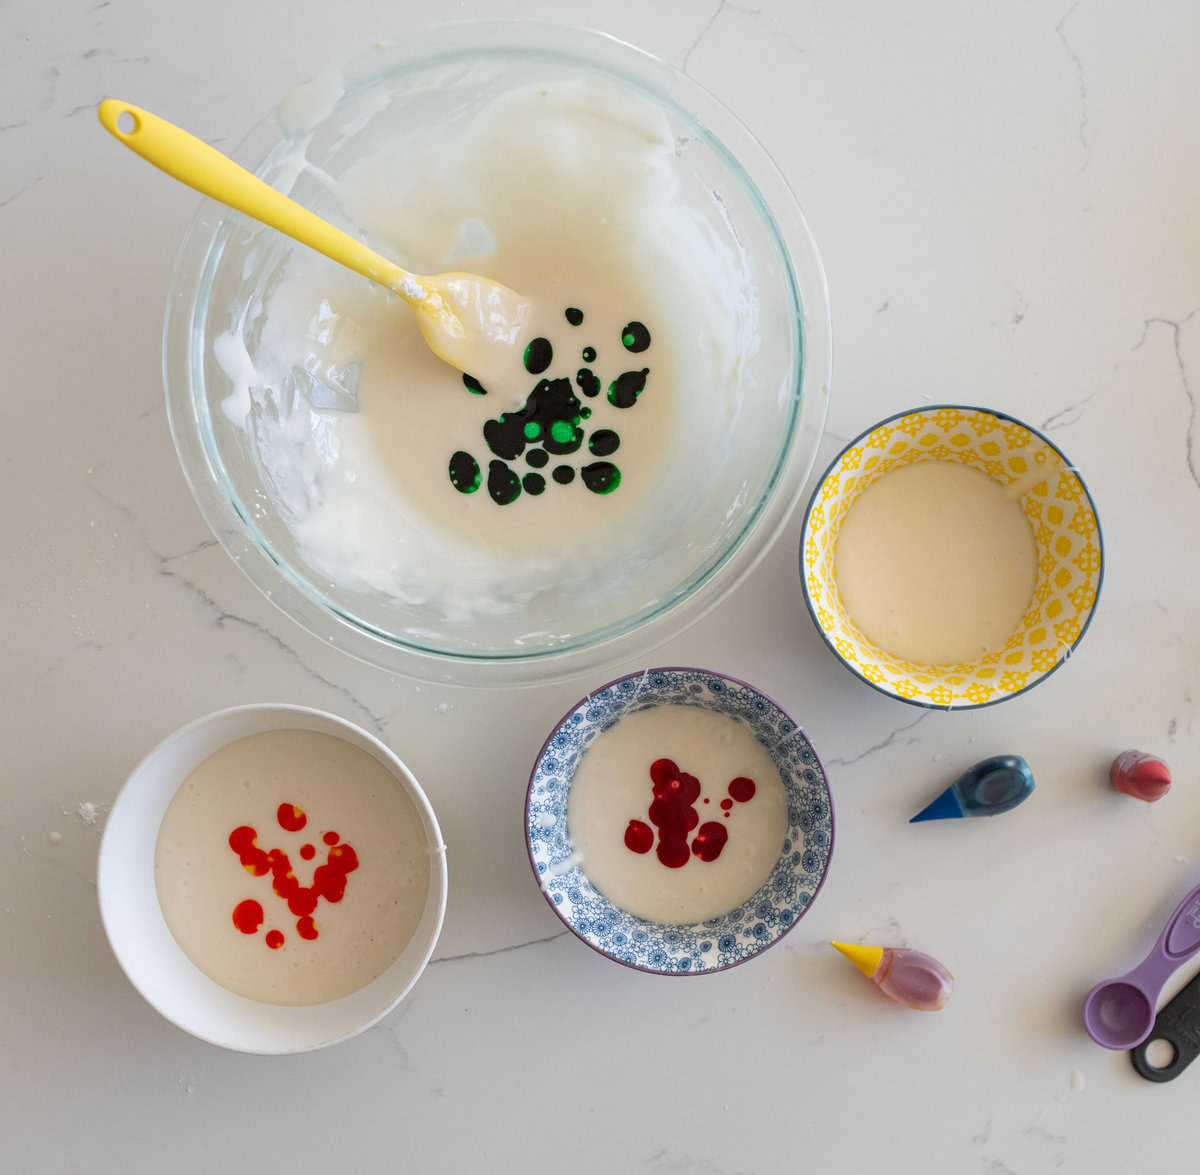
Step 2: Place icing into separate bowls and tint with food coloring.
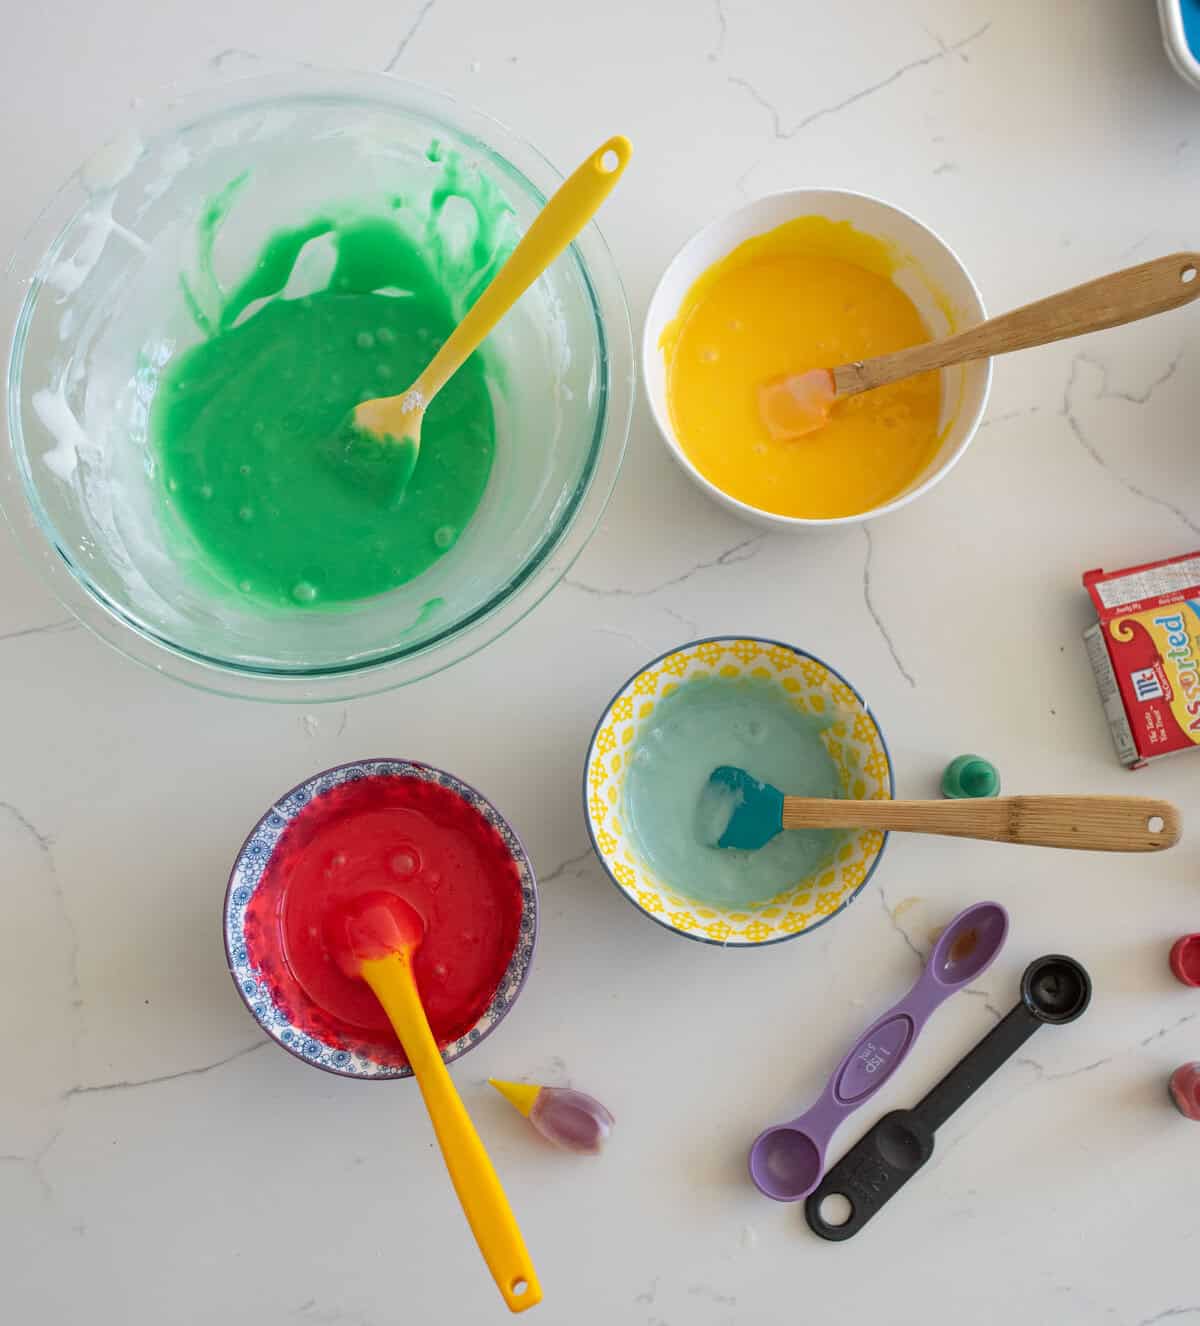
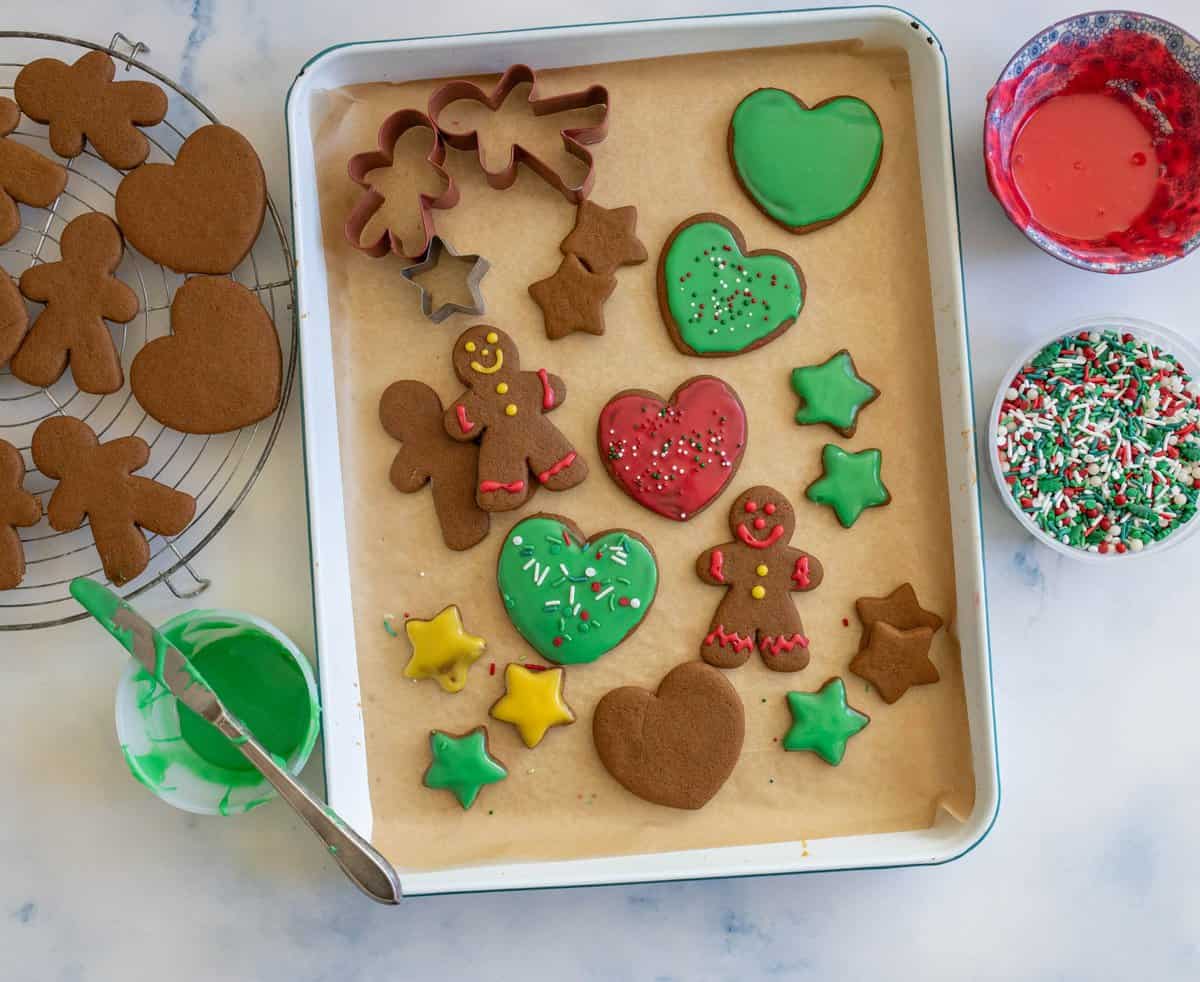
Step 3: Mix and add coloring as needed to reach the color intensity of your choice.
Step 4: Use the icing to decorate completely cooled cookies by piping, spreading, or dipping. Add sprinkles right away if desired, before the icing sets.
Recipe FAQs
For touch-dry finish, allow 1-2 hours. For completely hardened icing that’s perfect for stacking or packaging, give it a full 24 hours in a cool, dry place.
Absolutely! Store it in an airtight container at room temperature for up to 2 days. Just give it a quick whisk before using if you notice any separation.
Corn syrup is the secret to achieving that professional sheen and preventing the icing from becoming too brittle. It also helps the icing maintain its shape while drying!

Expert Tips
- No Lumps: To make sure your icing doesn’t end up with lumps, you can always start with sifting the powdered sugar. I’ve had good success with whisking it well, but if my powdered sugar looked too lumpy in the bag, I would definitely sift it just to be sure.
- Easy Bags: Keep a few ziplock bags handy — they make perfect impromptu piping bags. A very handy tip if you’re using lots of colors or have many helping hands!
- Line Test: Test your icing consistency by drawing a line through it. It should take 8-10 seconds to disappear for the perfect piping texture.
- Vibrant Colors: Though I usually just use the regular liquid food coloring, I do find that gel colors are a little bit higher level and will provide more vibrant coloring.

My Very Favorite Gingerbread Cookie Recipes
This icing recipe is used every holiday season at my house for decorating dozens of cookies for many events and holidays! Here are some of my favorite gingerbread cookie recipes to use with this icing.
- The very best gingerbread cookie recipe — it’s my go-to cut out cookie for the holidays!
- If you’re trying to make cookies but don’t have molasses in the pantry, then just make these no-molasses-needed cookies.
- This icing is a good contender for filling for holiday sandwich cookies, too.

More Tasty Gingerbread Recipes to Consider
Simple Gingerbread Recipes
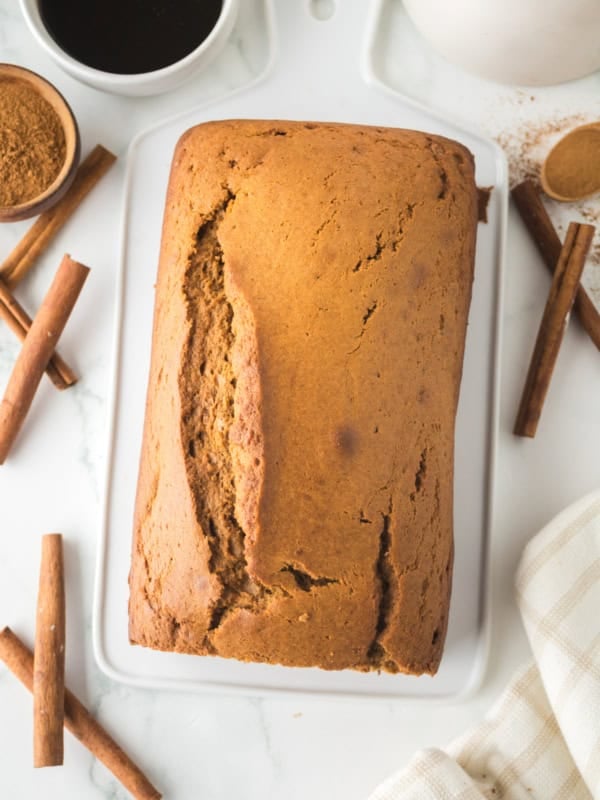
Easy Gingerbread Loaf – Better Than Starbucks!
Simple Gingerbread Recipes
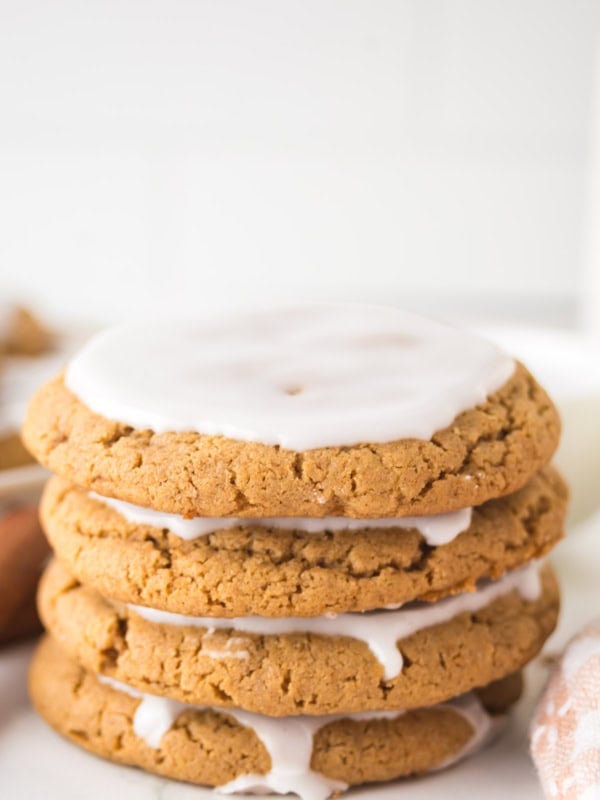
Perfect Iced Gingerbread Cookies
Simple Gingerbread Recipes
The Best Gingerbread Recipes: Your Kitchen’s Holiday Magic
Simple Gingerbread Recipes
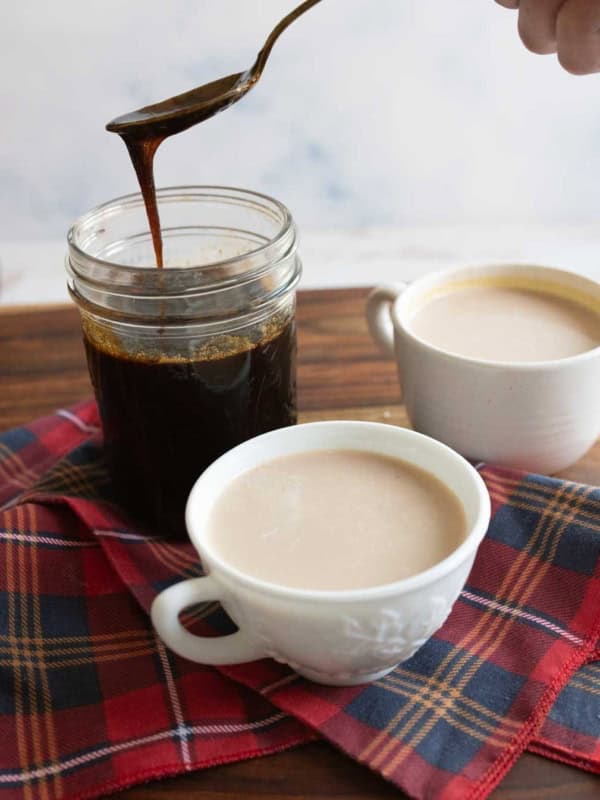
Homemade Gingerbread Syrup: Cozy Holiday in a Bottle
Did you make this recipe? Leave a ⭐️ review and share it on Instagram, Facebook, or Pinterest!

Icing for Gingerbread Cookies
Ingredients
- 2 cups powdered sugar
- 2-4 tablespoons milk
- 1 tablespoon light corn syrup
- 1 teaspoon of your favorite extract: vanilla, almond, peppermint, or coconut
- Food coloring, optional
Instructions
- In a bowl, whisk together the powdered sugar, 2 tablespoons of milk, corn syrup (or honey), and your chosen extract.
- Gradually add more milk, a little at a time, until the icing reaches the right consistency. For piping or spreading, aim for a thicker texture. If you’re planning to dip cookies, you’ll want it slightly thinner.
- Use the icing to decorate completely cooled cookies by piping, spreading, or dipping. Add sprinkles right away if desired, before the icing sets.
Notes
- Corn syrup gives the icing a soft but stackable finish, perfect for gifting or storing. Honey, on the other hand, creates a softer finish, ideal for cookies served fresh and unstacked.
- Make sure your cookies are fully cooled before applying the icing to avoid melting or running.
- Work with one color at a time, keeping unused icing covered with plastic wrap to prevent crusting
- This icing can be made ahead, as it stores well in an airtight container for up to 2 days at room temperature.

