Black and White Cookies
on Sep 21, 2022, Updated Jun 28, 2024
This post may contain affiliate links. Please read our disclosure policy.
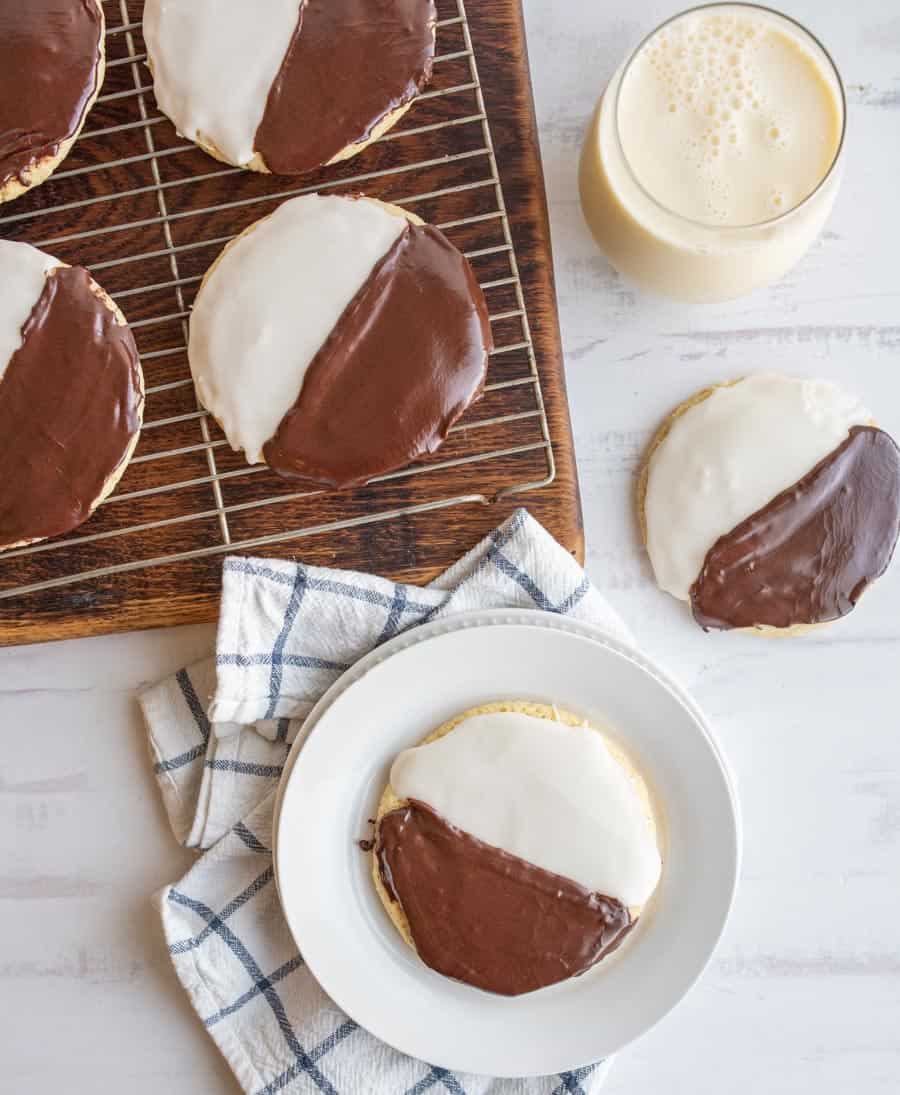
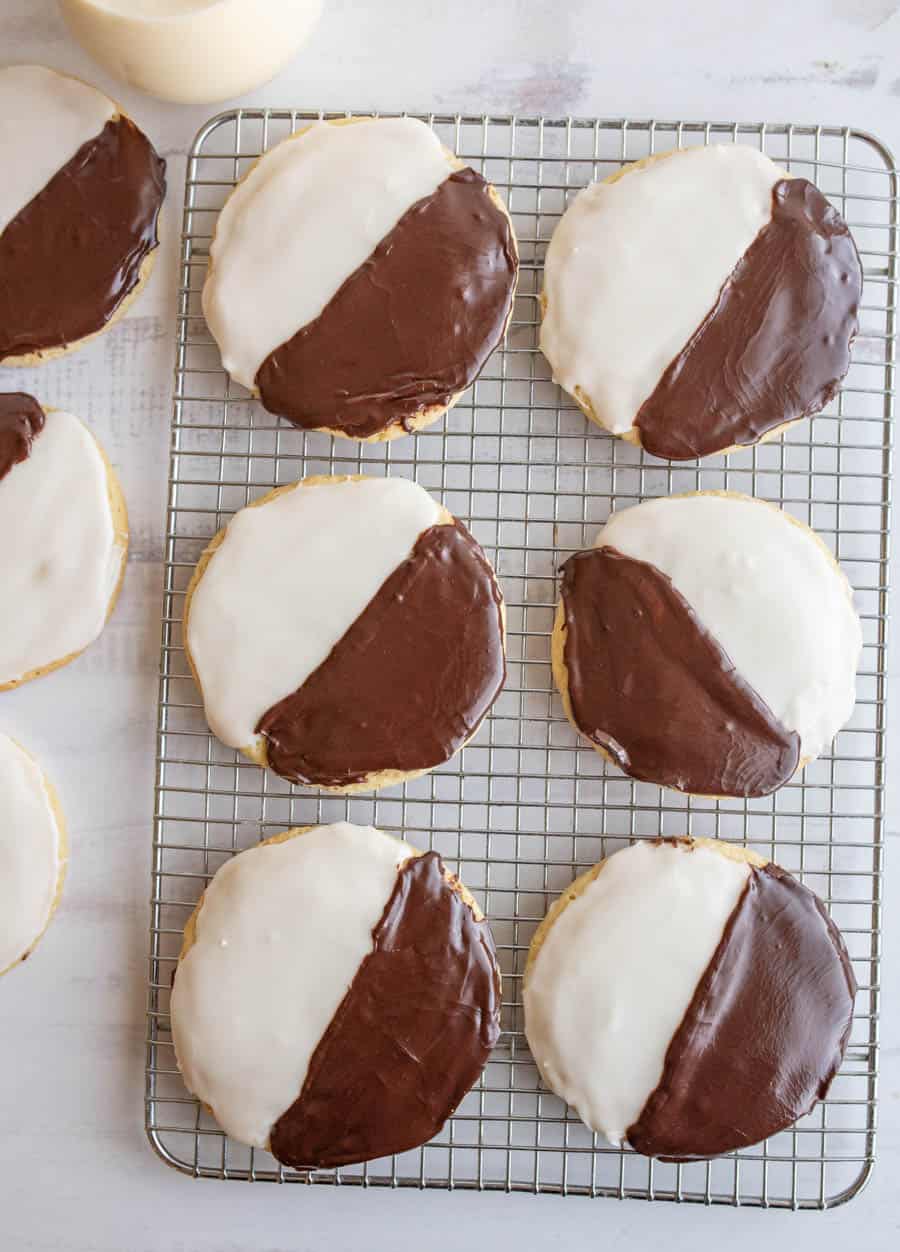
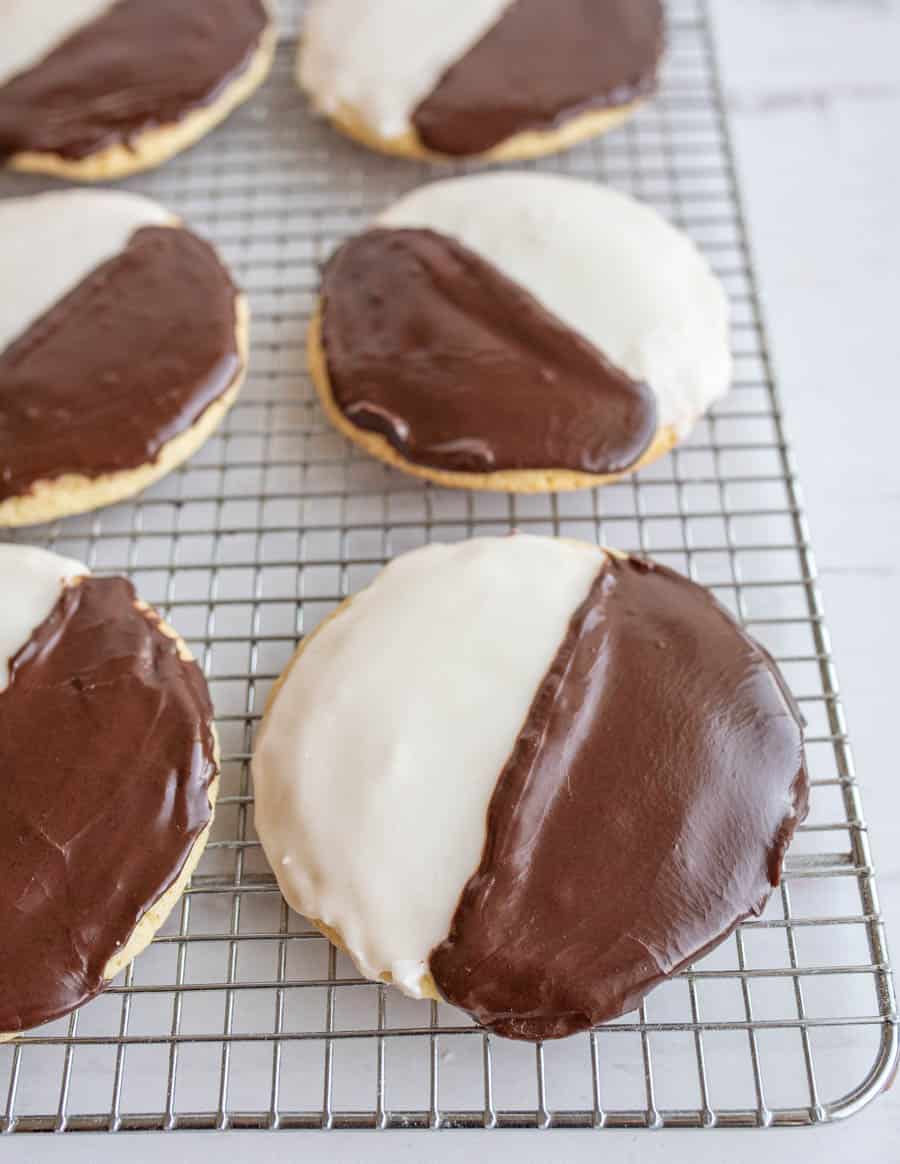
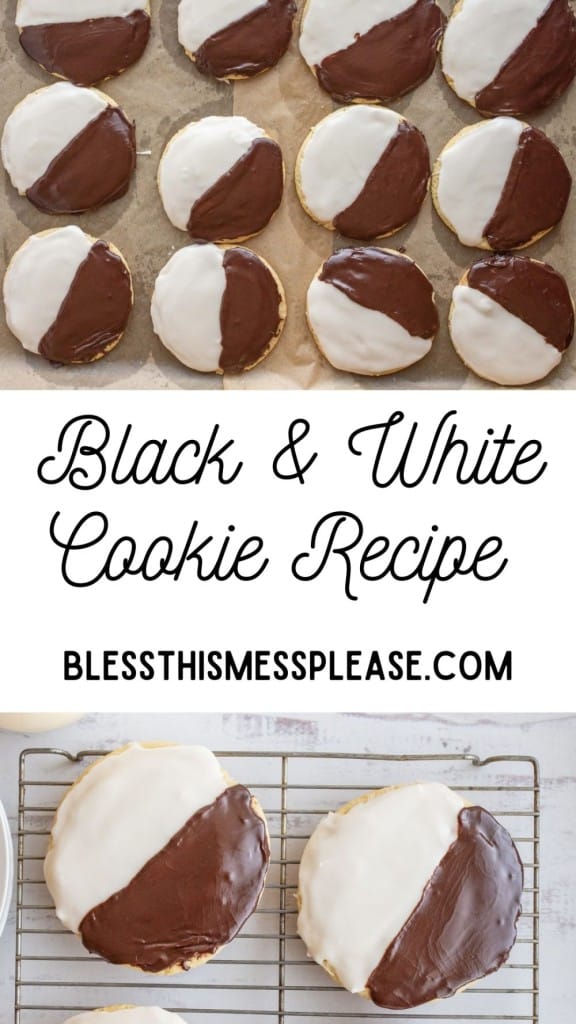
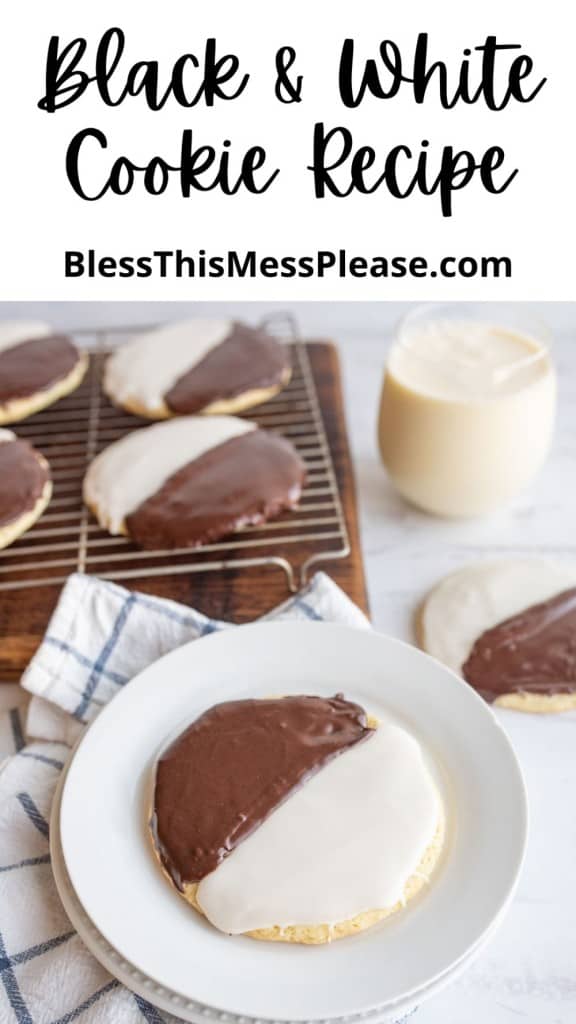
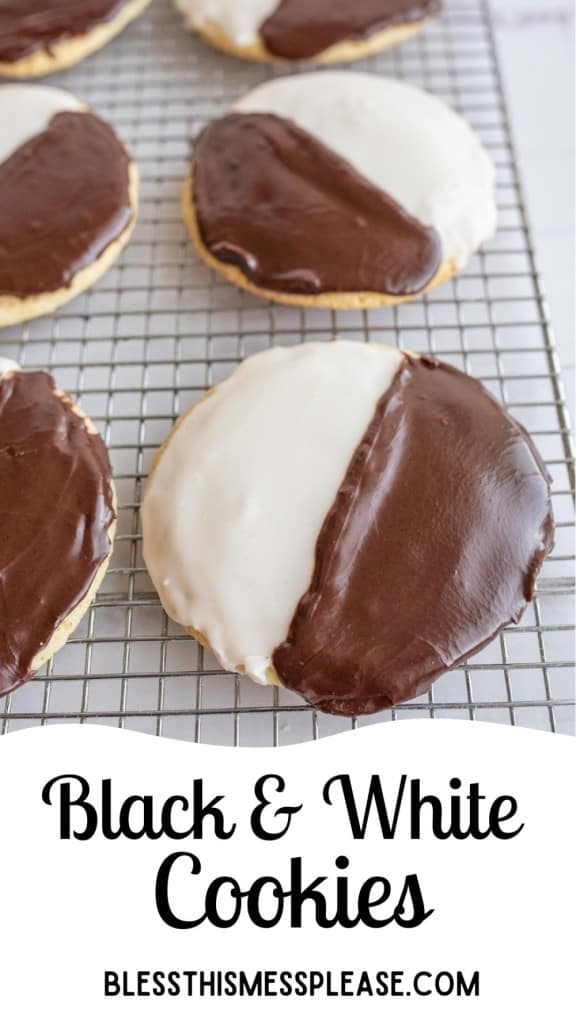
Classic Black and White Cookies are a New York City staple and for good reason. They are light, cake-like and frosted with half chocolate/half vanilla icing. So addicting and delicious.
The story of the famous black and white cookie is one that is believed to date back to 1902 when Bavarian immigrants John and Justine Glaser brought it to their neighborhood bake shop in New York. Their cookie was well-known and became a major part of the community with thick layers of fluffy frosting. This particular cookie has become iconic in NYC and is offered at many bakeries.
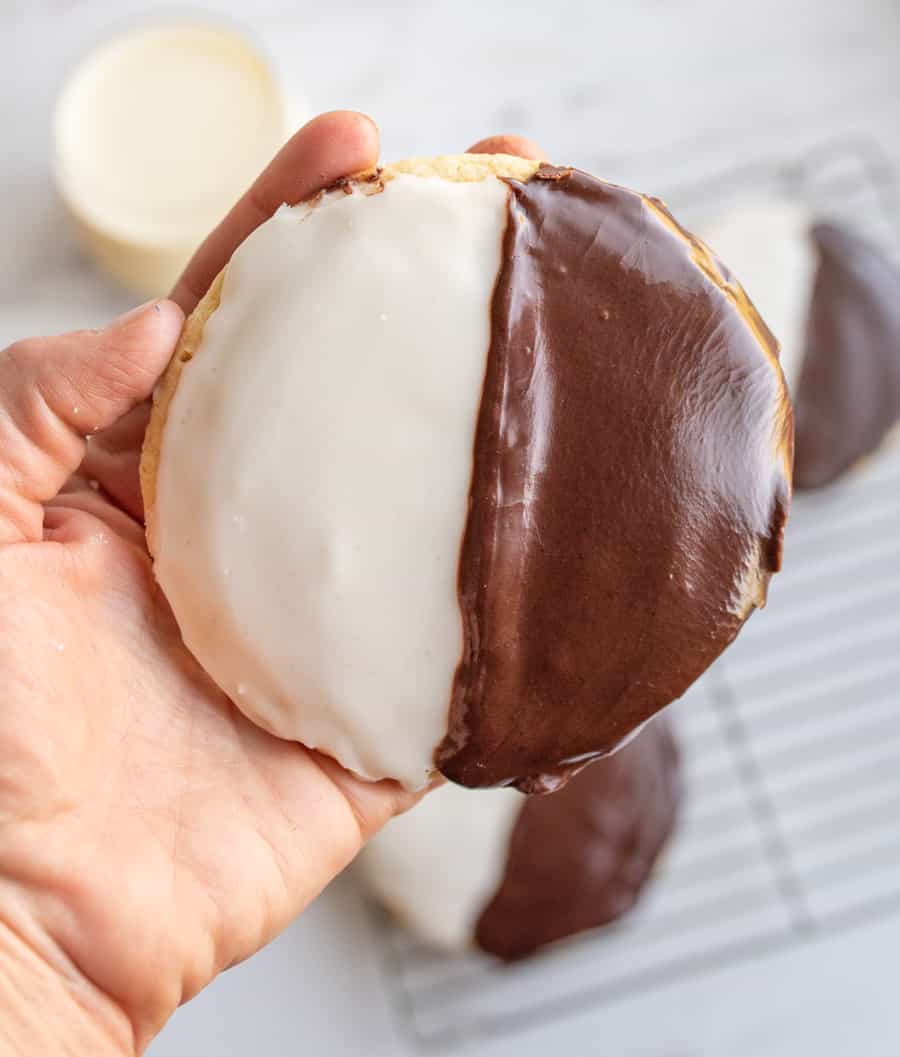
When it comes to black and white cookies there is no need to pick a favorite flavor because you get the best of both worlds here. The chocolate and vanilla compliment each other so well all while looking stylish. For some other cookie inspiration try my Brownie Cookies, Italian Wedding Cookies, or Banana Oatmeal Cookies !
Table of Contents:
Table of Contents
Why You’ll Love this Recipe:
- Quick and easy to make!
- Delicious and stylish looking
- Staple ingredients you probably already have in your pantry
- Everyone loves them!
- Kids will love helping to frost them
Ingredients:
- Flour – the base of any cookie
- Butter– helps everything come together
- Sugar– the sweetness we want in a cookie
- Egg– helps everything come together
- Vanilla– adds a familiar and delicious flavor
- Sour cream– will add a sweetness and creaminess to the cookie
For the Glaze:
- Powdered Sugar
- Whole milk
- Corn syrup
- Vanilla
- Cocoa powder
See recipe card below for full information on ingredients and quantities.
Recipe Instructions
- Whisk the flour, baking powder, baking soda, and salt together in a medium bowl. Set aside.
- Beat together the butter and sugar on medium speed using your stand mixer with a paddle attachment
- Add the eggs and vanilla and beat well to combine.
- Add 1/3 of the flour mixture, mix to combine.
- Add half the sour cream and stir to combine.
- Add another 1/3 of flour, then the last of the sour cream, and then the last of the flour, mixing after each addition and scraping down the sides as needed.
- Drop mounds of dough 3 inches apart on prepared sheets.
- Bake 15 to 18 minutes.
Professional Tip:
When you begin icing the cookie, make sure you frost the flat side of the cookie versus the round portion. Give the frosting plenty of time to set.
Frequently Asked Questions:
Not only are black and white cookies delicious in taste but they have also been used in the past to promote unity by famous people like Obama and from television shows like Seinfeld.
When I freeze these cookie I prefer to freeze them unfrosted or just freeze the prepared cookie dough. Store in an airtight container for up to 3 months. Allow the cookies to thaw completely before frosting.
When an egg is brought to room temperature it tends to mix better with the other ingredients. If you have the time, I’d bring the egg to room temperature before baking.
More Cookie Recipes to Consider:
Simple Gingerbread Recipes
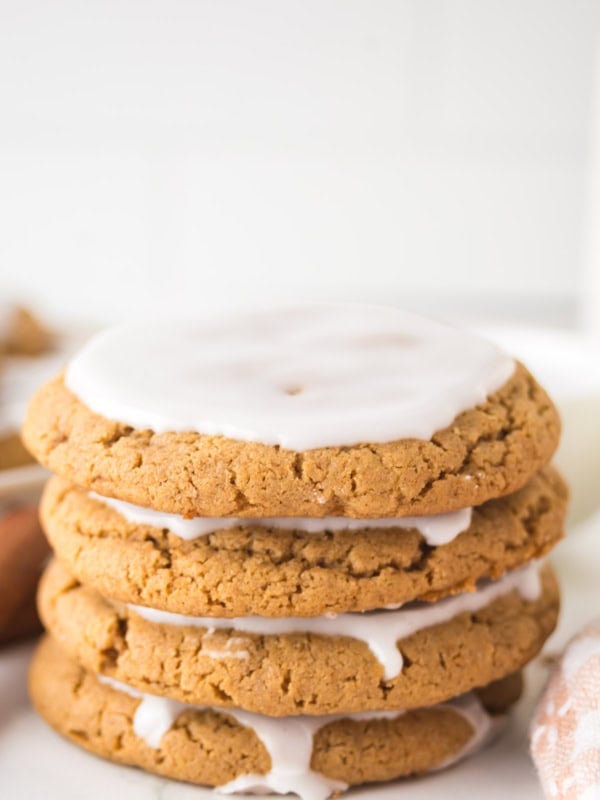
Perfect Iced Gingerbread Cookies
Chocolate Chip Cookies
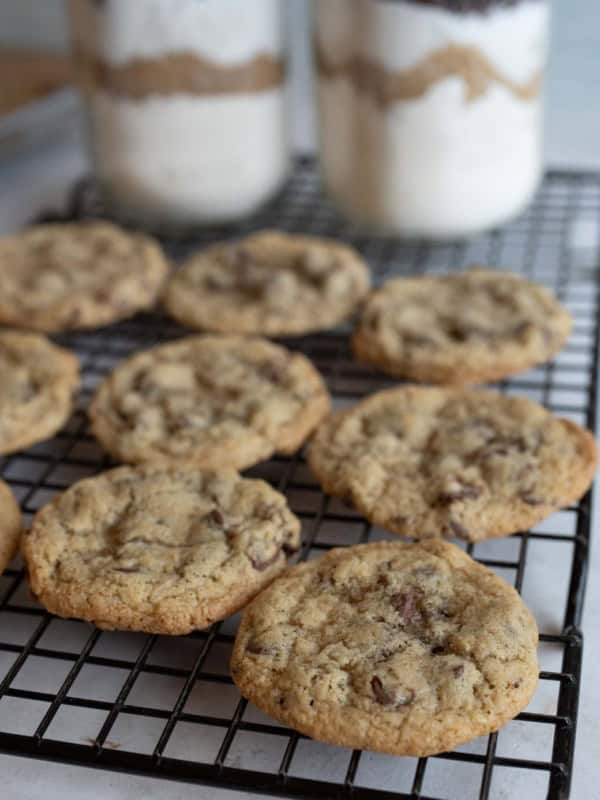
Mason Jar Chocolate Chip Cookie Recipe
Chocolate Chip Cookies
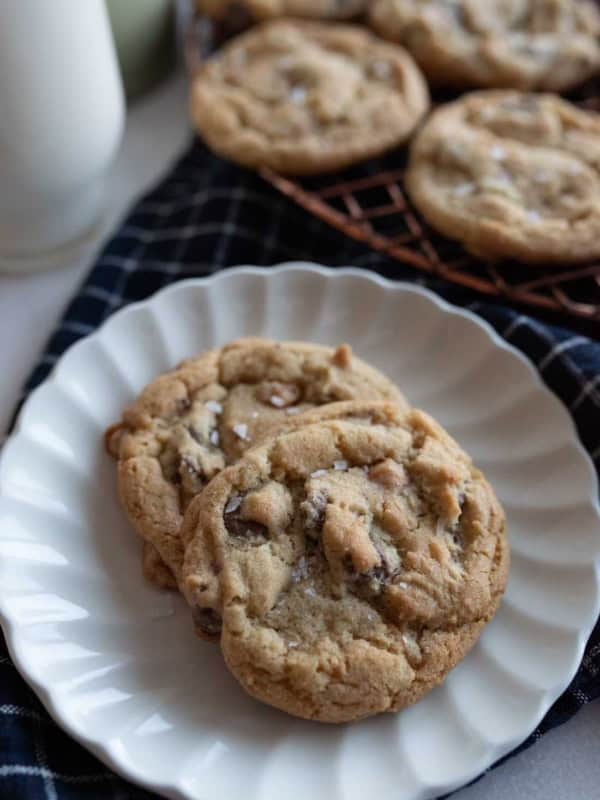
Salted Caramel Chocolate Chip Cookie Recipe
Chocolate Chip Cookies
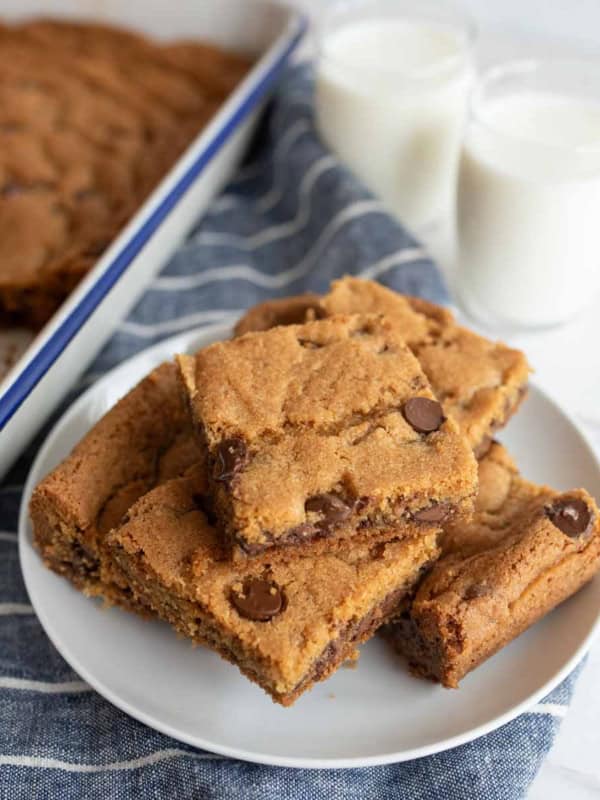
Original Nestle Toll House Cookie Bars
Did you make this recipe? Leave a ⭐️ review and share it on Instagram, Facebook, or Pinterest!
Black and White Cookies
Ingredients
For the Cookies:
- 1 3/4 cups all-purpose flour
- 1/2 teaspoon baking powder
- 1/4 teaspoon baking soda
- 1/4 teaspoon salt
- 10 tablespoons unsalted butter, softened
- 1 cup granulated sugar
- 1 large egg
- 2 teaspoons vanilla
- 1/3 cup sour cream
For the Glaze:
- 5 cups powdered sugar, sifted
- 7-9 tablespoons whole milk
- 2 tablespoon corn syrup
- 1 teaspoon vanilla extract
- 1/2 teaspoon salt
- 3 tablespoons Dutch-processed cocoa powder, sifted
Instructions
- Get your oven ready by moving the racks so that they are in the upper-middle and lower-middle positions (we’re going to bake two pans of cookies at time) and preheat the oven to 350 degrees F.
- Prepare two baking sheets by lining them with parchment paper or baking mats.
- In a medium bowl whisk the flour, baking powder, baking soda, and salt together. Set aside.
- Using your stand mixer with a paddle attachment, beat together the butter and sugar on medium speed until it’s light and fluffy, about 3 minutes.
- Add the eggs and vanilla and beat well to combine.
- Reduce the speed to low and add 1/3 of the flour mixture, mix to combine.
- Add half the sour cream and stir to combine.
- Add another 1/3 of flour, then the last of the sour cream, and then the last of the flour, mixing after each addition and scraping down the sides as needed.
- Mix one last time to make sure no dry spots remain in the dough.
- Use a well greased 1/4 cup measuring cup to drop mounds of dough 3 inches apart on the prepared sheets.
- Bake until the edges are lightly browned, 15 to 18 minutes, switching and rotating the pans half way through baking.
- Let the cookies cool on the baking sheets for 5 minutes before removing them to a wire rack to finish cooling. Let the cookies cool completely before you add the icing.
For the glaze:
- Whisk the sugar, 7 tablespoons of milk, corn syrup, vanilla, and salt together in a bowl until smooth. Add additional milk as needed to make a moderately thin glaze.
- Remove 1 cup of the glaze to a second small bowl and add the cocoa powder. Whisk the cocoa powder and 2 more tablespoons of milk together, adding additional milk as needed to make a spreadable glaze.
To ice the cookies:
- Work with 1 cookie at a time. Spread about 1 tablespoon of vanilla glaze over half of the flat bottom of the cookie. Stick the cookies in the fridge until the glaze sets.
- Glaze the other half of the cookie with the chocolate glaze.
- Let the glaze dry for at least an hour before serving.
Notes
- I think these cookies are best the second day when the glaze is fully dry.
- Store leftovers in an airtight container. They store very well.
- This recipe is from America’s Test Kitchen Perfect Cookie book (it’s such a good book!), highly recommend.




Hi, I need a little advice… I made these last night and they came out like crispy cookies rather than little cakes. The dough just spread out on the baking sheet and they were completely flat. What do you think I may have done wrong? Thanks, I’d love to get it right, B&W cookies are my absolute favorite!
You probably just measured your flour a little light, add more next time, that should help with the spreading!