How to Blanch Green Beans
on Jul 26, 2021, Updated Jul 06, 2024
This post may contain affiliate links. Please read our disclosure policy.
Learn this quick and easy way to Blanch Green Beans to ensure the best color, texture, and taste of the green bean every time.
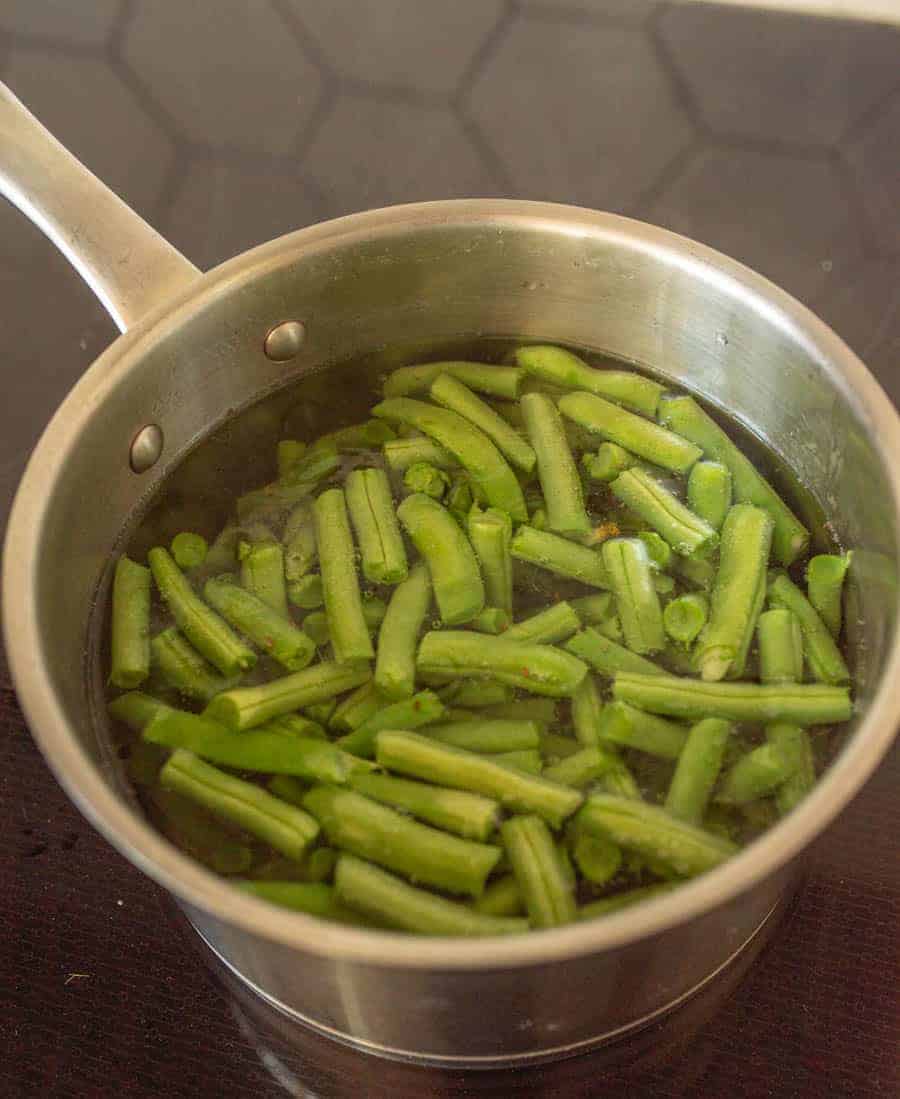
Blanching green beans is a simple cooking method that creates a crisp and tender green bean. Blanching is often referred to as “blanch and shock” – first you boil water, then add the green beans for a couple of minutes, and finally scoop the green beans to a bowl of ice water to “shock” or stop the cooking process.
It is such a simple method but it makes a huge difference in the overall quality and taste of the green bean. AND blanching is also how you prep green beans that you are going to freeze.
Table of Contents
Why You’ll Love This Recipe
- Enhanced Flavor and Color: Blanching green beans helps to retain their vibrant green color and enhances their natural flavor by removing the bitterness.
- Perfect Texture: This method ensures that green beans remain crisp-tender, giving them a satisfying bite that’s perfect for salads, side dishes, or snacking. If you’re not a fan of mushy green beans, you’ll definitely love this.
- Quick and Easy: The blanching process is simple and quick! You can prep the green beans without much time or effort.
Ingredients
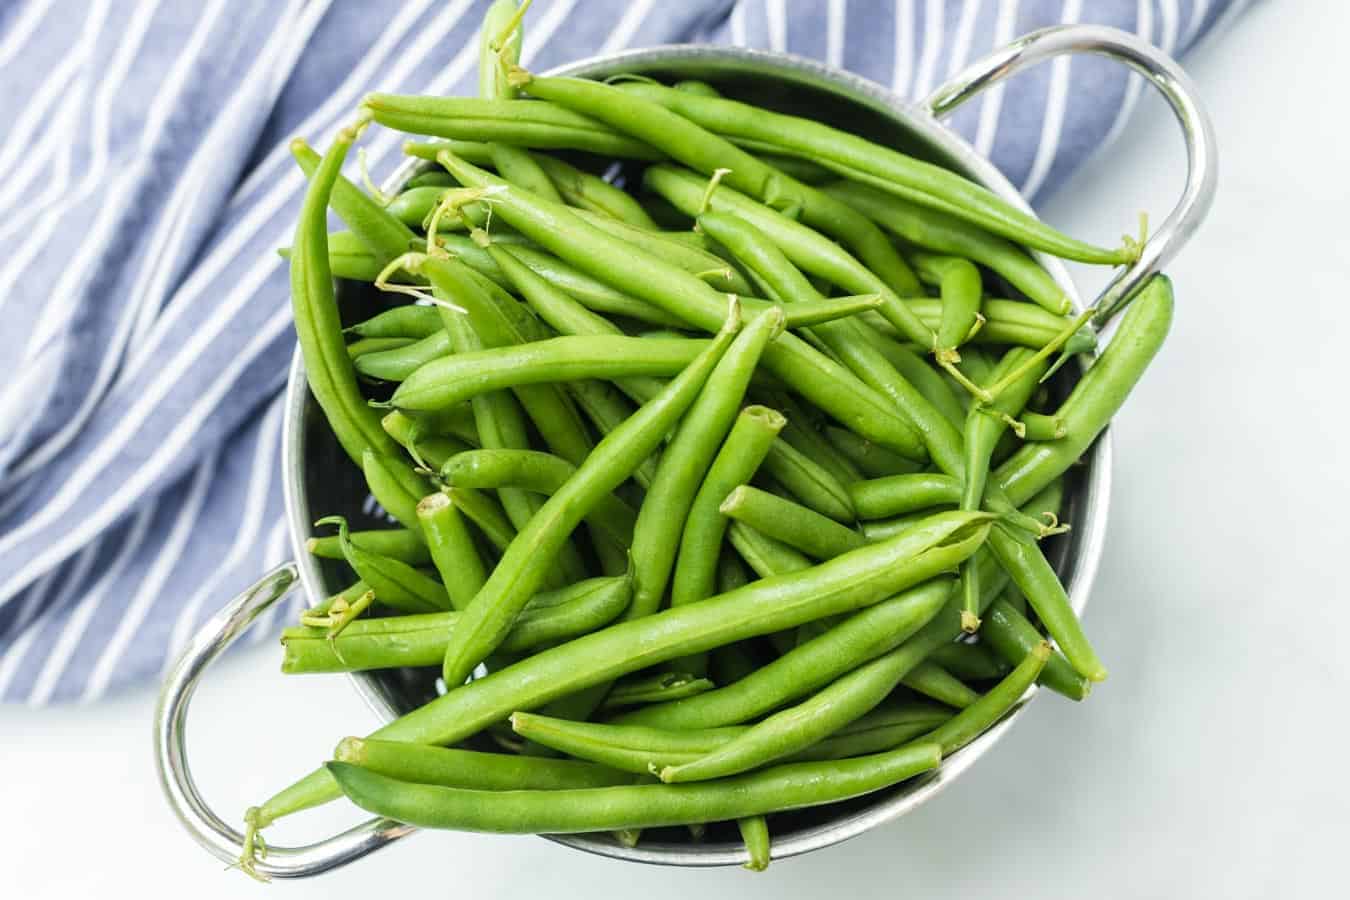
- As many green beans as you want to cook or have to preserve, it can be a large or small amount
- A pot of water
- A large bowl of ice water
See the recipe card below for full information on ingredients and quantities
How to Blanch Green Beans
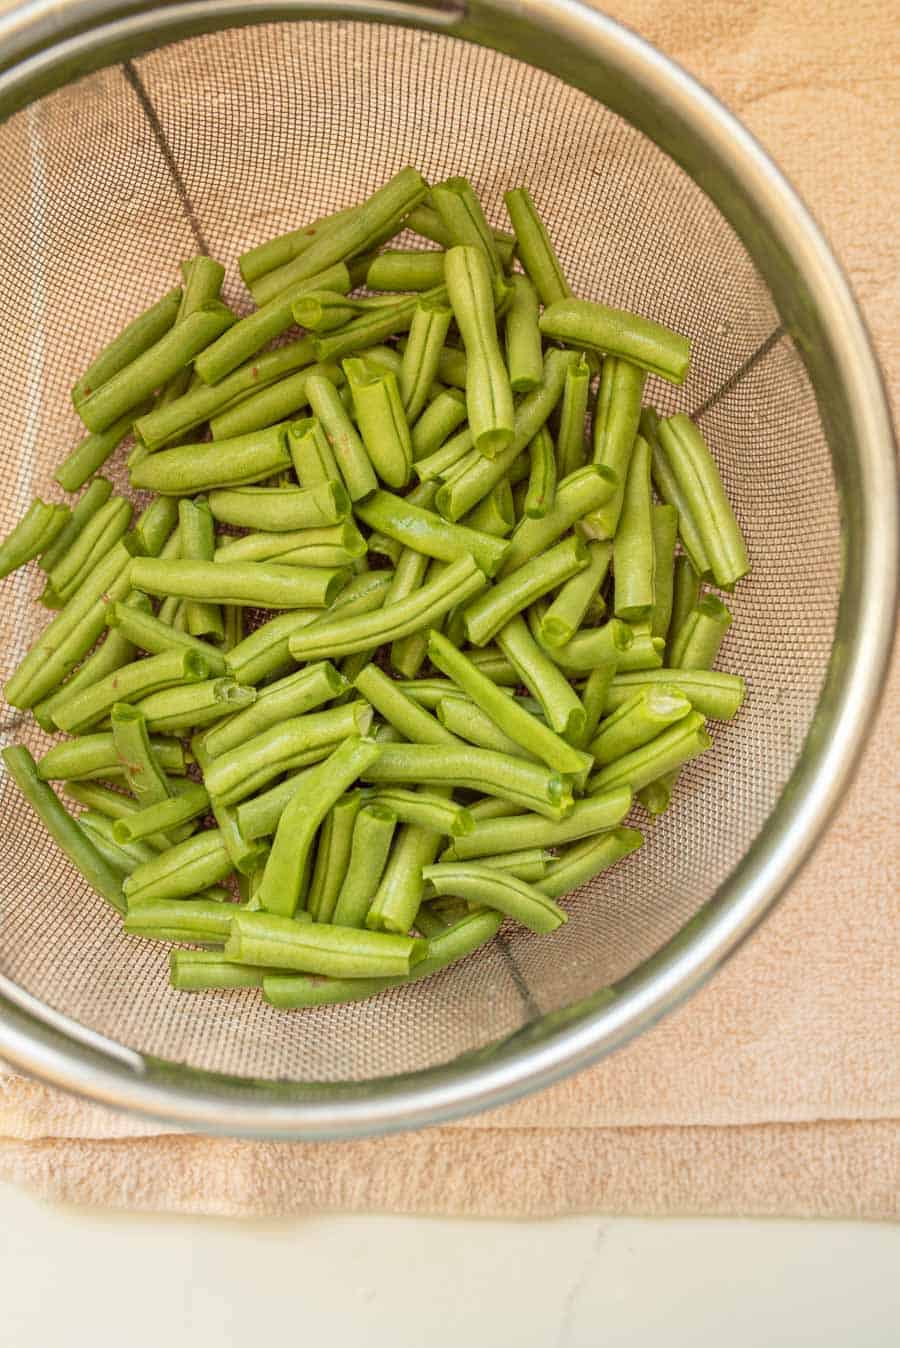
Step #1. Wash and prep the green beans. Bring a pot of water to a boil.
Step #3. Use a slotted spoon and scoop the bean from the boiling water and place them immediately in the ice bath. Repeat until all the beans have been blanched.
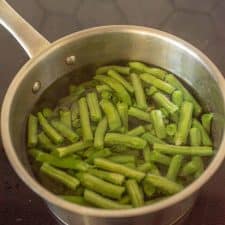
Step #2. Once the water is boiling, add green beans (working in batches, if necessary) and cook for one minute.
Step #4. Put the beans in freezer containers or store in the fridge for use in your favorite recipes.
Recipe FAQs
I salt the water when blanching green beans because it improves the taste and also helps the green beans maintain their color.
Once the water is boiling you will only blanch the green beans for 2-3 minutes depending on their size.
When buying green beans you want to find firm, bright green beans that snap. Avoid any limp or discolored beans.
Once you have blanched your green beans, arrange the beans on a sheet pan lined with parchment paper and place in the freezer. Once they are frozen, you can put the green beans in an airtight bag and enjoy them throughout the year.
There a several reasons for blanching. When you blanch a vegetable if brightens the color. This is especially good for green vegetables like broccoli or green beans. Blanching removes any bitter taste from vegetables. Blanching also affects the texture. When you blanch green beans you end up with a very crisp and tender bean. The blanch method is a tool used to preserve the nutrients in preparation for freezing vegetables.
Expert Tips
- Choose fresh, firm, and bright green beans for the best results. Avoid beans that are limp or have brown spots.
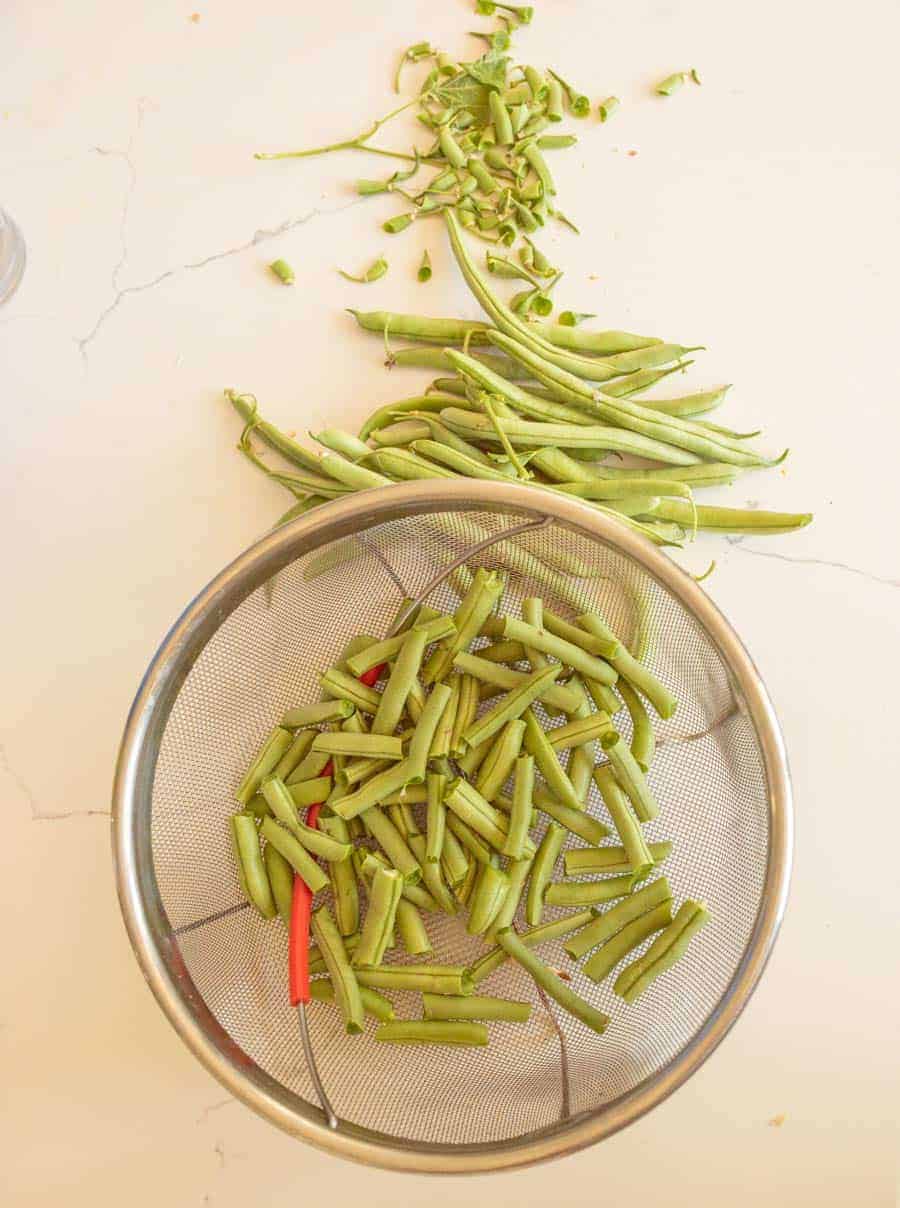
- Cut or snap the bean to the size you like or use most – whole or bite size or whatever else you like!
- Don’t overcrowd the pot! You don’t want to lose the boil so work in small batches. But don’t worry, it doesn’t take long!

More Vegetable Recipes to Consider
Vegetable Sides
19 Fresh Vegetable Recipes For Spring
Side Dishes and Salads
Cauliflower Mashed Potatoes
Vegetable Sides
Zucchini Fritters
Cornbread Recipes
Zucchini Corn Bread
Did you make this recipe? Leave a ⭐️ review and share it on Instagram, Facebook, or Pinterest!
How to Blanch Green Beans
Ingredients
- As many green beans as you have to preserve, it can be a large or small amount
- A pot of water
- A large bowl of ice water
Instructions
- Prepare your green beans by washing them, breaking off the stem ends, and snapping them into bite sized pieces.
- Bring a pot, half filled with water, to a boil. You can add 1/2 teaspoon of salt to the water if you’d like.
- While the water is boiling, add in some green beans, working in batches if needed, as to not over fill the pot.
- Bring the water back to a boil and boil the green beans for 1 minute.
- Use a slotted spoon to remove the green beans from the boiling water and place them in the bowl of ice water to stop the cooking process.
- Repeat the boiling and ice water bath process as needed to use all of your green beans.
- Your green beans are now blanched and you can put them in freezer safe containers and freeze or use them in recipes that call for blanched fresh green beans.
Notes
- This recipe is ideal for getting small amount of green beans into the freezer. If my garden hasn’t produced enough to can a bunch, I’ll just put little batches in the freezer as I have extras. It’s so nice to have fresh (frozen) beans in the winter!
- Before you begin blanching you will want to wash and trim your green beans. I rinse mine in a colander under cold water and then shake to dry. As for trimming, you (or your kids) can snap off the hard ends by hand or you can cut them with a knife.
- After you remove the beans from the ice bath, drain them and pat them dry before storing them, especially if you’re storying them in the refrigerator.
- Store them in the fridge for up to 3 days or freeze them if not using them right away.


