Homemade Oreo Cookies
on Feb 07, 2012, Updated Aug 22, 2024
This post may contain affiliate links. Please read our disclosure policy.
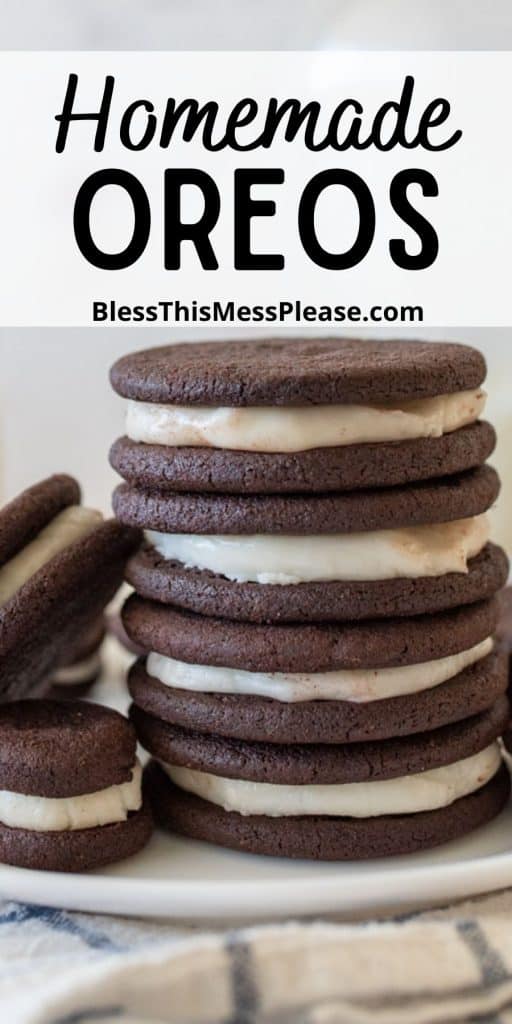
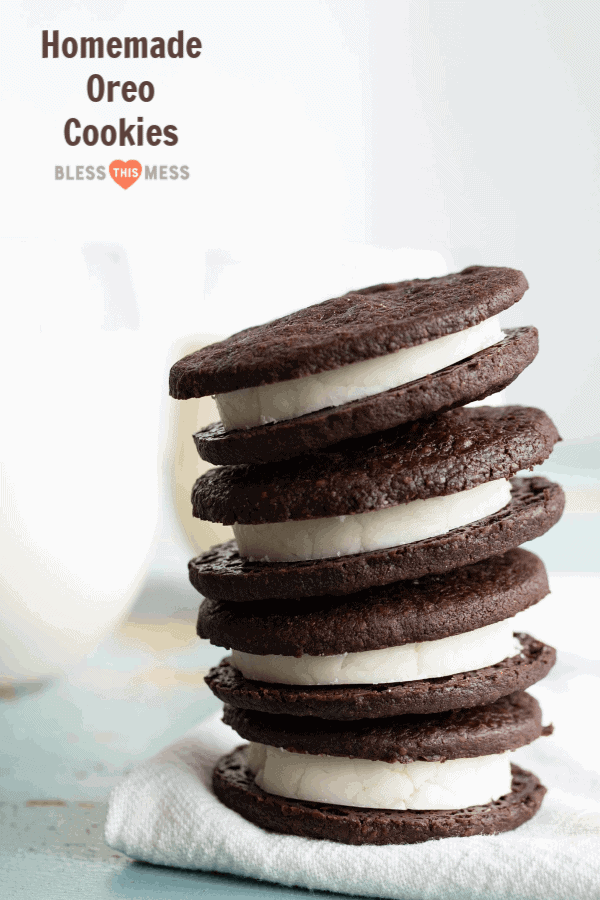
Homemade Oreo Cookies made with dark cocoa powder are crispy on the outside with a perfect cream filling in the middle. An easy homemade Oreo cookie recipe!
A homemade Oreo in my neck of the woods is soft, and they are good, but if that’s what you are looking for, this isn’t it. Try my soft and puffy cake mix Oreo recipe for that!
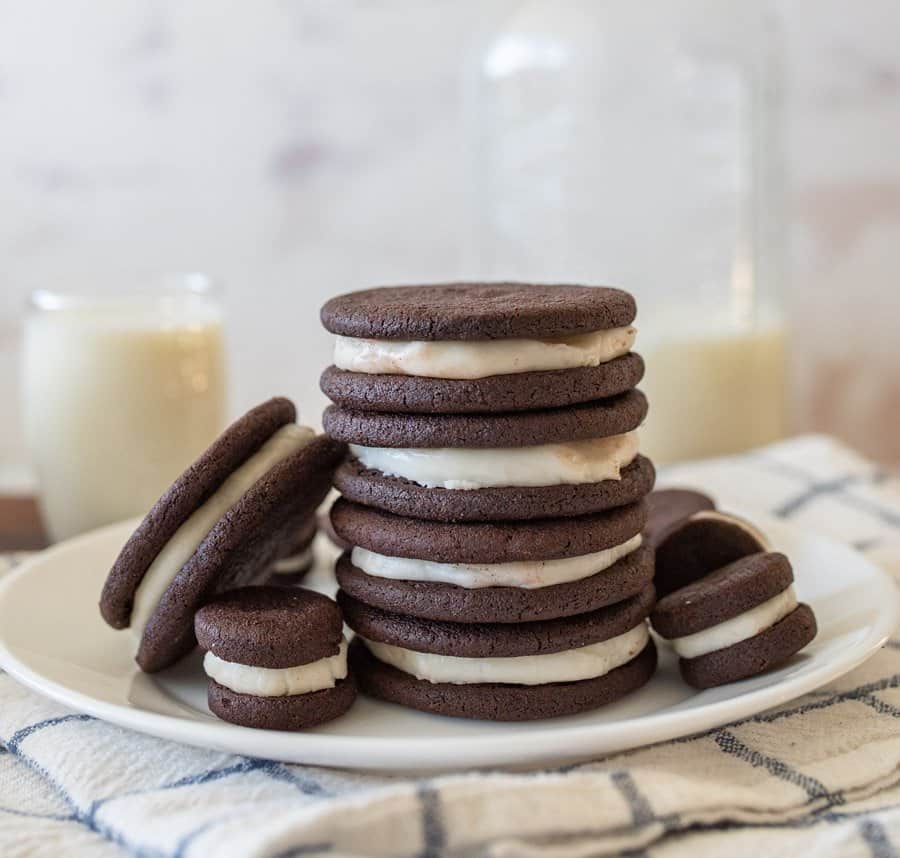
I love making this classic Oreo cookie recipe at home. I find joy in creating food from scratch and these little cookies are fun to try. There is something nostalgic about dipping an Oreo in a cold glass of milk . It brings back so many childhood memories.
Table of Contents:
Table of Contents
Why You’ll Love This Recipe:
- A true classic recipe you can make at home that tastes just as good if not better!
- Delicious-everyone will love them!
- You can use different types of cocoa powder to get the chocolate cookie how you like it
Ingredients:
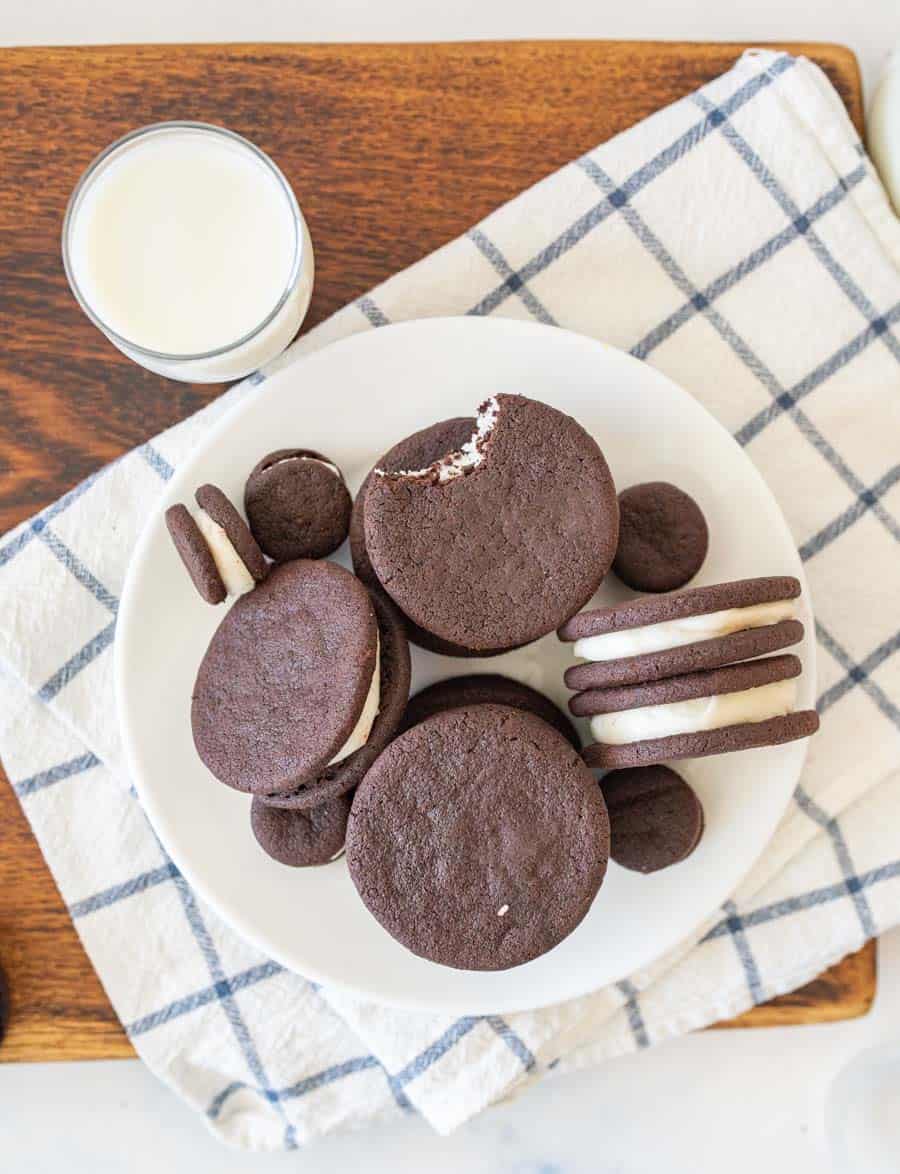
Dough:
- Butter– at room temperature makes it flavorful
- Powdered sugar-adds sweetness and softness
- Dutch processed cocoa or dark cocoa powder, (I used Hershey’s Special Dark Cocoa)
- Salt
- Vanilla
- Flour
Filling:
- Powdered Sugar
- Melted butter
- Vanilla extract
- Water
See recipe card below for full information on ingredients and quantities
Pro Tips & Tricks:
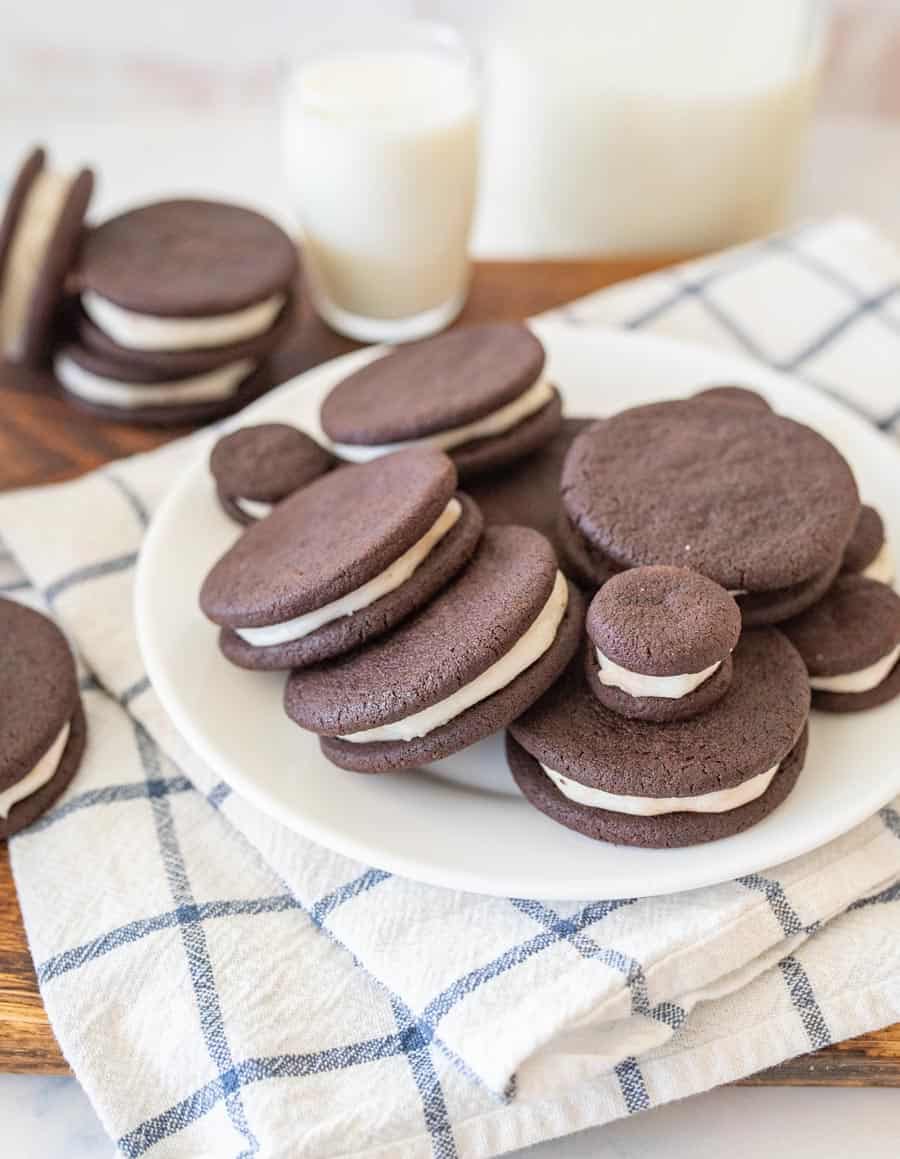
The dark color of the Oreo cookie comes from the cocoa powder. A true dark chocolate cocoa powder will get you that almost black dark brown cookie. A dutch-process cocoa powder will get you what you see in my photos. A traditional cocoa powder will get you a light brown with a hint of red cookie. I like the dark or dutch-process cocoa best for these cookies and highly recommend finding some.
The cream filling is really simple. It contains powdered sugar, butter, vanilla, and water.
Yes, but it isn’t ideal. The issue is that they lose some of the crunch when you take them out of the freezer. If you do want to freeze these, I recommend freezing the cookies and the filling separately.
They will last about a week in an air-tight container. I found the issue with these is that they lose their crunch quicker than they actually spoil. In order to avoid that, is keeping the cookies and filling separate until you’re ready to serve them.
More Cookie Recipes to Try:
Simple Gingerbread Recipes
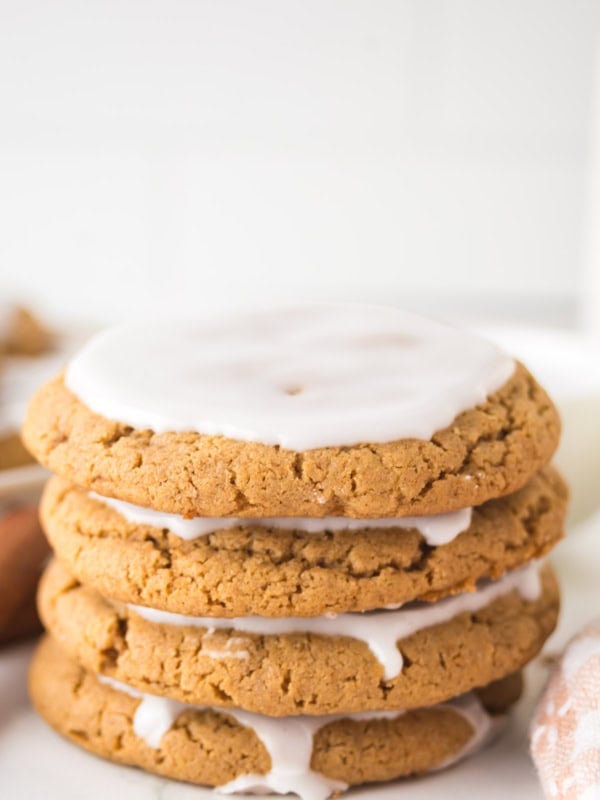
Perfect Iced Gingerbread Cookies
Chocolate Chip Cookies
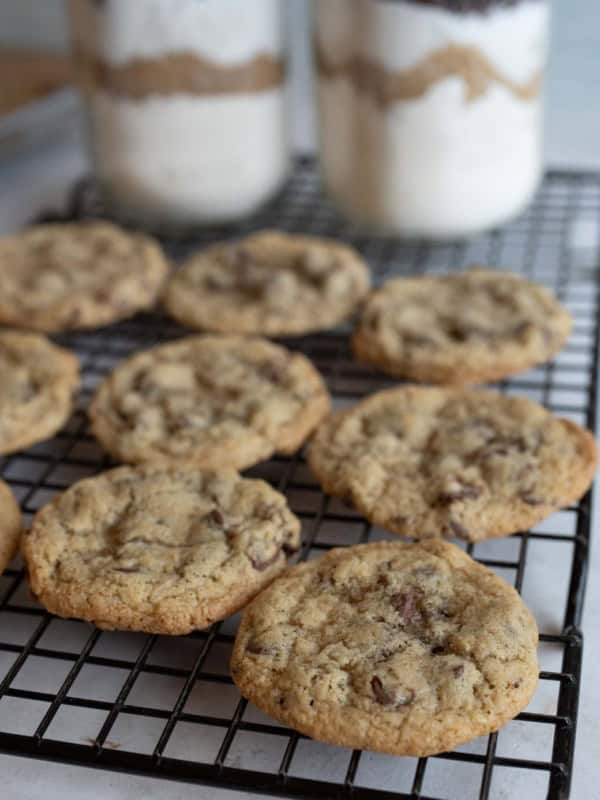
Mason Jar Chocolate Chip Cookie Recipe
Chocolate Chip Cookies
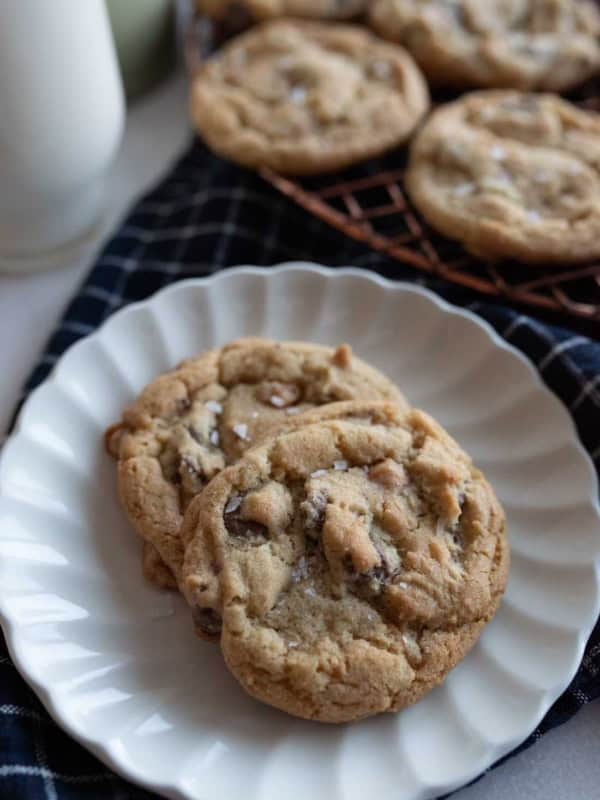
Salted Caramel Chocolate Chip Cookie Recipe
Chocolate Chip Cookies
Original Nestle Toll House Cookie Bars
Did you make this recipe? Leave a ⭐️ review and share it on Instagram, Facebook, or Pinterest!

Oreo Cookies Recipe
Ingredients
Dough
- 1 1/4 cups butter, at room temperature
- 2 cups powdered sugar
- 1 cup Dutch processed cocoa or dark cocoa powder, (I used Hershey's Special Dark Cocoa)
- 1/2 teaspoon salt
- 1 teaspoon vanilla
- 1 1/2 to 1 3/4 cups flour
Cream Filling
- 4 cups powdered sugar
- 1/2 cup butter, melted and cooled
- 1 tablespoon vanilla extract
- Water
Instructions
- In a stand mixer with a cookie paddle attached, cream the butter and sugar together on medium speed until the mixture is light and fluffy, about 2 minutes.
- Add the cocoa powder, salt, and vanilla and mix until incorporated. Add half of the flour and mix.
- Add the remaining flour, 1/4 cup at a time until you get a pretty dry dough. You don’t want the dough to be sticky at all and it might even crumble just a little. Don’t be worried about a dry dough; we want a crispy cookie that doesn’t spread when baked.
- Divide the dough into 3 balls and pat them together to form a disk. Cover the disks in plastic wrap and refrigerate for about 15 minutes.
- Now if your world is crazy like mine and 3 hours instead of 15 minutes pass before you get back to baking, let the dough rest at room temperature for 15 minutes. The butter makes the dough super stiff if it’s too cold.
- Preheat your oven to 350 degrees. Remove plastic from one disk and roll your dough out between two pieces of parchment paper or on a lightly floured surface. Roll the dough thin! We are talking 1/4 inch to an 1/8 inch thick.
- Use a 2 inch circle cutter to cut out the cookies.
- Place on a cookie sheet and bake for 8-9 minutes. It’s super hard to tell when a near black cookie is done. I baked mine for 10 minutes the first round and they tasted burnt on the bottom, so you’ll need to adjust as you go.
- Repeat with the rest of the dough. Place the cookies on a wire rack to cool.
- While the dough is chilling, mix up the cream filling. Using a stand mixer with a cookie paddle attachment, mix the powdered sugar, melted butter, and vanilla extract together. Add 1 teaspoon of water at a time, if needed, until the mixture resembles a thick dough that is about the consistency of play dough.
- Divide the filling in half and roll it into a log that is about 2 inches wide. Roll the log in plastic wrap and let it chill in the fridge while the cookies are baking.
- After the cookies are cool, it’s time to assemble! Remove the filling from the plastic wrap. Using a sharp knife, slice off a piece that is between 1/4 to a 1/2 inch thick.
- This is the fun part of making your own Oreos. You can have traditional cream thickness, double stuffed, or even triple stuffed.
- Stack a cookie, cream, and then another cookie. Press lightly together. Repeat, repeat, repeat.
- Store in an air-tight container for up to a week.
Notes
- The dark color of the cookie comes from the cocoa powder. A true dark chocolate cocoa powder will get you that dark brown, almost black, cookie. A Dutch-process cocoa powder will get you what you see in my photos. A traditional cocoa powder will get you a light brown with a hint of red cookie. I like the dark or Dutch-process cocoa best for these cookies and highly recommend finding some.






I followed the recipe exactly and the cookies turned out like crunchy brownie brittle. I think this recipe uses way too much butter (standard 1x recipe)? The dough spread flat and bubbled, and hardened when cooled to create essentially brownie bark or brittle. They tasted fine, and my family ate them without knowing they were supposed to be oreos, but it wasn’t the type of cookie I was going for when I tried out the recipe.
I am an Oreo addict and these are amazing. I was very skeptical that but dare I say these are better than their mass-produced rival.
I changed the recipe a bit to use half black cocoa and half dark Dutch processed – I do believe the black cocoa is essential for true Oreo flavor. I also rolled mine out quite thin. I can’t wait to make more!