House Building Update: Energy Efficient Windows + Mud (January 2017)
on Jan 11, 2017, Updated Sep 10, 2020
This post may contain affiliate links. Please read our disclosure policy.
An update on our house build, our plans for a more “green” house, and our energy efficient windows. And lots and lots of mud!
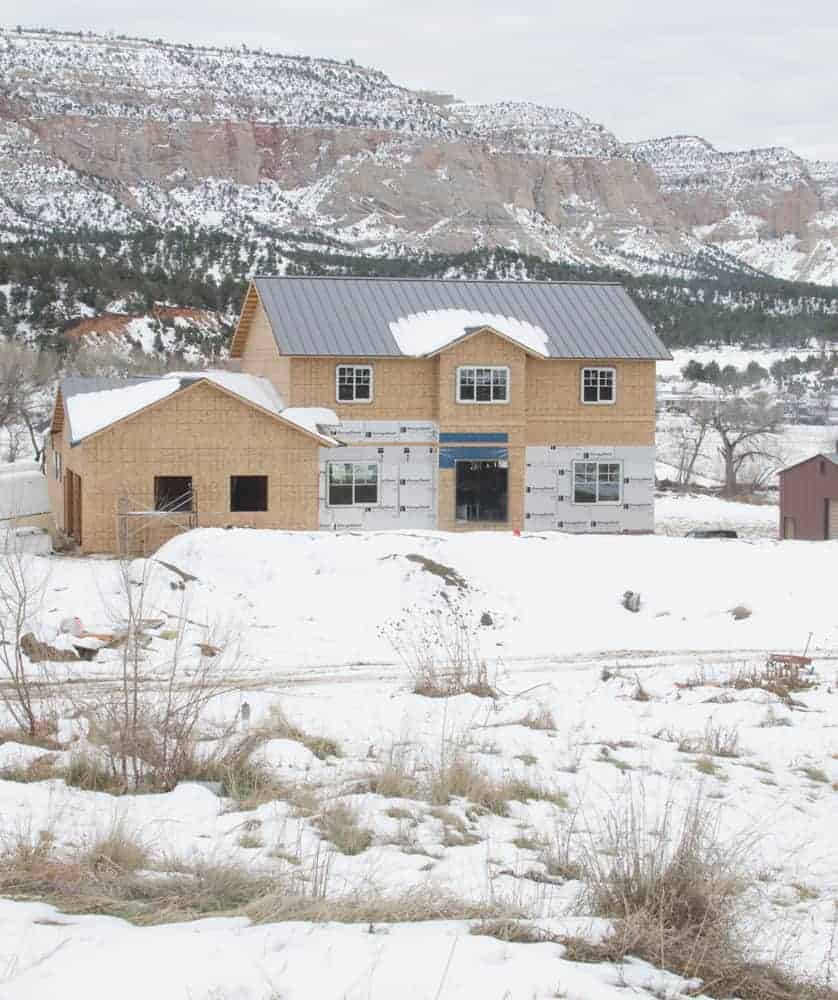
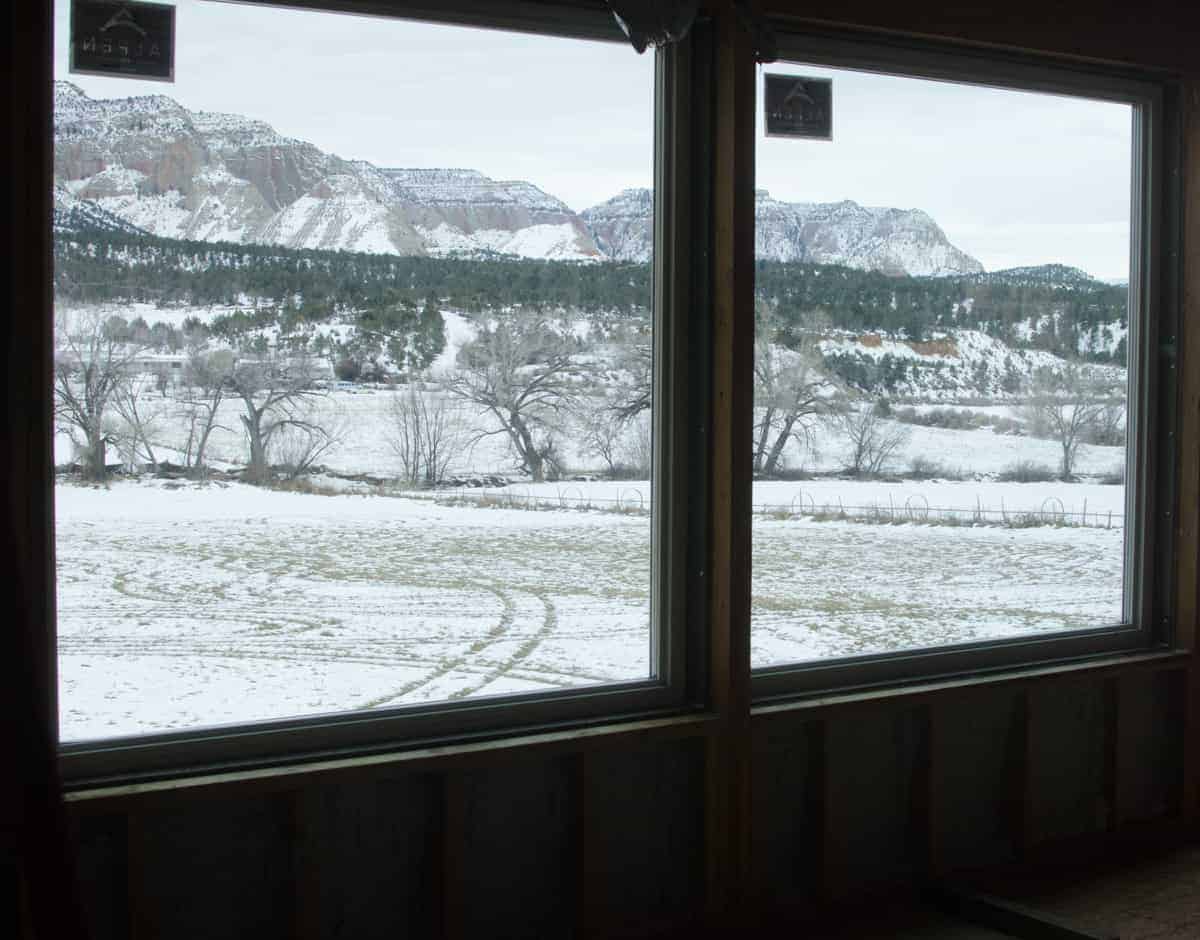
We are closing in on our one year mark of our DIY house build, and I thought I’d share some of the progress we have made this winter. A year ago this picture would have just been of our beautiful mountains but now, 12 months later, there’s a shell of a house! We broke ground on January 23, 2016 and hope to move in sometime this year (before Christmas is the goal). Building a house is one of the hardest and most rewarding things we have done, and the last year was a true testament to my husband Thomas’ hard work and perseverance. He’s been working on this project between his engineering work and helping with the family hardware store. We’ve been laying sub-flooring in 103 degree heat and installing windows at well below freezing. This kind of project isn’t for the faint of heart, but it’s going to be so wonderful when we get settled in. I can’t wait!
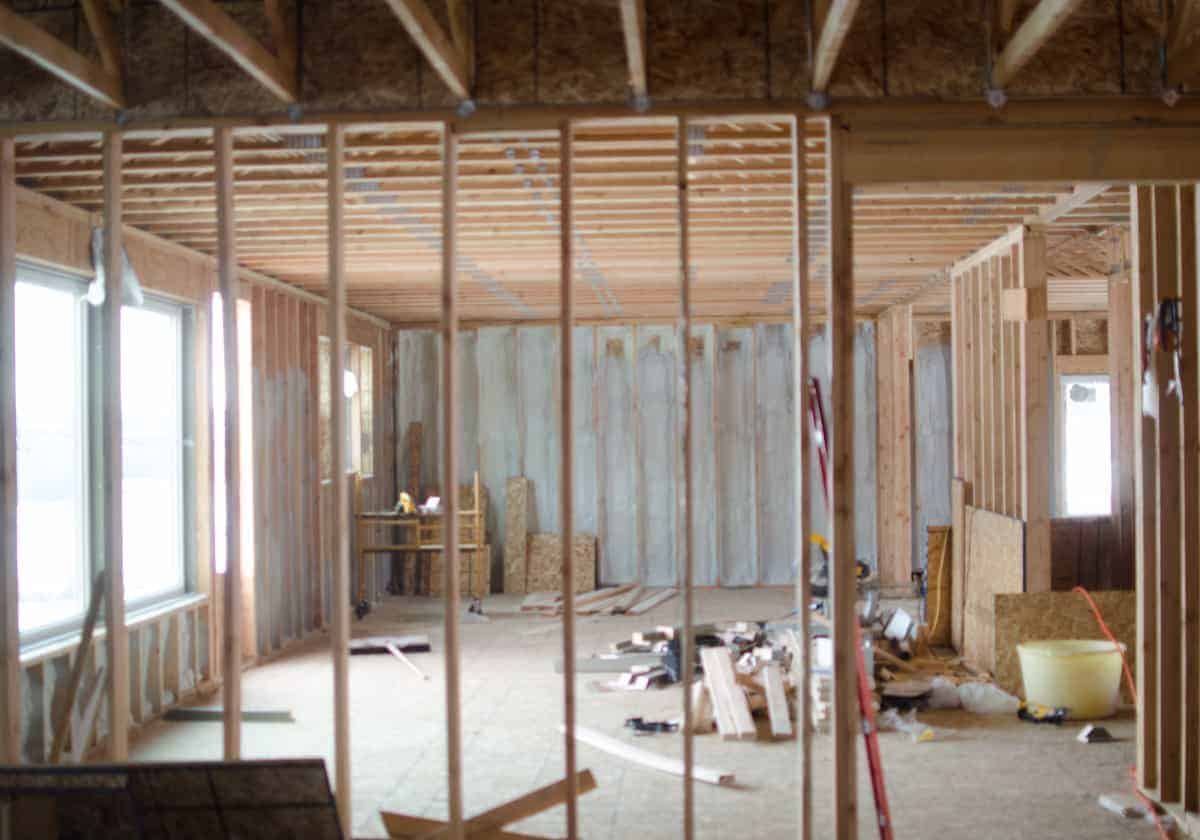
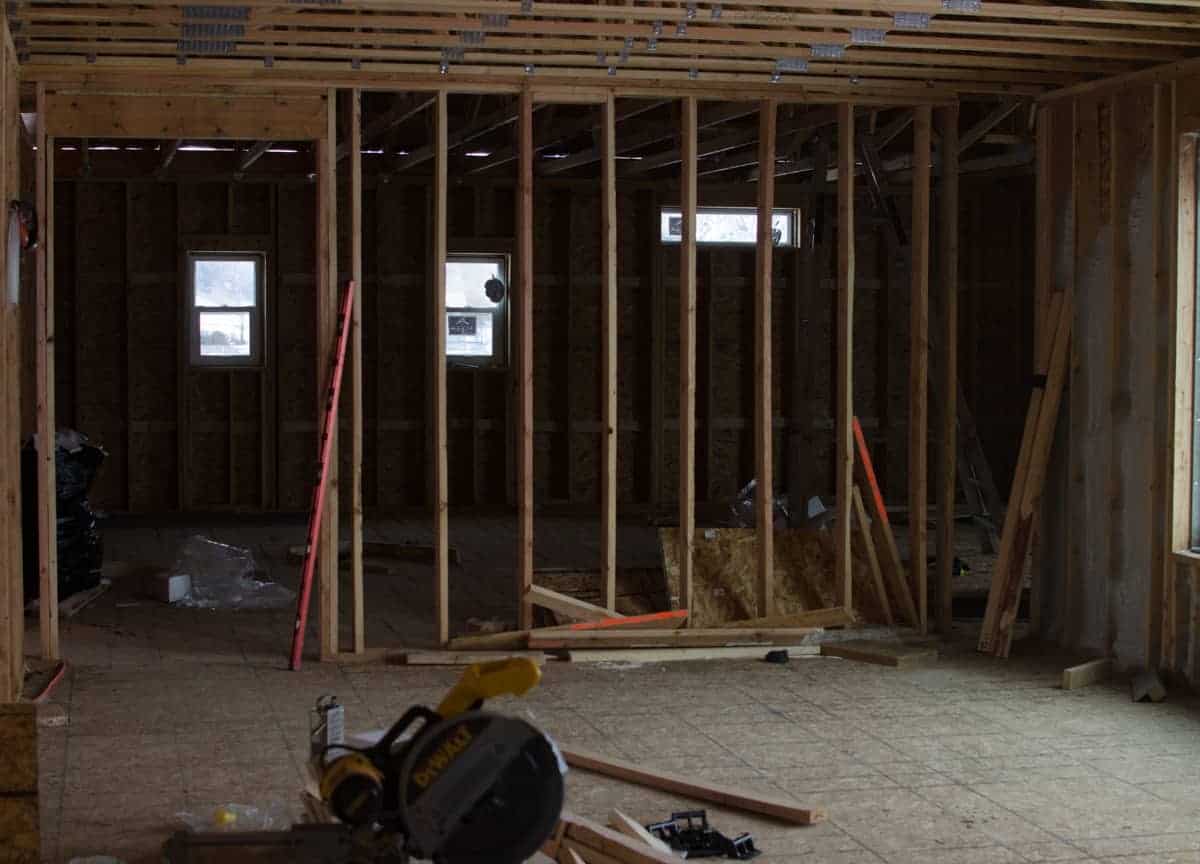
This is a view looking from my laundry room into the living room and then the kitchen at the end of the house. That far wall will have my range hood and pantry on it. Thomas has been really into building an energy efficient home and that means we’ve done some neat things that aren’t “traditional” when it comes to building a home. That’s one of the perks of doing all the work yourself – you can try new things!
We used Insulated Concrete Form (ICF) blocks, which are 4 feet long, 16 inches tall, and 13 inches wide to make our basement walls. You stack up the “legos” and then fill them with concrete. There’s 2.5 inches of foam on the inside and outside of our basement which will help it be energy efficient. For the main and upstairs levels we are installing 2 inches of foam (Thomas’ note: closed-cell spray foam in the stud bays to eliminate air infiltration that typical fiberglass won’t do). We purchased gorgeous triple pane energy efficient windows from Alpen High Performance Products [Thomas’ note: actually they are dual pane with a suspended polyester film (the third “pane”), with allows for additional state-of-the-art low-e coatings without the additional weight of a third glass pane. The window frames are insulated and made of fiberglass (much less expansion and contraction than the traditional vinyl windows used in our area)]. Finally, we are putting two inches of foam on the outside of the house, too [Thomas’ final note: we are using poly-iso foam with a foil facing to eliminate thermal bridging (heat loss through the wood studs and floor trusses)]. All these little things add up when it comes to making an energy efficient home and it’s been fun to research and implement energy saving techniques into our build.
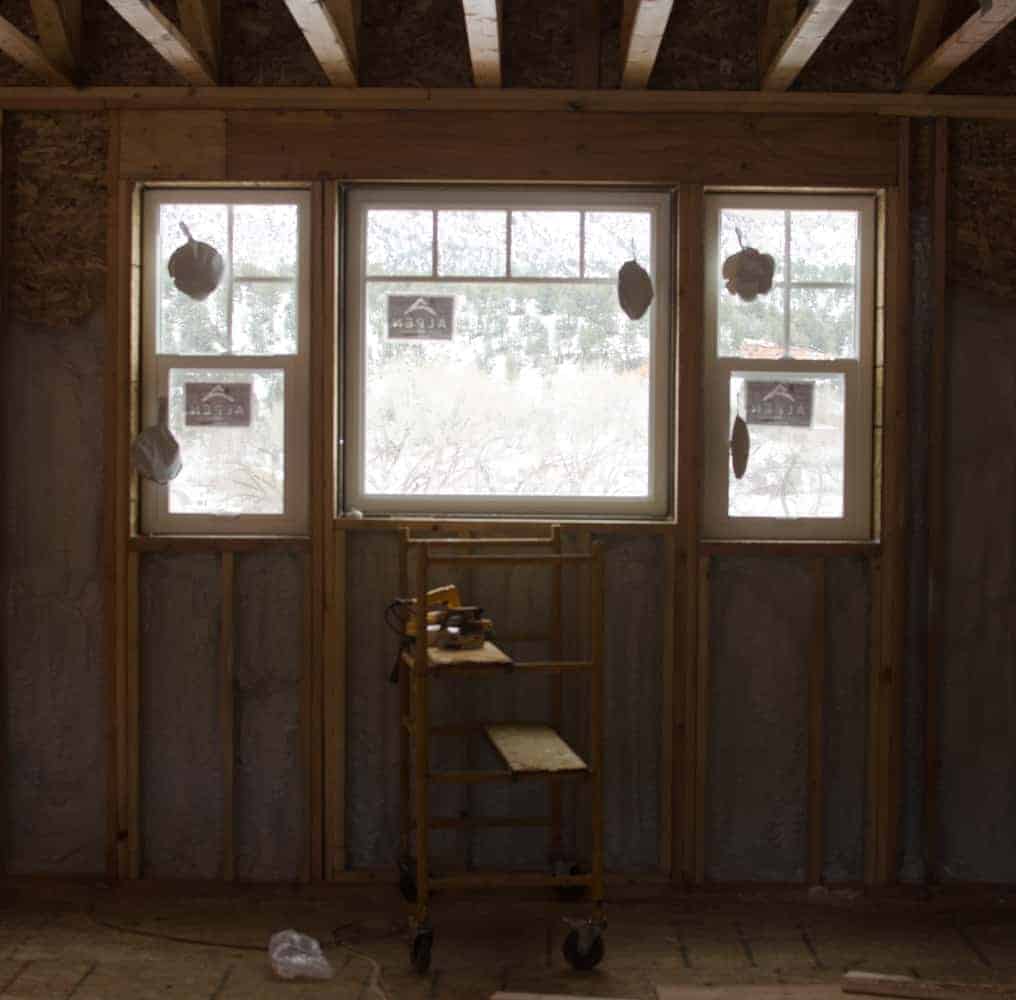
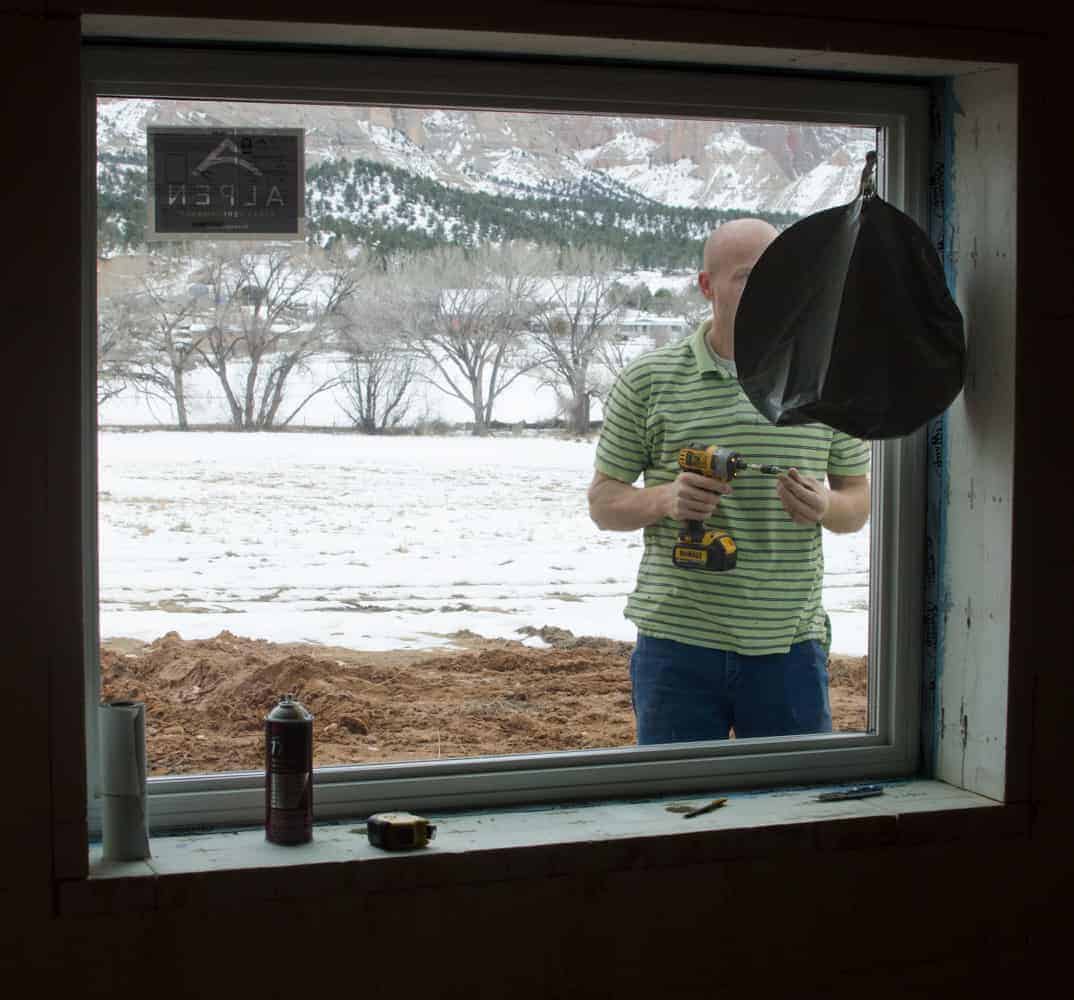
My kitchen windows! The sink is going right under these windows and they face the mountain and our alfalfa field. I’m pretty sure doing dishes will be a little easier with that view!
One thing Thomas struggled with when researching energy efficiency was how to install windows with 2 inches of foam on the outside of the house. We wanted to have our windows placed towards the exterior of the walls – flush with the exterior siding. But how do you install a heavy window 2 inches out from your wall studs with only foam insulation board holding the weight of the window? Many builders solve this problem by building a wood box (called a buck) within the window frame that extends out the 2 inches to be flush with the exterior foam. But Thomas didn’t like that solution because the very idea of exterior foam is to eliminate thermal bridging, and building a protruding box around our energy efficient windows would do just the opposite.
Thomas did some research and found a new product called ThermalBucks that solve the problem. ThermalBucks are high-strength, coated, L-shaped foam pieces that do the same thing as the wood buck, but without the thermal bridging. He contacted the company and spent lots of time figuring out if this was the right option for us. ThermalBucks were the way to go! The folks at the ThermalBucks company put us in touch with their favorite window company. If you are going to have a really energy efficient home, you need really good windows. We have two 6′ by 6′ windows in our living room so that we can enjoy our mountain view – that is a whole lot of glass. We knew that we wanted to get the best energy efficient windows that we could. The ThermalBuck folks and the window folks (Alpen High Performance Products) talked so much to Thomas about his project (DIY builds are super fun to talk about!), that they both decided to come out and see the house and help install their products (this paragraph was heavily edited by Thomas, can you tell? lol).
The folks who create the ThermalBucks shot some promotional video and took pictures of our house for use on their website in exchange for our ThermalBucks. You can see our house on their site here. How cool is that!
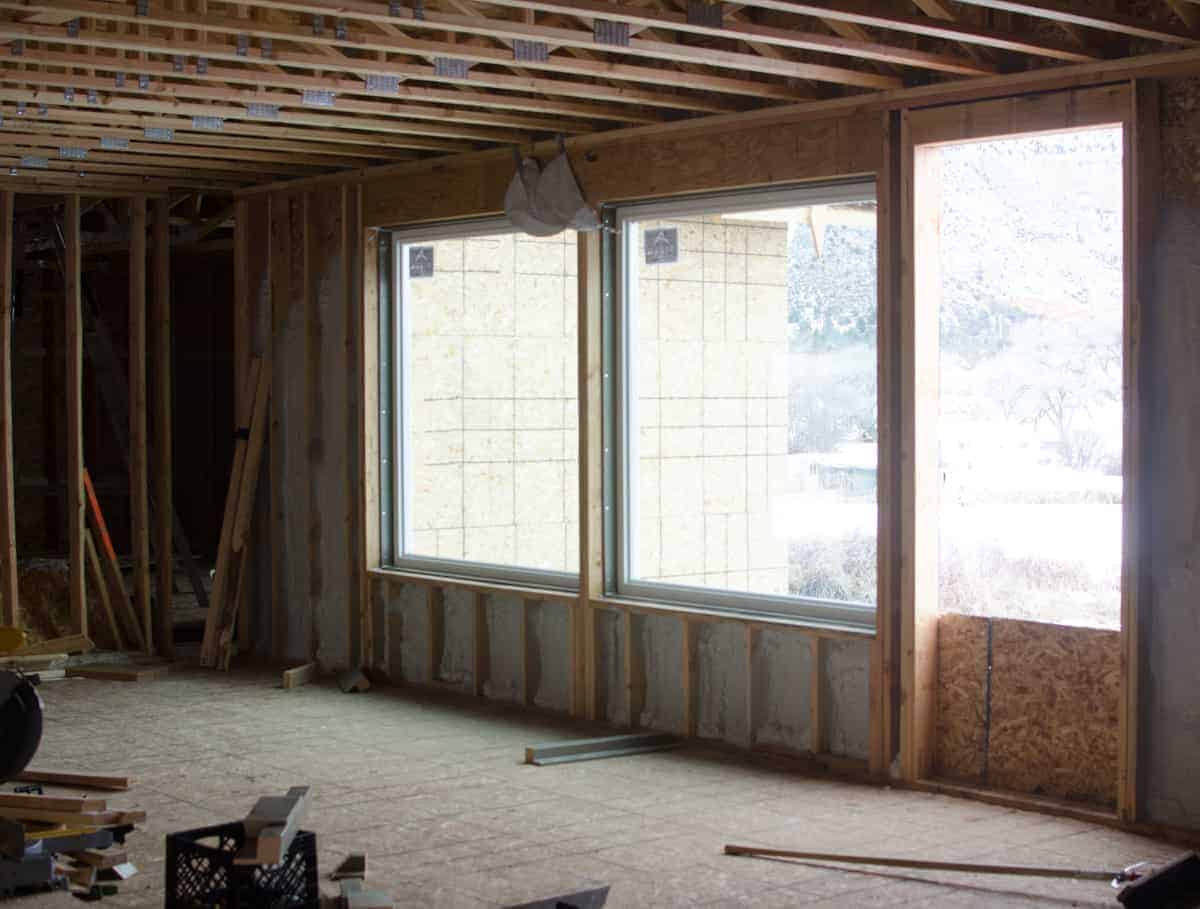
Our big beautiful top-notch Alpen windows in the living room.
You would have gone for giant windows in your living room too, with this view to enjoy. 🙂
Looking at a wall in the living room (fireplace will go on the far right of the picture in the corner) and into the laundry/mud room,main level bathroom, my bathroom/room area.
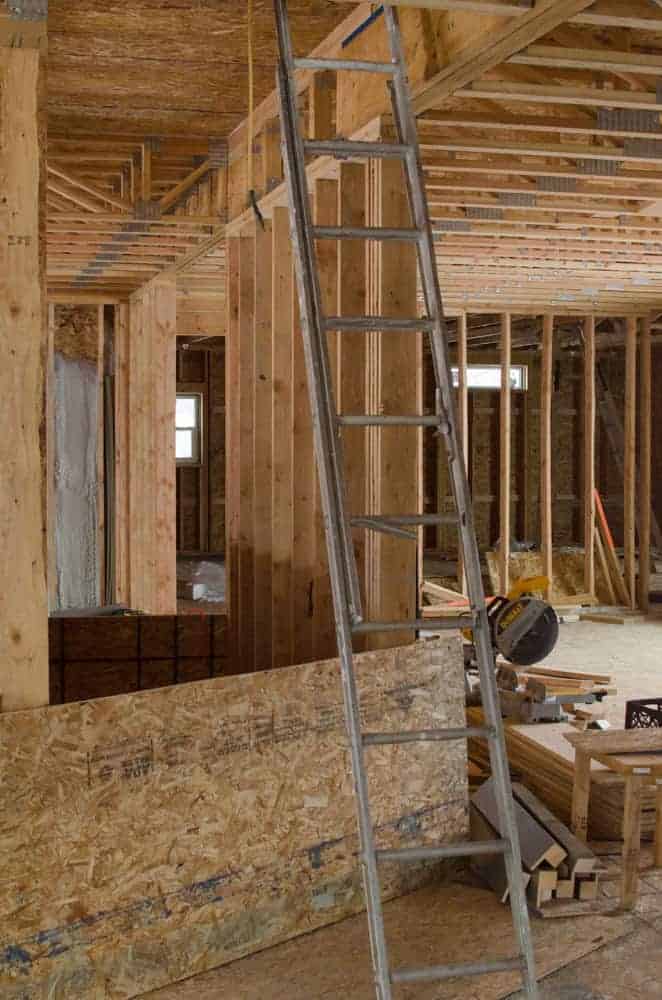
Future stairs from the main level (near my dining room) to the upstairs (spoiler alert! We got the stairs built last week and it’s SO nice!).
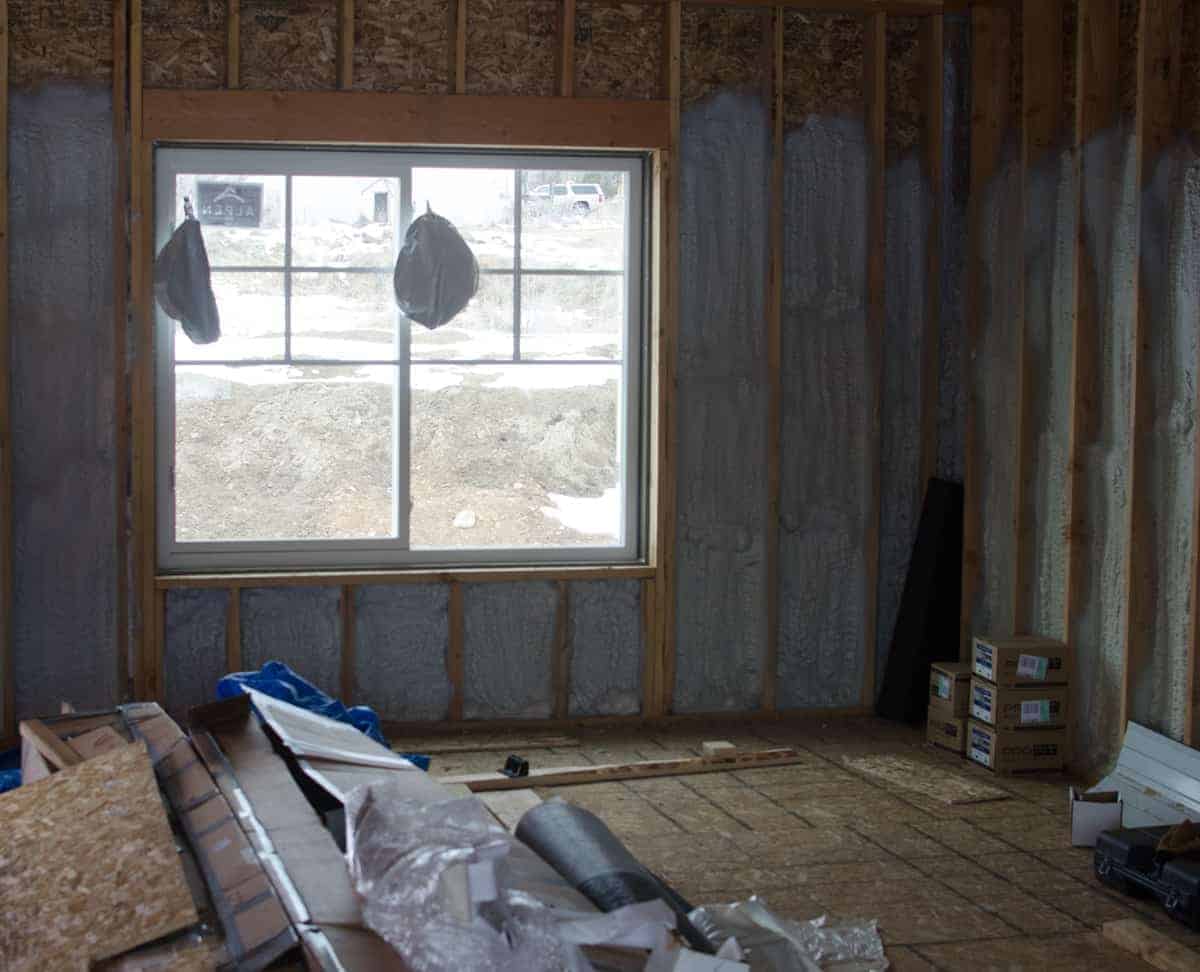
Main level bedroom/office/whoknowswhat room. Aren’t the little panes at the top of the windows fun?!
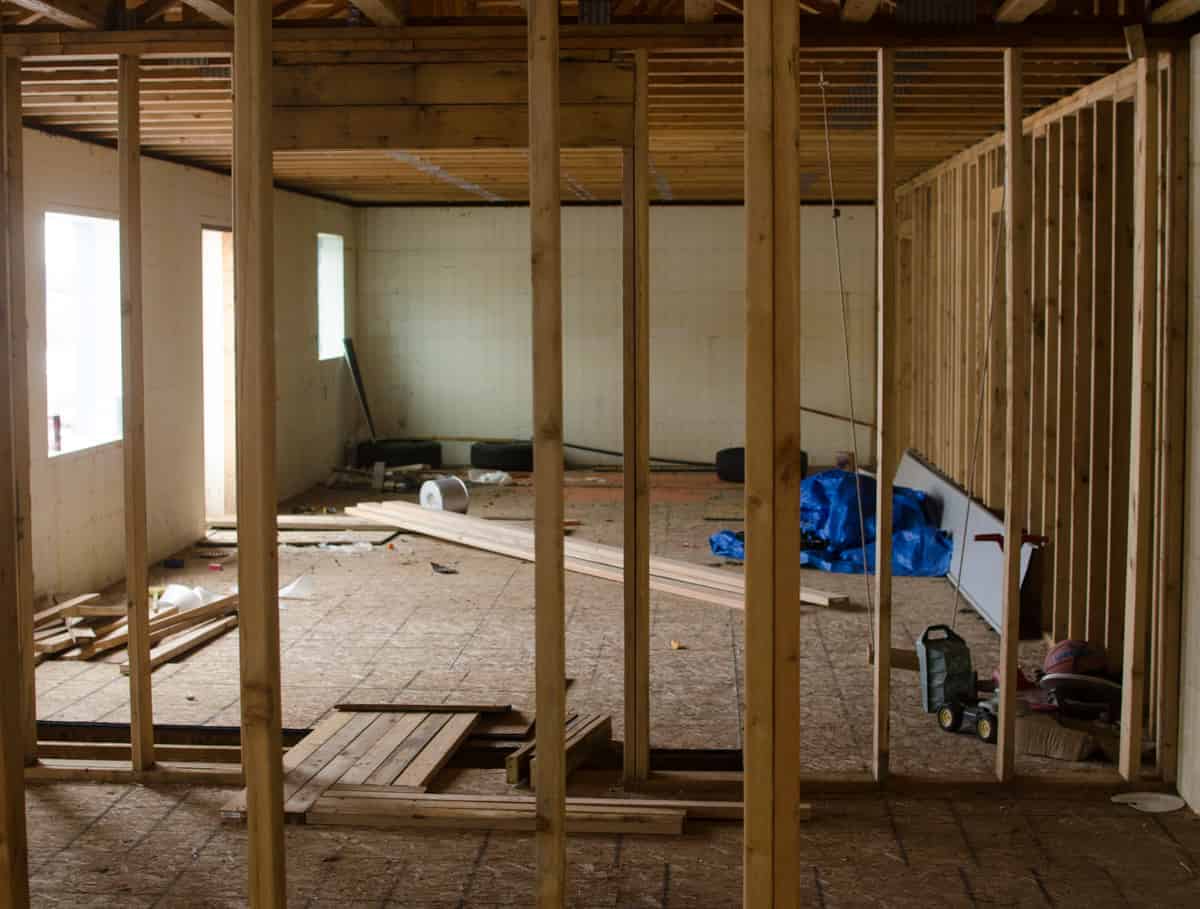
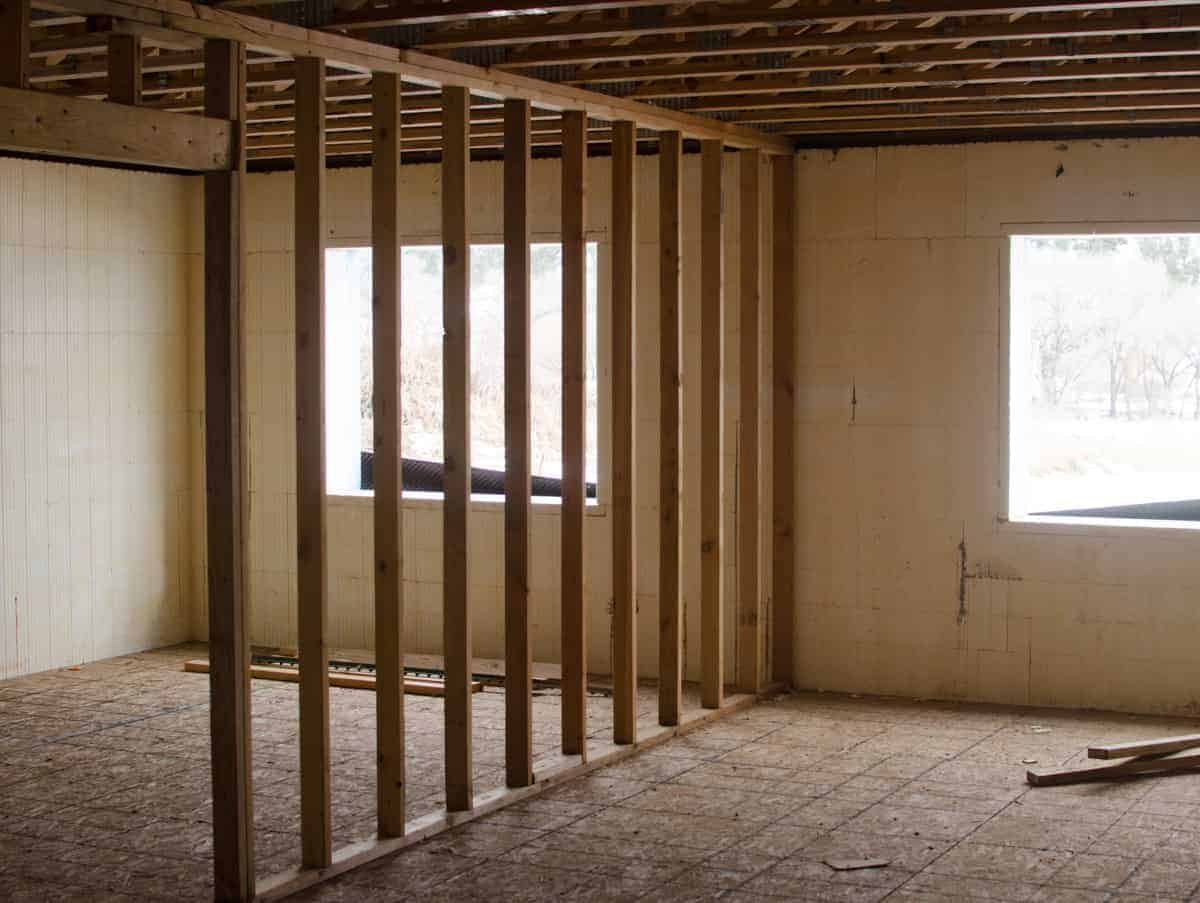
Downstairs in the basement looking from the bedrooms to the living room and kitchen area. As we’ve been thinking more and more about the house, where we are spending our loan money, how soon we can move in, and all the details that go into building your own house, we’ve been making lots of lists. We’ve made a giant list of things that we can leave undone and still move in and another list of things that we feel like have to be done before we start living here. We aren’t planning on finishing the basement until after we move in (it’s going to be a guest area and vacation rental). I don’t care if I have any kind of cabinets/built-ins done in the offices, laundry room, or mud room until after we are in, and all the details like “ship lap,” board and baton, and even hanging all the doors feel like things we can do while we live here. I do, however, plan on the kitchen being totally done(it’s a go big or go home kind of kitchen! We are putting money into it first), the upstairs will be all the way done (minus closet systems and the like), and I really really really want to have a lot of landscaping done.
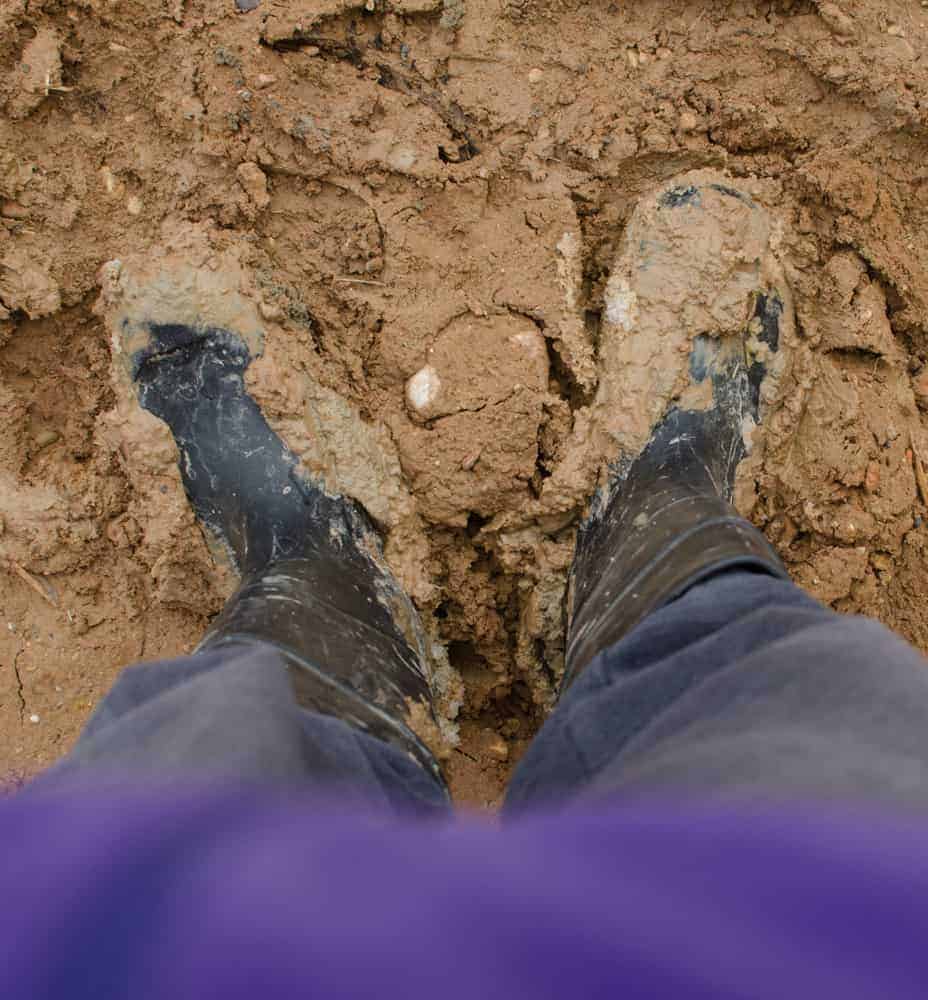
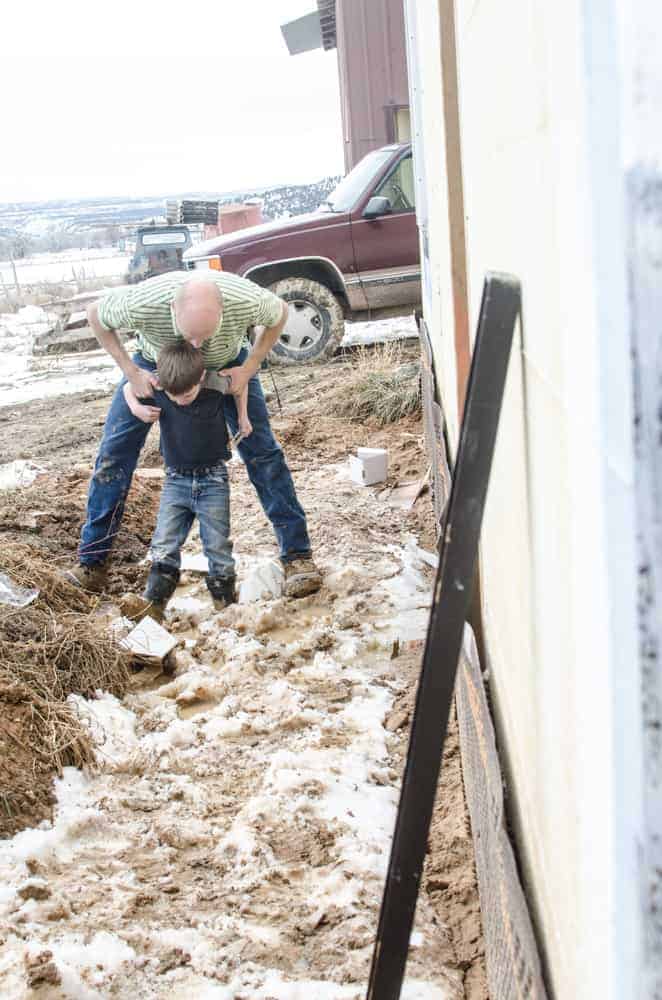
Landscaping is a must because of the mud. Oh the mud. There’s no way I can mentally have a new house, 5 kids, and an unfinished yard. We’ve been battling mud since November and it’s such a nightmare.
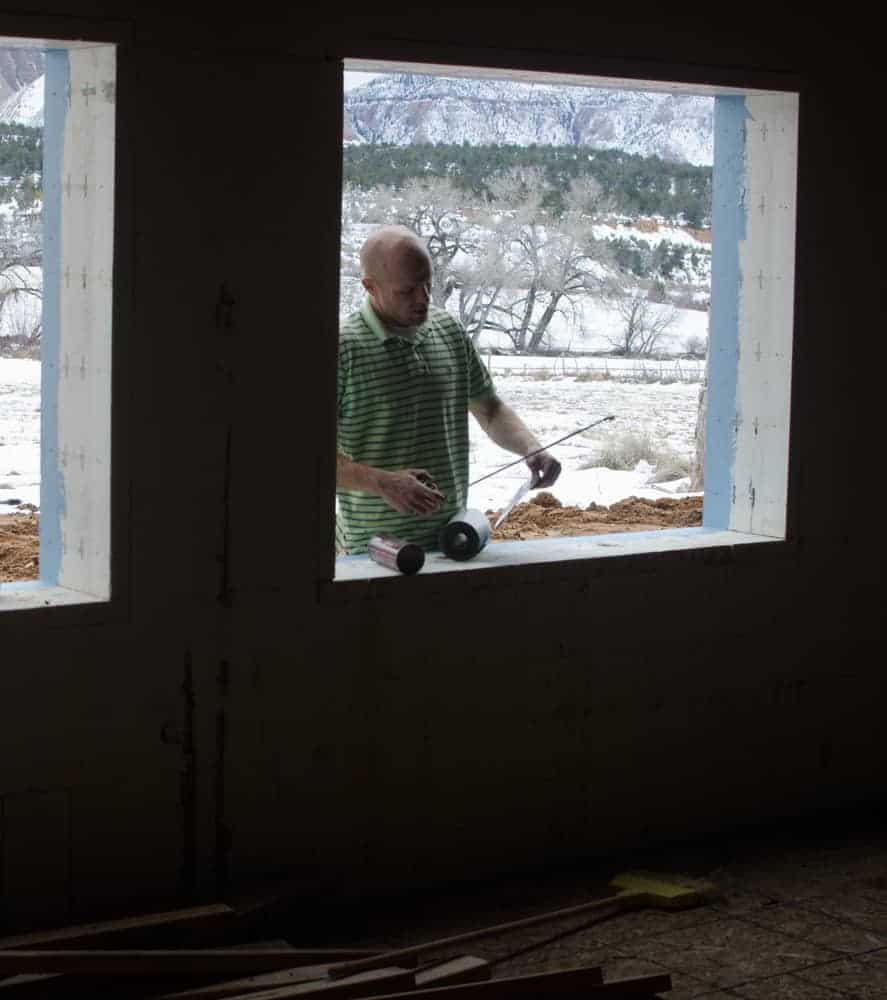
I helped Thomas put the basement windows in a few weeks ago and it was so cold and so muddy. The kids were there for a bit and kept getting stuck.
Flashing the basement windows.
Ta-da! We have all the exterior doors ordered and we are so excited to get them in. The house will be so much warmer with the doors in and we’ll be able to run a heater during the day and not freeze. I bought Thomas long johns for Christmas and he was so pleased with his gift!
We planned on doing a geothermal ground-source heat pump with the waterlines running through our alfalfa field. For the past few years (we’ve been building one year but planning for over 3), there has been a $15,000 tax credit for installing this kind of system. That credit expired in 2016 and was not renewed for 2017 like we hoped that it would be (things like this tend to not live from one presidency to the next…). That is a big increase in our heating and cooling budget, so we started looking for other options. We have found a small locally-owned company that will install an air-source heat pump for us for about $12,000 less than what we were planning on spending on the ground-source one.
So for the first time on this project we have hired part of the work out. I’m so excited about it. They have come to measure and should be back next week to install air ducts and the like. We are also paying a company to come in and spray two inches of foam in the interior walls of the house (instead of doing fiberglass insulation) – it’s super energy efficient because it stops airflow. It’s been too cold and muddy for them to come though, and that’s making me nervous that they will be holding up progress on the rest of the house. We’re hoping that next week’s lack of rain will allow everything to dry out a bit and we’ll get the spray foam folks moving along.
More basement walls!
So now Thomas is working on framing the interior walls in the upstairs and doing the electrical wiring. I have all my bathtubs ordered too, so when they arrive they’ll get a home in the bathroom. I’m working like a crazy person trying to decide some of the finishes. Do I want one chandelier over the dining room table or three pendant lights? Things like that, because that matters for wiring. I’m toying with the idea of not having many upper cabinets too. I think I might like a few open shelves and to leave some of the wall space open. You know, embrace a little bit of minimalism. I’m wondering if it will make me feel less cramped or if I’ll wish I had more cabinets in the future.
So many fun things to think about!
Thank you for sharing this journey with me. If you are looking to build an energy efficient home, we recommend looking into ThermalBucks and Alpen Windows. We are very pleased with both.




Melissa – I love love love watching your build grow! You and Thomas are amazing! Thanks for sharing with all of us! And when its done, you have to give me a tour!
So cool!!! I just love seeing your progress!
Love to see the photos! You’re going to love it. My husband and I (mostly retired) are building a house in the mountains of Idaho and doing much of the work ourselves. We, too, had originally planned to do a ground-source heat pump system. The cost of materials was crazy even if we did the excavation “ourselves” – code for my dear husband will do it. The kicker was how much land it was going to take. We have about 2 acres of cleared land, and it wasn’t enough for the house, patio, and drain field for the septic plus the ground-source system. We’ll be putting in propane furnaces for heat during the very cold time of year, plus air-source heat pumps for cooling and heat during mild seasons. Just like you, the ground-source seemed so great until we got down to the details. We’ll likely be putting in some solar panels on our garage too. A friend told us about a cost-effective source for the panels that make it worth while to put them in.
I’m so impressed with all you and your family do. Makes me tired just to think about it! Glad you’re young! Best wishes.
Congrats on your build! I’d love to see pictures 🙂 And yes on the SO. MUCH. SPACE! We have 6 acres of alfalfa fields that we own behind the house and we were going to put our lines in there, doing the digging and laying of the lines ourselves too. We needed two units because of the size of the house so we were planning on digging up the entire field. I can’t remember Thomas’ exact plans but I think it was 8 lines that were 1200 feet long each. I’m kinda glad it didn’t work out like we planned, I think this air source is going to be a lot easier. We are planning on adding solar one day (he’s putting a conduit up to the attic with a cap) but it feels a little overwhelming right now. I’ll have to ask you for your source in a year or two when we are ready. We are also doing a traditional wood burning fireplace for emergencies/winter/fun which will be nice. The power goes out here often! Thank you for sharing your story with me. Hope you have an awesome day, Melissa
My dad used to work for a well drilling company here in Nebraska, and they drilled loops for heat pump systems straight down into the ground. Didn’t take bar as much space and they could easily do a big enough system for a house in a day. Just a thought got anyone else looking into it.
Thank you for saying that! We had friends that just went the well route and it was SO EXPENSIVE! It’s crazy hard to drill wells here in the middle of the desert and it’s hard to get people to come out and do it. We were going to dig up our field because we could do it ourselves and I’m pretty sure getting the well dug was over 10k just for the digging, no equipment. Crazy huh!
Um ya…mud….right…..its not mud…its alive and it grabs and holds and then loves you and you stuff so much it dries to it, forever, hard as a rock. The ONLY way to remove it is with a hammer and a chisel! Its definitely interesting stuff! Your house is soooooooooooo cool!! And Thomas writes well….
Said the friend who lives in Southern Utah and understands the mud… so bad! Thomas does write well. I keep telling him to quit his job and work for me. I don’t pay nearly as well as engineering does though and in the middle of the build might not be a great time, he tells me.
I can’t wait to see it all done! It’s been so fun to see the process this last year. You two are a pretty amazing team! It makes me so happy to think about your new kitchen too. No one deserves it more than you do!
You are going to die a little when you see the kitchen. I’m making big plans right now and a huge zinc hood is included! I guess you are going to have to come down and cook in it with me!
Oh your house is going to be beautiful! Love the big view windows. The house I grew up in had views of Mt Olympus on the Wasatch front. My Dad built our house in the 1950’s, with self mixed cement for the basement, and only handsaws and hammers, no power tools at all! He wanted the cement all poured in one day to make sure there would be no weak spots or cracks. He and his best friends worked a twenty hour day with a small cement mixer. They all were so exhausted, they still talk about how hard it was, they thought they were going to die. Dad did hire a brick mason and an electrician. But he did the plumbing. My mother’s father guided and helped him through the whole build. When Mom sees new houses being built with the roof trusses delivered on trucks and hoisted by a crane, she remembers how afraid she was watching Dad and her father standing up on the walls, building the trusses in place. One really nice touch was Dad putting white tile on the windowsills. They still look perfect after 50 years. May you live in your loved filled house for a very long time.
That is such a great story! I feel like we are slowly collecting those things we “still talk about too” and we have a few from our remodel that we still laugh/cringe about too. Thank you for sharing your dad’s story with me. Him and Thomas would have got along splendidly! I hope you can come and visit when it’s done friend!
I love seeing the updates on your new home! You have made such progress since we drove past your house the third of November…wow!
Slow and steady! Next time you’ll have to stop for dinner 🙂
It’s so beautiful! We just finished our new farmhouse remodel in the kitchen. We went with a large island with lower cabinets and no wall cabinets at all. We have raw popular board walls and I hated to cover them up. So far we love it and it looks much less cluttered.
I’d LOVE to see a picture! I’m so glad to hear this. The idea for me was the same… less to look at and worry about and some mental space. Did you do any open shelving? I’ve been collecting some pretties over the years that I think I might want out but does that defeat the “less to look at” idea?! I have a 10 foot island going in and some tall shelving units on one end (they’ll have the double oven and microwave in them) and a pantry. I really don’t feel like I’ll need them. One question too. Where do you keep your cooking spices? I think that’s the only thing I really keep in my upper cabinets now that I’m not sure where I would put. Thank you! Happy new kitchen to you!