Whole Wheat Buns
on May 31, 2016, Updated Aug 22, 2024
This post may contain affiliate links. Please read our disclosure policy.
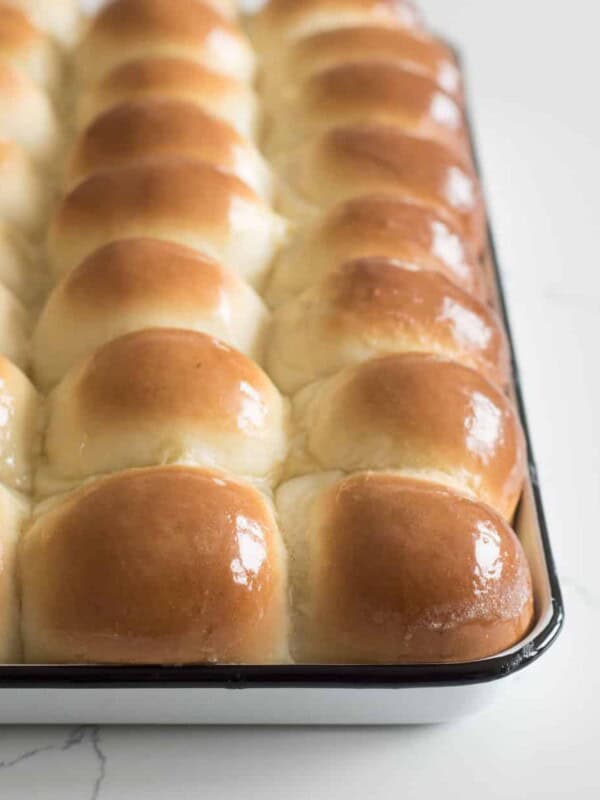
These Whole Wheat Buns are great for sandwiches and burgers! Baked until the tops are golden brown, these buns are tender, soft, and delicious!
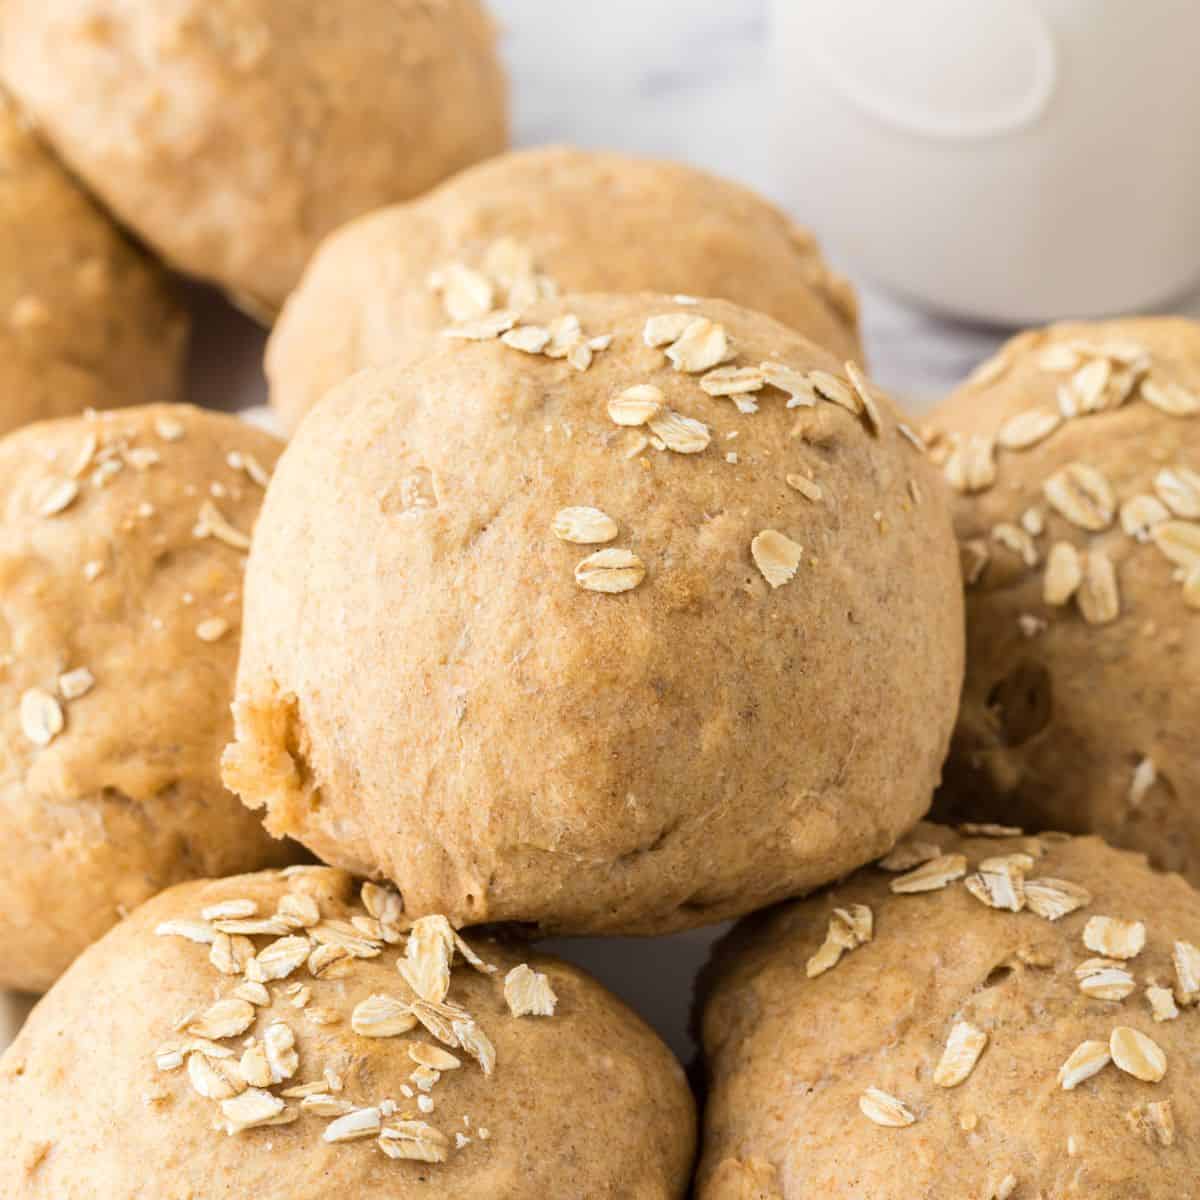
Whole wheat buns are the best way to elevate a classic cookout! While store bought buns are great when you’re in a hurry, if you have extra time to make these whole wheat buns you definitely should. The whole wheat flour, oats, and all-purpose flour work together to ensure a light and fluffy dough that will turn into soft and delicious buns.
I love that these buns freeze well because it is easy to make a double batch and store them for the next barbecue! Not only are whole wheat buns yummy, but they are also nutrient dense and will keep you feeling satisfied. If you are looking to take your burgers or sandwiches to the next level then give this recipe a try!
Table of Contents
Why You’ll Love This Recipe
- The buns are easy to make and will rise to become light and fluffy.
- The whole wheat makes the buns nutrient dense and gives them a hearty flavor.
- You can use them for all sorts of delicious sandwiches or burgers.
Recipe Ingredients
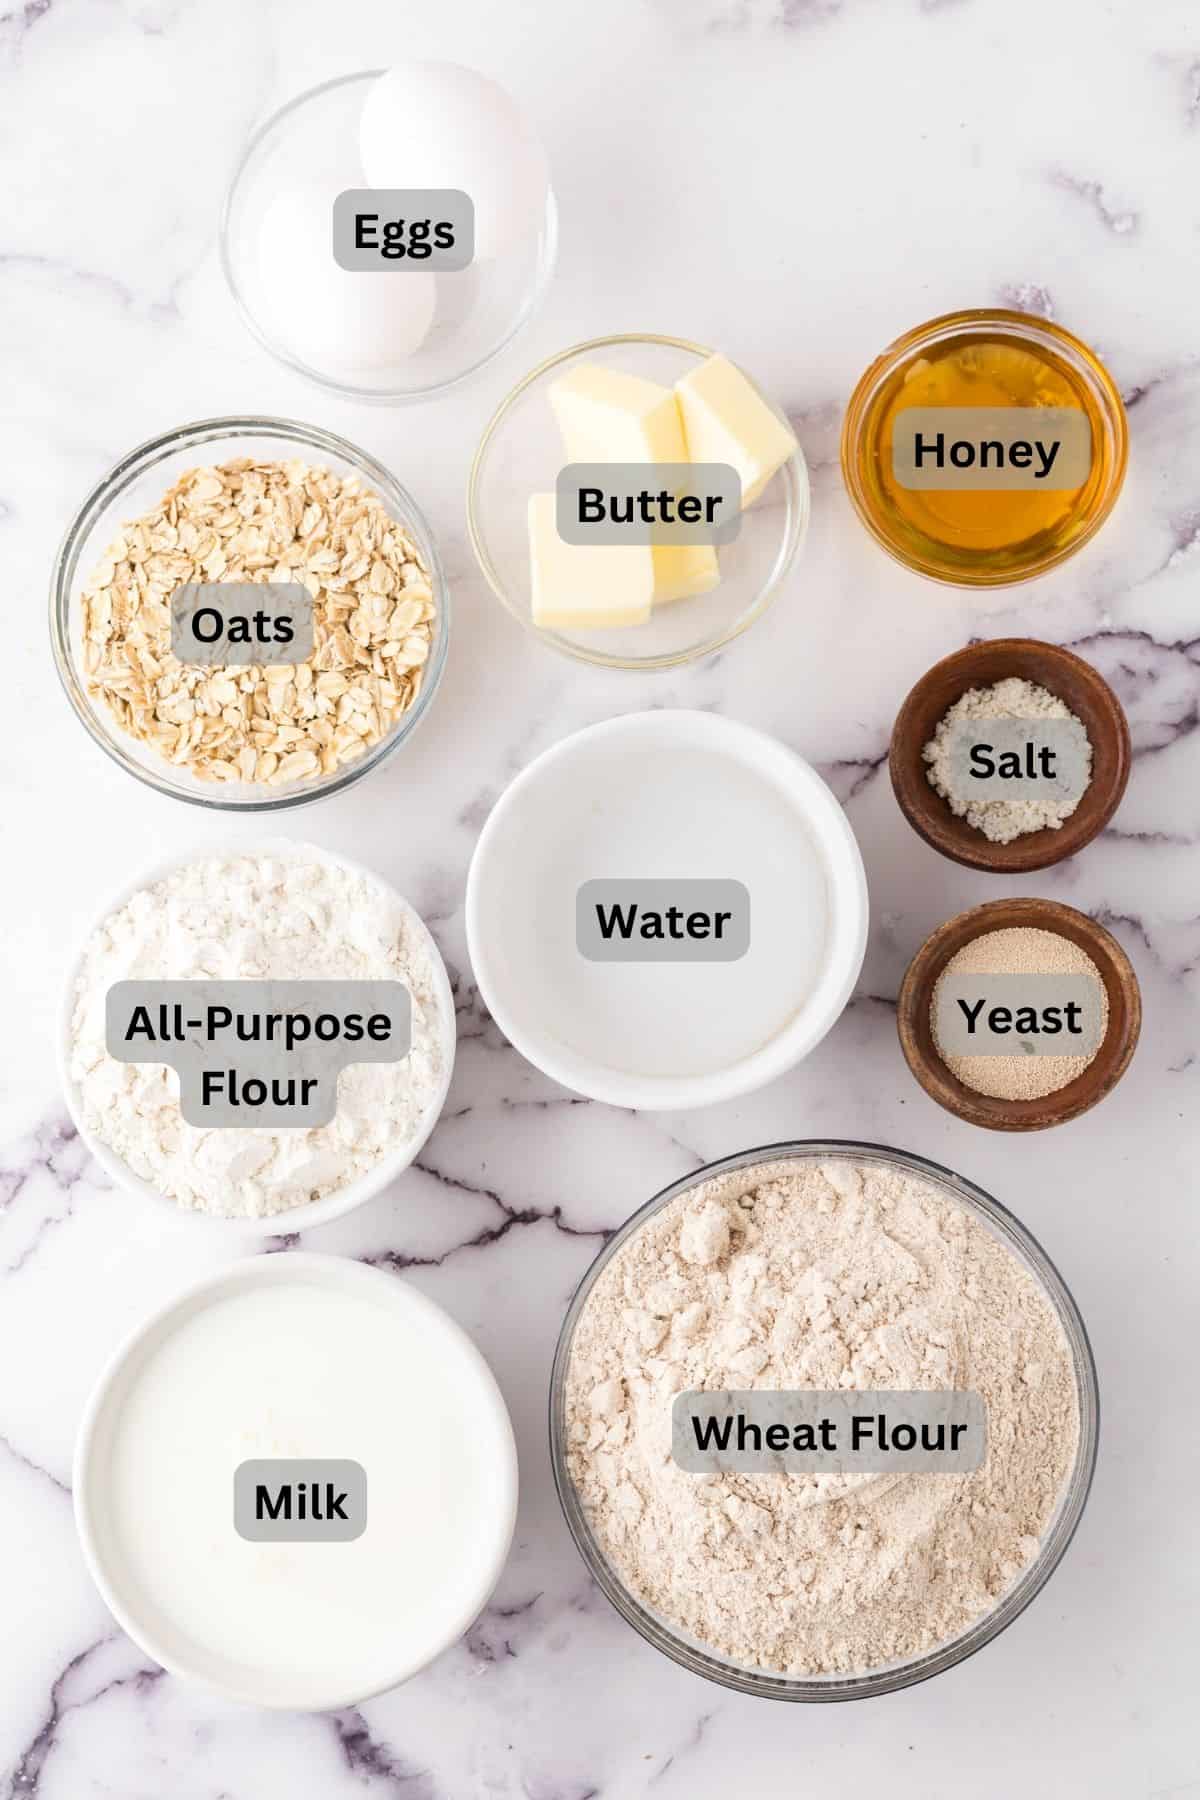
- Old Fashioned Oats—They mix in seamlessly with the dough and add a nice chewy texture.
- Flour—A mix of all-purpose and whole wheat flour.
- Egg—To provide structure and richness to your buns.
- Milk—You can use 2% or whole milk.
- Water—To help bring the ingredients together.
- Butter—Room temperature and cut into small pieces.
- Yeast—Helps the dough rise and create a light, airy texture.
- Honey—This will feed the yeast, making the buns tender.
- Salt—To balance the sweetness of the honey.
- Egg Yolk—Mixed with a little bit of water to create a simple egg wash.
See the recipe card for full information on ingredients and quantities.
How to Make Whole Wheat and Honey Buns
Step #1. Preheat the oven. In a medium bowl, mix water, milk, and butter. Microwave until warm, then stir in yeast and honey until butter melts.
Step #2. Add salt, egg, whole wheat flour, oats, and half of the all-purpose flour. Gradually add the remaining flour, stirring until a dough forms.
Step #3.Knead dough on a floured surface until smooth. Place in a greased bowl, cover with plastic wrap, and let rise.
Step #4. Divide risen dough, shape into circles, place on a lined baking sheet, cover, and let rise again.
Step #5. Brush with egg wash, sprinkle with oats, and bake until golden brown. Let buns cool, slice in half, and enjoy!
Recipe FAQs
Whole wheat flour has many wonderful nutrients and adds a delicious, hearty taste to any homemade bread. Sometimes when used alone, whole wheat flour can result in a slightly dense or heavy product. All-purpose flour does not add as much flavor but still adds a good structure and texture to pastries or bread. By using both, you will get the classic wheat bread flavor along with the light feeling that you would expect in a bun!
Dough needs to rise, or proof, in order for the yeast to develop. As the yeast feeds on the sugar in the dough, it releases gas that gets trapped by the dough. This creates air bubbles that are responsible for the nice structure of the buns and will improve the flavor of the bread. The reason we allow the dough to rise two times is to ensure the best texture with even distribution of air pockets! It is best to let your dough rise in a warm, draft free area covered with plastic wrap or a clean kitchen towel.
How to Serve and Store Whole Wheat and Honey Buns
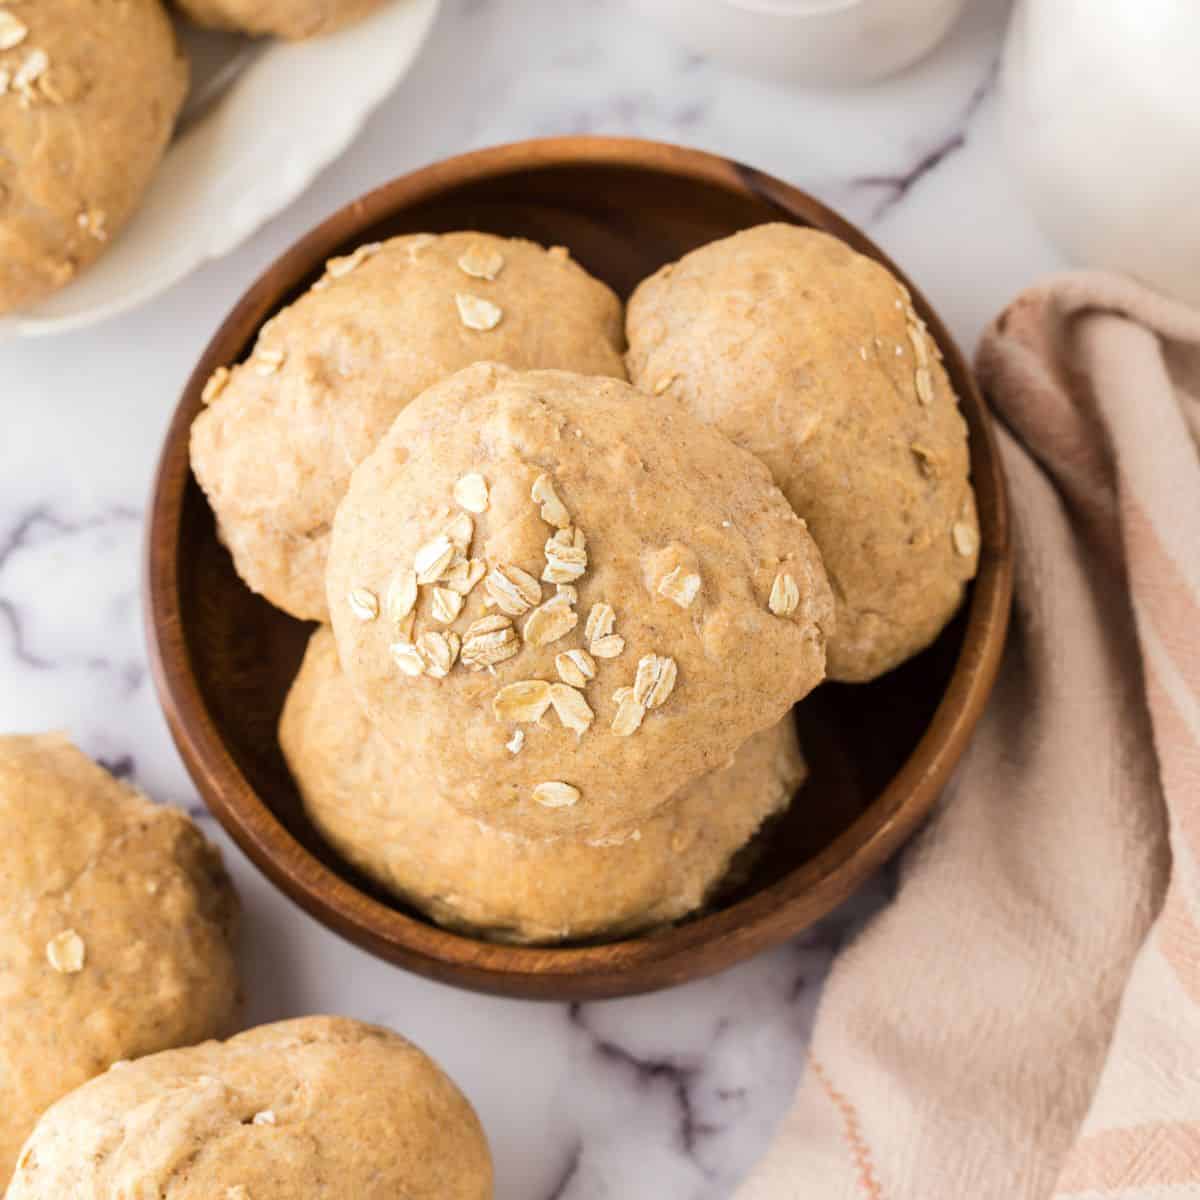
These buns are perfect to use for a juicy burger with all the fixings, pulled pork sandwich, or a grilled chicken sandwich! I also like to serve them on the side of pasta, roast beef, or soup, along with some butter. If you are looking for a light snack, you can simply spread some raspberry jam onto a bun and enjoy.
You can store any leftover whole wheat honey buns in an airtight container or ziploc bag on the counter for up to 2 to 3 days or in the fridge for up to a week. Additionally, these buns freeze well and are delicious grilled or toasted before using!
Expert Tips
- Instead of sprinkling oats on top of the buns you can also use sesame seeds for a subtle flavor!
- You will want about 2 inches of space in between each bun. This will give them enough room to spread out a bit as they cook without touching.
- In order to prevent the bottom of the buns from browning too much, you can use a baking mat on your tray.
- These burger buns are pretty big, so you could make 18 smaller buns or 24 slider size buns! Be sure to adjust the cooking time if you adjust the size.
More Bread Recipes To Consider
Sweet Treats
Homemade Glazed Donut Recipe
Bread Loaf Recipes
Homemade Subway Bread Recipe
Roll Recipes
Mom’s Jumbo Dinner Rolls
Homemade Bread
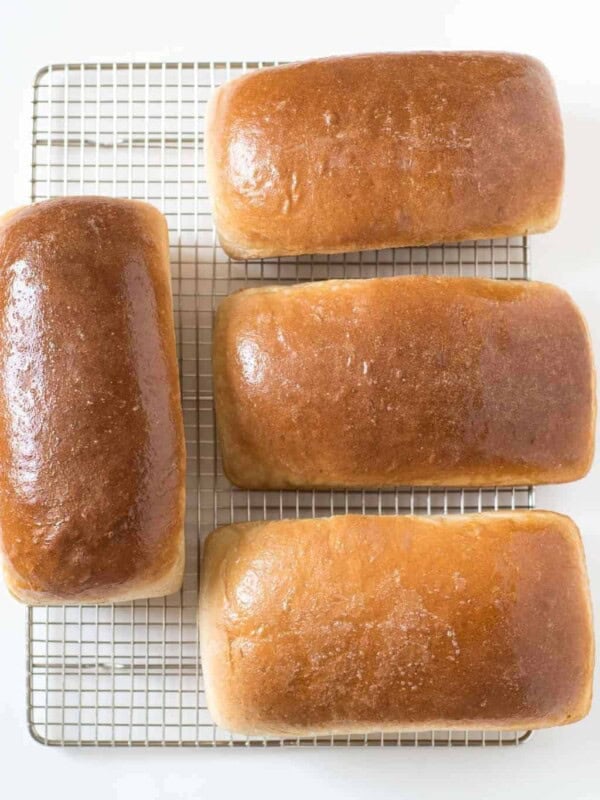
Mom’s 4 Loaf Wheat Bread Recipe
Did you make this recipe? Leave a ⭐️ review and share it on Instagram, Facebook, or Pinterest!
Homemade Whole Wheat and Oat Buns
Ingredients
Instructions
- In a medium bowl mix together the water, milk, and butter. Microwave for about a minute until the mixture is warm to the touch but not hot. Stir until the butter melts. Add the yeast and honey and stir. Let the mixture rest for 2 minutes.
- Add the salt, egg, and whole wheat flour and mix well for 3 minutes. Add the old fashioned oats and 1/2 cup of the all-purpose flour and stir for another 3 minutes. Add additional flour, about 1/4 cup at a time, and stir well after each addition. When the dough starts to come together, remove it from the bowl and place it on a well floured surface. Knead in additional flour until a smooth dough forms. Add a little cooking spray to the bowl you used, form the dough into a ball, and place it back in the bowl. Cover the bowl with plastic wrap and let it rest for 30 to 45 minutes.
- When the dough has risen for 30 to 45 minutes, remove it from the bowl and divide it into 12 even parts. Shape each dough piece into a wide flat circle that is about 4 inches across. Lay the shaped buns on a parchment or baking mat lined baking sheet, about 2 inches apart. Repeat with remaining dough. I could fit 6 buns per baking sheet. Cover the dough with a towel and let it rise until it is light and puffy, about 40 minutes.
- Preheat the oven to 375 degrees. Add the egg yolk and water to a small bowl and mix it together well with a fork. Use a pastry brush to brush the egg wash over the buns and then sprinkle the bun tops with a few additional oats (you could also use a few sesame seeds). Bake the buns for 12-15 minutes until the tops are golden brown. Remove from the oven and let cool. Slice in half before serving.
Notes
Nutrition
This recipe would go so great with:
Make a double batch and freeze half for later because Homemade Whole Wheat and Oat Buns are sure to become a family favorite in no time. Enjoy!








These are really really Big buns. I like big. It did require some more flour as i was using a KitchenAid and it always kept sticking to the slides. I think i added an additional half cup of white flour. When i rolled it out to cut it up into portion sizes it was sticky to the counter top but after adding oil to my hand it became easier to work with. Overall it’s a good recipe that maybe need to adjustment depending on your kitchen temperature and the quality of the flour. Thanks.
Any alternative to the white flour? Can I just use whole wheat and oat flour?
If you are doing all whole grains you’ll want to add a few tablespoons of gluten to the mix to help compensate.
The ratio of liquid to flour is off, so I did not try this recipe.
I had the same problem, needed to add much more flour than the recipe called for and still had a wet dough.
Odd! How many buns did you end up with?
I ended up with 12 nice-sized buns. When I tried the recipe again, I only added about 1 – 1 1/2 cups extra flour and allowed the dough to just be super wet. These were nice and easy to work with after rising, but they came out a lot smaller.
They are super tasty and stand up to lots of toppings. I will definitely continue making them with modified flour amounts and procedures.
on step 3 do you punch down the dough b/f dividing it?
woohoo! I am excited for this recipe! when I saw the pictures of them in one of your last posts I was wondering if you made them or bought them because they looked so great.