Homemade Vanilla Pudding Cups
on Jul 12, 2014, Updated Sep 04, 2024
This post may contain affiliate links. Please read our disclosure policy.
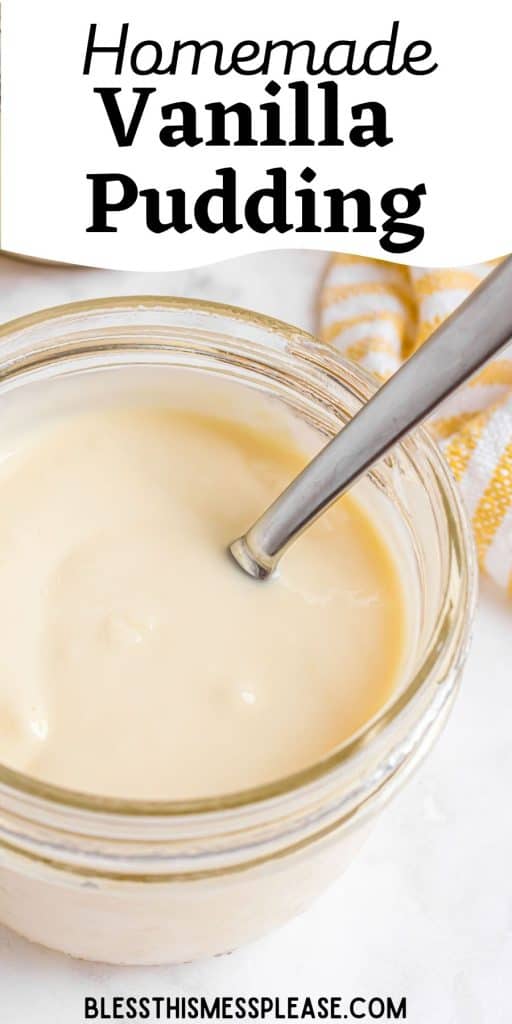
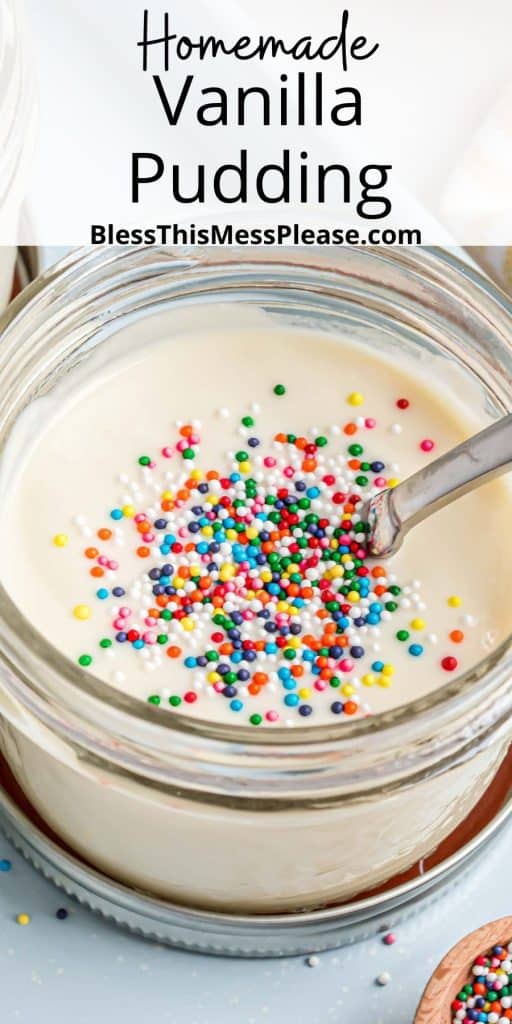
Homemade Vanilla Pudding Cups that are easy to make and tastier than pre-packaged pudding cups. They are such a cute and fun dessert to make and filled with wonderful vanilla flavor!
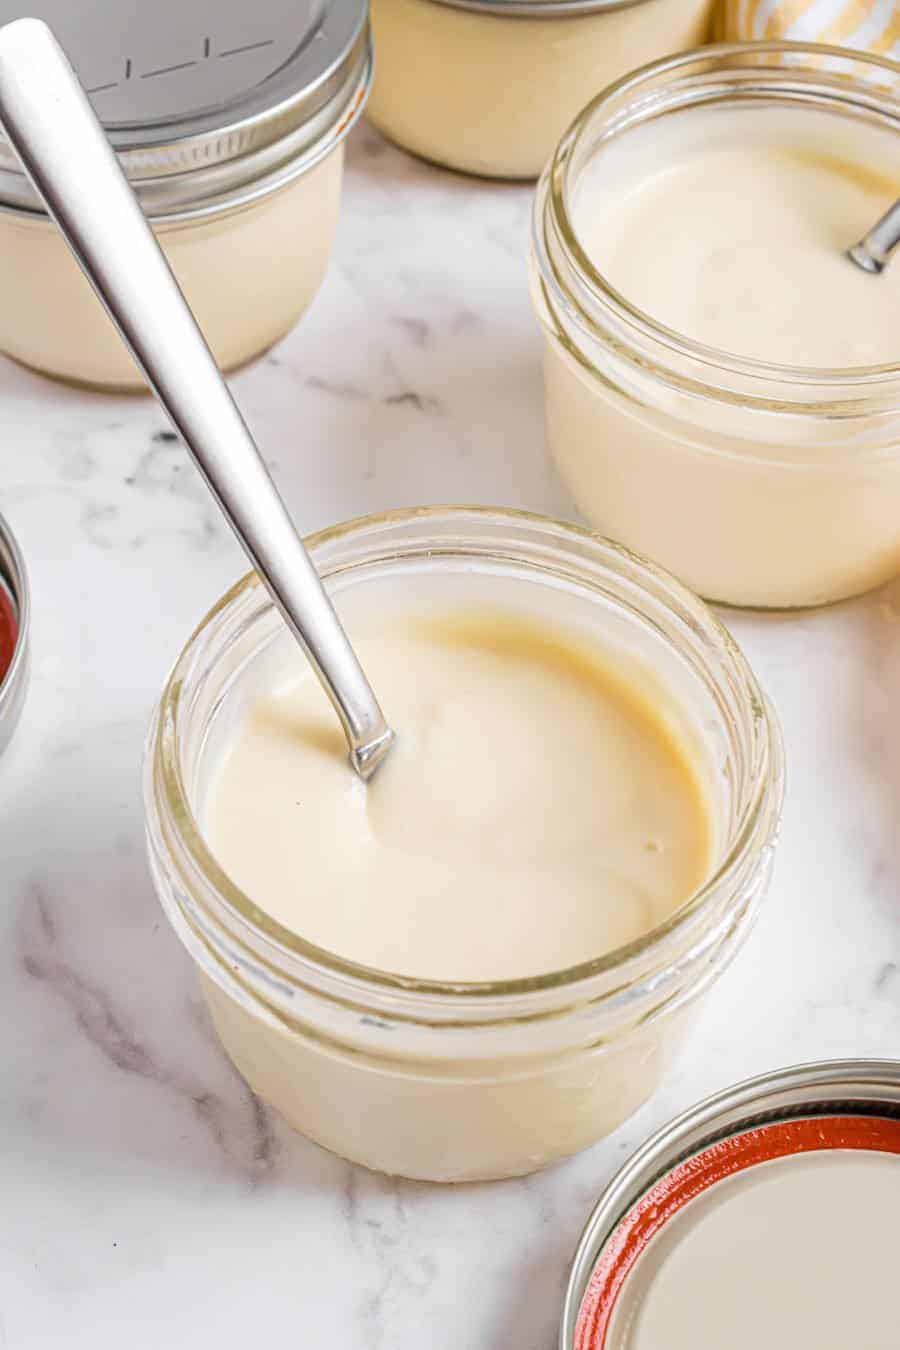
These homemade vanilla pudding with milk or half-and-half, egg yolks, corn starch, and sugar! It’s easy, and so cute as pudding cups, just serve the pudding in individual cups! Sprinkles don’t hurt anything.
Making your own vanilla pudding at home is really simple and tastes delicious. The texture is smooth, creamy, and it’s just plain good. Once you taste the difference of homemade, you won’t go back to the store bought version. You must also try my pumpkin pie pudding and double chocolate pudding!
Table of Contents
Why You’ll Love This Recipe
- Rich and creamy with a deep vanilla taste, this pudding is comfort in a cup.
- With simple ingredients and quick preparation, it’s perfect for a stress-free dessert.
- Serving in mason jars adds a cute and playful touch, great for kids and adults alike.
- You can easily adjust the recipe or add toppings like sprinkles, fruit, or whipped cream.
Recipe Ingredients
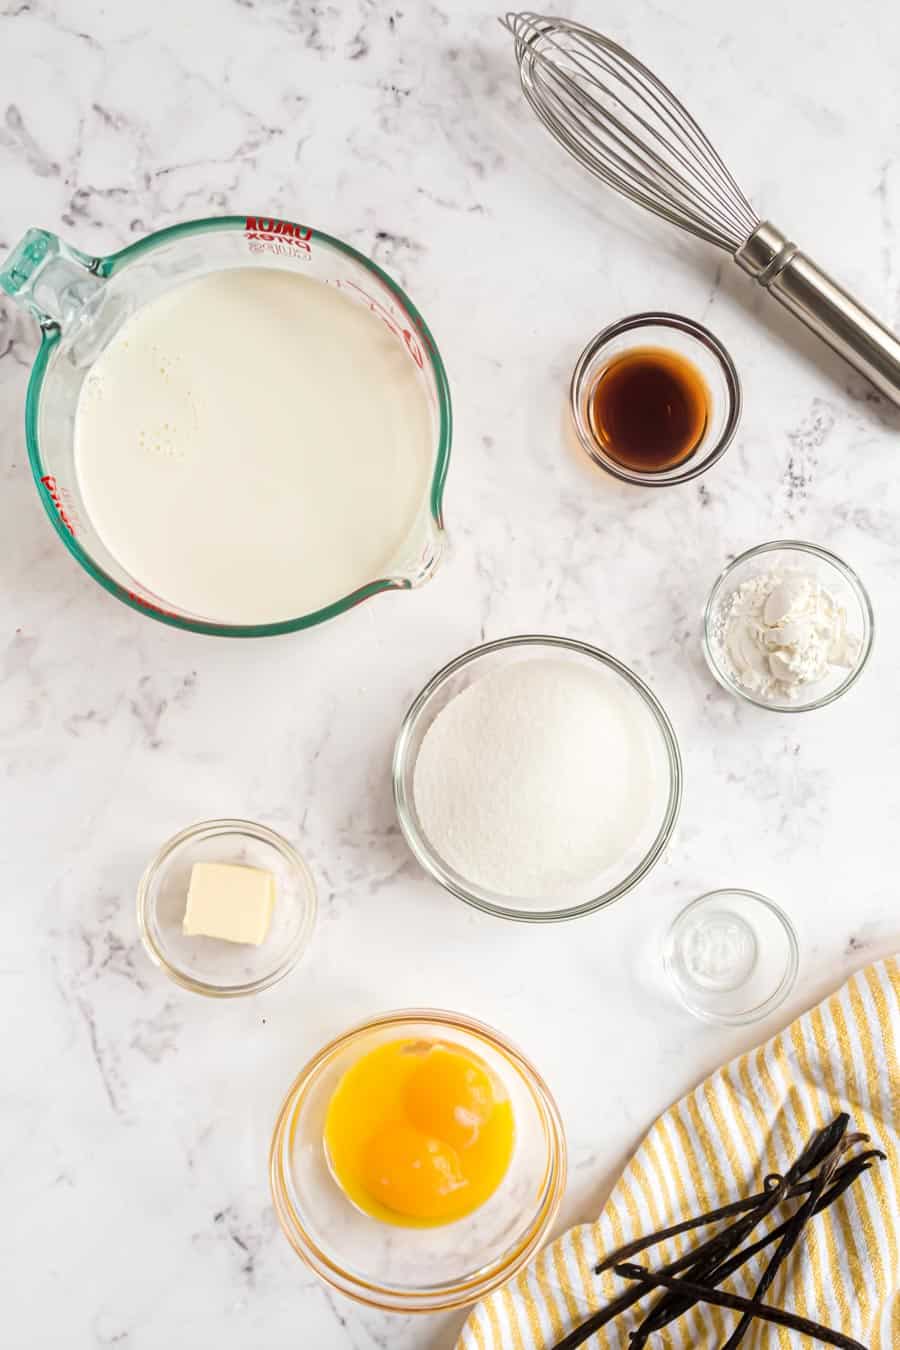
- Sugar – Granulated
- Cornstarch
- Half-and-half
- Egg yolks
- Butter – Unsalted
- Vanilla extract
- Salt
See the recipe card below for full information on ingredients and quantities
How to Make Homemade Vanilla Pudding Cups
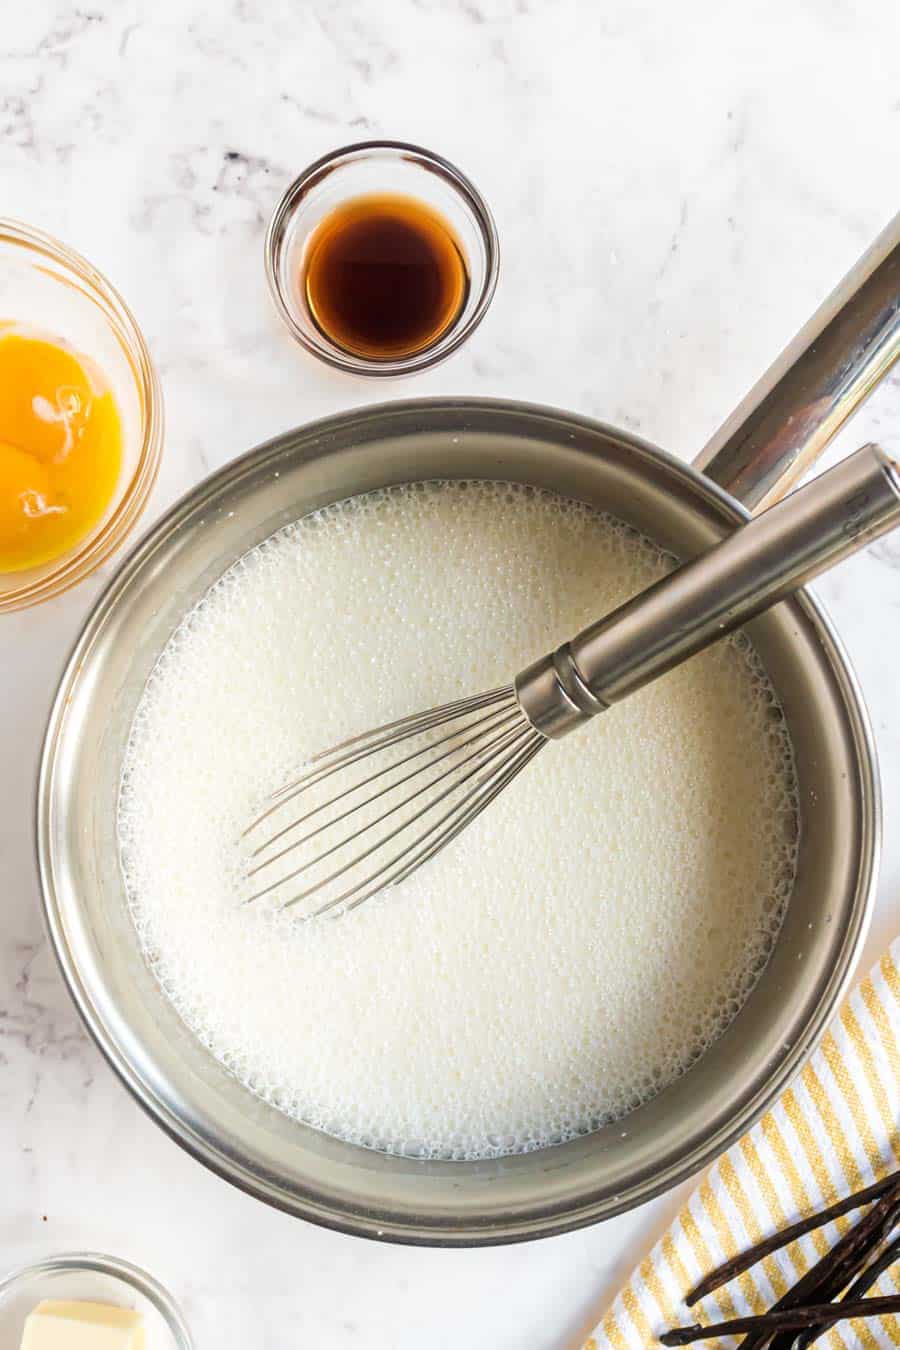
Step #1. In a saucepan, whisk together sugar, cornstarch, and salt, then gradually add half-and-half and egg yolks.
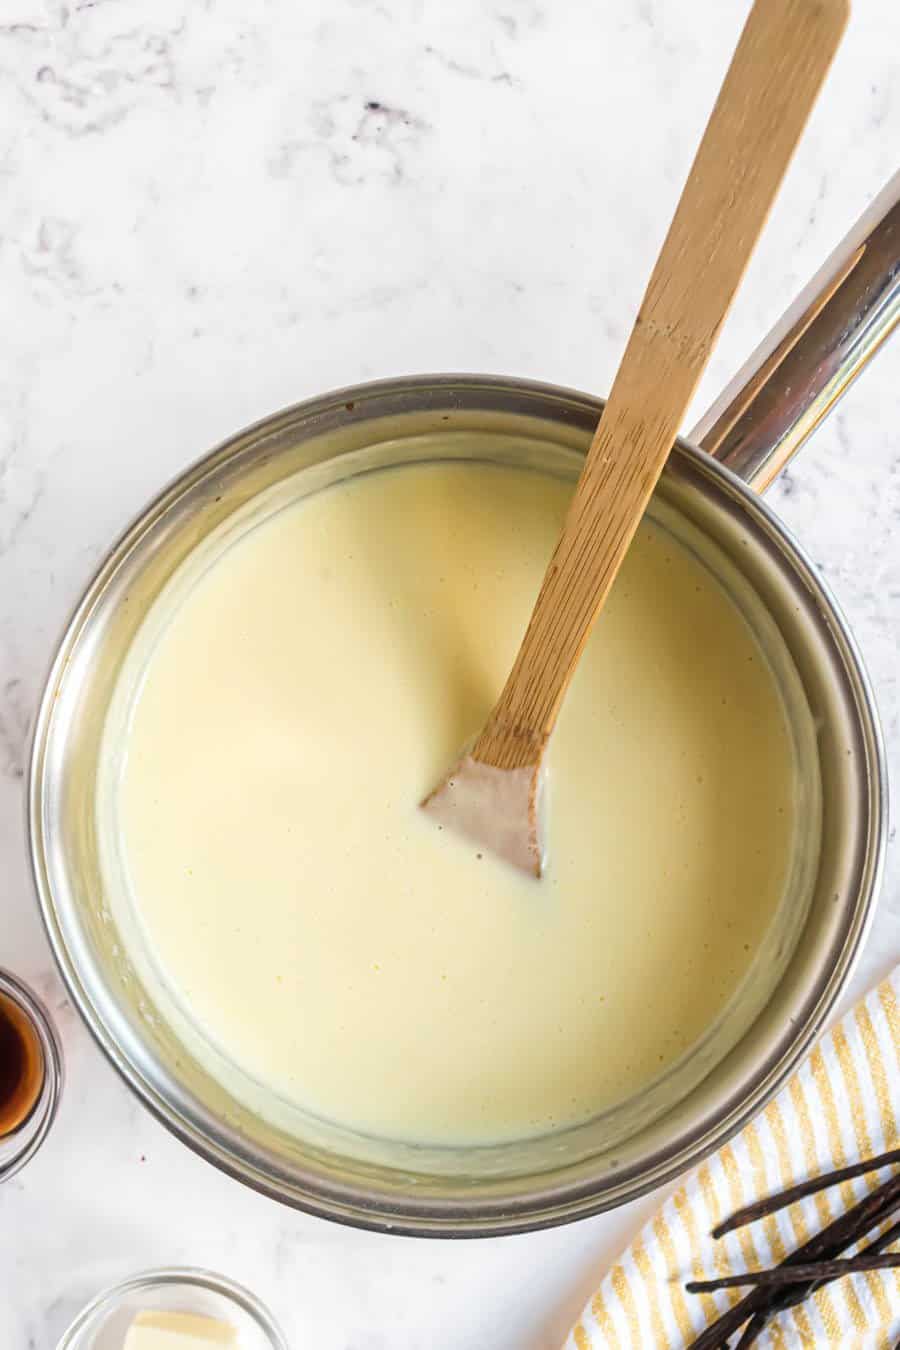
Step #2. Heat the mixture until it thickens, then stir in butter and vanilla.
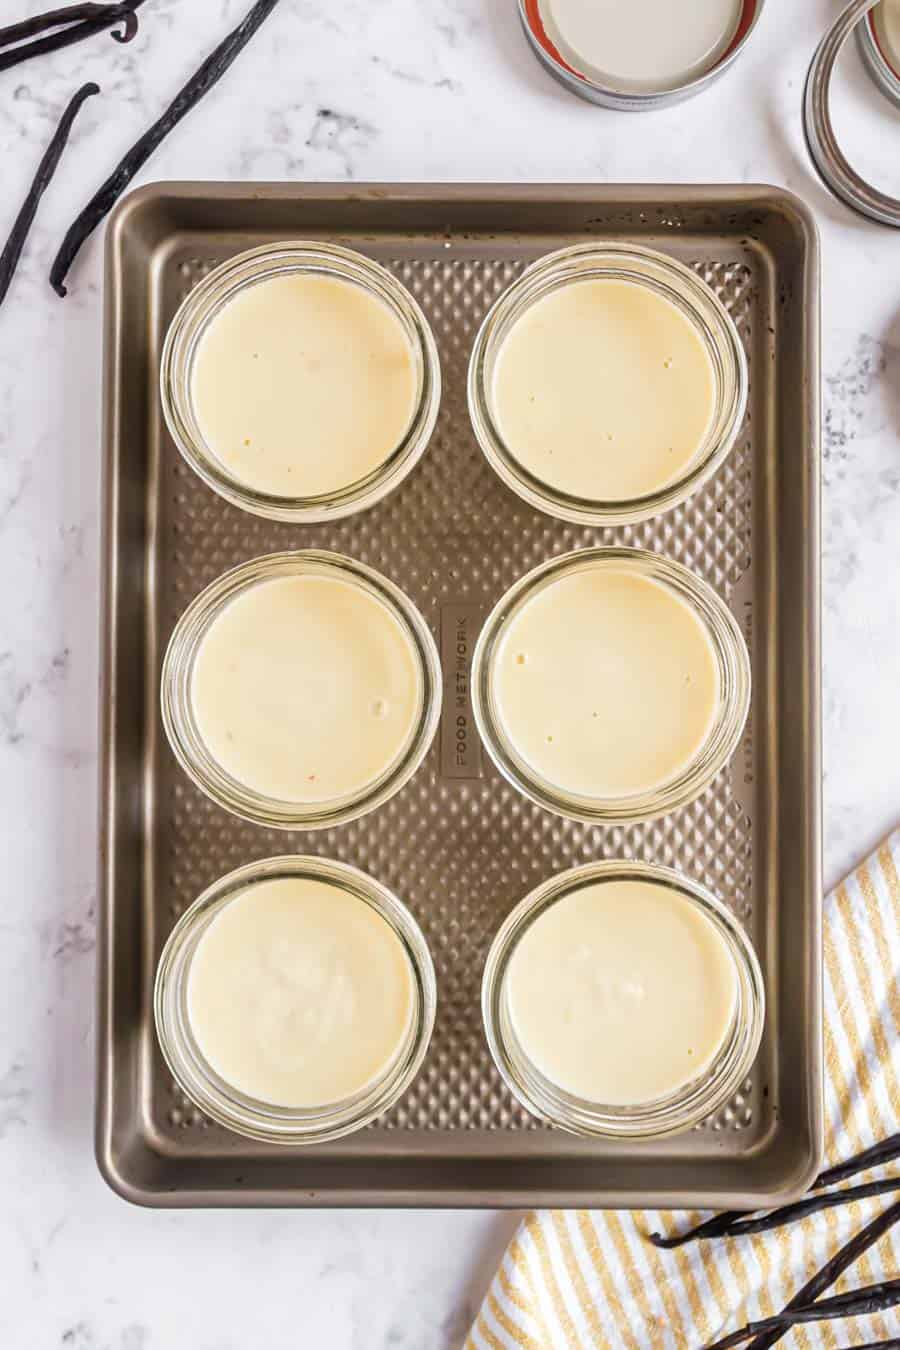
Step #3. Pour the pudding into jars or a bowl and refrigerate for 3 hours.
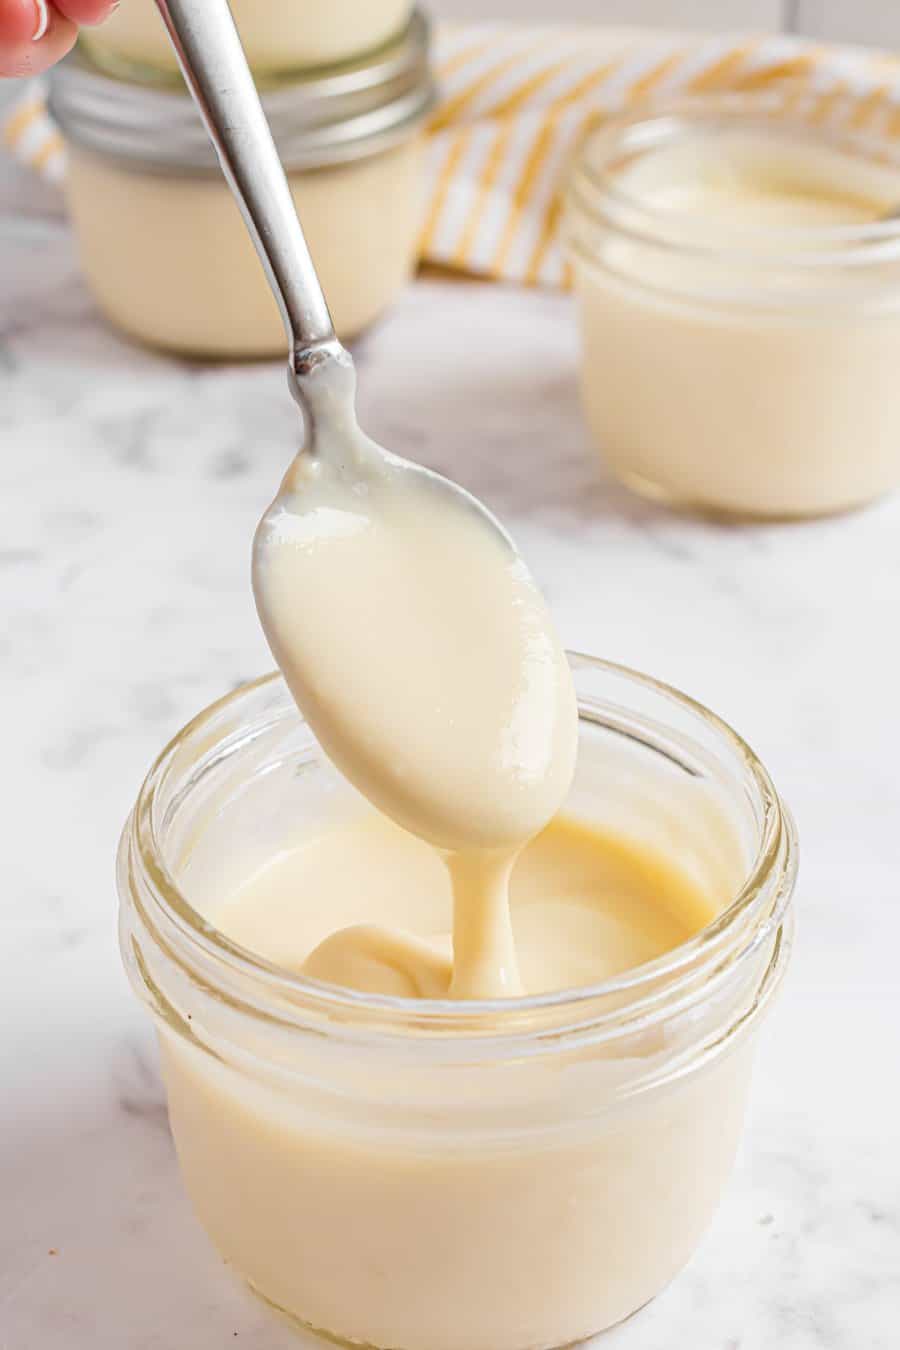
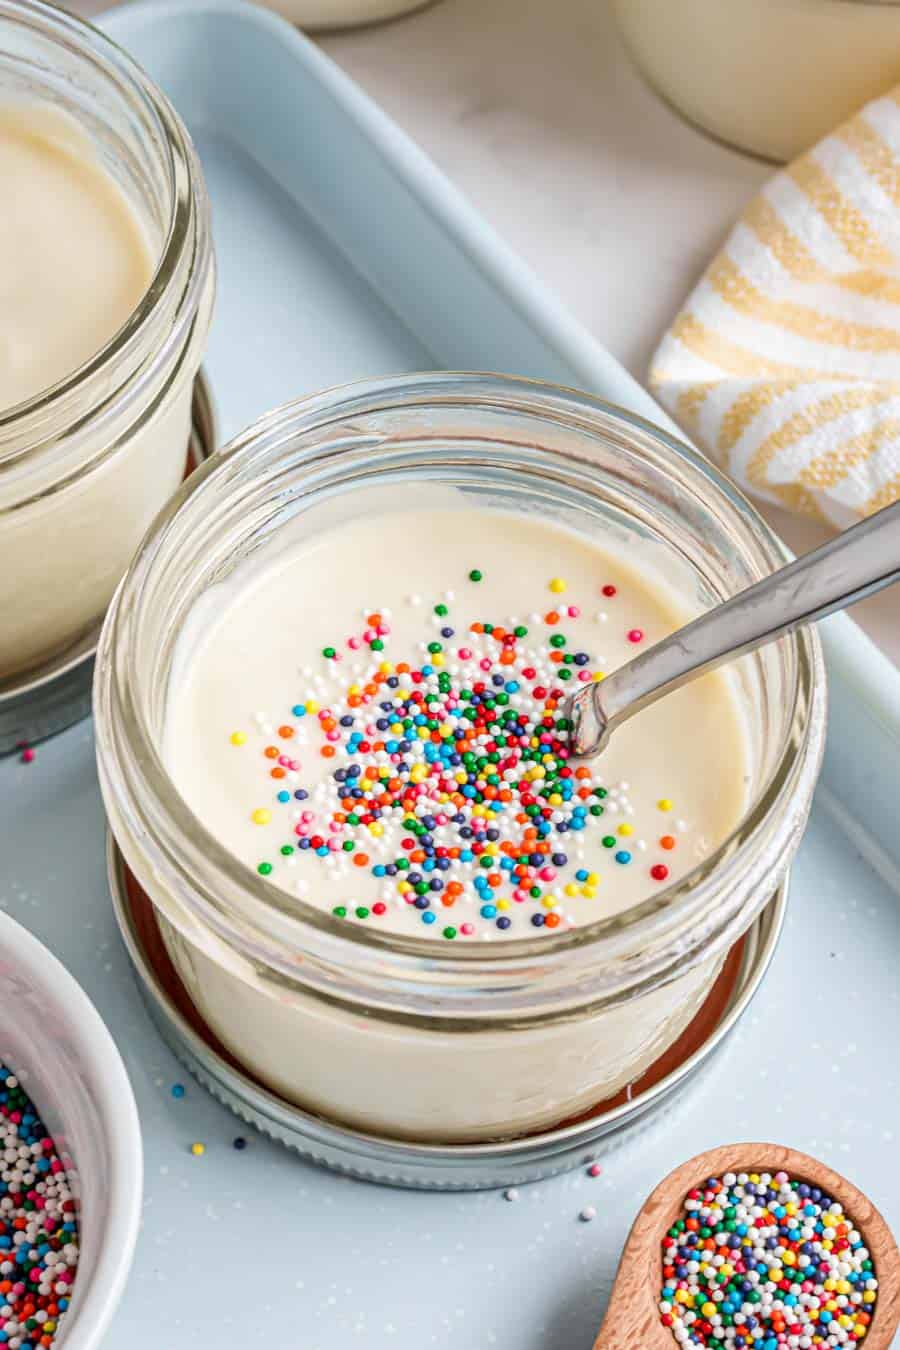
Step #4. Enjoy directly from the jars, adding sprinkles or toppings if desired.
Recipe FAQs
It typically takes about 3 hours to become firm in the fridge.
You can replace 1 cup of half and half with a mixture of butter and whole milk. Add 1 Tablespoon melted butter to about a cup of milk to make this substitute.
The pudding can turn out grainy if you weren’t constantly whisking it. You can try adding a tiny bit of cornstarch to create a smooth, silkier texture. Remember to whisk continuously but gently.
There are so many ways to enjoy homemade vanilla pudding. You can package the pudding in individual servings dishes topped with sprinkles. Or you can serve the pudding with crushed up Nilla wafers. You can also serve it with berries or whipped cream.
Expert Tips
- You can swap the half and half for 3 cups of whole milk.
- Whisk constantly while heating the mixture to avoid lumps in your pudding.
- For an extra smooth texture, strain the pudding before pouring it into jars.
- You don’t have to add this to individual jars, it’s just fun. You can place the pudding in a large bowl to serve instead of 6 individual containers.
- You can use salted butter, just omit the salt in the recipe.
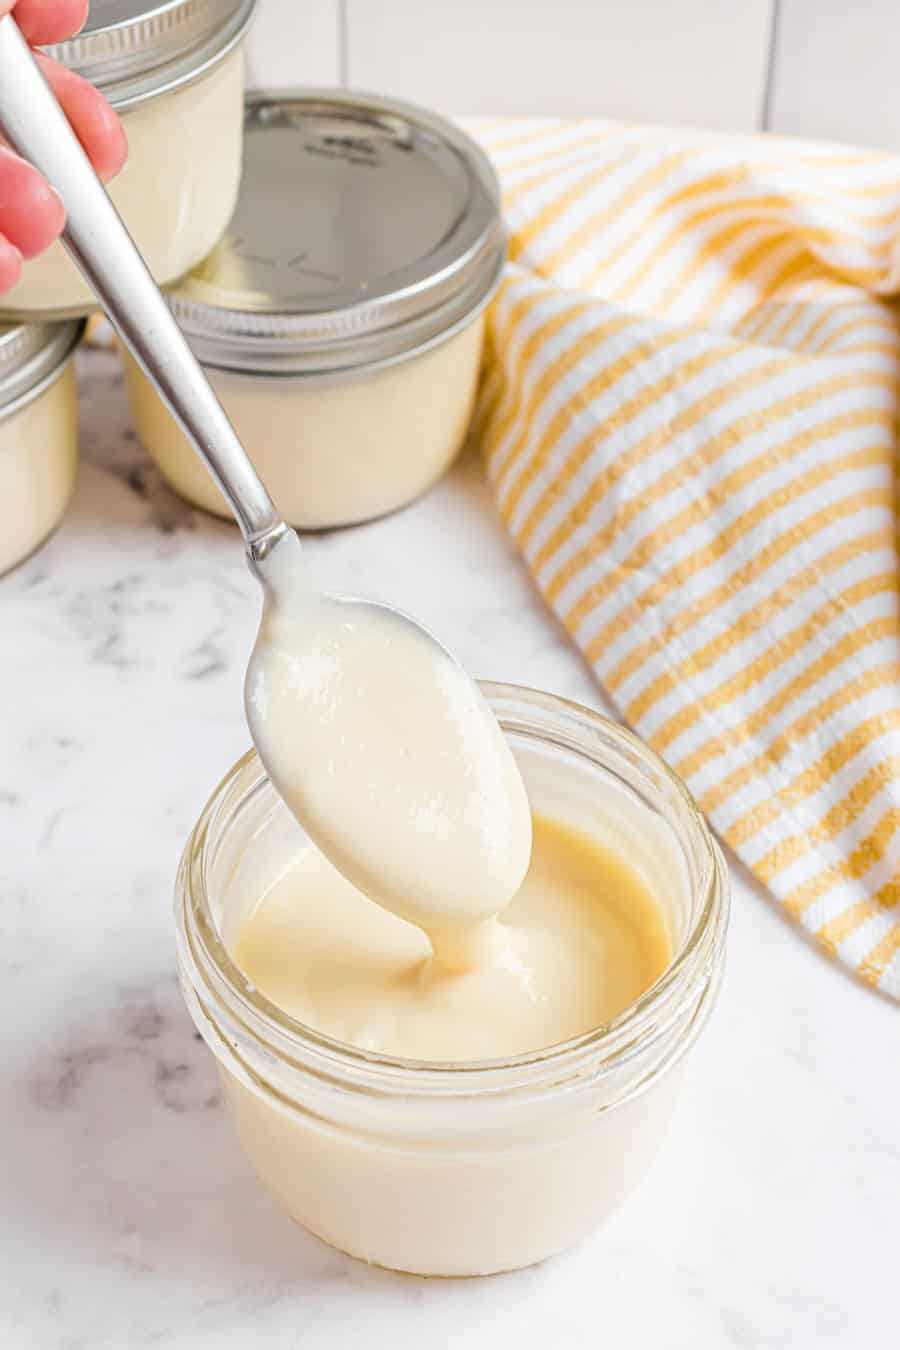
How to Serve and Store Homemade Vanilla Pudding
Fresh berries, banana slices, or a dollop of fruit compote add a refreshing contrast, or you can top with a swirl of whipped cream for a classic touch. Serve with a side of shortbread cookies or almond biscotti for dipping. You can also try my banana pudding, dirt pudding, or rice pudding recipes.
Store the pudding in airtight containers or covered jars in the refrigerator for up to 3 days. I do not recommend freezing, as the texture may become grainy. If you need to freeze it, do so in small portions and thaw in the refrigerator, stirring well before serving to restore some of the smoothness.
More No-Bake Dessert Recipes to Consider
From Scratch Recipes
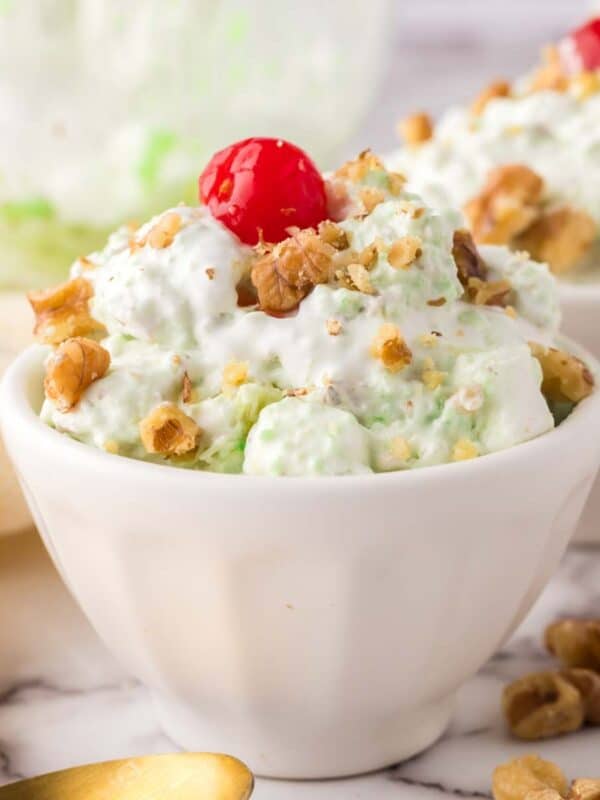
Watergate Salad Recipe
No Bake Desserts
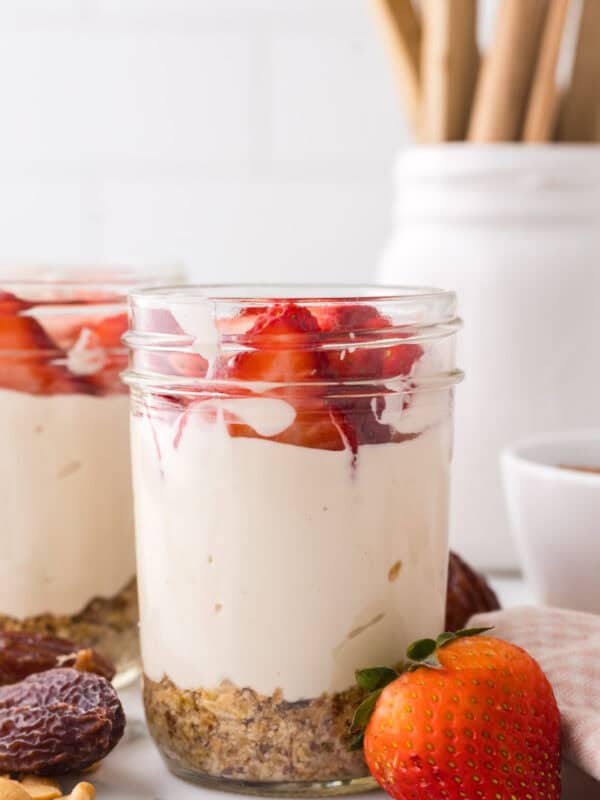
Healthy No-Bake Cheesecake
No Bake Desserts
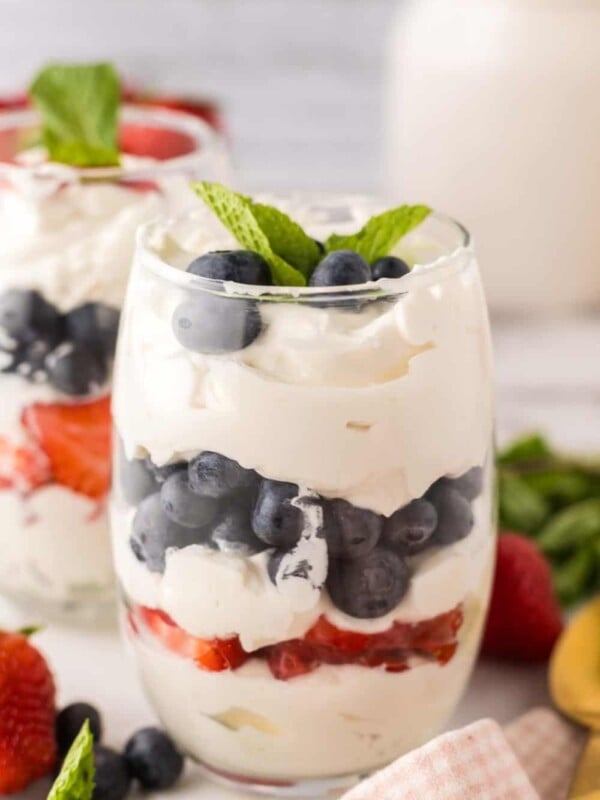
Berries and Cream
Dessert Recipes
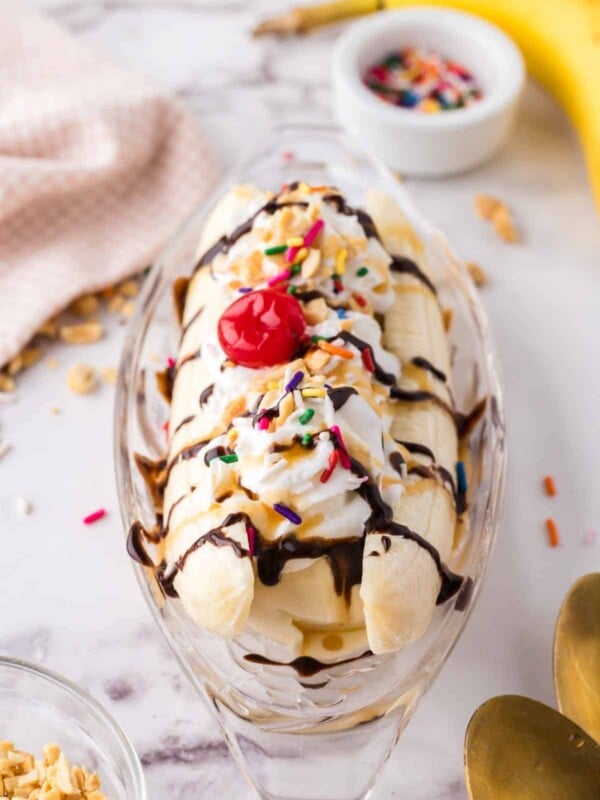
Banana Split
Did you make this recipe? Leave a ⭐️ review and share it on Instagram, Facebook, or Pinterest!
Homemade Vanilla Pudding Cups
Ingredients
- 3/4 cup granulated sugar
- 3 tablespoons cornstarch
- 1/8 teaspoon salt
- 3 1/2 cups half-and-half
- 3 large egg yolks
- 1 tablespoon unsalted butter
- 1 tablespoon vanilla extract
Instructions
- In a medium sauce pan add the sugar, cornstarch, and salt. Whisk to combine.
- While whisking, slowly add the half-and-half until till combined.
- Add the egg yolks and whisk to combine.
- Over medium-high heat bring the mixture to a simmer, whisking constantly but gently. Reduce the heat to medium and cook, stirring constantly, until the pudding thickens and coats the back of a spoon, about 2 minutes.
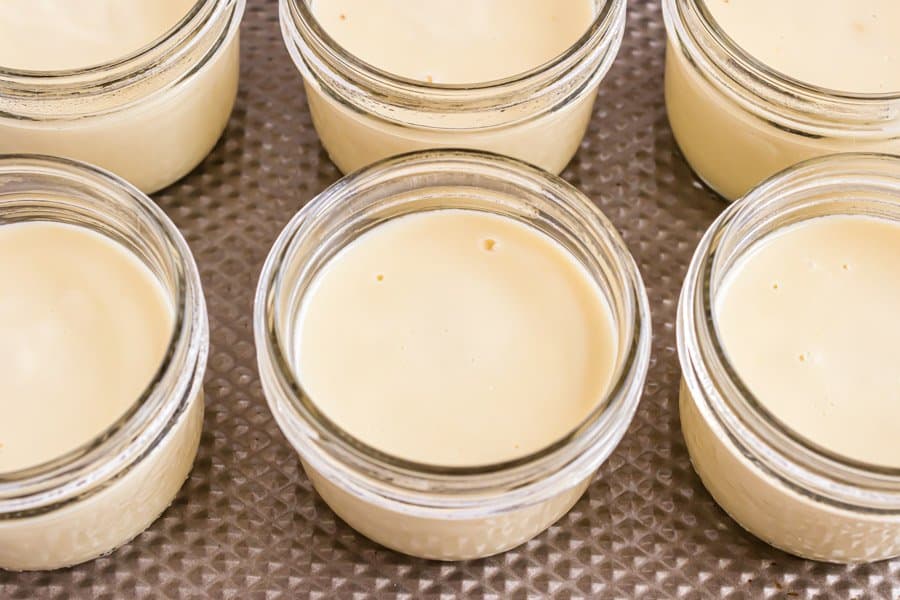
- Remove from the heat and add the butter and vanilla, stir to combine. Pour the hot pudding into six 1-cup wide-mouth mason jars, filling the jars an inch from the top. Add a flat lid and then screw on the ring to close the jars.
- Refrigerate until the pudding is set, about 3 hours.
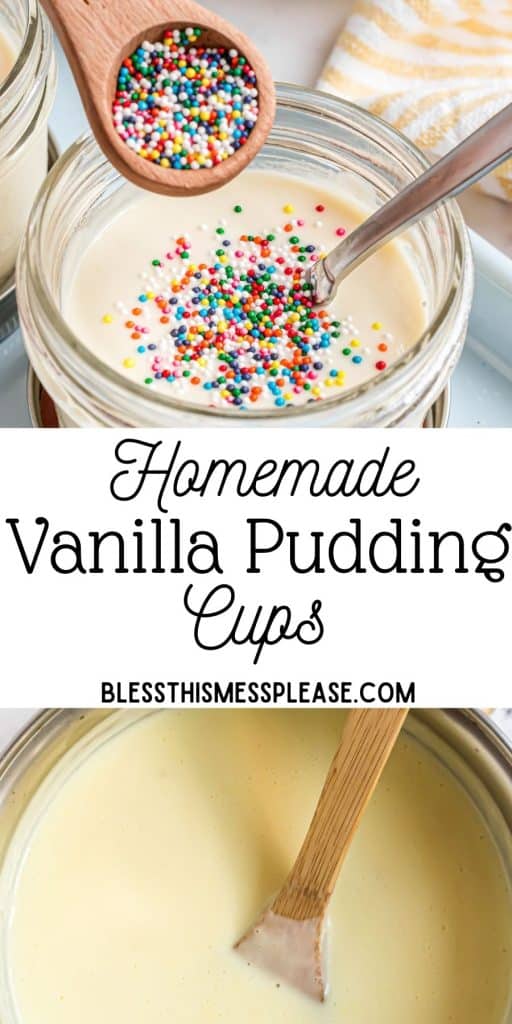
- Eat the pudding right out of the mason jars. Add sprinkles before eating for extra smiles.
Notes
- You can swap the half and half for 3 cups of whole milk.
- You don’t have to add this to individual jars, it’s just fun. You can place the pudding in a large bowl to serve instead of 6 individual containers.
- You can use salted butter, just omit the salt in the recipe.



Just found this recipe while looking for healthy chocolate pudding recipes for my daughters’ lunchboxes. It spurred me to make it. Very excited to try it!